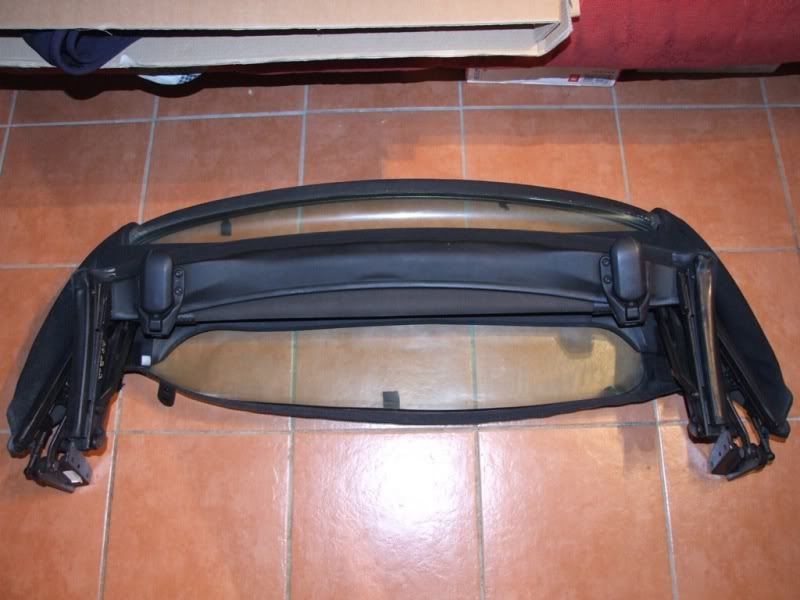
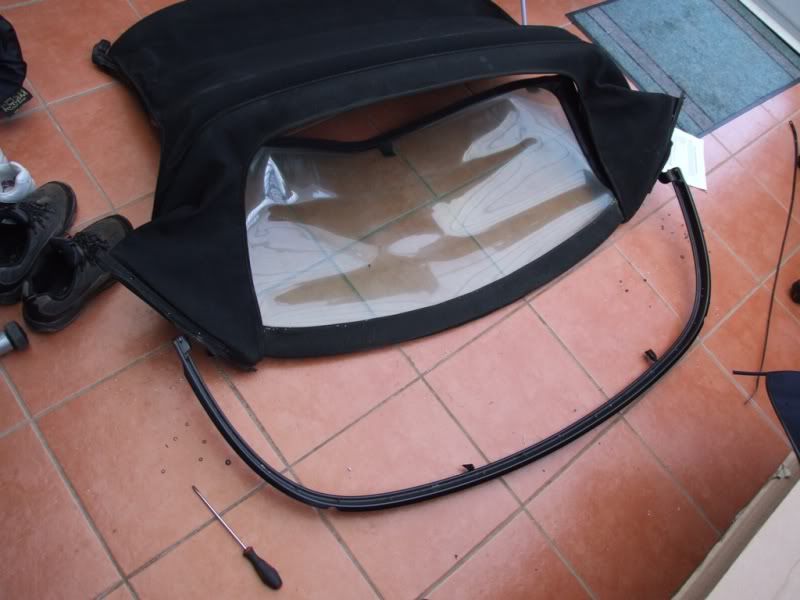
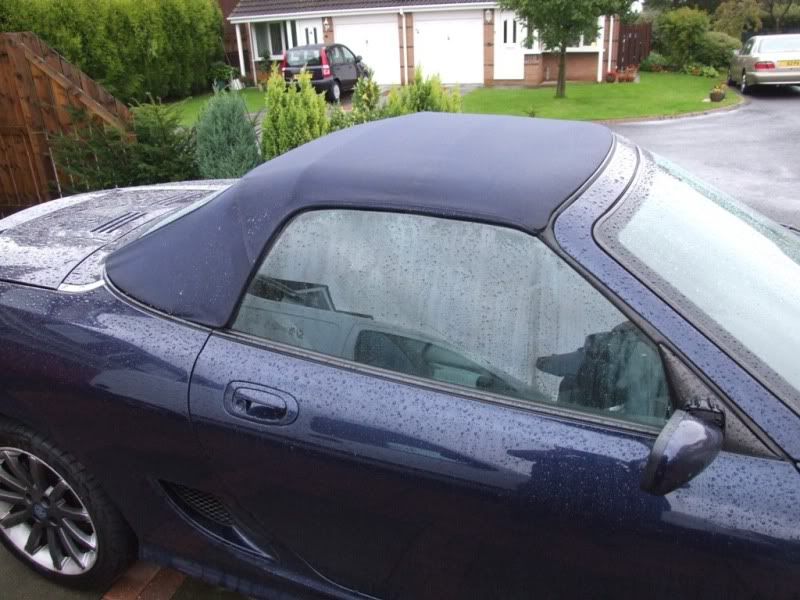
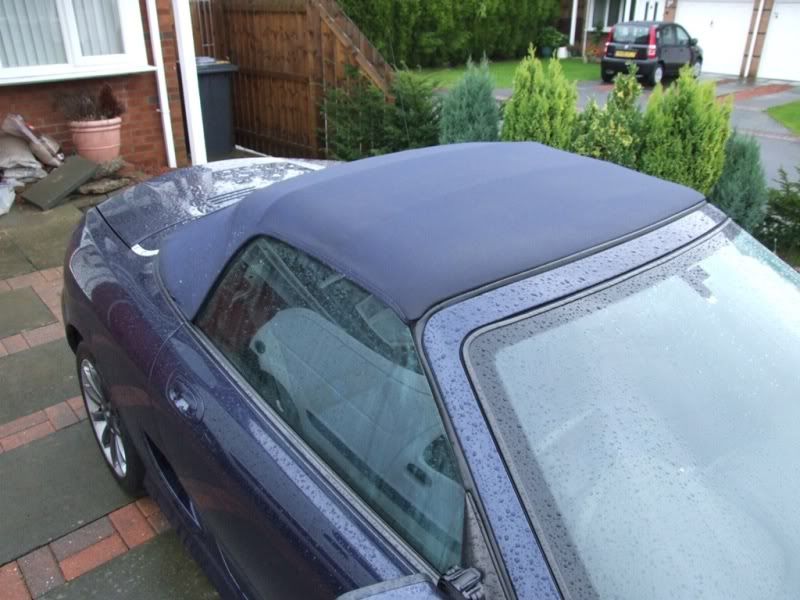
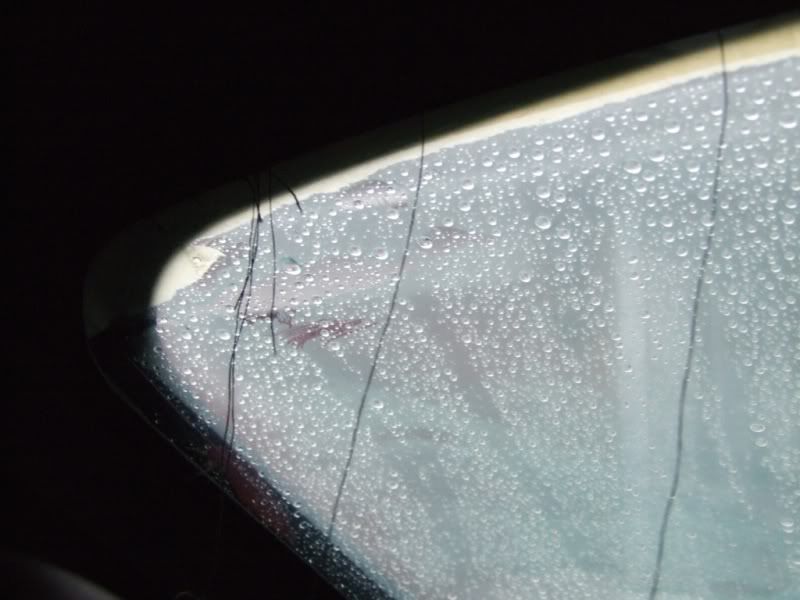
Due to recently cracking my rear screen I decided to use it as an excuse to fit a whole new hood, as my existing blue one needs a good clean.
I have a spare hood including frame, so I used that for the transplant. To me this is the best way so that you don't have to worry about removing the hood on the car and how long it will be before you have the new hood one. If you have a hardtop you could fit that while you have the soft top and frame removed.
The instructions that came with it tell you how to fit it on the car, but as I don't have a garage to work in and it has been P'ing down all week I used the spare frame in the conservatory.
If you have a good garage then it might be better to do it on the car, but the process is the same. If you do the job on the car then take the time to protect the bodywork and interior from the swarf caused by drilling the old rivets out and scratching from tools and buttons on clothes etc.
To remove the hood and frame look here http://www.the-t-bar.com/en/forum/22-cjjs-guides/1590-soft-top-how-to-remove
To fit the new soft top and rear window, you will need:
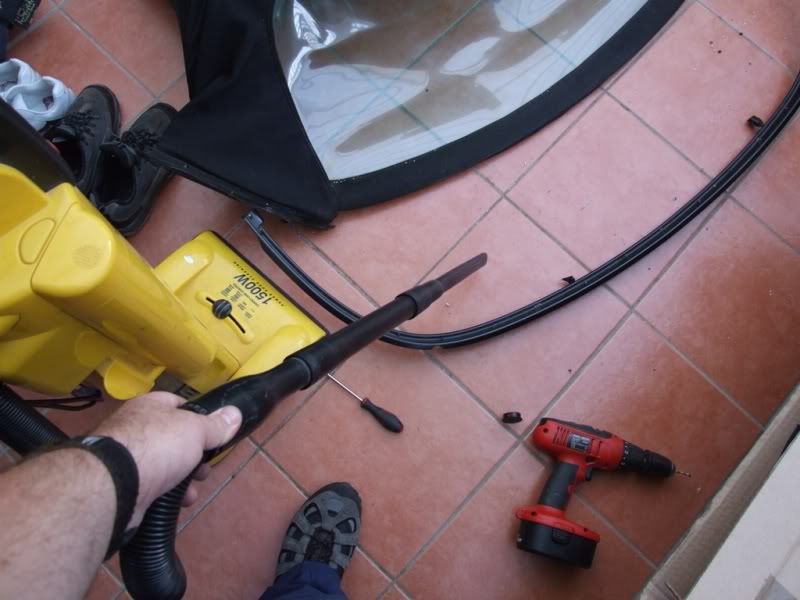
Drill with 3.5mm bit
Philips screwdriver
Rivet gun
Stanley knife
7mm socket or spanner
Contact adhesive
I also needed a material hole punch as not all the holes had been punched.
Assuming you have decided to remove the hood, then this is how I did it.
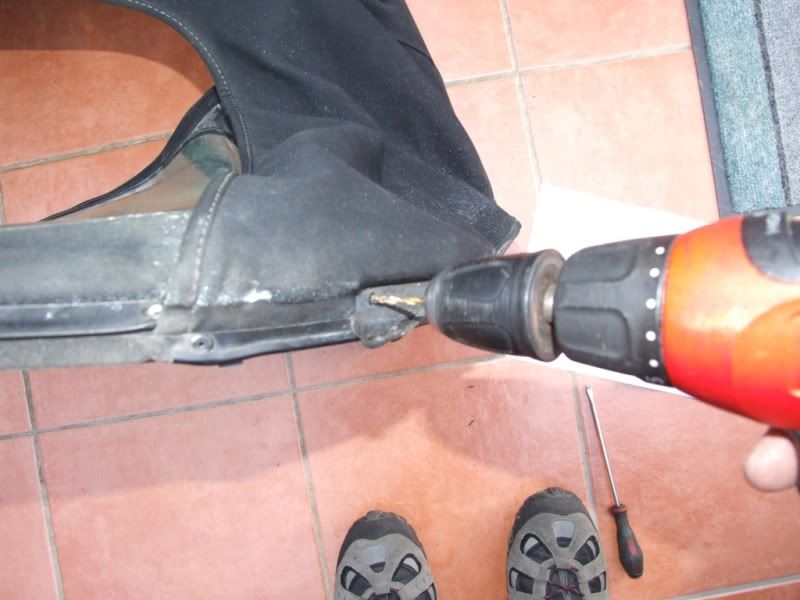
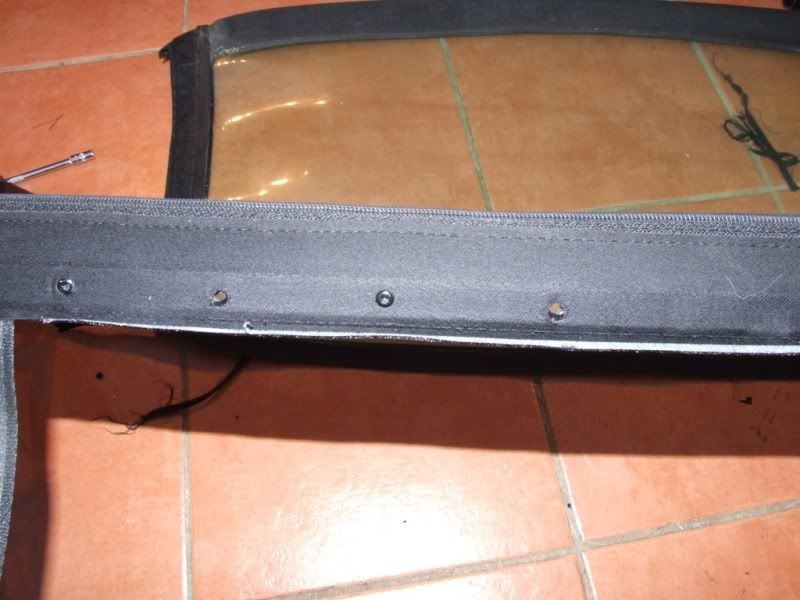
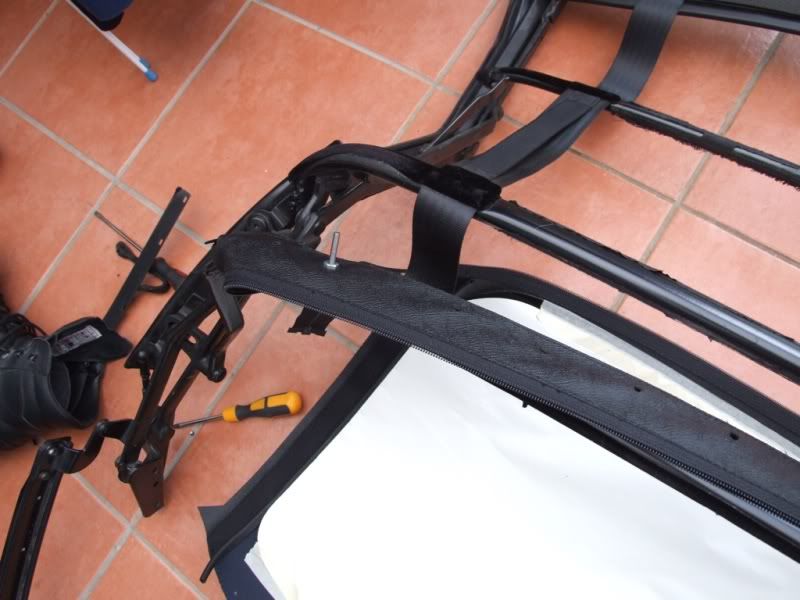
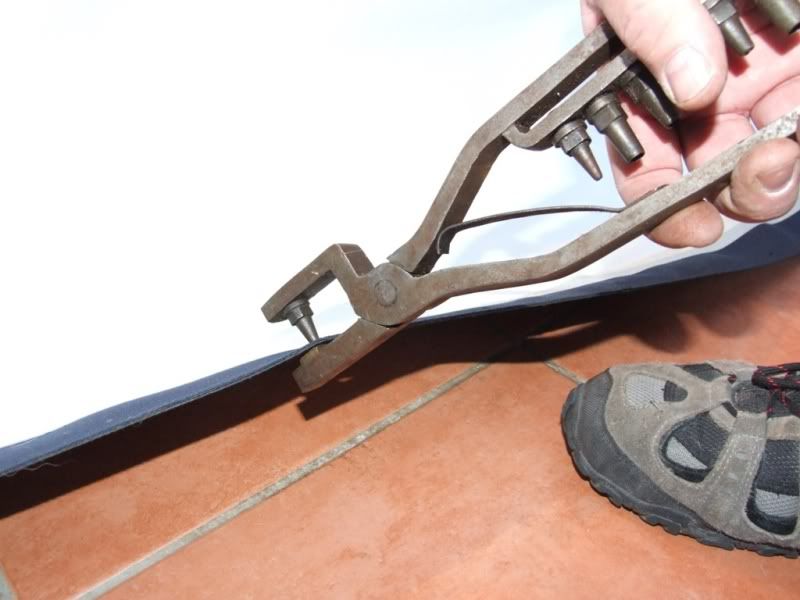
Drill out all the rivets along the base of the rear window and hood section.
Remove the side quarter rivets along the bottom first
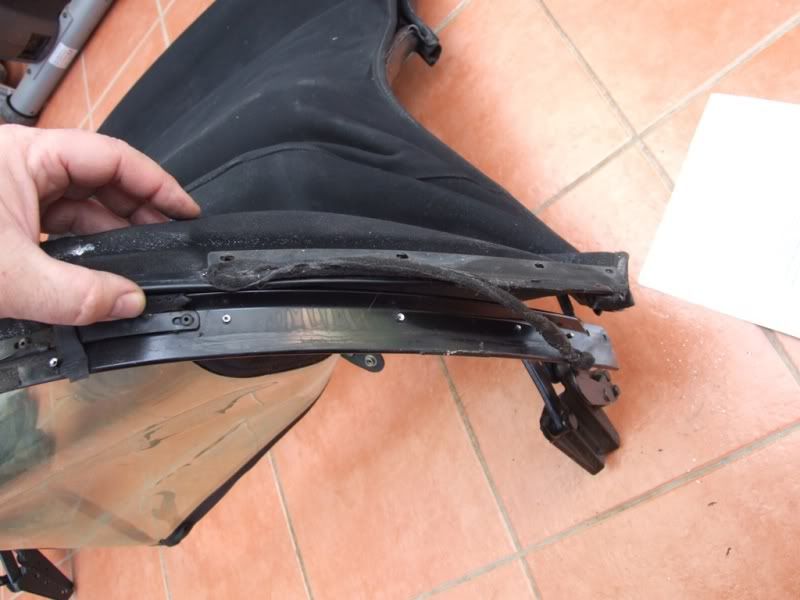
And retain the metal plate, noting which plate goes on which side
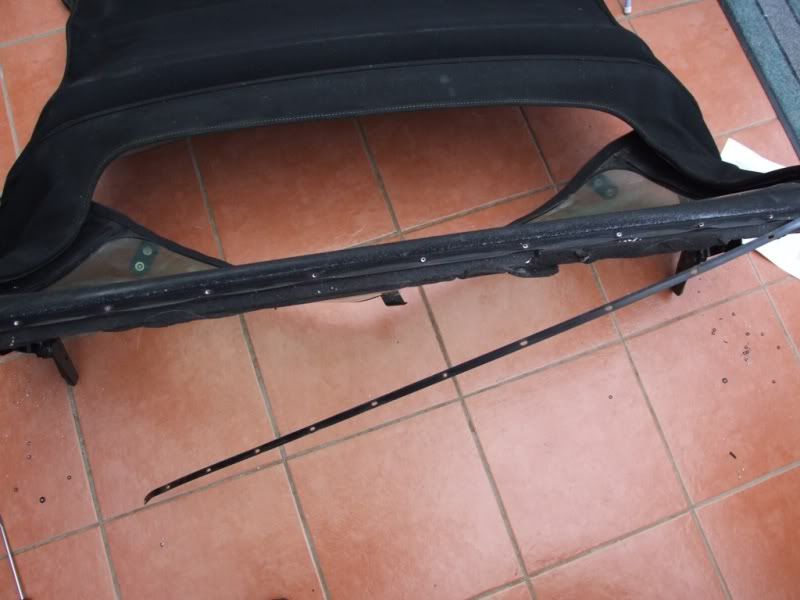
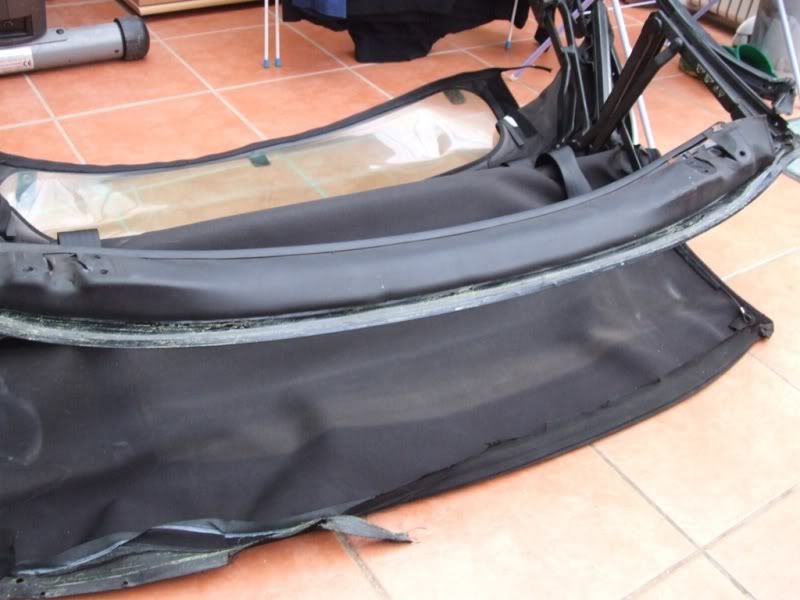
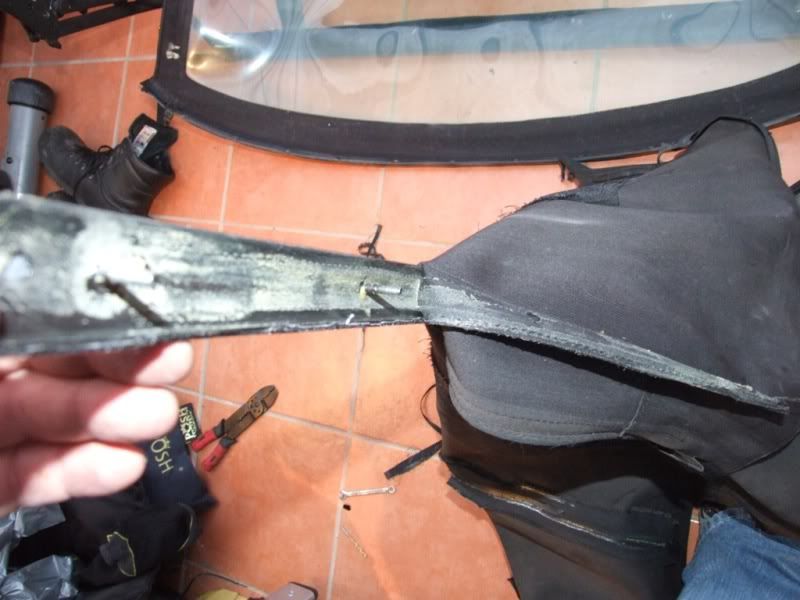
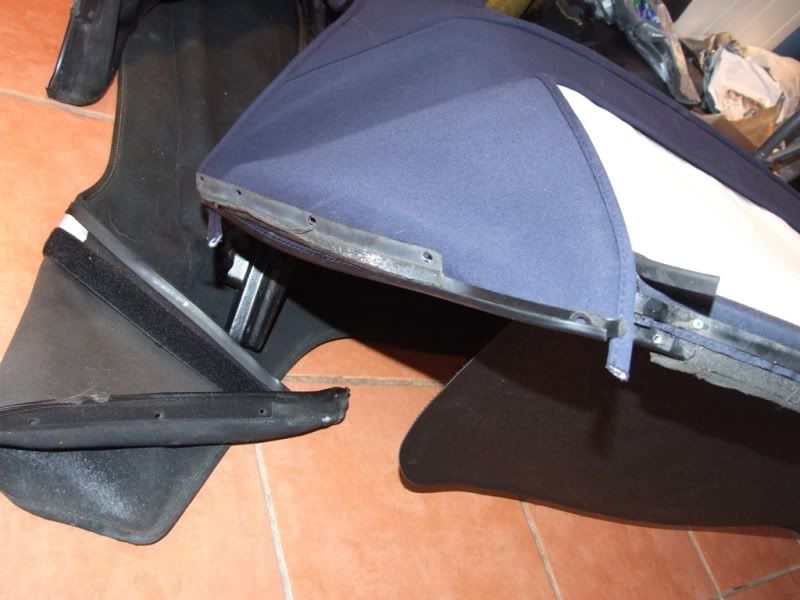
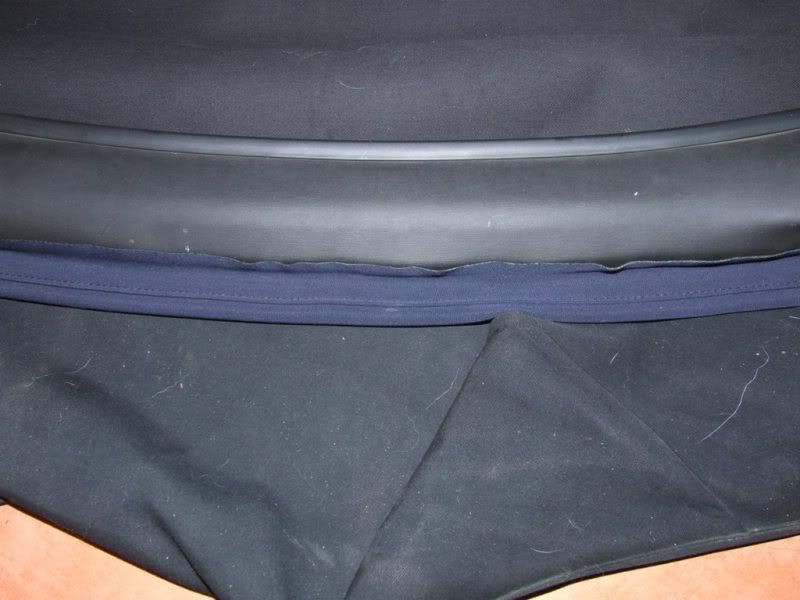
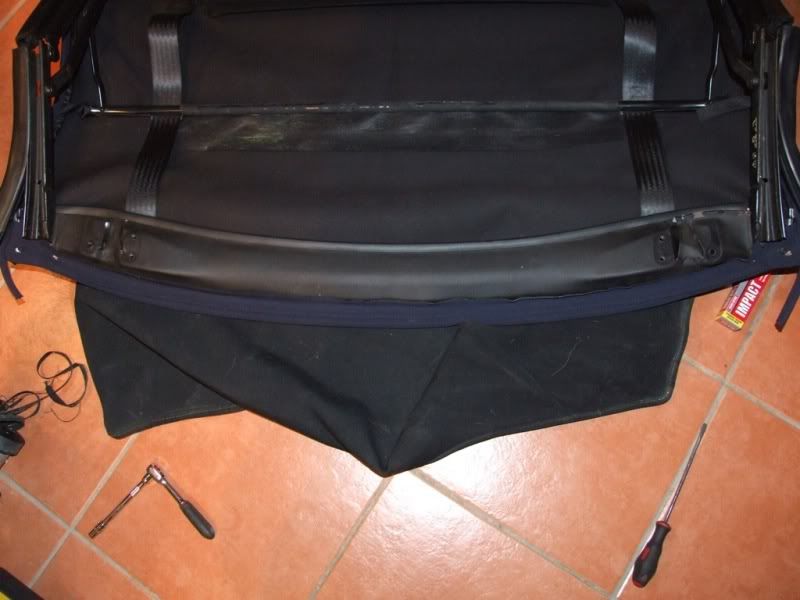
Next drill out the rivets that hold the bottom of the window section in place
Remove the long metal plate and retain it for refitting.
The bottom of the rear window has now been released.
Clean up the swarf (bits of metal) and bits of rivets that you have just drilled out otherwise they could damage your new hood or window.
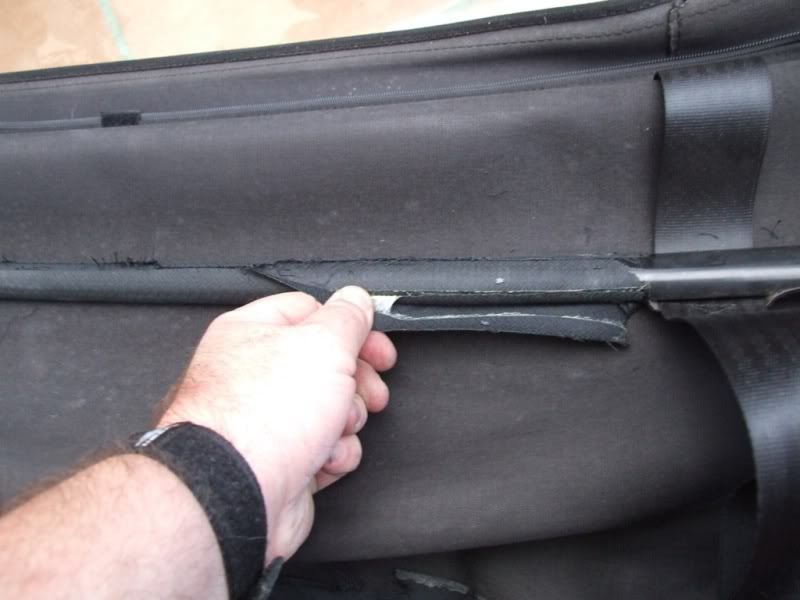
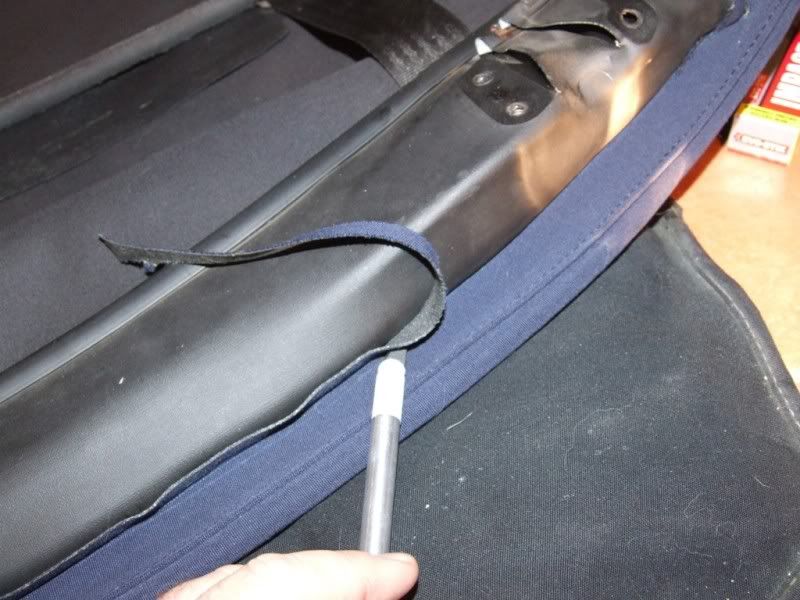
Now go to the front of the hood and score along the front underside of the frame where the hood meets the fabric cover that the frame latches are bolted to. I just pealed the hood away from where it is glued rather than scoring it, but it takes a bit of doing.
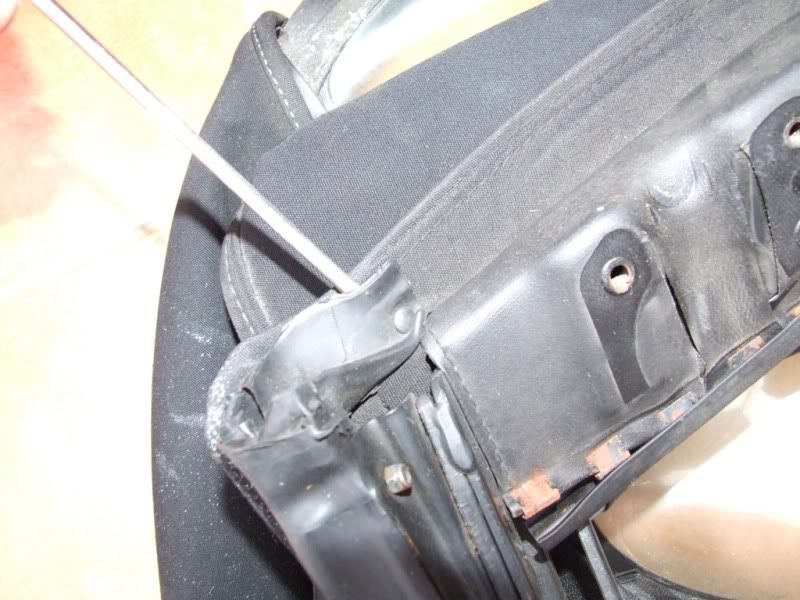
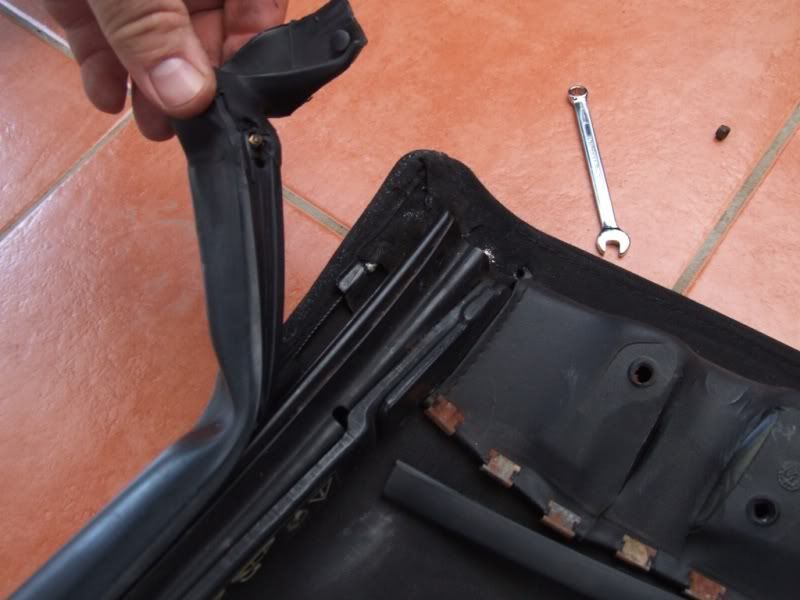
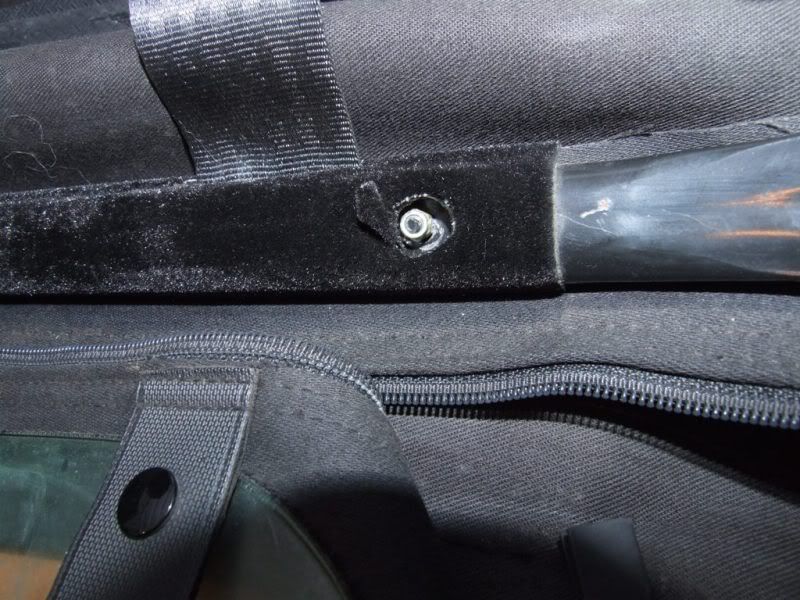
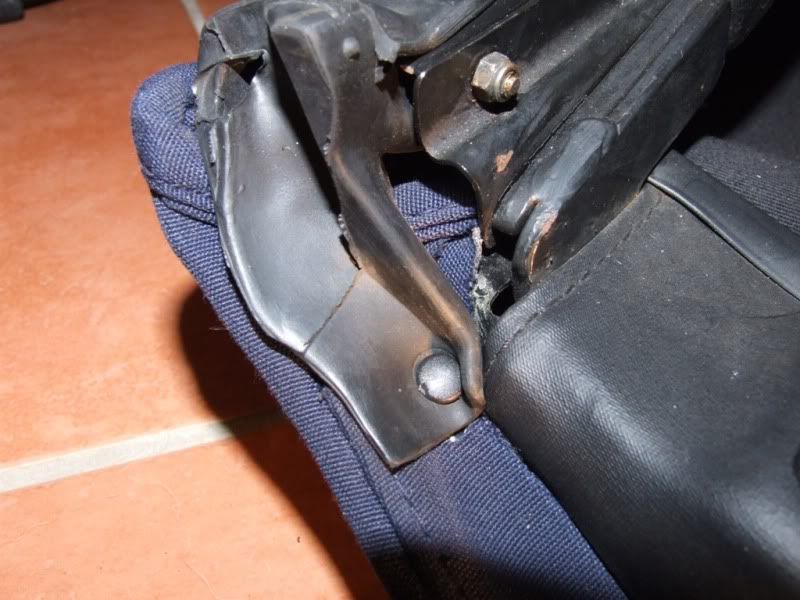
Before pulling the hood away, we need to release a small plastic plug on each front corner that holds the rubber seal in place. I think this is only on the Mk2/TF hood. Gently lever the plug out, but be careful as they easily break.
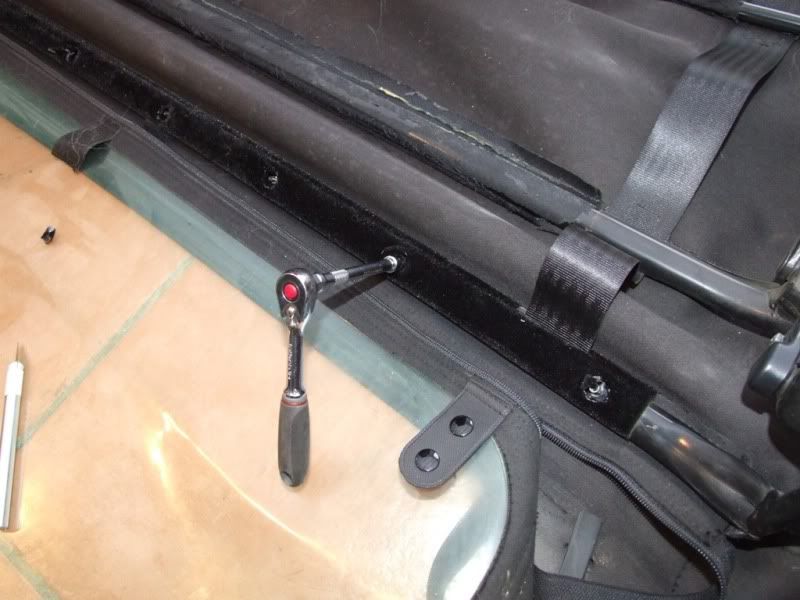
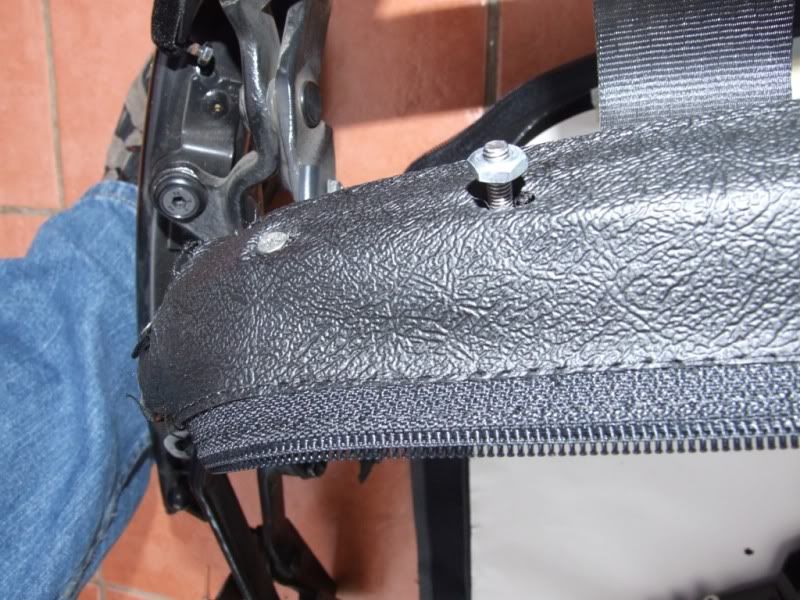
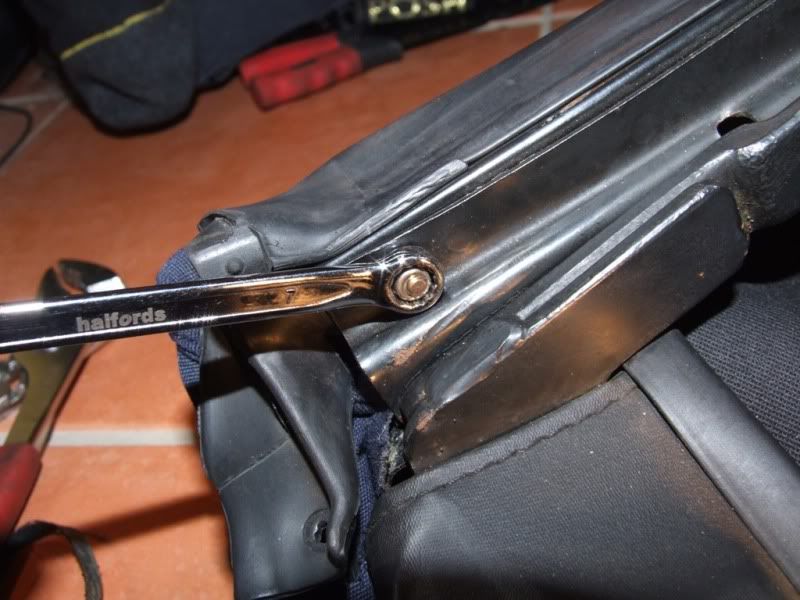
Now remove the 7mm nut that holds the end of the rubber seal in place. (Nut not present in Mk1 hoods).
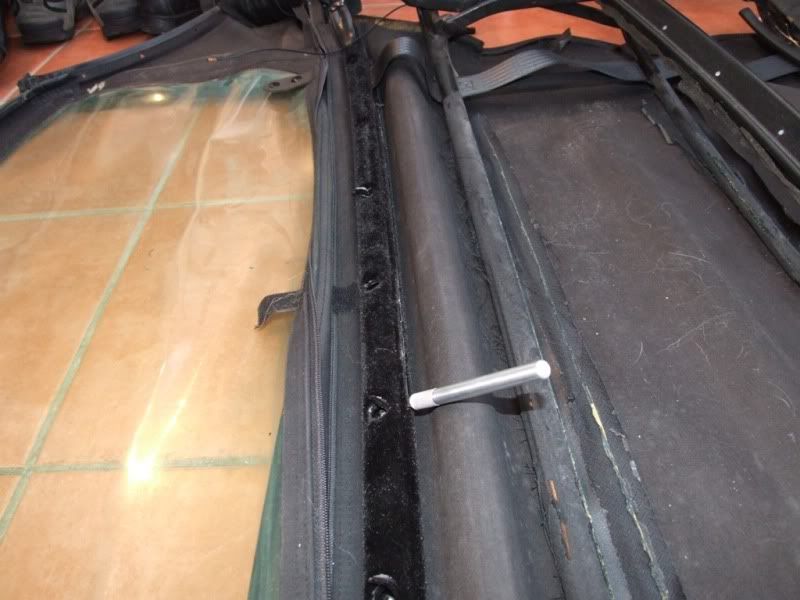
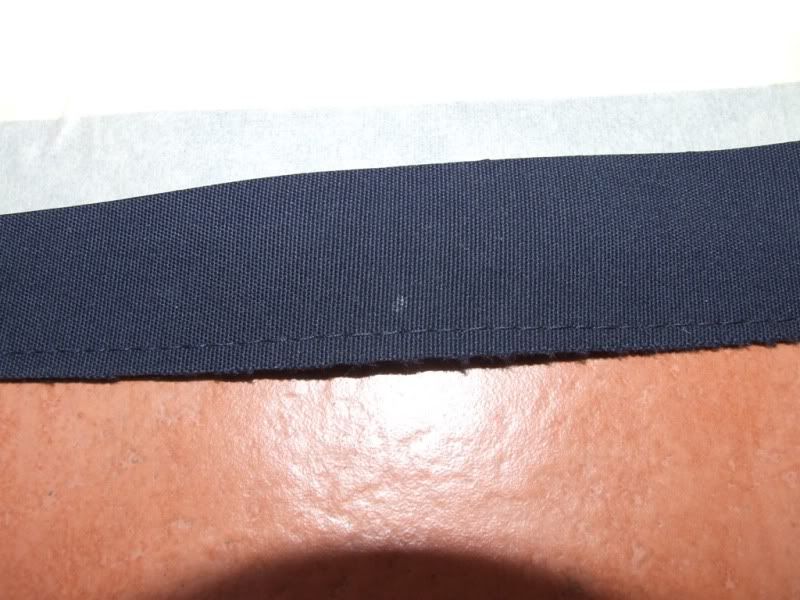
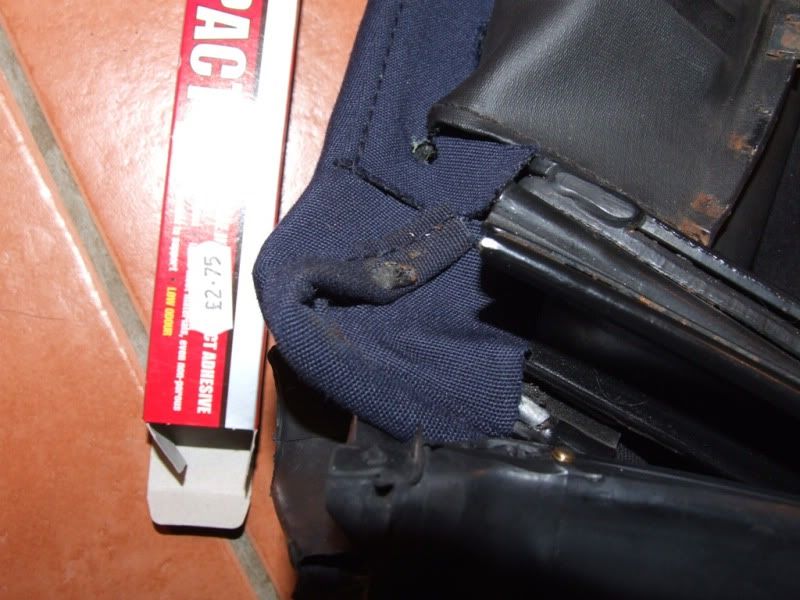
And pull the end of the rubber seal out of the channel, releasing about 3-4cm.
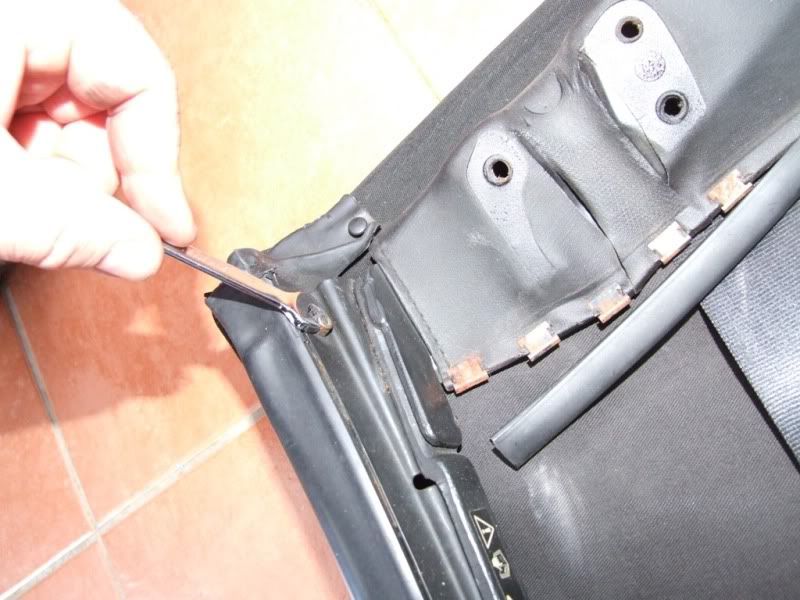
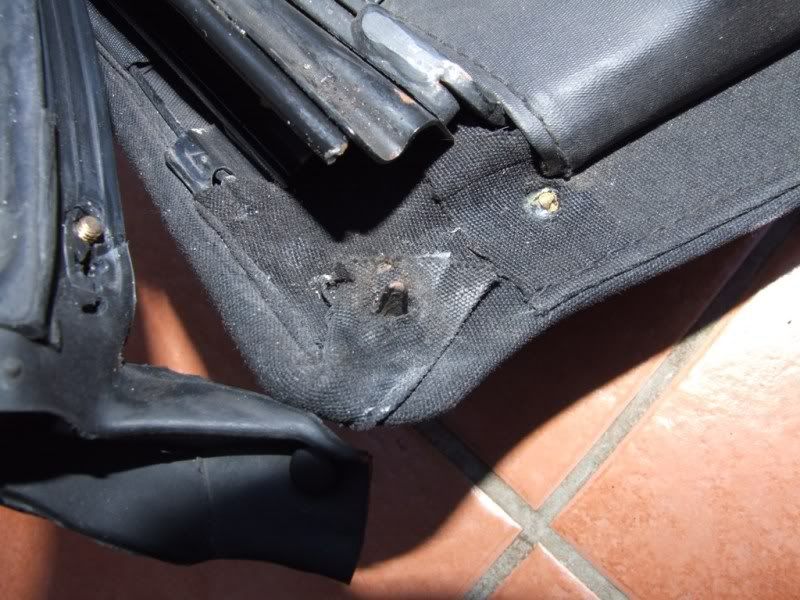
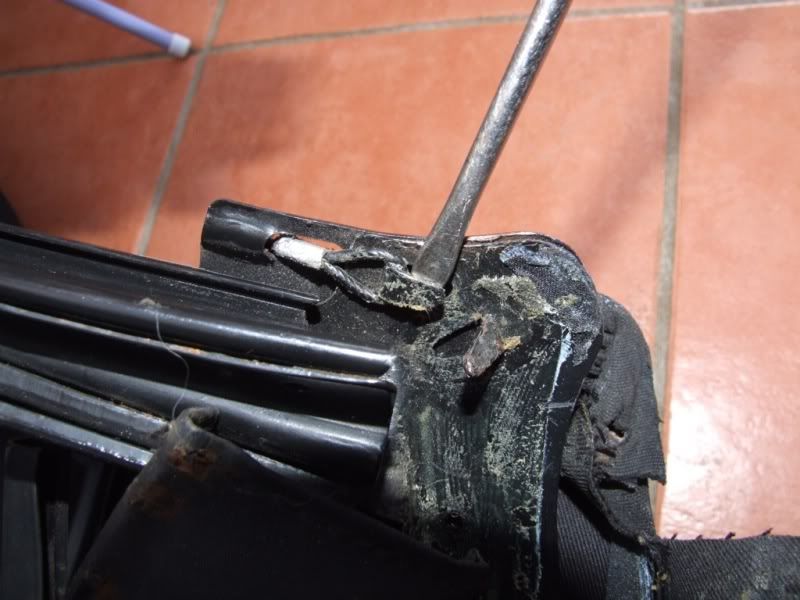
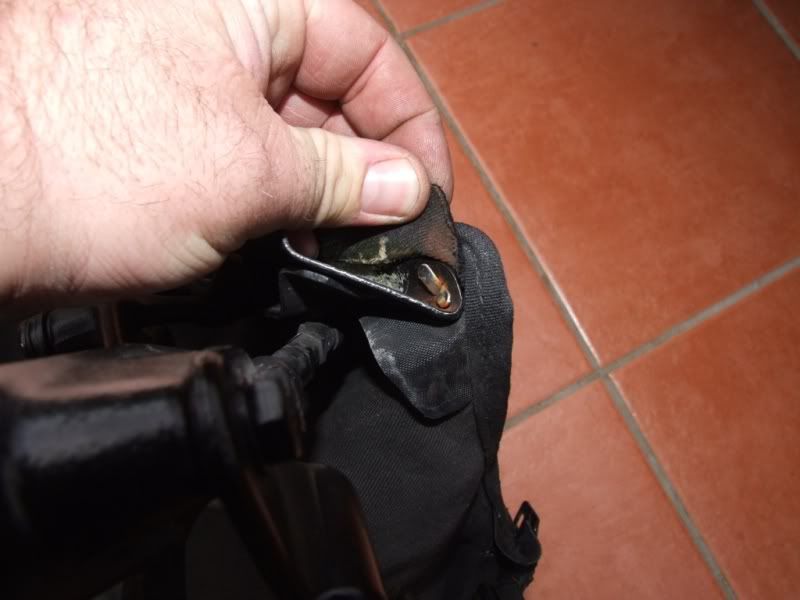
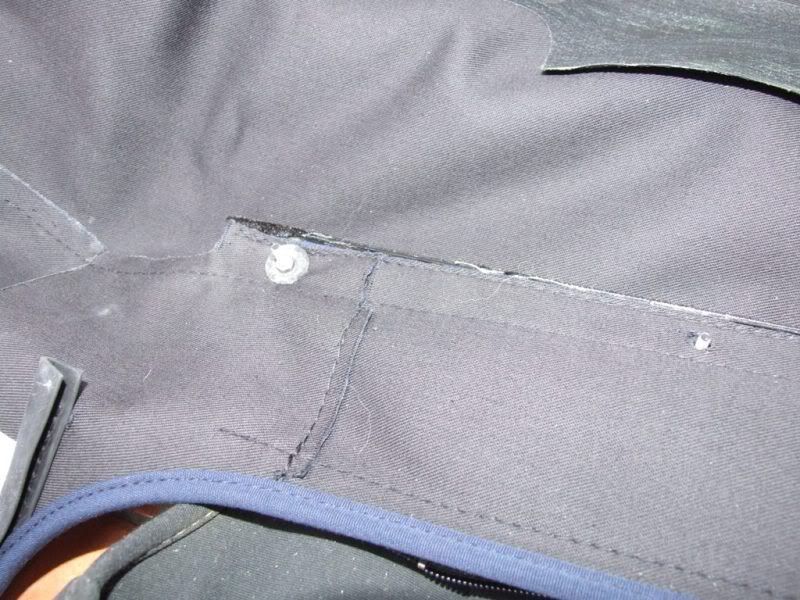
This exposes a metal tab that holds the excess material and corner pocket in place.
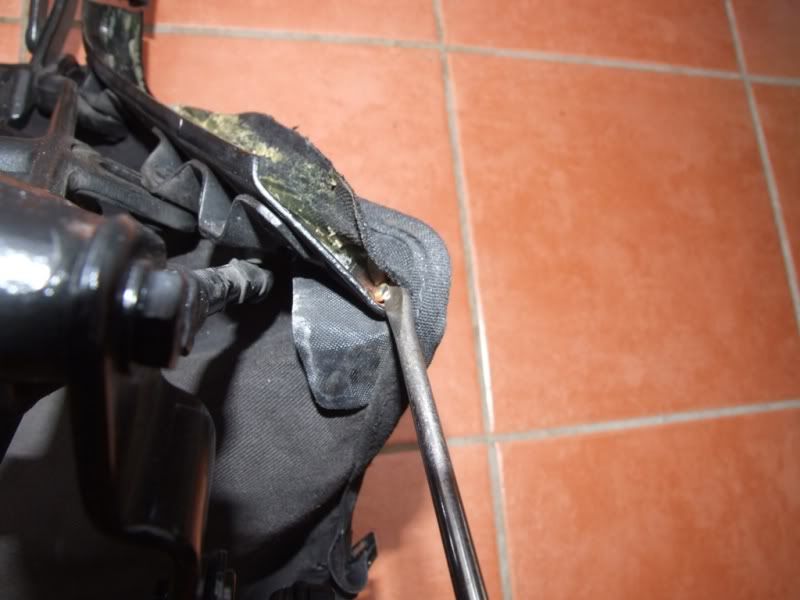
Bend the tab up to release the material.
And pull the material and corner pocket free.
Once you have done this you can release the material that you did, or didn't, score earlier.
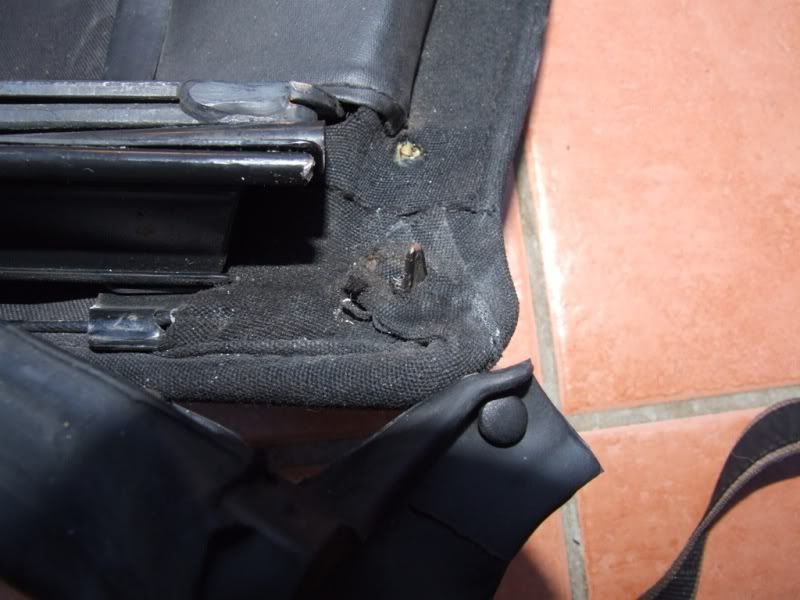
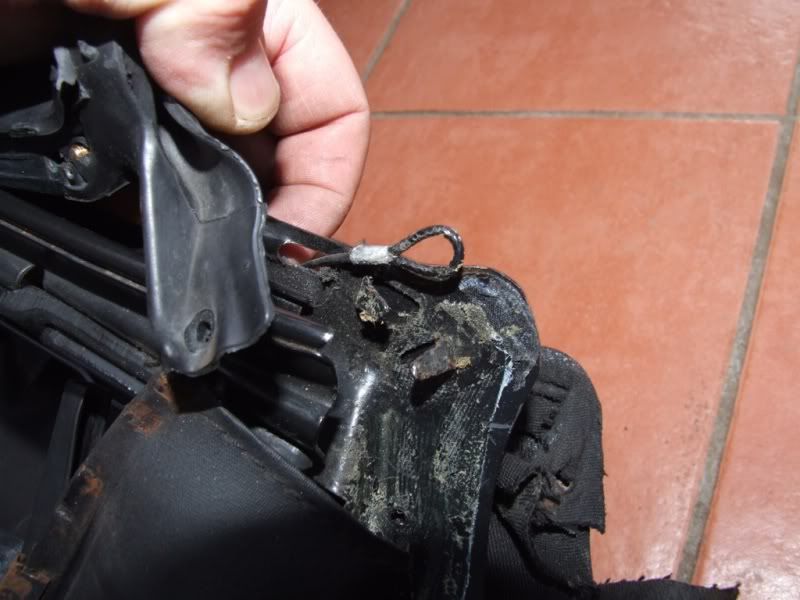
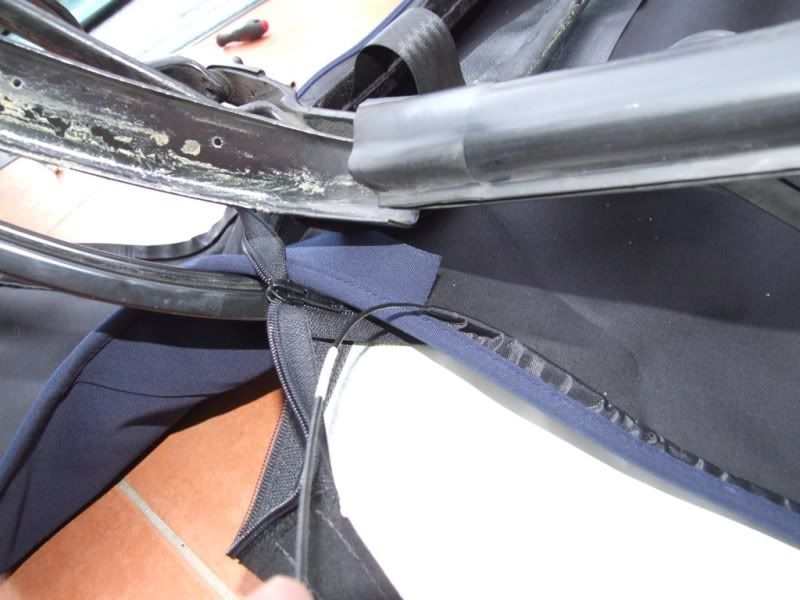
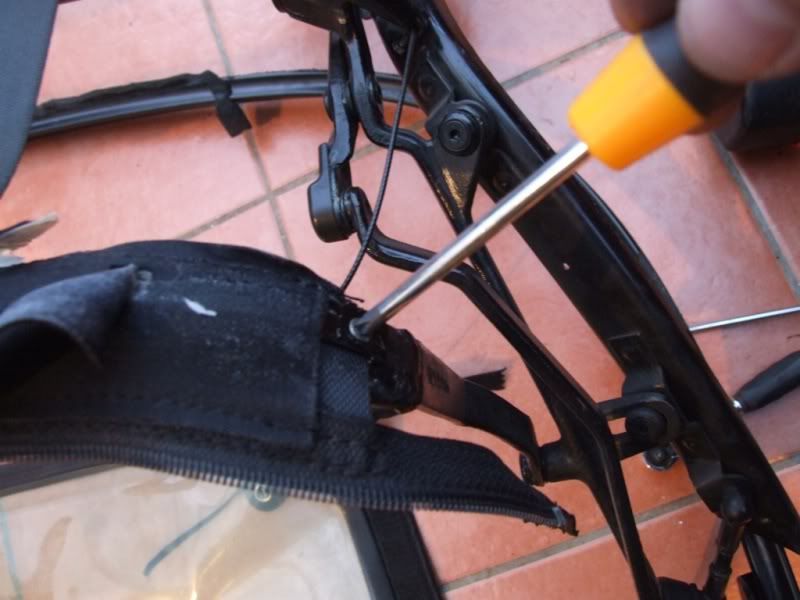
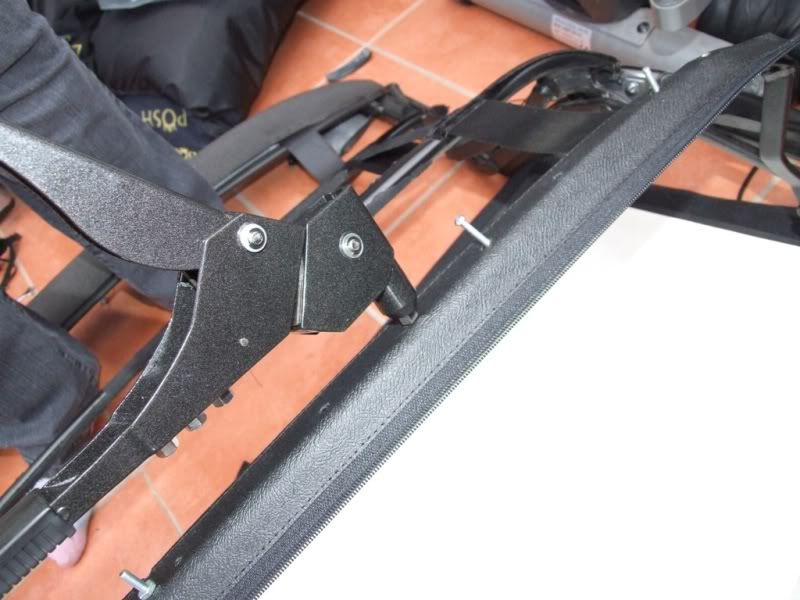
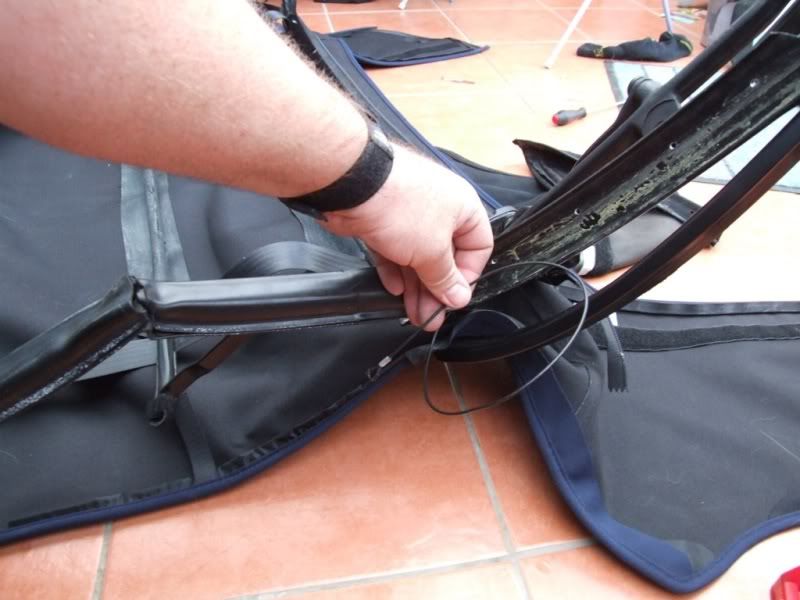
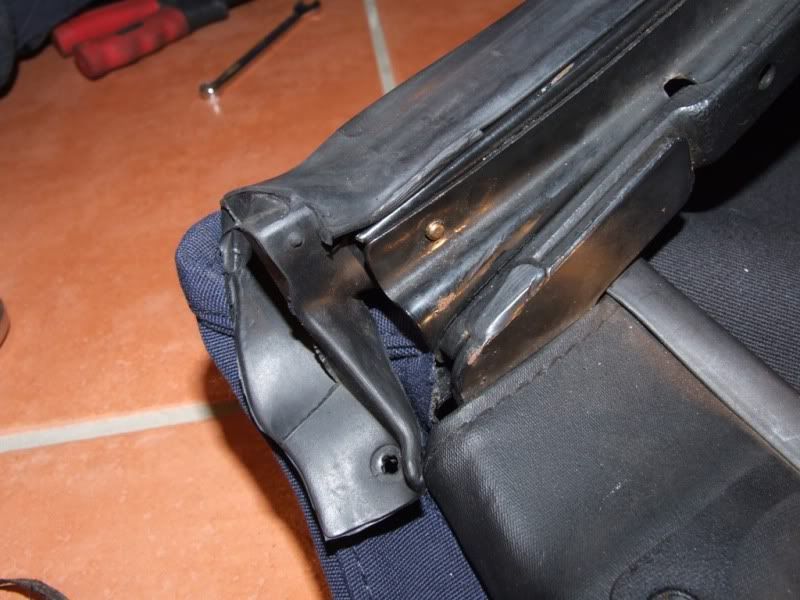
Just down from the tabs, there is another tab which secures the front end of the side cables.
Bend up the tabs
And release the cable
Remove the hood from the front of the frame.
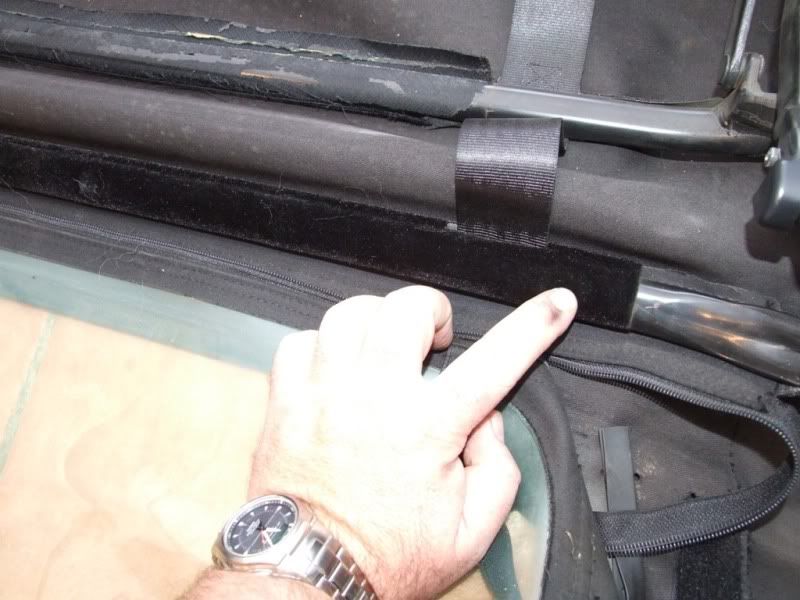
Detach the Velcro strips from the side of the hood/frame.
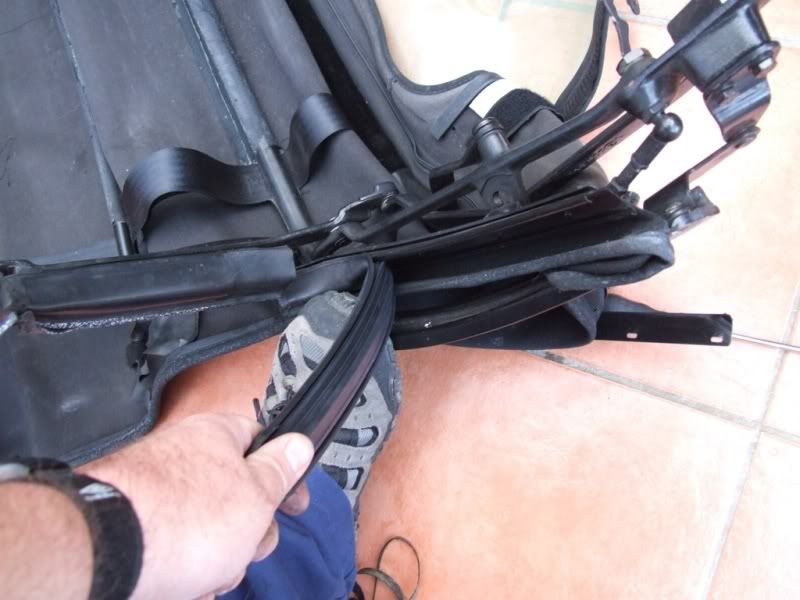
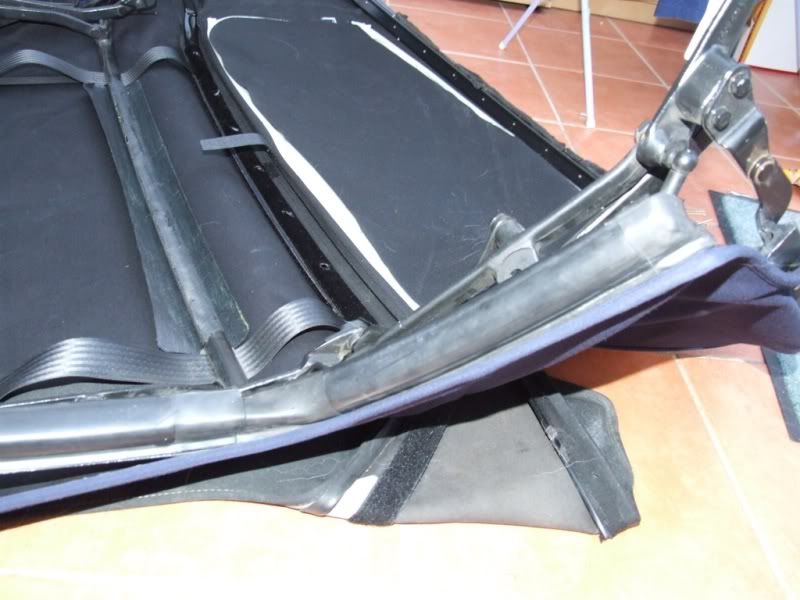
Using your knife again, cut the hood material away from the 2 transverse bars of the hood frame. I tried peeling them off, but it was a nightmare. If I did it again I would just cut them.
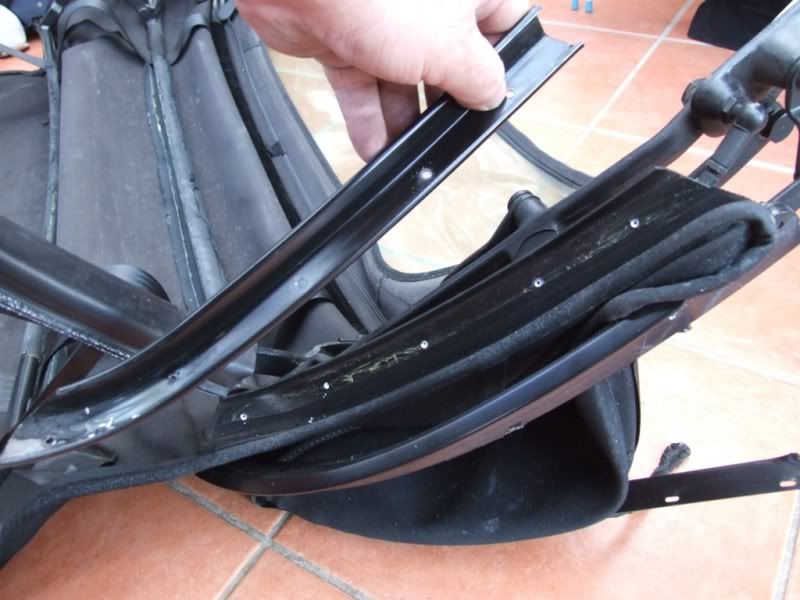
Pull the rubber seals out of each of the B post channels.
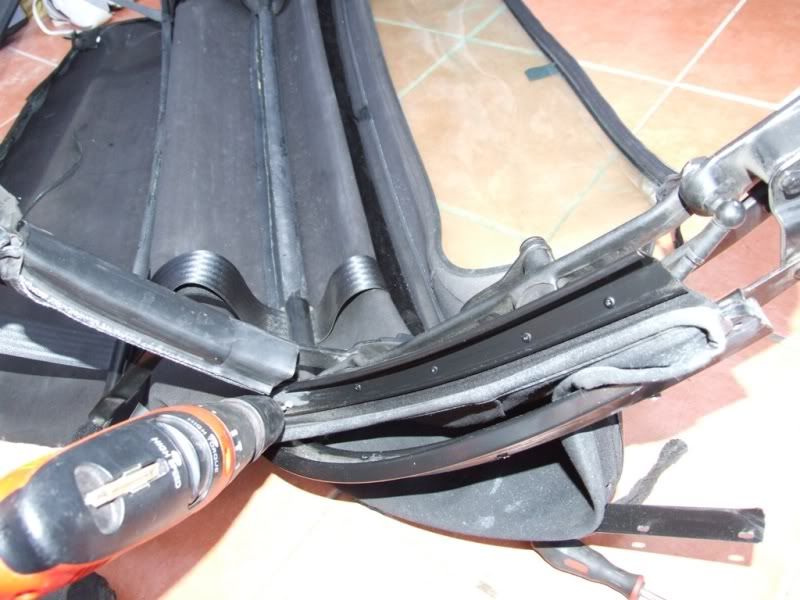
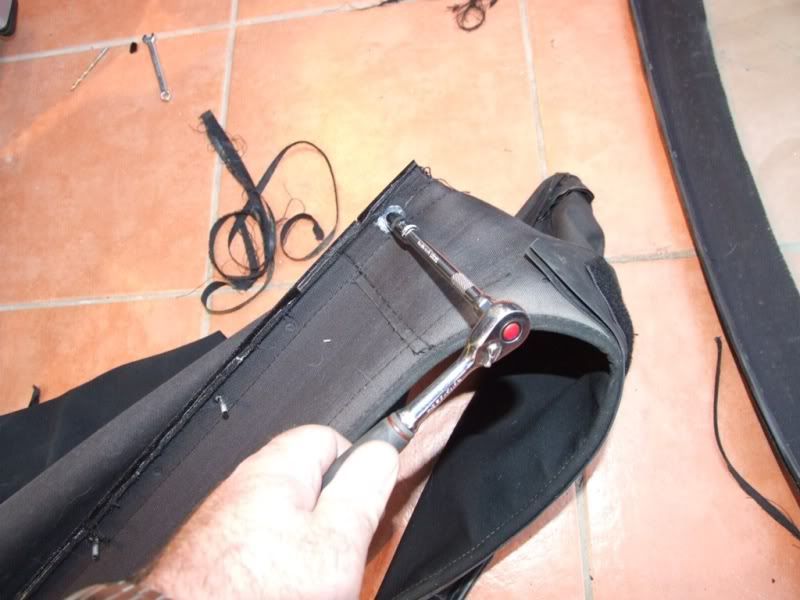
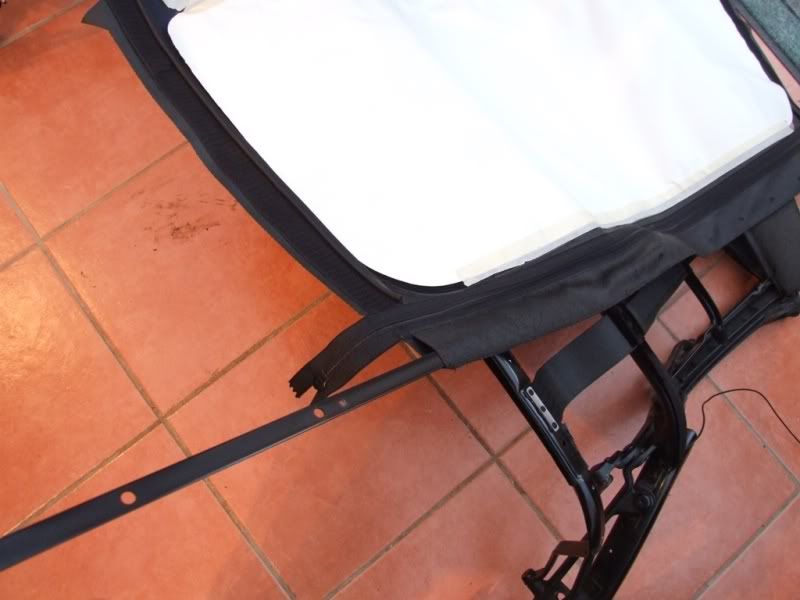
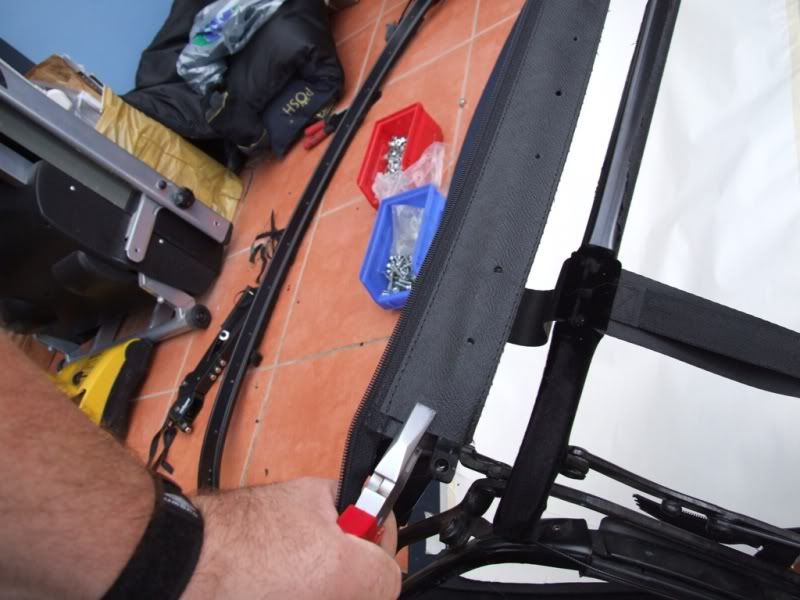
Drill out the rivets that hold the channels in place.
And remove the brackets.
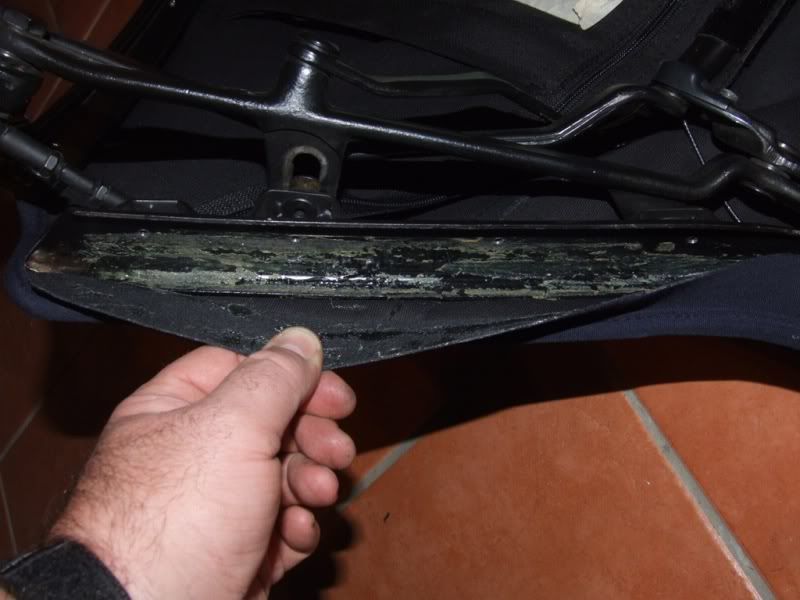
Pull the glued material off the frame.
Pull the 2 side cables that you released earlier, through the hood.
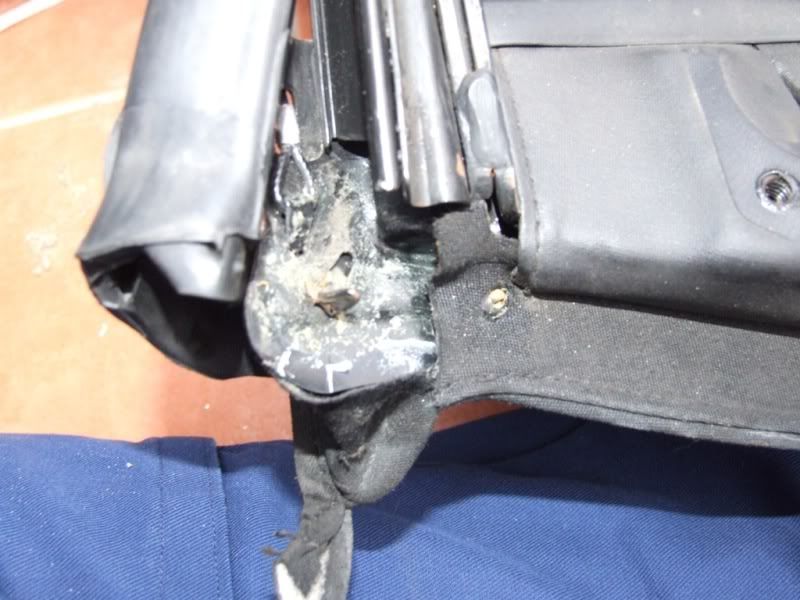
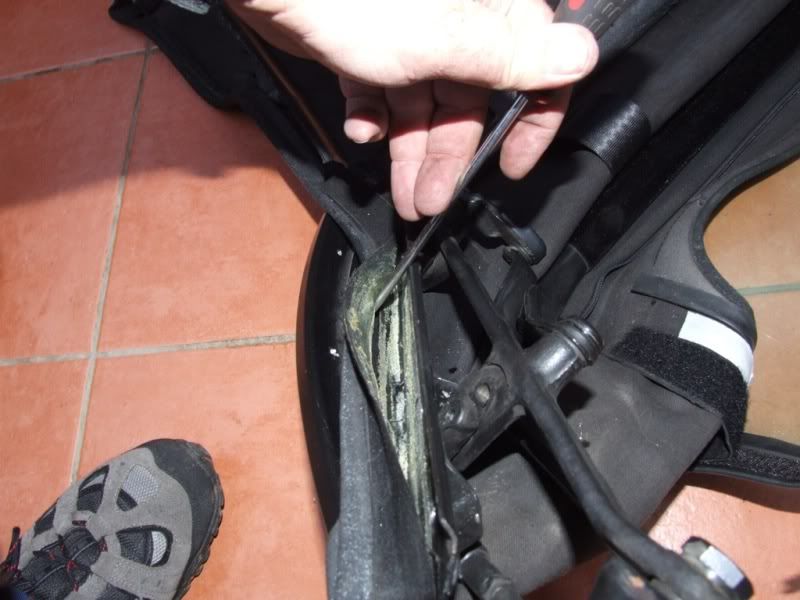
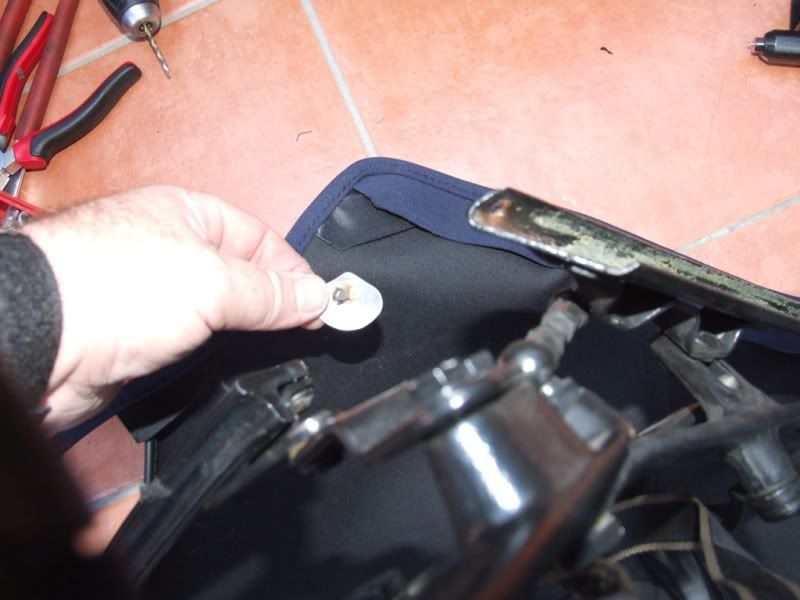
On the channel you just removed the rivets from, the bottom corner of the hood is fixed with a metal plate to the frame.
Bend the legs of the plate up and remove.
Note how they fitted in the hood and retain for refitting.


")


")
