This guide can be used for upgrading your brake hoses to stainless steel braided hoses, or simply replacing with standard OEM hoses, the process is the same.
The brake hoses are the flexible pipes between the solid brake lines that travel from your brake master cylinder/ABS unit and the brake calipers themselves.
We need flexible hoses as you are connecting between the solid body, that doesn't move, and the wheel, which travels up and down on the suspension.
The problem with flexible hoses is that they will perish over time and could even start leaking. Also, the amount of pressure involved during hard braking can cause the hoses to expand like a balloon. This means that some of the pressure applied to your brakes under braking is used in expanding the hoses and not in the braking itself.
The worse the expansion, the more spongy your brakes will feel.
By shrouding the hose in a stainless steel flexible sheath, you almost eliminate the expansion problem and all the braking force is applied to the brakes. This should give improved braking and feel.
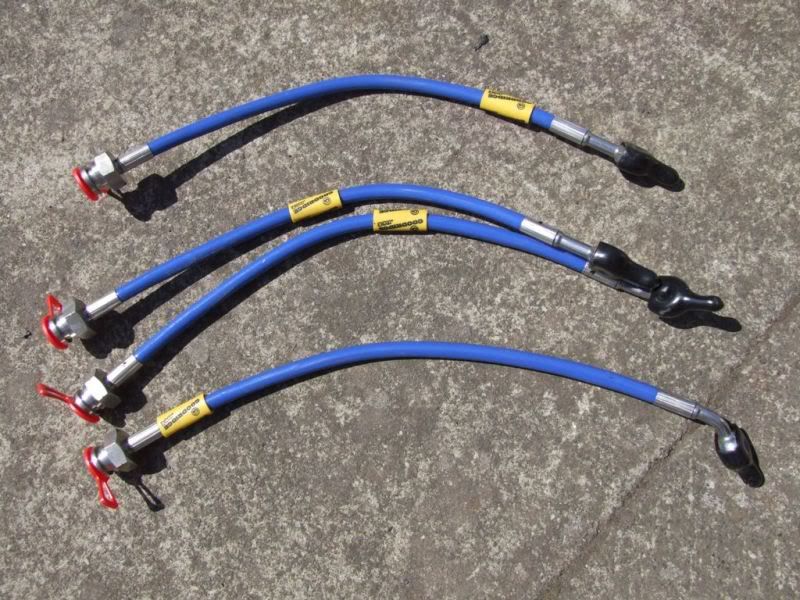
I also paid the extra to get stainless steel end fittings and colour coded blue covering.
The new hoses.
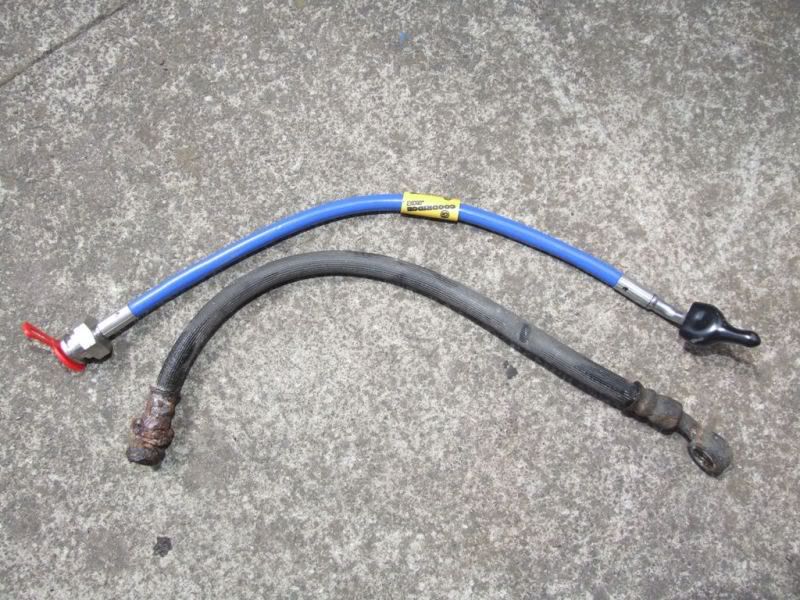
and here is an old one alongside the new stainless steel one.
The first thing to do is jack up the corner that you are working on and use axle stands to stabalise the car. It is also worth chocking the wheels for safety. In this how to we will be doing the front wheel, but the rear wheels are fairly similar hose wise. The front and rear hoses are different sizes, so make sure you get them the right way around.
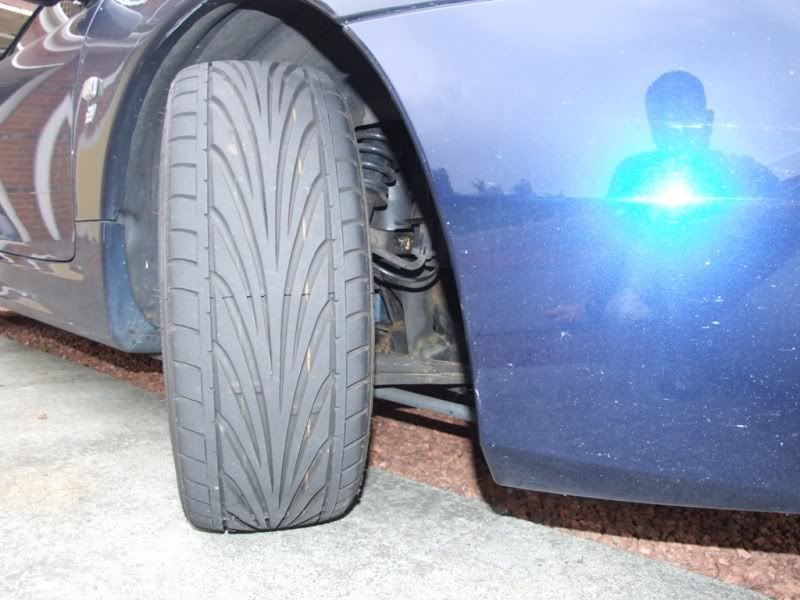
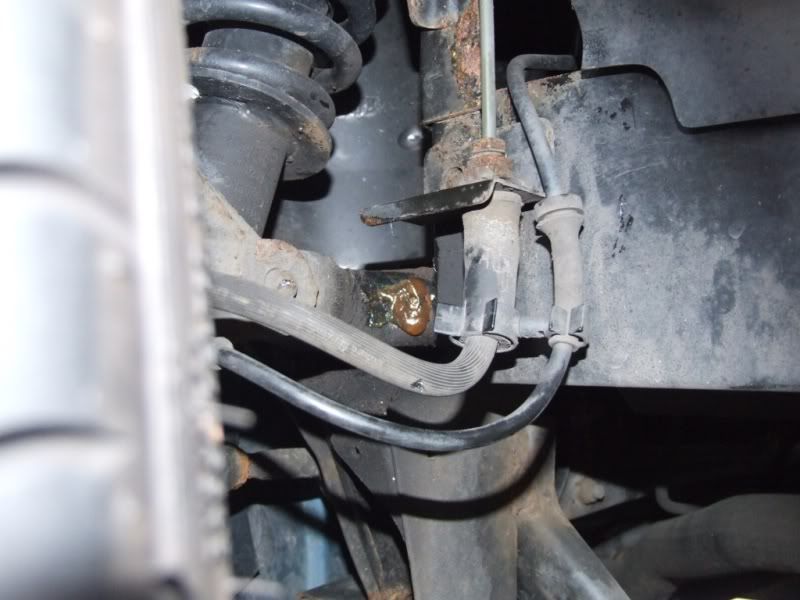
The hose is visible here behind the wheel. The hose is the thicker of the 2, the other being the cable to the ABS sensor (some cars may not have ABS).
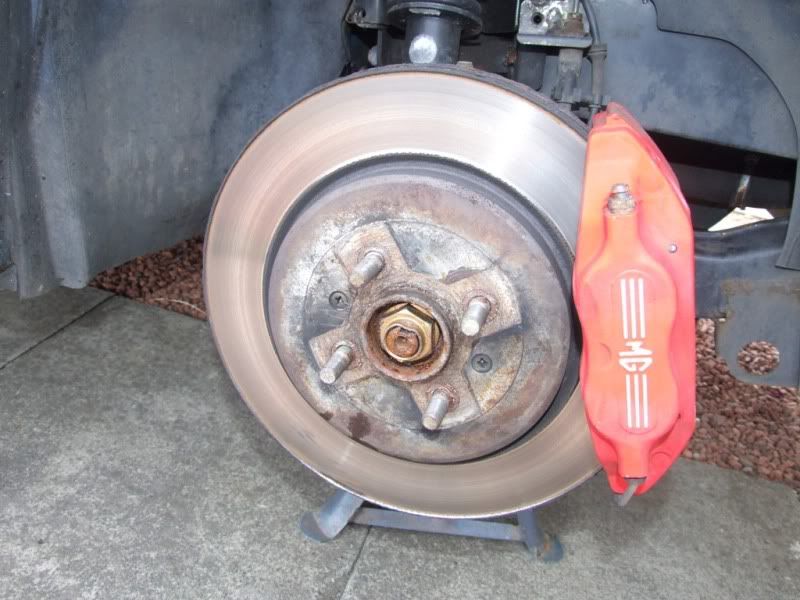
Remove the wheel and you will see the disc and brake calliper.
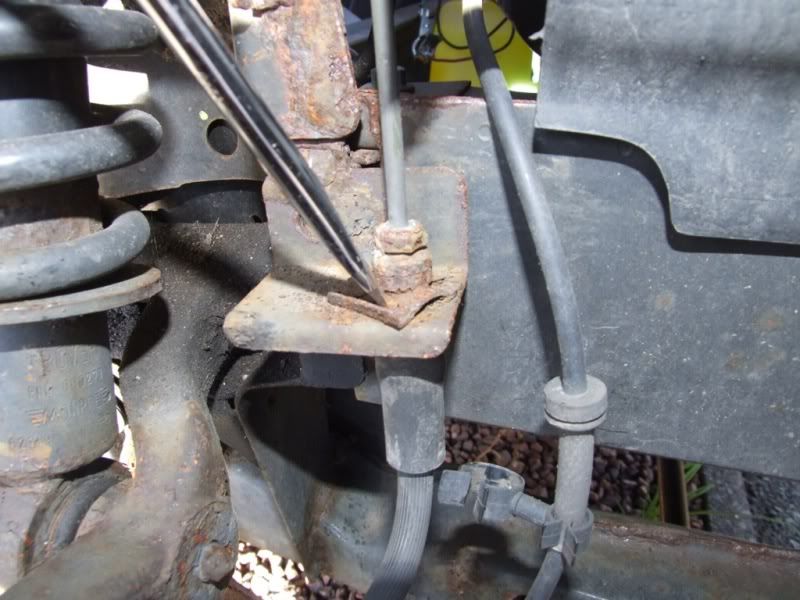
Unclip the ABS sensor cable from the brake hose (if you have ABS) and release the spring clip that holds the top of the hose to the bracket on the subframe.
The clip should just pry off with a screwdriver.
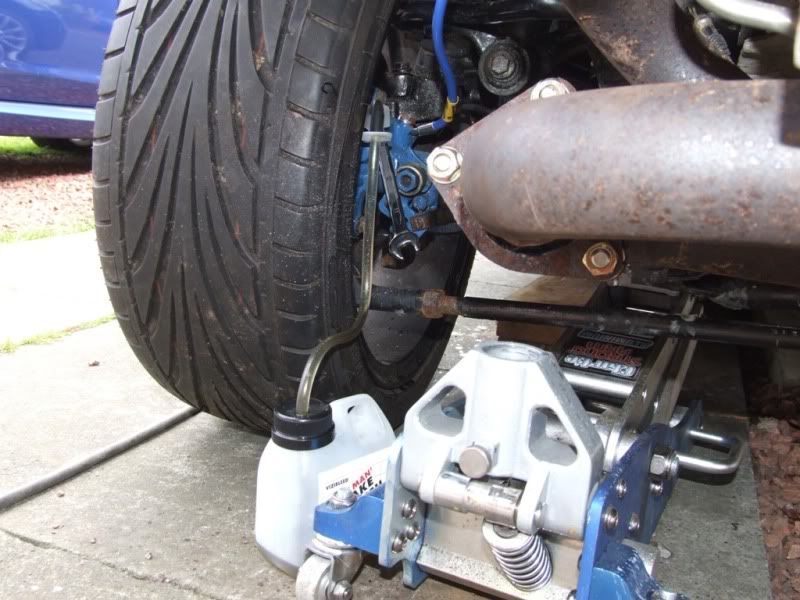
Now you need to place a suitable container under the hub to catch any brake fluid that is released. Ensure that the brake fluid does not get onto the discs or pads as it will cause braking problems. There is no way to stop the brake fluid leaking, as you are breaking into the circuit. Be aware that brake fluid is corrosive, will eat through paint and can cause mild burning/irritation of the skin and eyes etc, so take precautions. If you do get it in your eyes, flush with loads of water immediately.
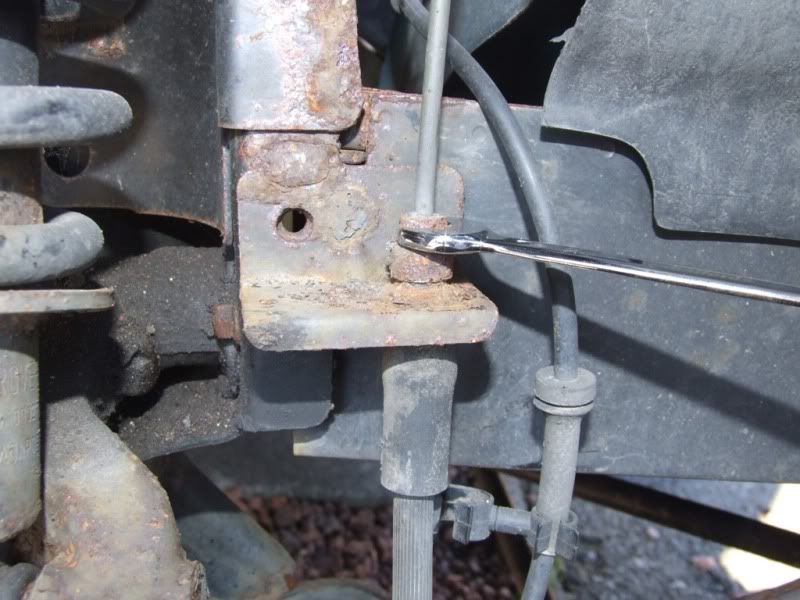
Next, undo the union where you released the clip.
Once undone, the hose end should pull through the bracket.
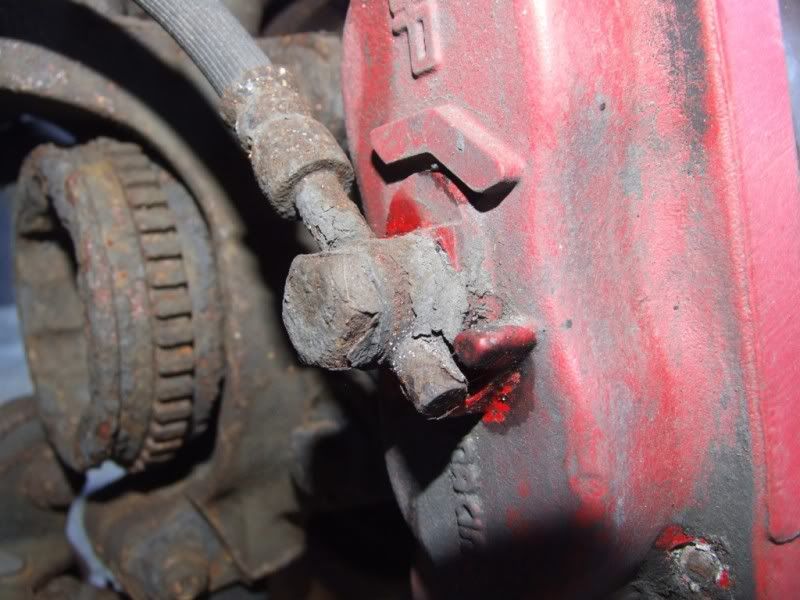
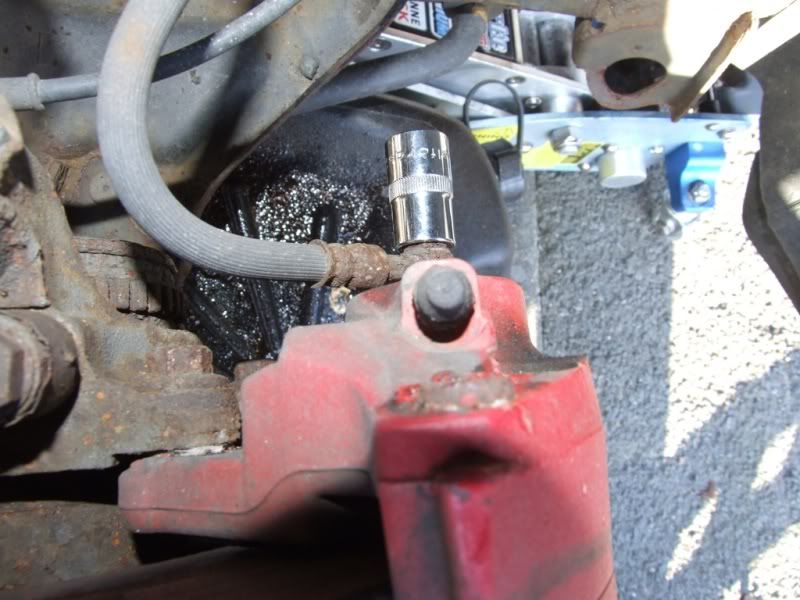
The other end of the hose is secured into the brake calliper with a bolt called a banjo bolt. It is essentially a bolt with a hole drilled down the middle which allows the brake fluid to flow.
Undo the banjo bolt and remove the old hose.
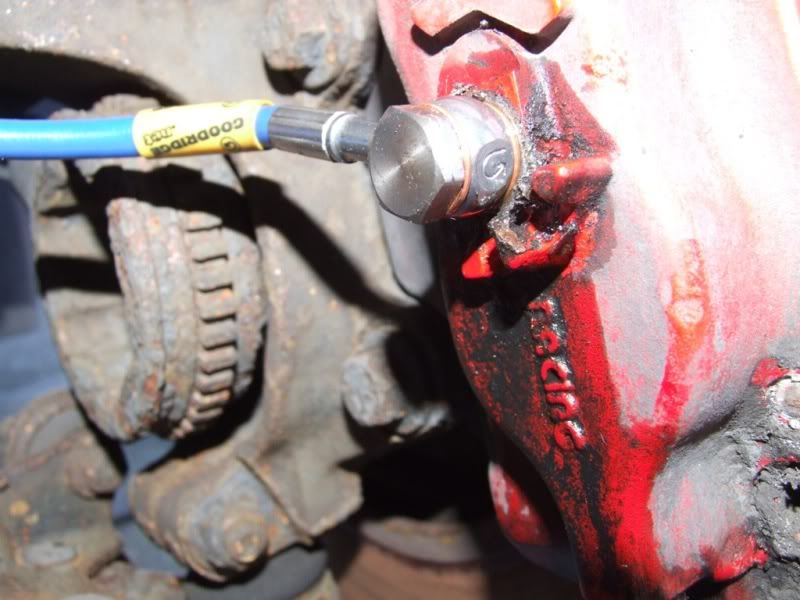
Now attach the new hoses, using new copper washers on the banjo bolts. I bought a set of stainless steel banjo bolts to replace the old rusty ones.
Feed the new hose up though the bracket on the subframe, refit the clip and reattach the brake line. Clip the ABS cable back onto the brake line if you have one.
Now do the opposite side.
Once the two front brakes have been done, move onto the rears.
The rears are similar in construction, with the exception that they do not have an ABS cable clipped to them and they are routed differently.
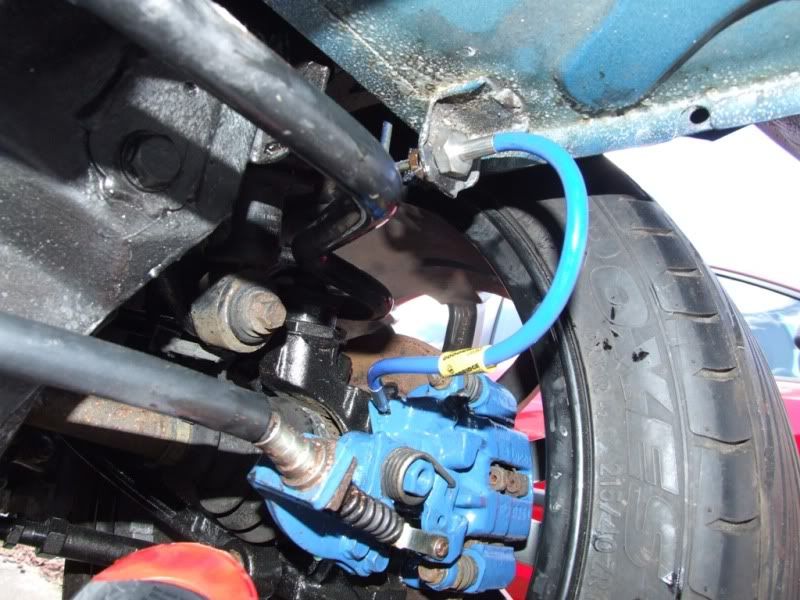
Here is a picture of the new rear hose fitted.
Once all brake lines have been fitted you should check that they are routed correctly and will not be fouled by anything under normal use.
Now, all that is left to do is bleed the brakes.
But I think we'll save that for a seperate how to.
Make sure that any spilt brake fluid is washed off the callipers, bodywork or any rubber components, such as tyres.
You now have nice new blingy brake hoses. Enjoy.


")

 )
) 

 and I had to re-drill them to 10mm. After that they fitted fine!