The MGF(ree)
- The Arch Bishop
-
 Offline
Topic Author
- Apprentice MGer
-

- Posts: 26
- Thanks: 10
A few years previously, I'd commended the barber on his very handsome MG and had a chat about my various car projects. So when the engine let go in a fairly major way going over the Shoreham flyover, he remembered that I owned some spanners and a slightly lax attitude on when to call it quits on an old car. "My family have said I'd be best off scrapping it" he recounted with a hang-dog expression. "Seems a bit good for that. Do you want it?"
Well yes. Yes I did.
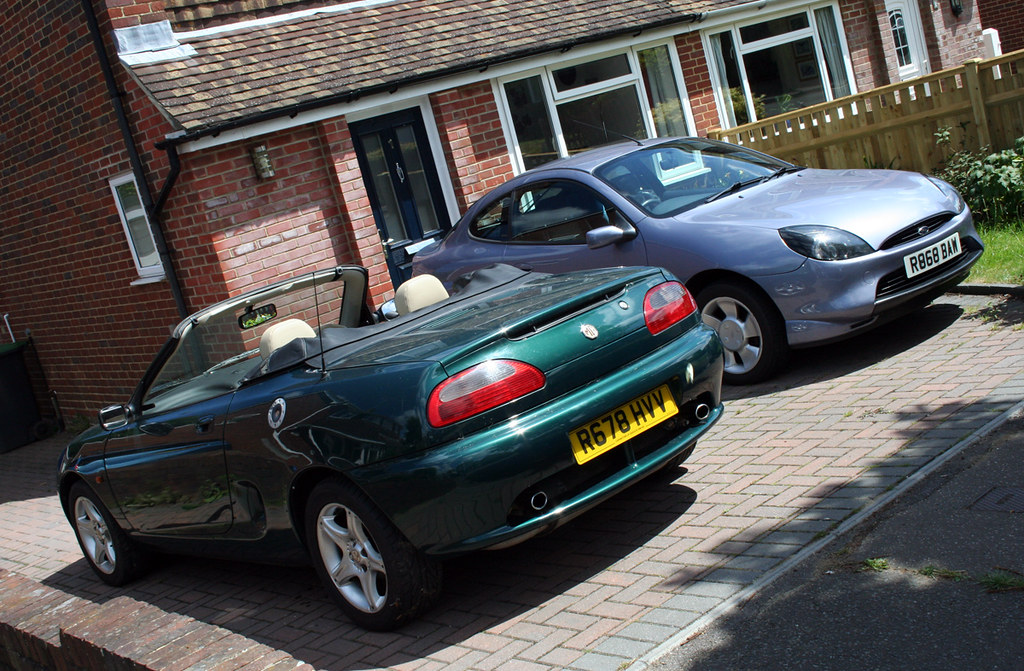
So the next day, the MGF(ree) (occasionally aka the MGFFS) was towed to my driveway by some likely local mechanics.
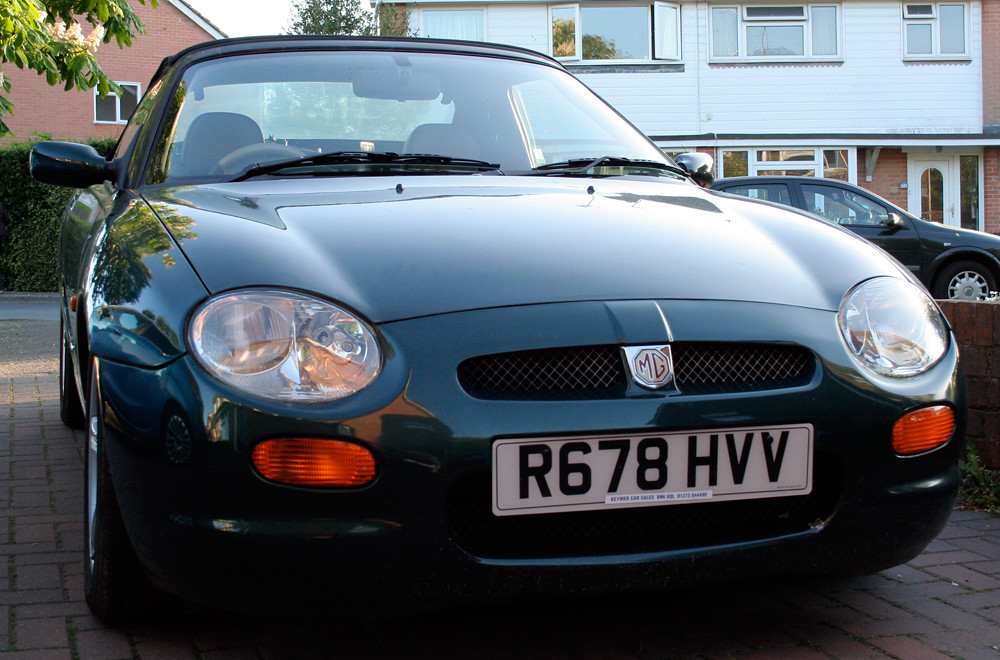
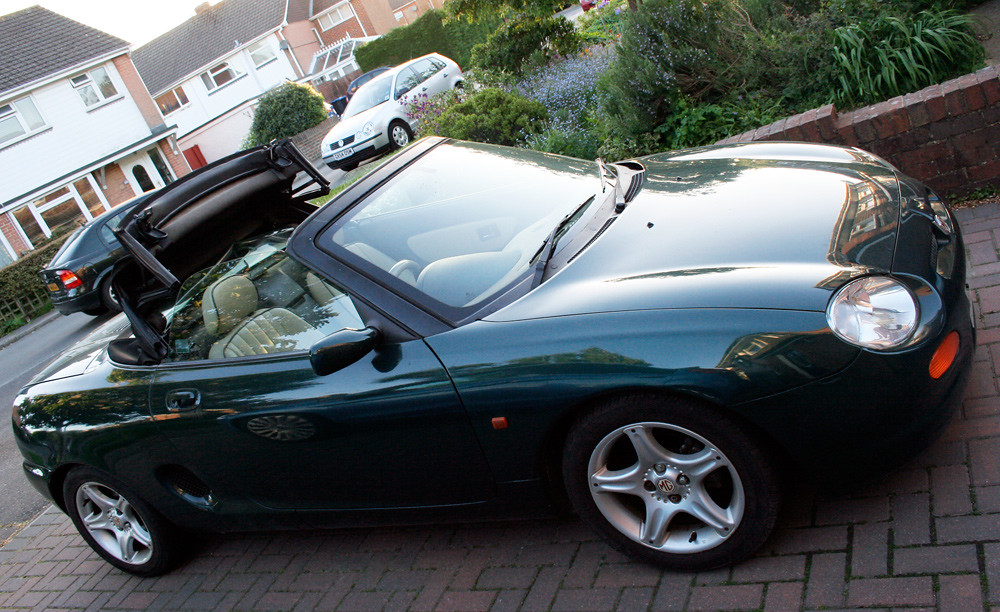
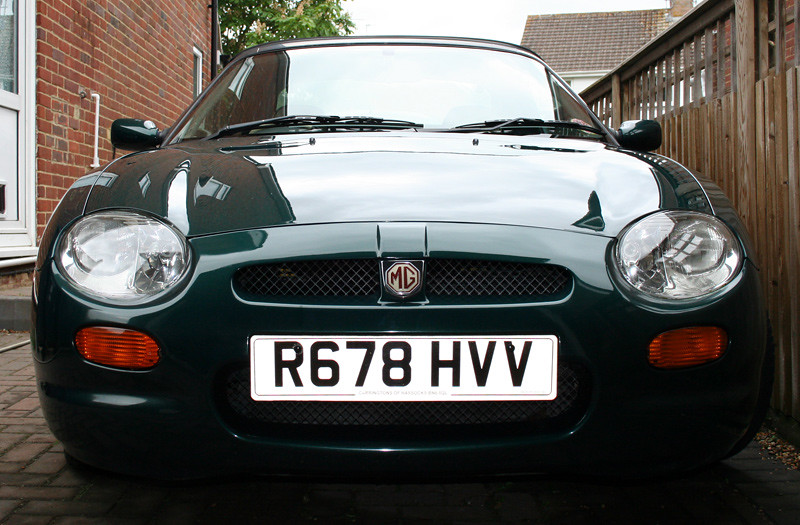
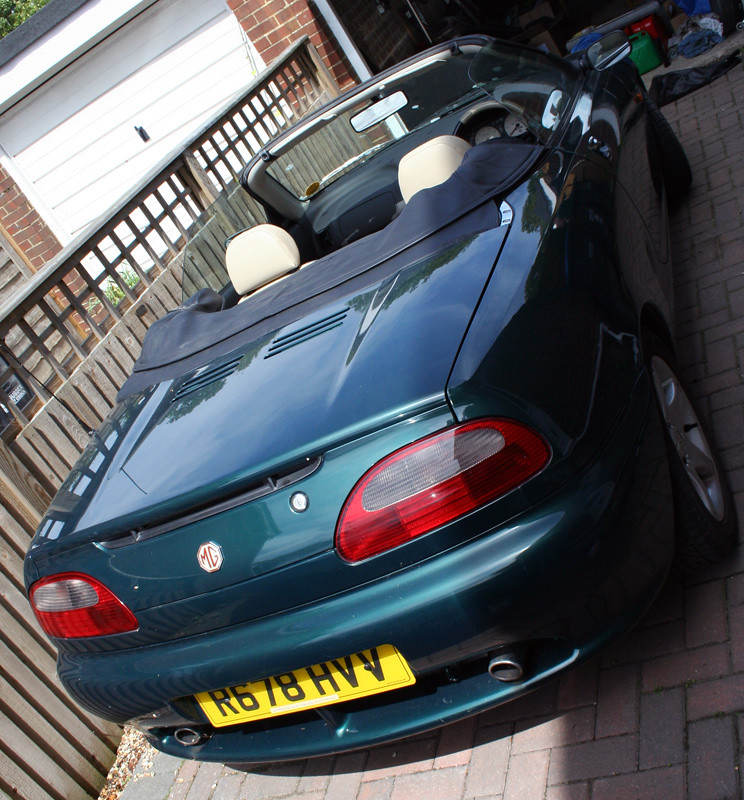
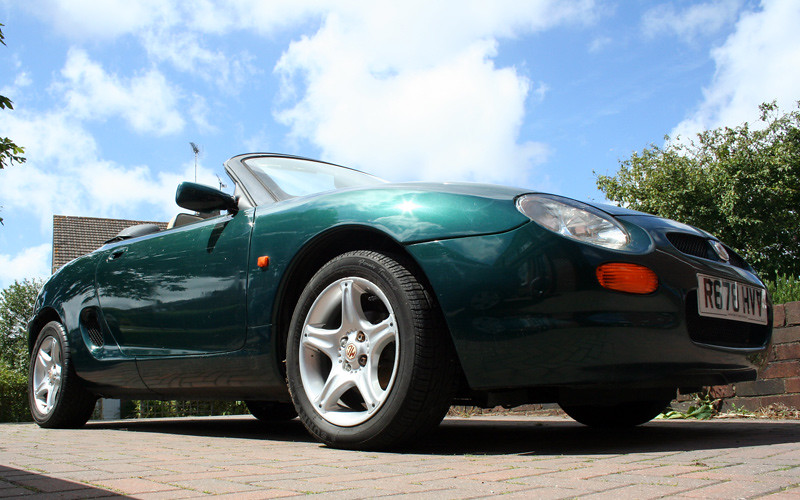
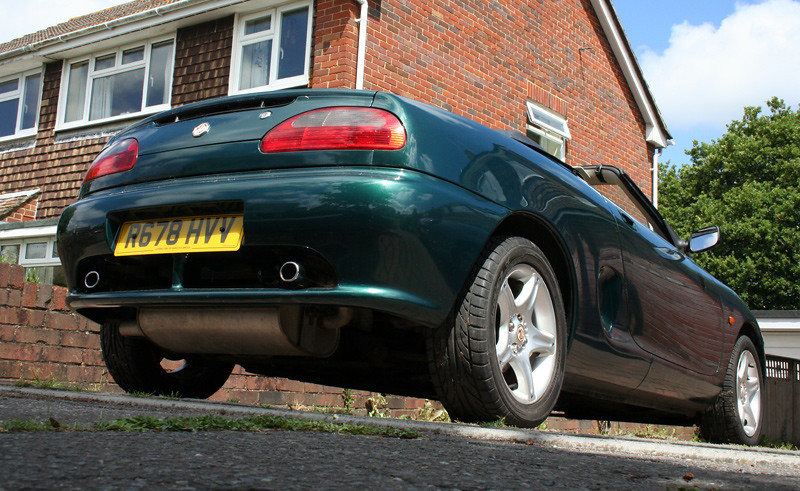
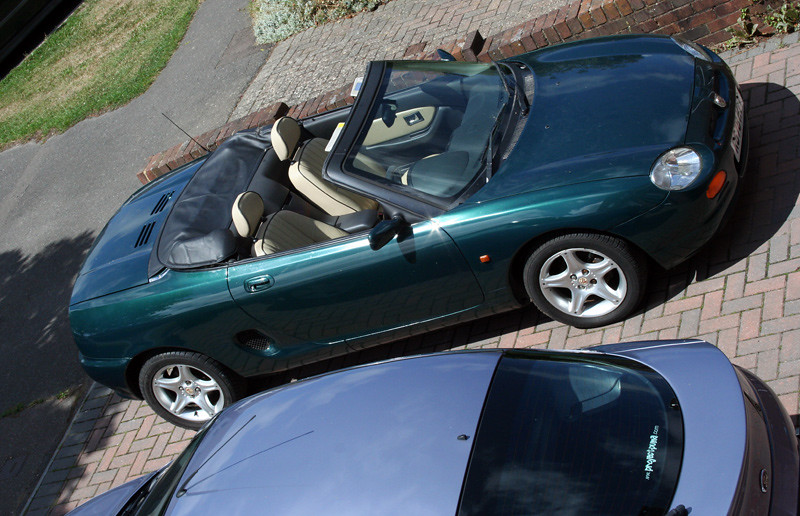
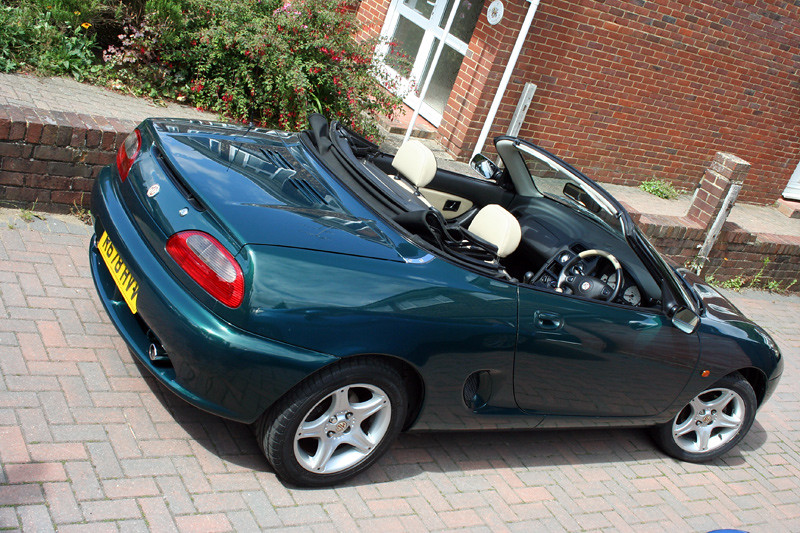
Well, just look at it. He was right - far too good to scrap!
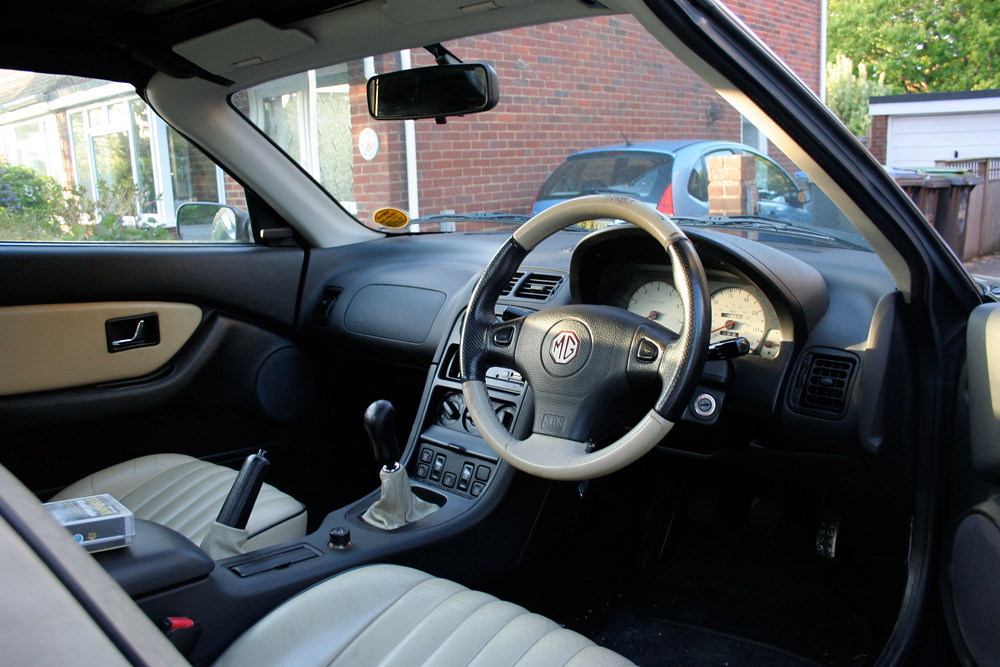
It's a VVC with aircon, passenger airbag. It also is the nicest colour combination for me - British Racing green with cream leather interior. Just lovely. Even came with two sets of keys, all of the dealer books and a file of history!
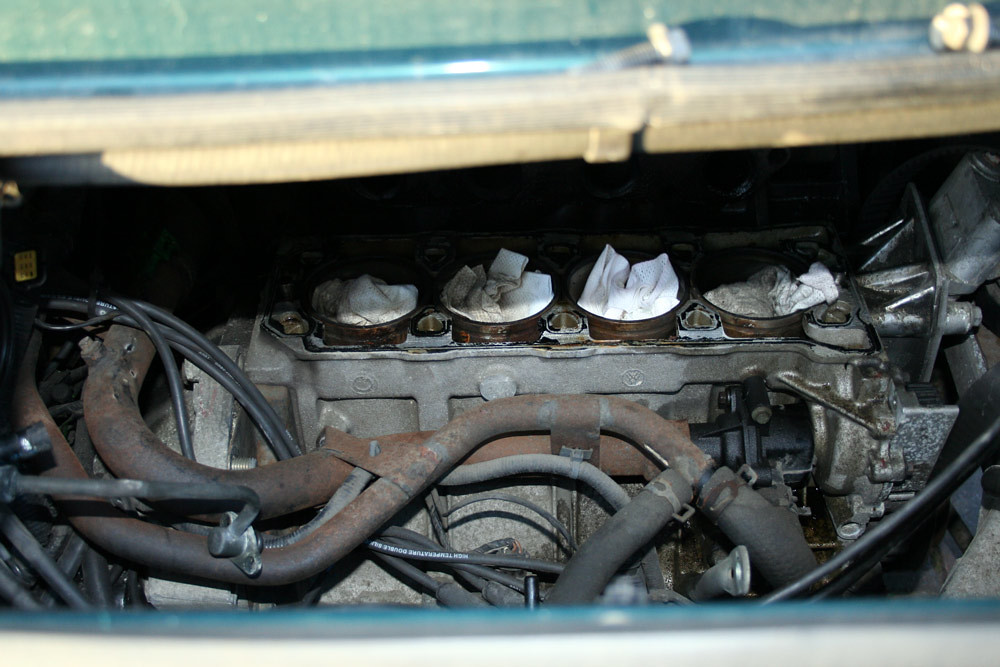
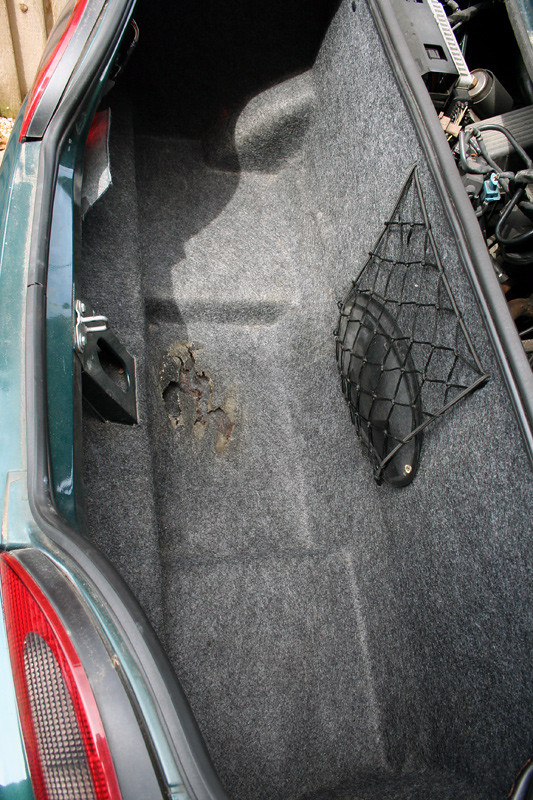
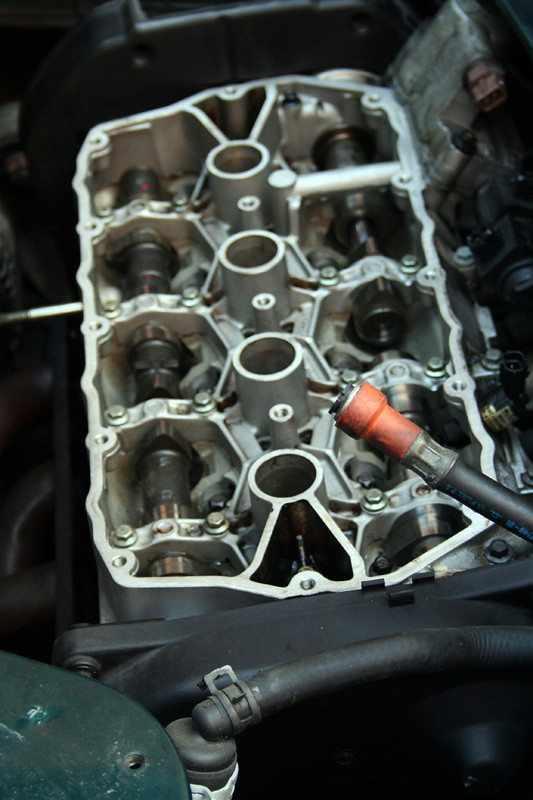
So what had gone wrong? Basically, the bores had worked loose and destroyed the head gasket. The local mechanics had been employed to strip down the engine to find the fault and my hair-chopping friend had decided that the bill was too steep to continue with, so had called time. It had gotten properly hot to the point that the boot carpet had melted!
So what to do? I'll add more to this thread in a bit, so stay tuned (or just come back to it later - the F1 highlights are on tonight so maybe take a look tomorrow or something...)
Please Log in or Create an account to join the conversation.
What a beauty no way should this mgf be scrapped :nonod:
:beer: :beer: Steve
Please Log in or Create an account to join the conversation.
- The Arch Bishop
-
 Offline
Topic Author
- Apprentice MGer
-

- Posts: 26
- Thanks: 10
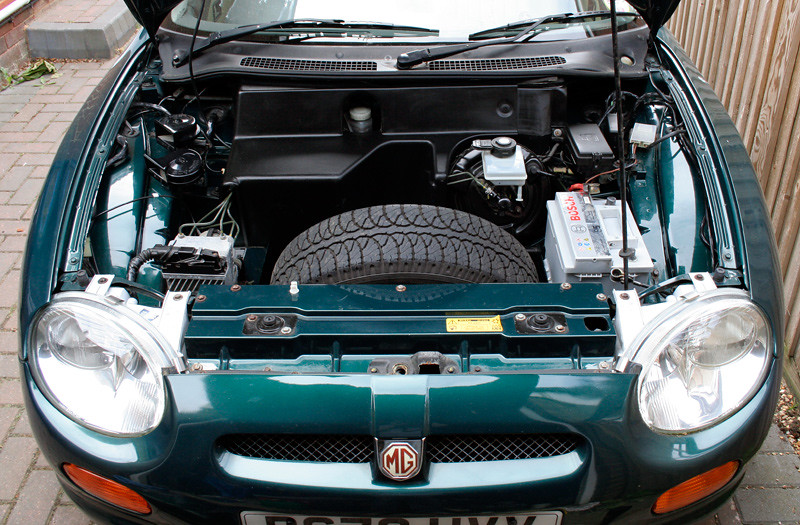
I set about with a bucket and cleaning potions to get an idea of what sort of a state it was in.
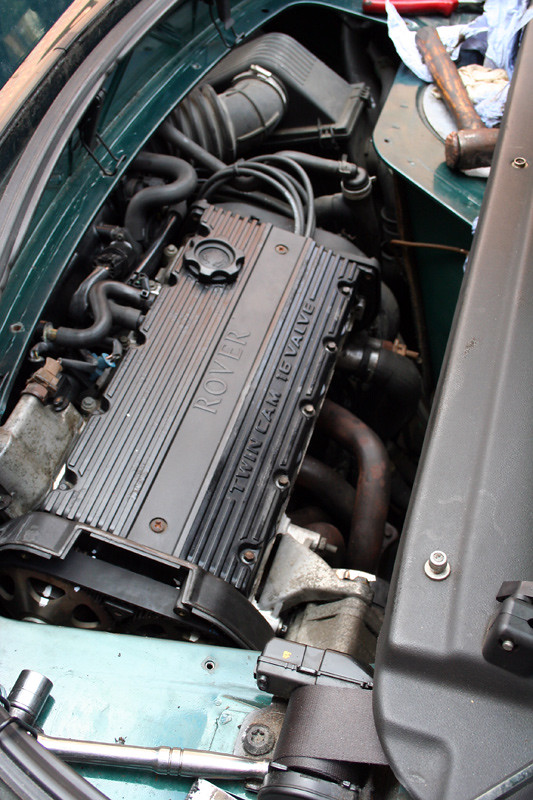
Under the bonnet;
Bit of a clean up;
[/url]
Bodywork;
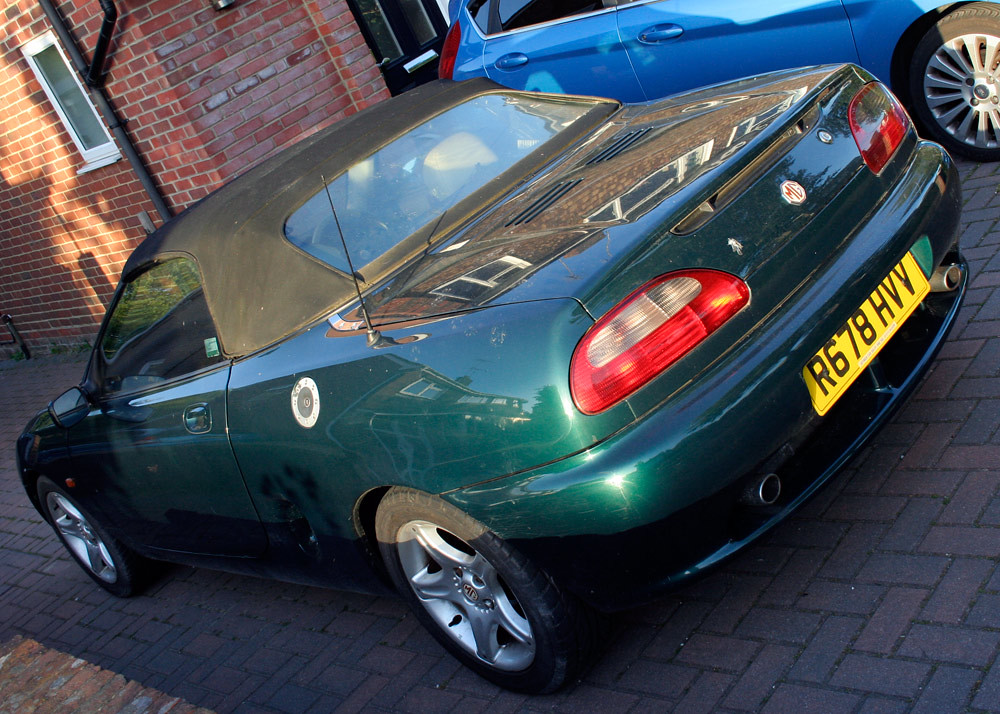
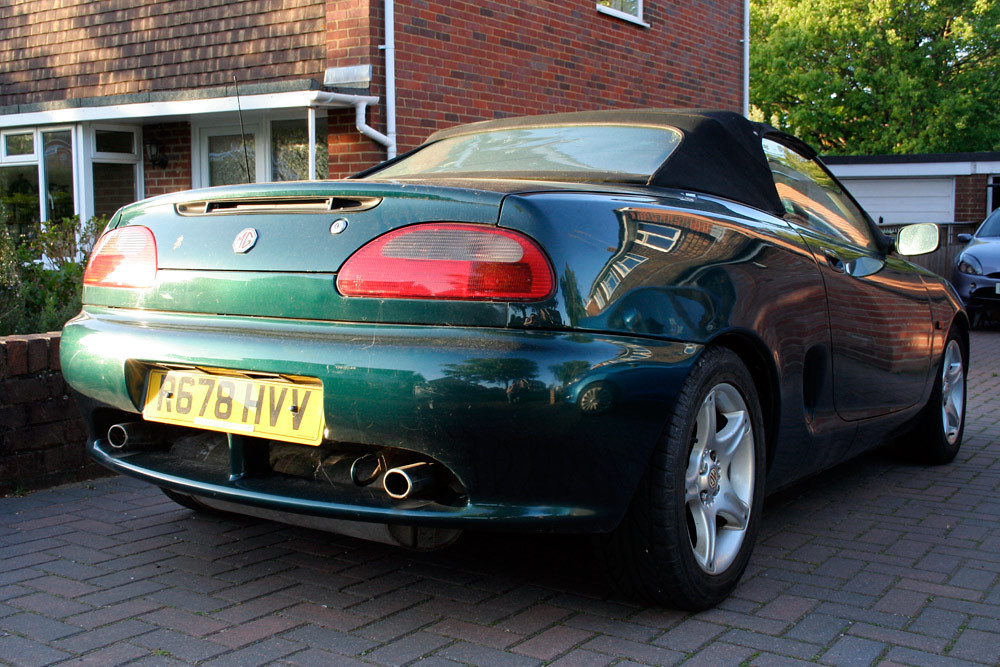
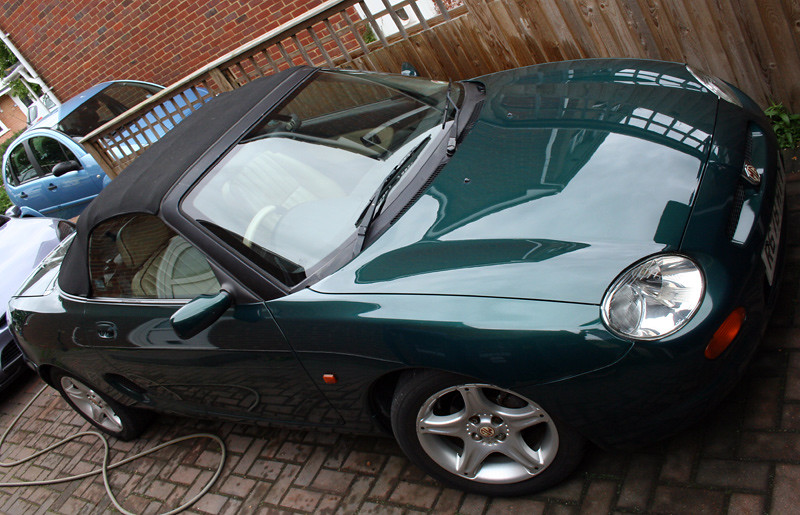
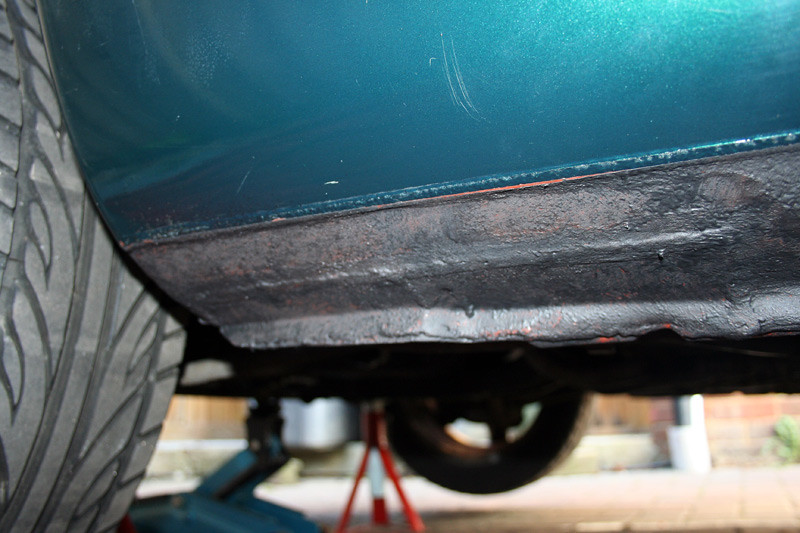
Giving a car a good wash also allows you to get a good feel of its condition. The feel was that it was remarkably solid. Obvious trouble spots were the sills which appeared to have minor surface rust and the fact that it'd obviously been dollied up for sale a few times in its life meaning some of the resprays it had endured were better than others. Ultimately it looked pretty sharp for a freeby. Nothing horrific!
So what to do with the cooked engine?Initially, I looked at replacement engines but wasn't looking forward to the work involved. I was also hoping to get it up and running for Summer (my kids were very excited by it) so months spent on axle stands on the drive didn't appeal. I've tackled plenty of involved jobs on my cars, but I didn't want to muck about with something clearly above my level!
I phoned a few specialists who were not really interested in coming over to evaluate the current engine. Then fate sort of took over. In the file of paperwork for the car was a print out of MJS's details. Strangely, a friend on another forum mentioned that he had a family friend that specialised in MGFs - MJS Auto marine... Finally, a few people on this forum also mentioned them. Right, so I'll try them then.
I called Mike at MJS and explained that all 4 bores had parted company and needed sealing and the head needed a rebuild (it had been delivered in a box that was sat in my garage). This didn't faze Mike in the slightest and he seemed confident that the existing engine could be happily recommissioned. I had to wait a while to raise the not inconsiderable funds, so set about preparing for the rebuild day.
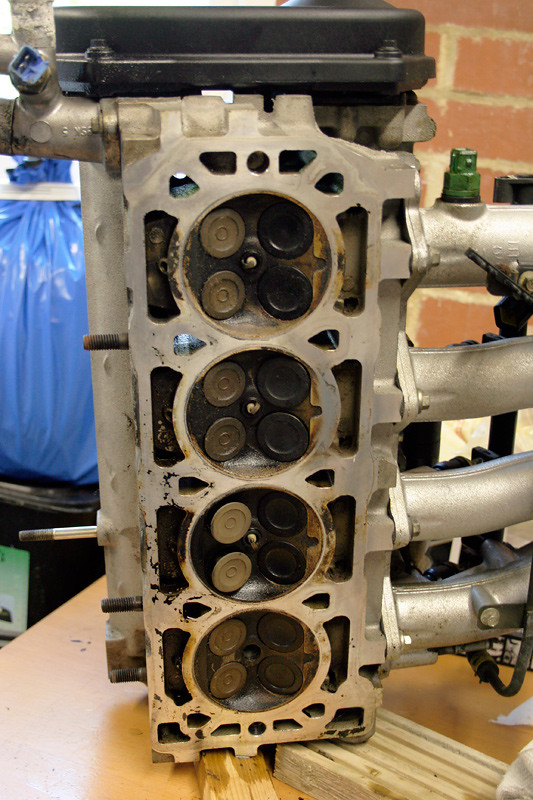
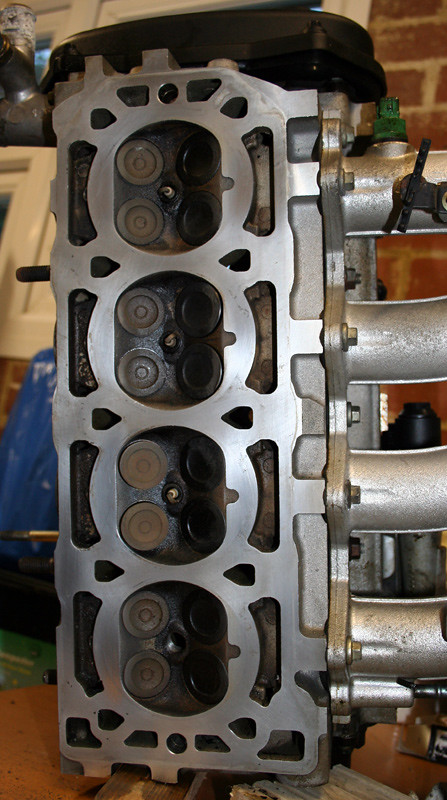
To save time (and money) on the work, I cleaned up the head and other bits and bobs ready for the work to begin.
Some time and scotch-bright pads;
Head seemed in good condition otherwise, so I begged saved and borrowed and booked Mike for the work.
More probably tomorrow.
Please Log in or Create an account to join the conversation.
The job was done with the engine in situ and was a success which saved the car from the breakers yard.
I am sure yours can be sorted, so good luck.
Please Log in or Create an account to join the conversation.
- The Arch Bishop
-
 Offline
Topic Author
- Apprentice MGer
-

- Posts: 26
- Thanks: 10
Please Log in or Create an account to join the conversation.
Robin ![]()
Please Log in or Create an account to join the conversation.
- The Arch Bishop
-
 Offline
Topic Author
- Apprentice MGer
-

- Posts: 26
- Thanks: 10
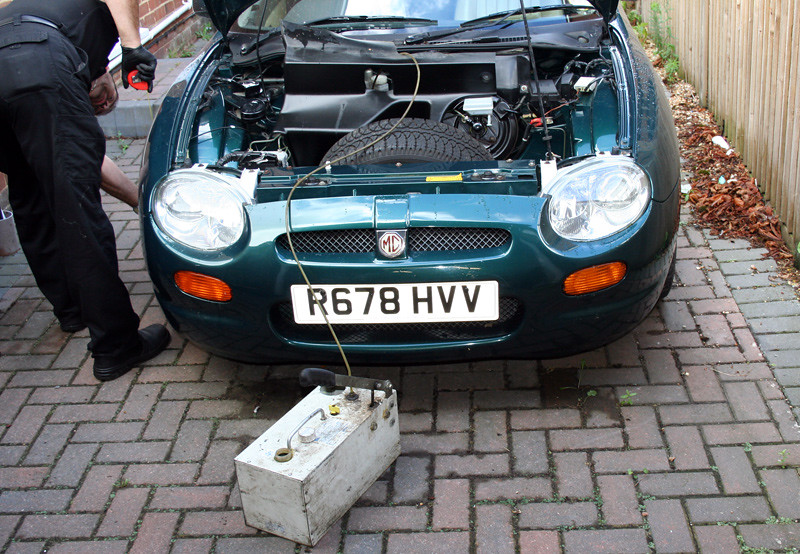
First thing was to regas the suspension as we couldn't get a jack underneath it otherwise.
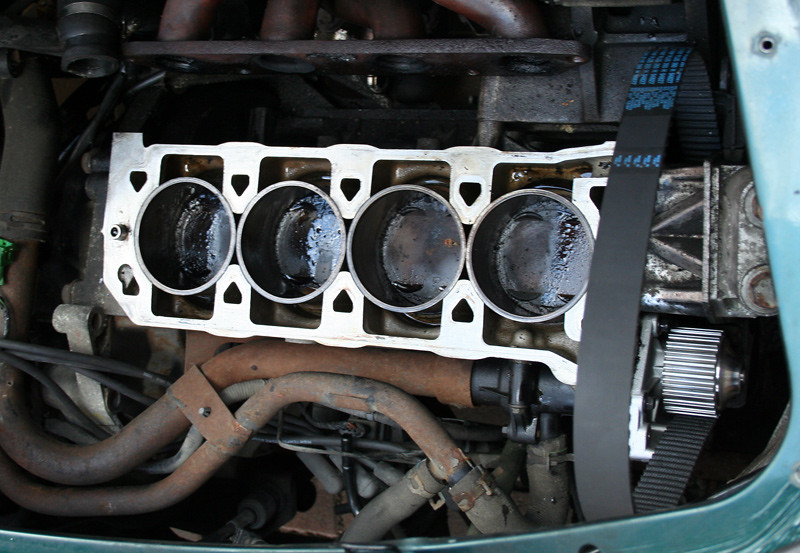
With the car carefully set to the correct ride-height, Mike set about the little MG like the pro he is. First job was to set the bore-liner heights and reseal them, and once done, the head-work began.
Block facing was cleaned and a new water pump was fitted;
The head was installed and torqued down;
Timing was set and the rocker cover reinstalled;
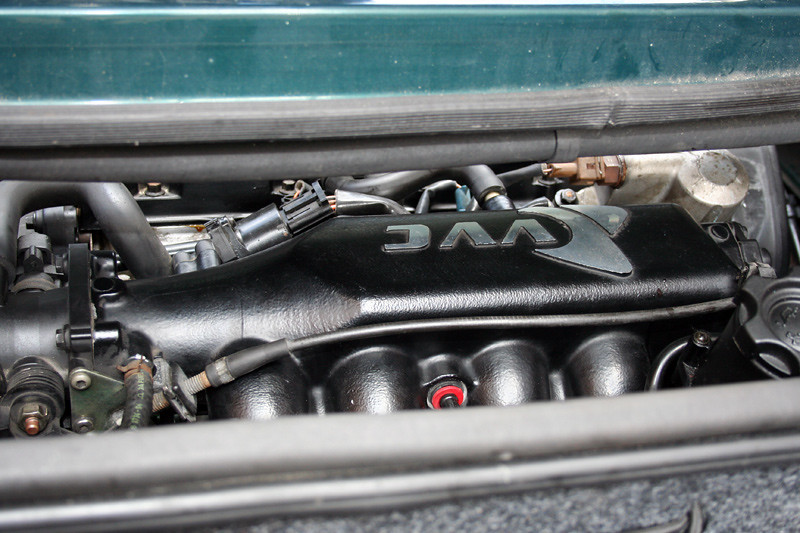
And finally, the intake was fitted, coolant was filled and bled and the work was done;
The car started on the first turn and was declared by Mike as "Not as noisy as VVCs usually are".
I was thrilled (and considerably poorer) to see the car move under its own steam for the first time under my ownership. Celebratory photos were taken!
It was time to book an MOT!
So a few things to do before driving it to the MOT station.
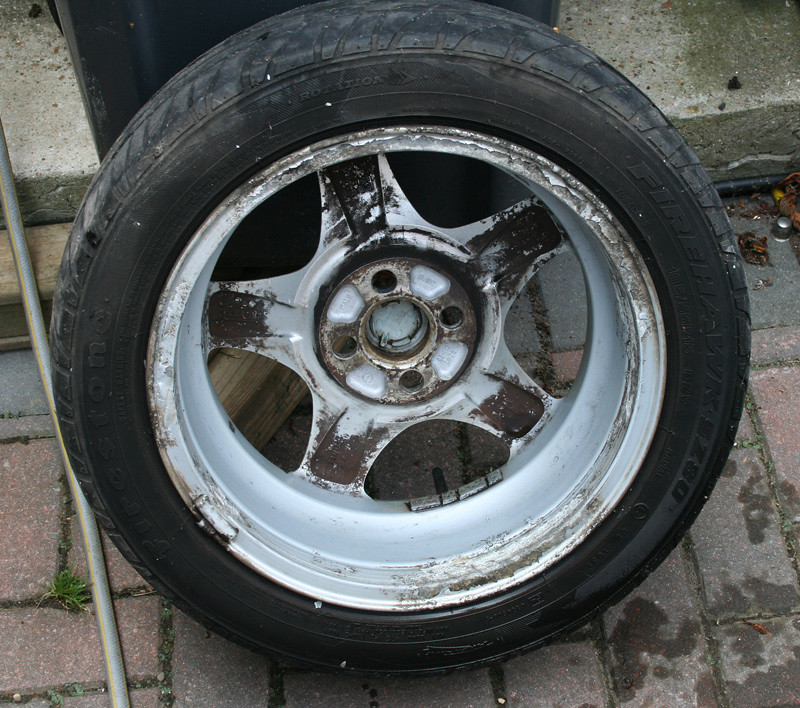
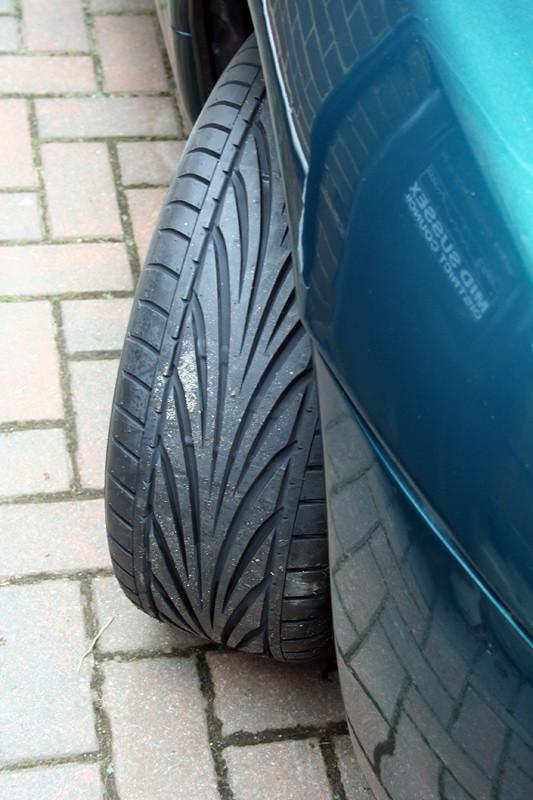
First of all, the front tyres consisted of one near-bald Firestone and one nearly new 'Sunny'. They may have made it through the MOT, but I'm quite picky about tyres, Some Toyo Proxies were ordered and I removed the wheels to give them a clean up;
Also gave the arches a wash-down and found nearly new KYB shocks lurking beneath- result!
Tyres were duly fitted;
And a final spit and polish was done ready for the test centre....
Please Log in or Create an account to join the conversation.
- Andy Lawrence
-
 Offline
- Master MGer
-

- Posts: 2902
- Thanks: 851
WHALE OIL BEEF HOOKED
(THE ARTIST FORMERLY KNOWN AS ANDY THE TYRE MAN)
Please Log in or Create an account to join the conversation.
- The Arch Bishop
-
 Offline
Topic Author
- Apprentice MGer
-

- Posts: 26
- Thanks: 10
I took the MG along to our local MOT only place and elected to wait for the result. It was pretty nerve-racking waiting for the verdict on my pretty much unknown quantity of a car. After gnashing of teeth and chewing of nails, the result was.....
A resolute fail.
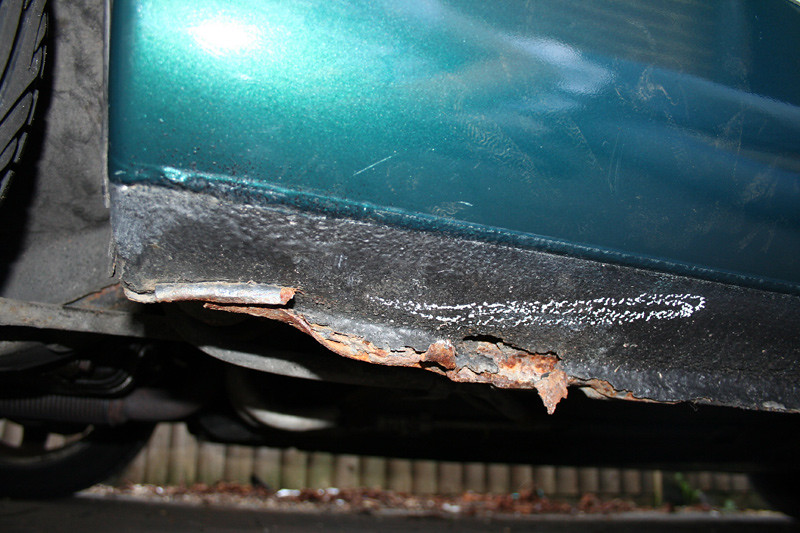
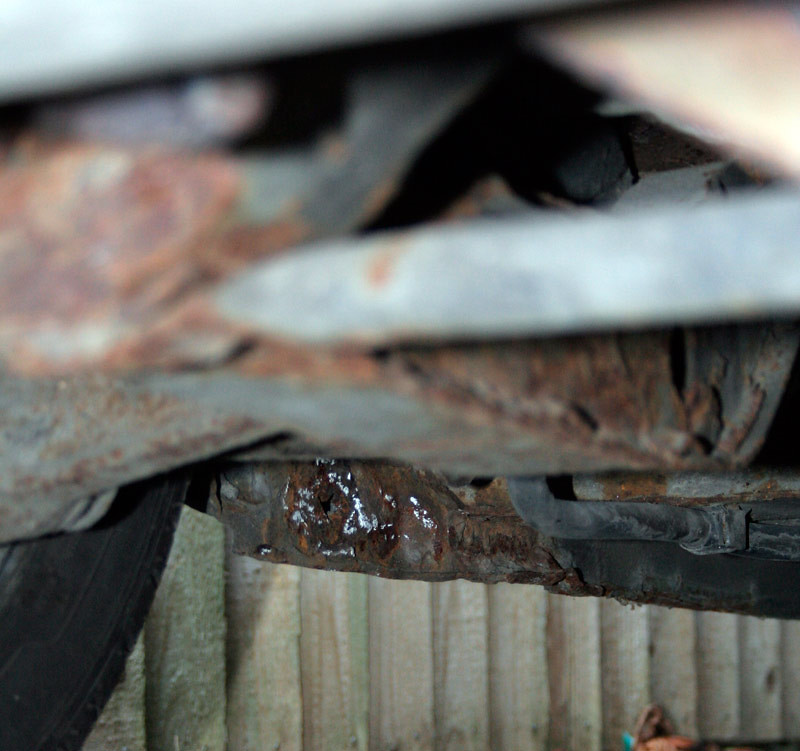
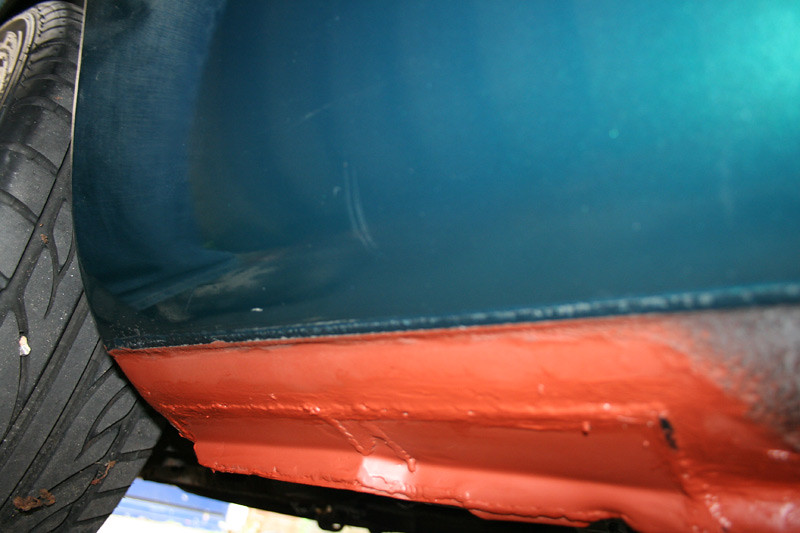
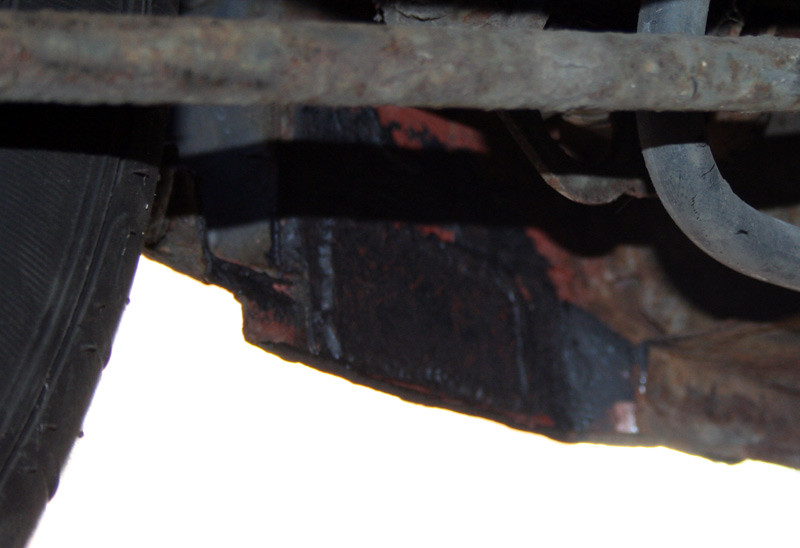
Ultra-high emissions and rot to the outer of one sill and the inner of the other side.
The testers had helpfully marked the areas of corrosion;
Bum.
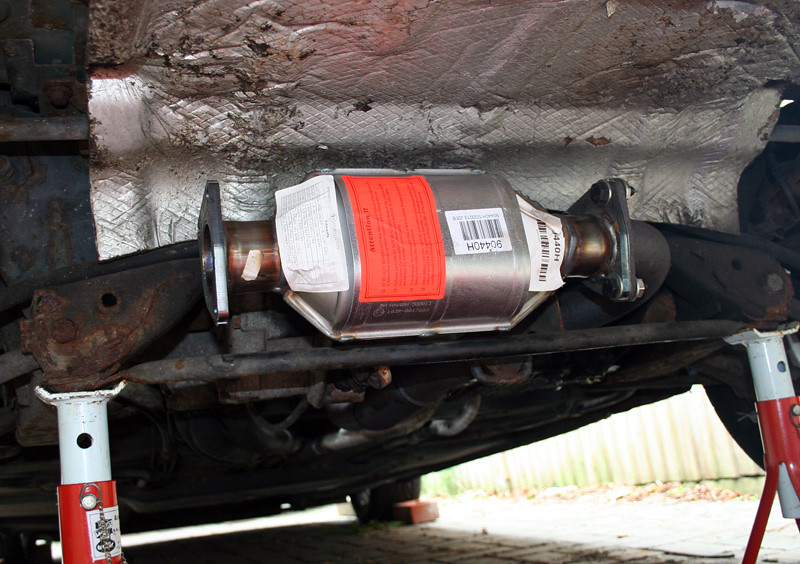
I phoned Mike at MJS and picked his brain about the high emissions and he was sure that either the cat' or the lambda (or both) were the culprits, so I ordered an EEC approved cat' and a brand new Bosch lambda on ebay and then had a good hard think as to what to do with the rot. I'd been cleared out by the head-work, tyres, cat' and lambda so was feeling a little miserable by this point. Then I remembered that a work colleague's partner was skilled with a welder so I called him up to take a look. He took a look at the problem areas, said he could do the repair on the drive and quoted me £100 to sort (a patch job - nothing fancy). I agreed and a few days later, he came over and set to the sills.
I ought to point out that Rob is not your average welder. He owns a company called Funky Gold Patina that specialises in rebuilding utterly ropy VW camper body shells to a far-better-than-factory condition. Unsurprisingly, his quick patch up job was pretty flipping good!;
I used some Gravitex U-Pol and a brush to stipple the paint on to simulate sprayed on stonechip. This is it after one coat - quite convincing.
A few more coats and it looked pretty good.
So, on to the emissions.
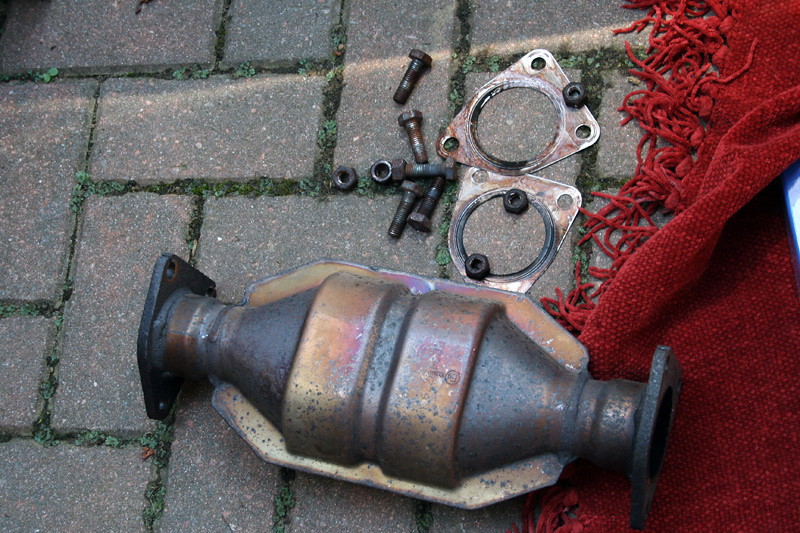
By this time, it was my Birthday, and some kind soul had given me some Amazon vouchers. So I defaulted to type and bought some tools to help me remove the cat' from the exhaust - some decent six-sided sockets. They monstered off the old bolts from the cat' and in no time, I could inspect what the issue was.
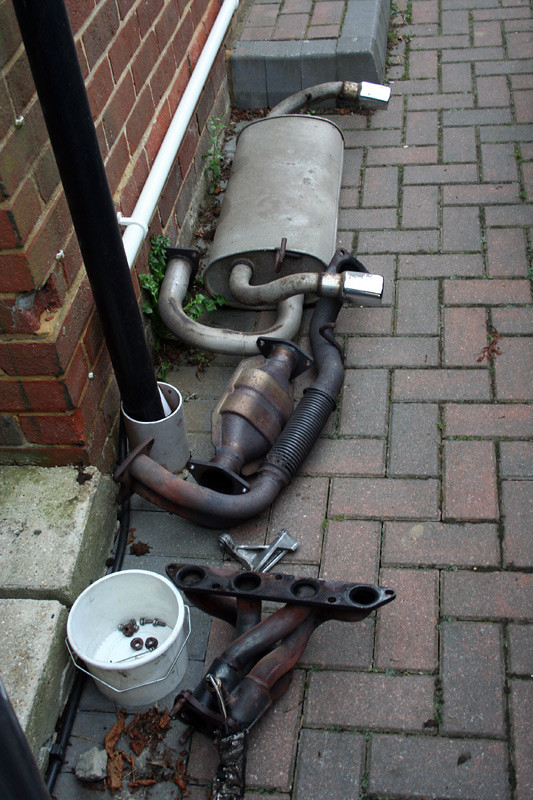
To be fair, it didn't look too bad at all, which left me thinking that the Lambda had to come out too, so I got carried away and took the entire exhaust system out;
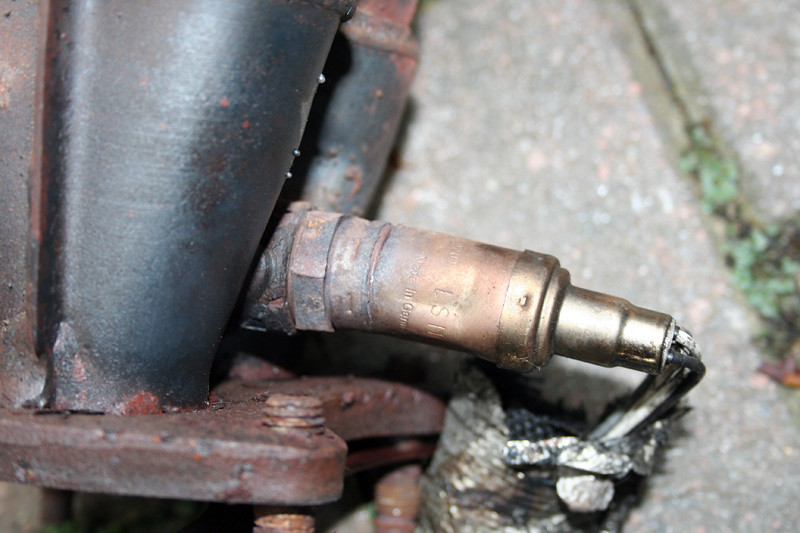
Which revealed a very battered and shonky looking sensor;
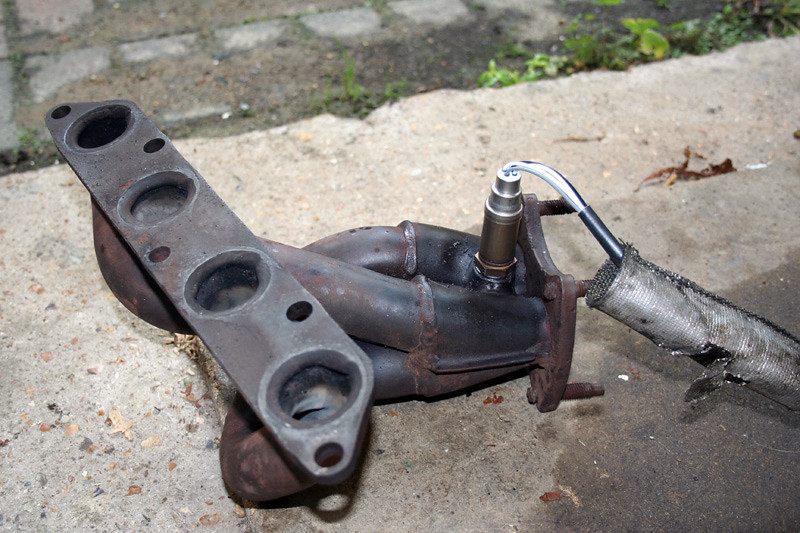
You can see in the picture that the casing had split - indeed, it only needed the lightest of taps for the thing to fall apart entirely! Probably the cause of my issue then...
The old sensor was truly stuck in the manifold, so I took it to a local garage who managed to crack it out. They warned me that the thread didn't look great, but to try the new one in there. Luckily, it went in fine and torqued up nicely. Phew!
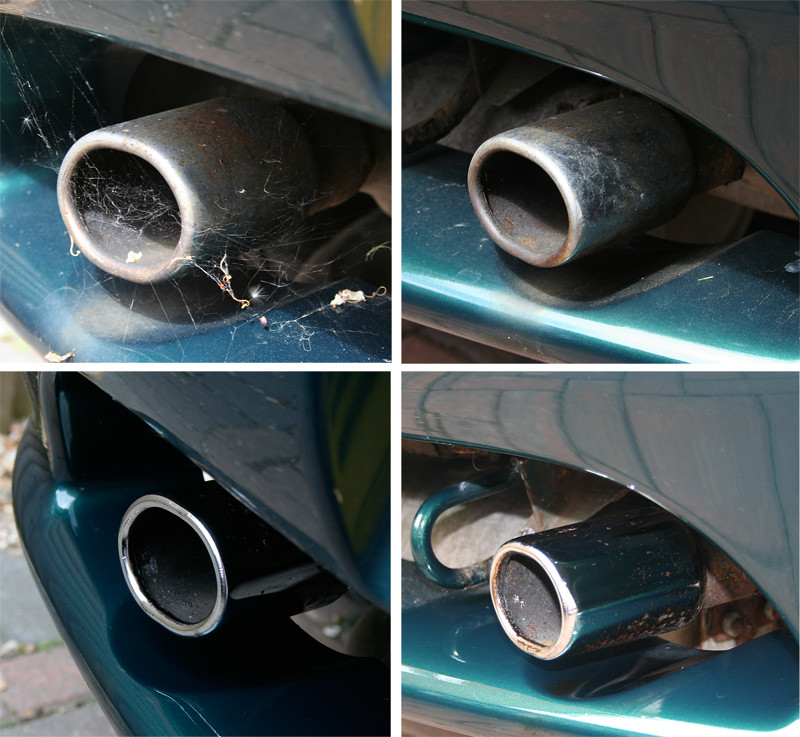
So I set about reinstalling the exhaust system which went without a hitch I'm pleased to say!
More soon!
Please Log in or Create an account to join the conversation.
:beer: :beer: Steve
Please Log in or Create an account to join the conversation.
- The Arch Bishop
-
 Offline
Topic Author
- Apprentice MGer
-

- Posts: 26
- Thanks: 10
stevew wrote: Now that the exhaust is free it won't be long before you put a nice shiny stainless steel back box on to add a bit more noise. This car definitely deserves one.
:beer: :beer: Steve
I've been tempted a few times, but the one on there is sound and already surprisingly fruity. Also I have a few project cars so money tends to be tight between them all, so bits get replaced when they need to rather than if something shiny catches my eye.... Although sometimes I do splash out!
Please Log in or Create an account to join the conversation.
- The Arch Bishop
-
 Offline
Topic Author
- Apprentice MGer
-

- Posts: 26
- Thanks: 10
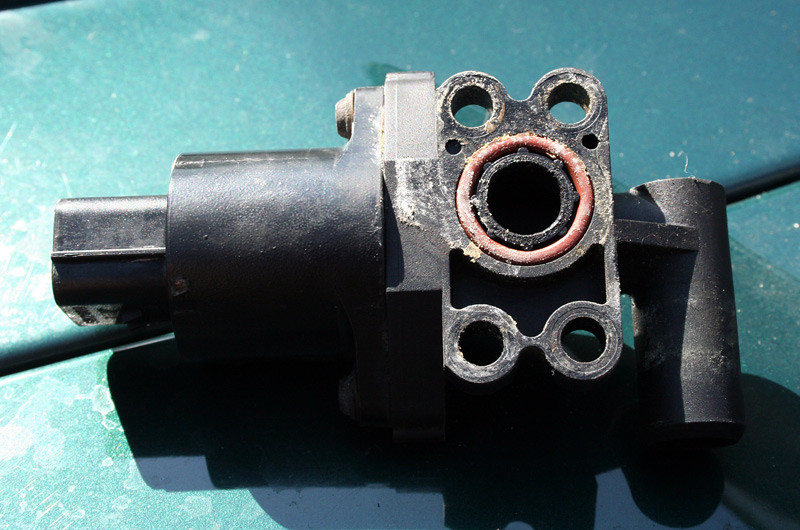
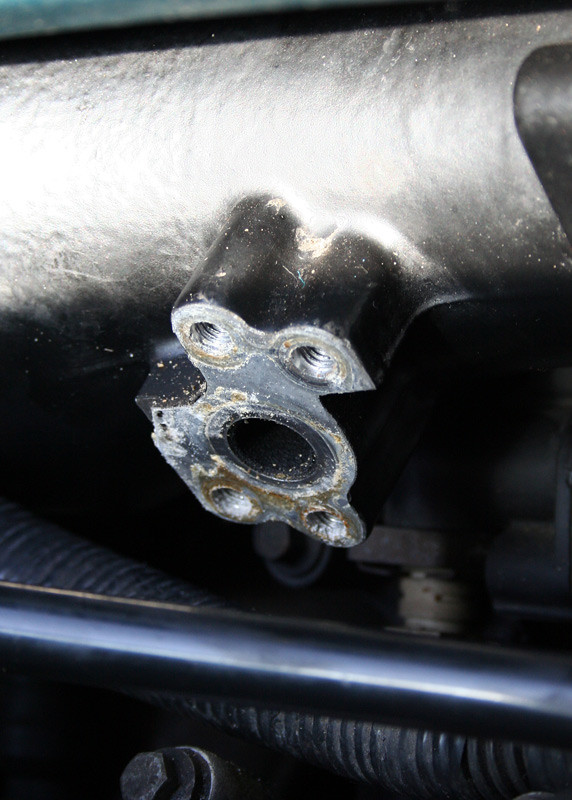
It didn't appear to be sealing very will to the intake;
I cleaned the mating surface and the the O ring and gave it a blast out with some injection cleaner. Once refitted, the idle was rock solid.
There was also an issue where the rear lights would pulse if the indicators were on. The ground on the rear cluster was bent, so a little tweaking and that was also sorted.
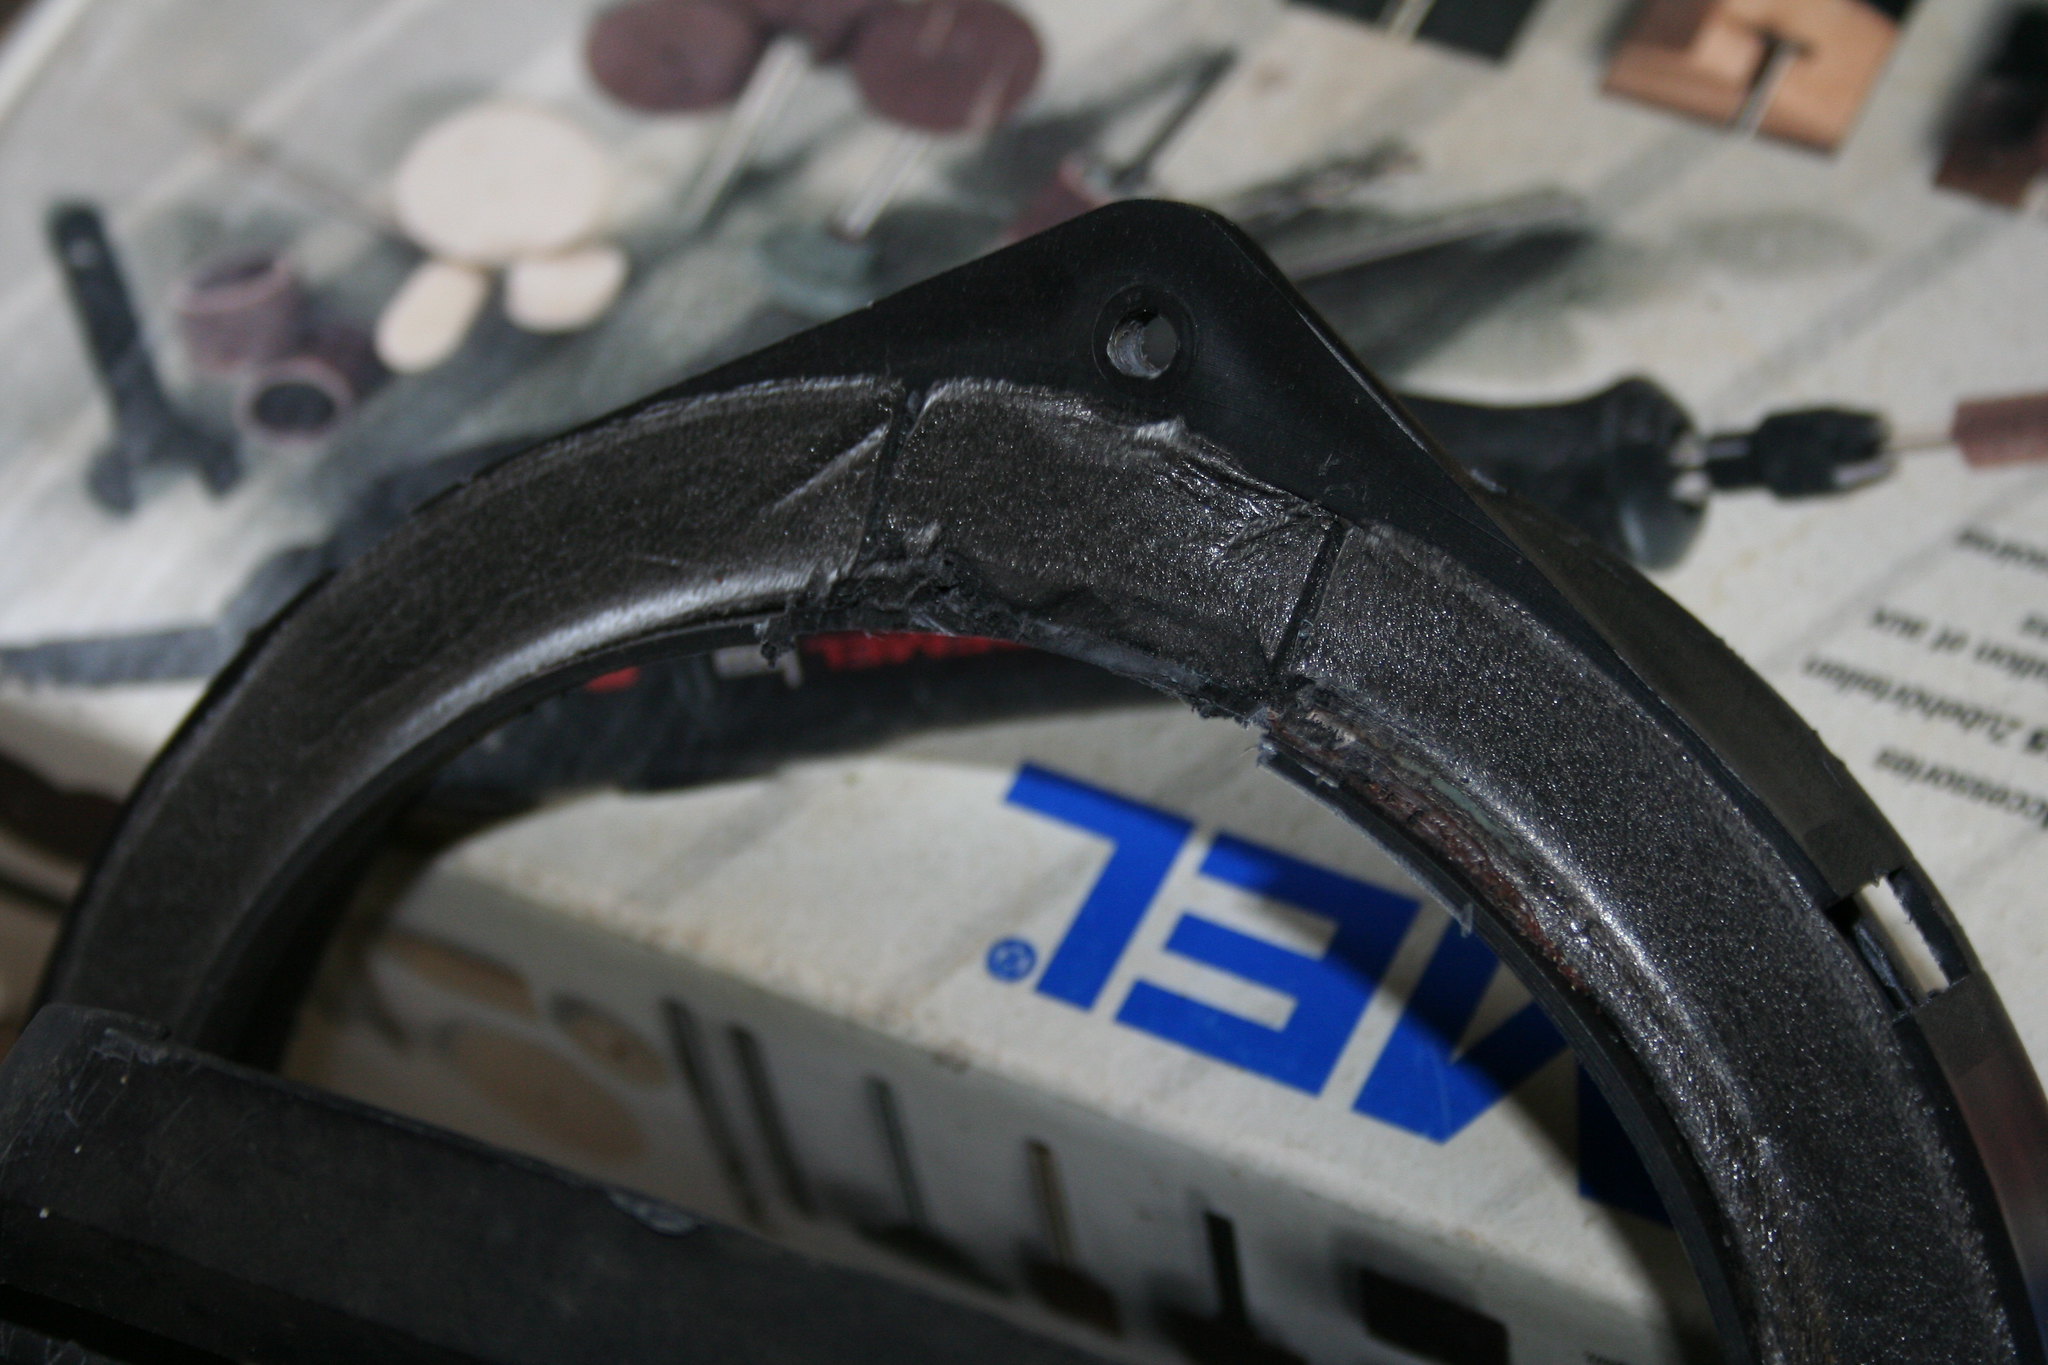
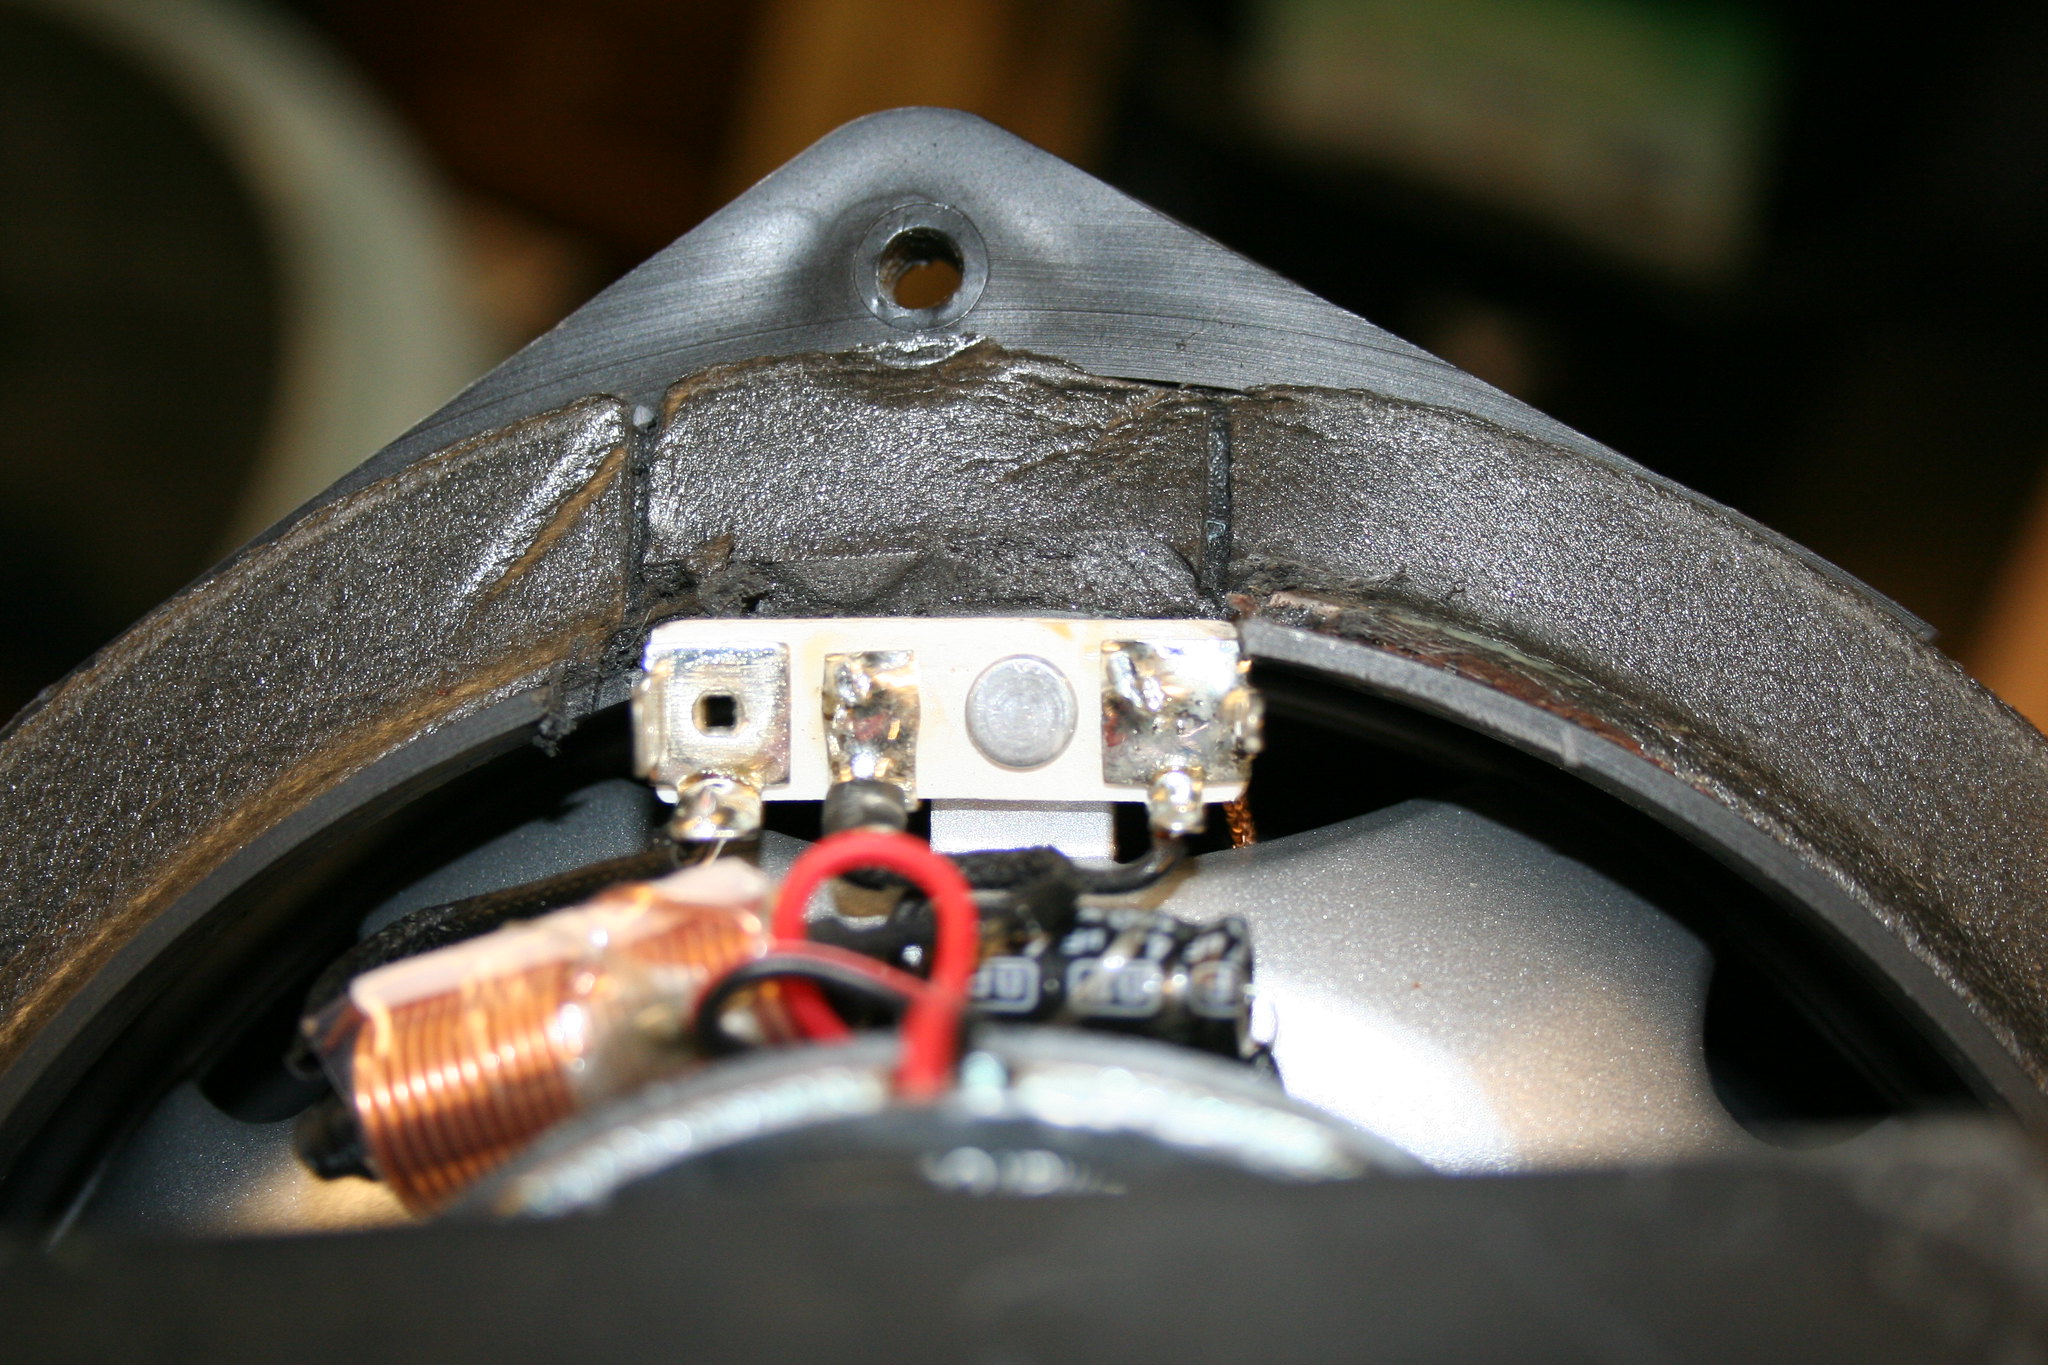
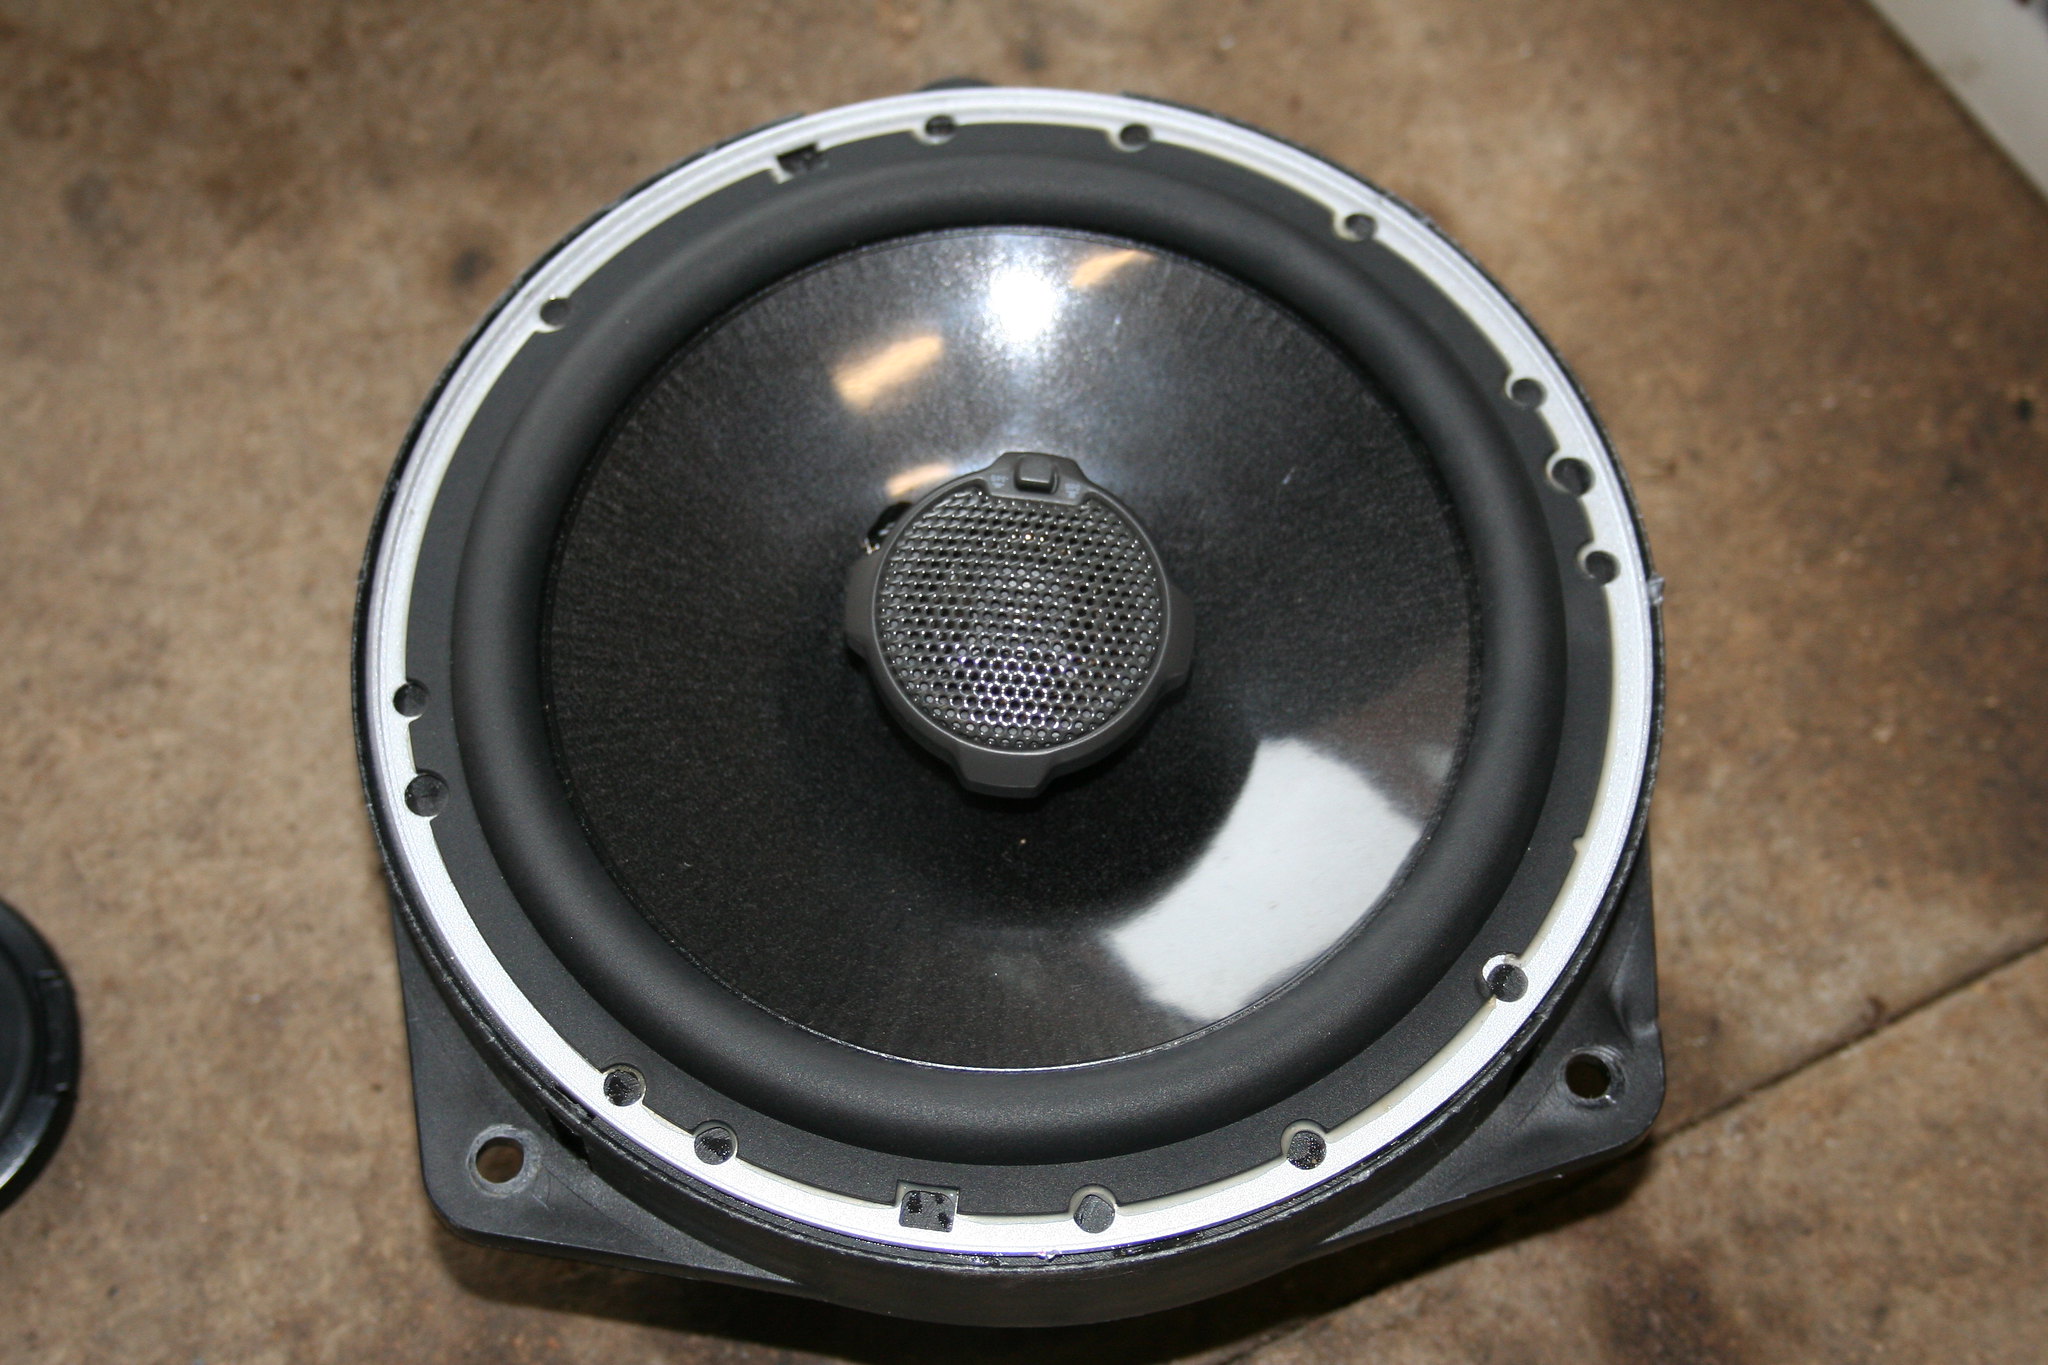
I found a nice set of JBL speakers in the garage so wondered it they would fit. All it required was a small cut out on the speaker mounting plate;
And in they went;
I also needed a replacement window stopper as the passenger window would shoot up into the roof seal and cause leaks. Stripping the door down revealed that someone had tried to get around the missing stopper by bodging the other one (at the top of the door) by locating it further up and whacking a screw in it. I put it back to its standard location and fitted a new glass-mounted stopper which did the trick.
MOT time!
This time......
Pass with no advsories! :beer:
Please Log in or Create an account to join the conversation.

