Soft top. - How to remove
Just recently I removed my soft top to change it for a dark blue one in better condition.
It is fairly straight forward to remove, but if it helps anyone, here is how I did it.
Firstly, if you have a windbreak, remove it. Mine is wired into the side lights so I removed it and laid it flat on the parcel shelf.
Next, unclip the two windscreen catch assemblies to release the soft top. This will make it easier to release the rear clips.
Now release the rear clips (x5) that hold the rear of the hood down.
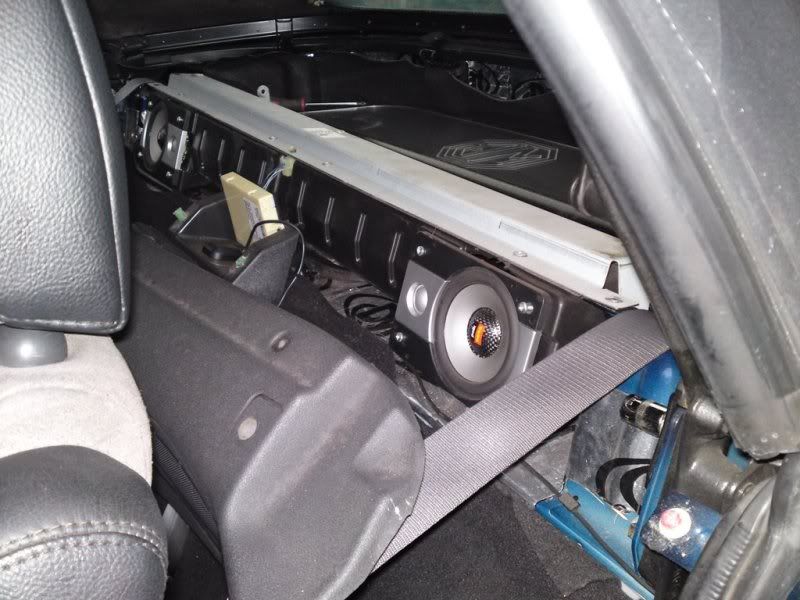
The next step is to remove the bulkhead finisher (or T-bar cover if you prefer).
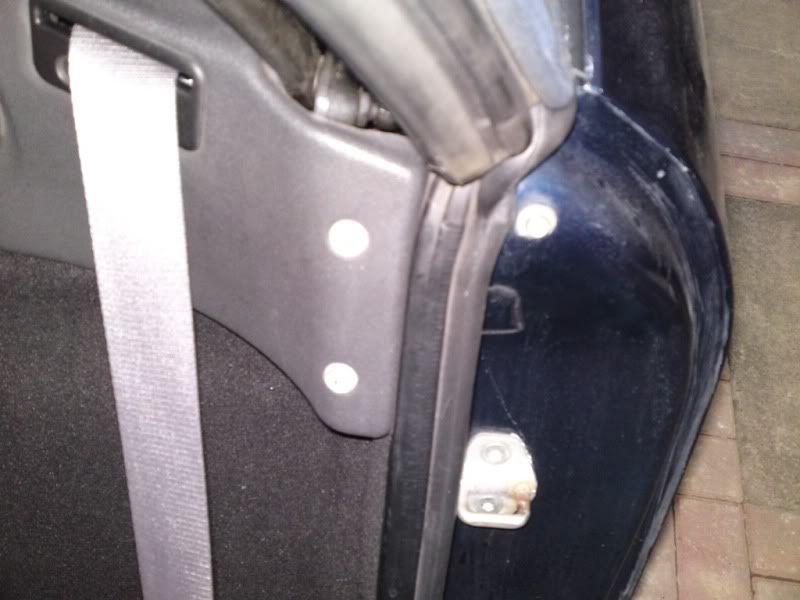
The cover is obstructed on either side by the door seals.
Open the doors and pull the door seal off until it is clear of the cover.
Next, you need to remove the 3 screws that hold the cover in place.
Just unscrew them with a cross point screwdriver and put them in a safe place.
The cover should then pull towards you. It will need a bit of a tug as it is held in place by plastic clips. Be careful as these are easy to break. I replaced mine with screws a long time ago as I have the cover on and off so often.
Once the cover is out of the way, you will find a bracket on each side. Each one is held on by 2 13mm bolts.
Undo these bolts
And remove the bolts and plate assembly on each side
The next bit is a 2 person operation.
Fold the soft top down and lift the rear upwards. You can unzip the window if you want to avoid it cracking or creasing. With one person each side, slowly lift the soft top clear of the car, taking care not to scratch the body work.
Place the soft top somewhere safe.
Fitting is a reverse of removal.
You may need to adjust the catch assemblies and side windows to achieve a good seal if you have fitted a different soft top. TOPIC: Soft top. - How to adjust.
Last Edit:12 years 7 months ago
by cjj
Last edit: 12 years 7 months ago by Leigh Ping. Reason: Fixed a dead link.
Please Log in or Create an account to join the conversation.
Thanks for this guide I swapped my roofs from the MGF project car that had the glass roof to my TF which had a split rear screen.
I followed your guide to a tee and all was well.
I lifted my screen out of the car using two bungee cords to keep the roof together but you have to have an estimation if you are strong enough to lift it all the way out without damaging paint and I was (just).
The same can be done for the new roof putting back on.
One more little lesson learned. The two bolts that bolt the roof onto the car took some getting back on. I found if you clipped the roof in first it was a bit easier but I needed a bit of grease for the last bolt as it just wouldn't tighten up.
Your advice on the screws / plastic lugs getting broke is true too as I split two of these lug things but I might just order some new ones or get the screws in.
Thanks again for the cracking guide, its made me feel confident at being one of those who "have a go"
All the street has been talking to me saying I've got a nice bunch of cars and why am I not fixing the F.
by bensewell
Please Log in or Create an account to join the conversation.
because your a 'murderer'.
Last Edit:12 years 7 months ago
by paulsmgf
Last edit: 12 years 7 months ago by Leigh Ping. Reason: Obscenity removal :) x
Please Log in or Create an account to join the conversation.
Time to create page: 0.497 seconds


