The front subframe on the TF has 4 mounting points that hold it onto the body.
Unfortunately, due to their design and position, they are prone to corrosion, which can build to an alarming level in a relatively short time.
This is a common fault of these cars and should be checked occasionally as it is a structural point and could have serious consequences if they fail.
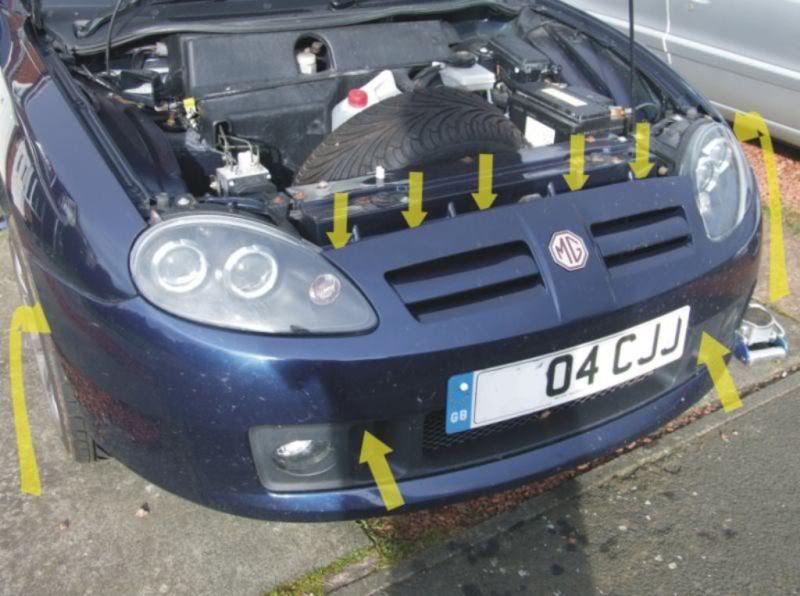
To check the mounts, you need to remove the front bumper.
The Front bumper is held in 4 main places.
Across the top of the grill (5 x Cross Head Screws)
Inside the wheel arch (2 x Cross Head Screws on each side)
Underneath the radiator (2 x Cross Headed Plastic Screws)
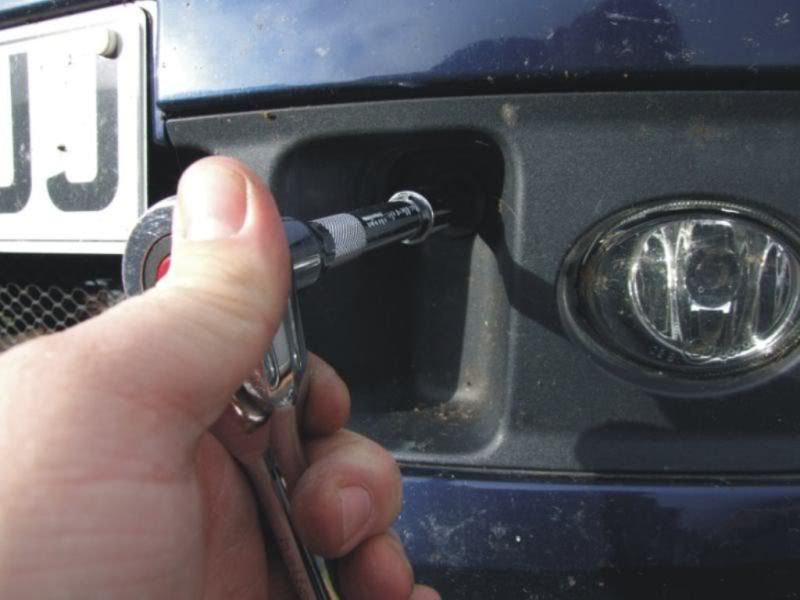
In the recesses each side of the number plate (2 x T50 Torx Screws)
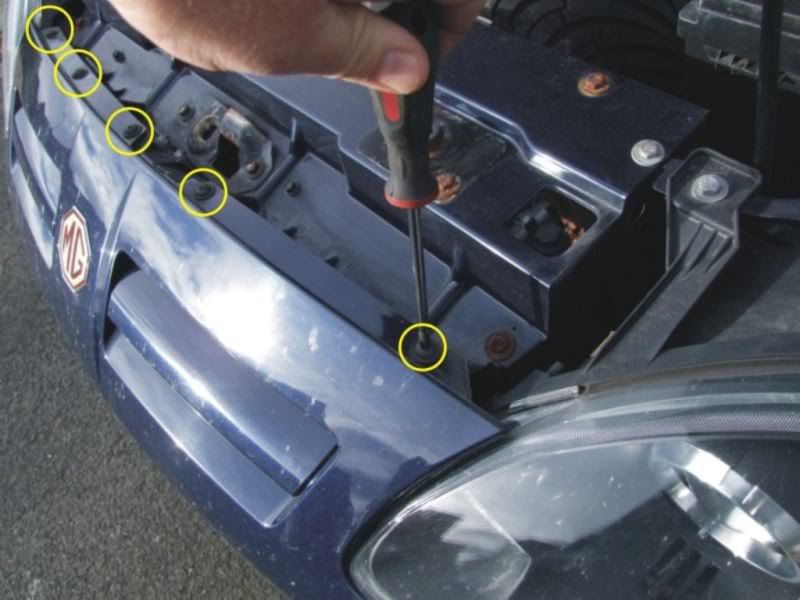
I started by removing the 5 screws at the top.
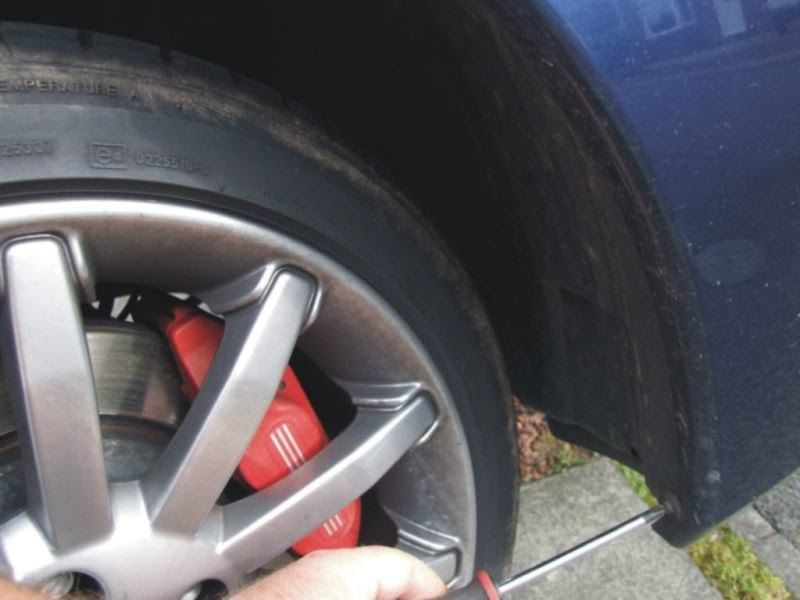
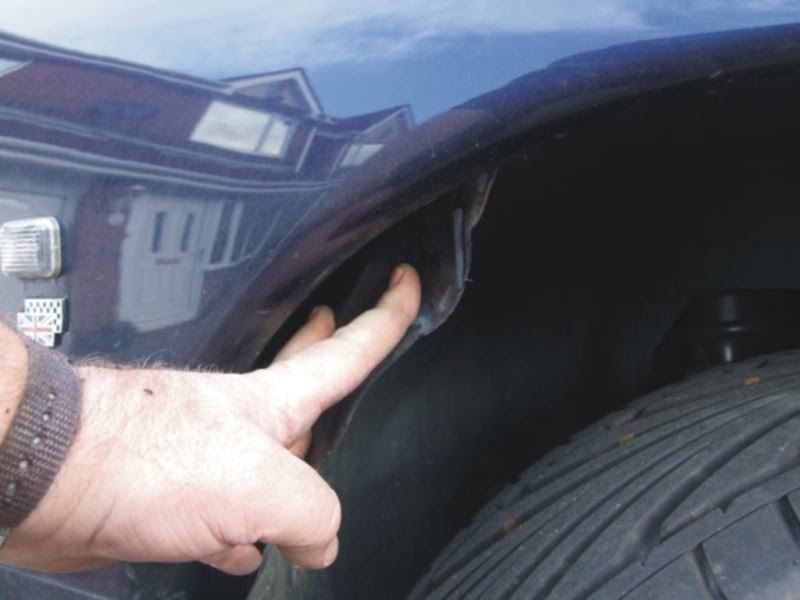
Then I removed the front wheel arch liners. There are 2 metal cross head screws on the front edge of the arch
and one on the rear edge.
and 3 plastic trim cross head screws at the back of the arch, holding the liner in place.
Once all of the liner screws are removed you can remove the liner. Start by peeling the liner from the front of the arch
Until the whole liner is released and it can be pulled out over the wheel.
Then remove the 4 cross headed screws (2 each side) holding the bumper to the wing.
If you have fog lights, you can now disconnect the plugs to each light. Using thumb and forefinger squeeze (or push) the rear edges of the plug together to release it and pull towards you.
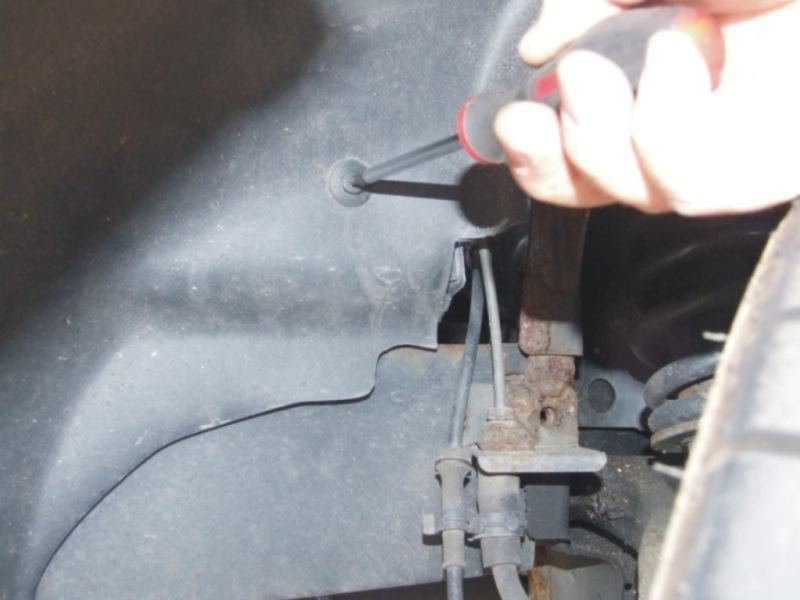
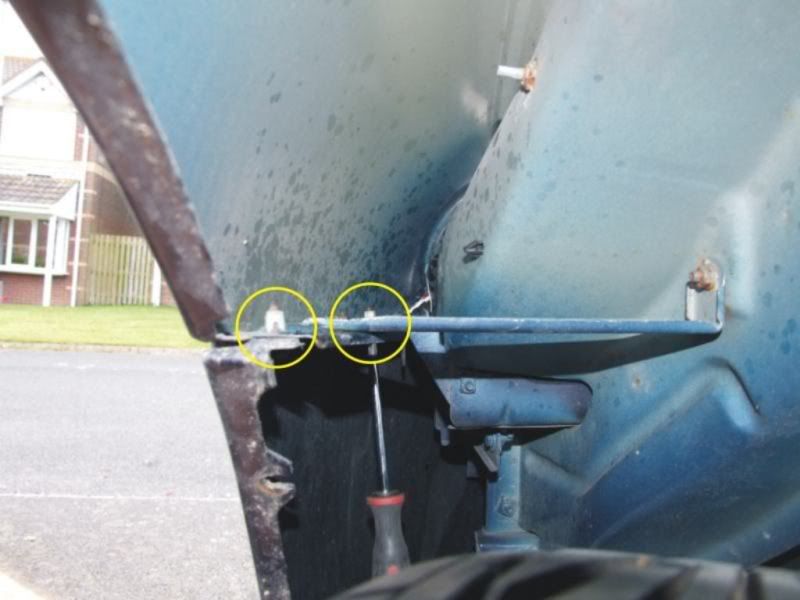
While you are under the car, there are 2 plastic trim screws that secure the underside of the bumper to a central strap. Remove these. You may need a right angled screwdriver or need to remove the plastic panel behind to gain access with a normal screwdriver.
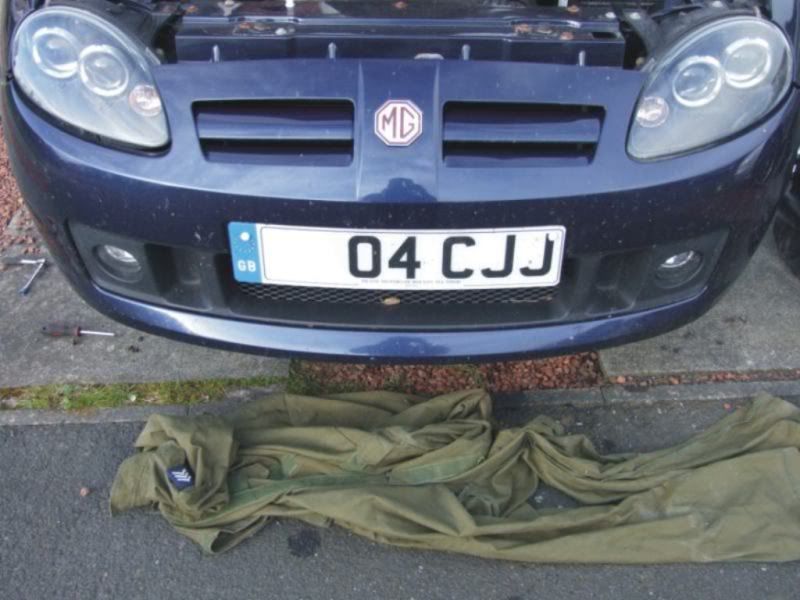
Now lie something soft in front of the bumper in case it falls to prevent it getting scratched.
You can now remove the two Torx screws holding the bumper to the chassis.
You can now carefully remove the bumper by pulling it towards you from the centre. Place the bumper somewhere where it cannot be damaged.
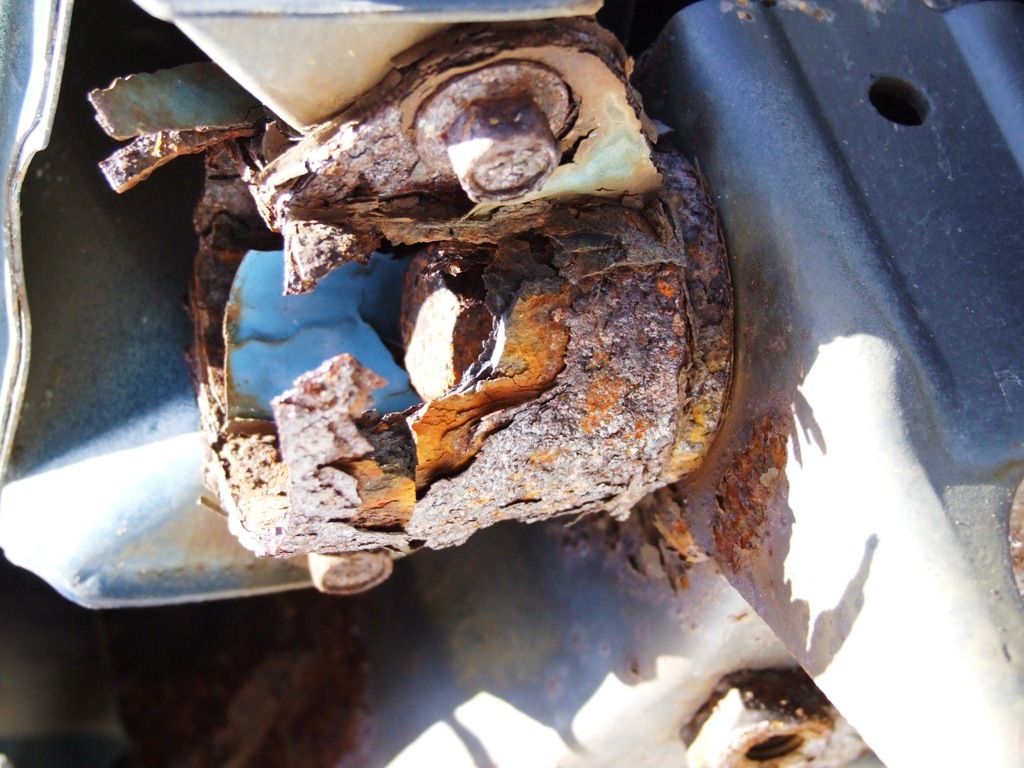
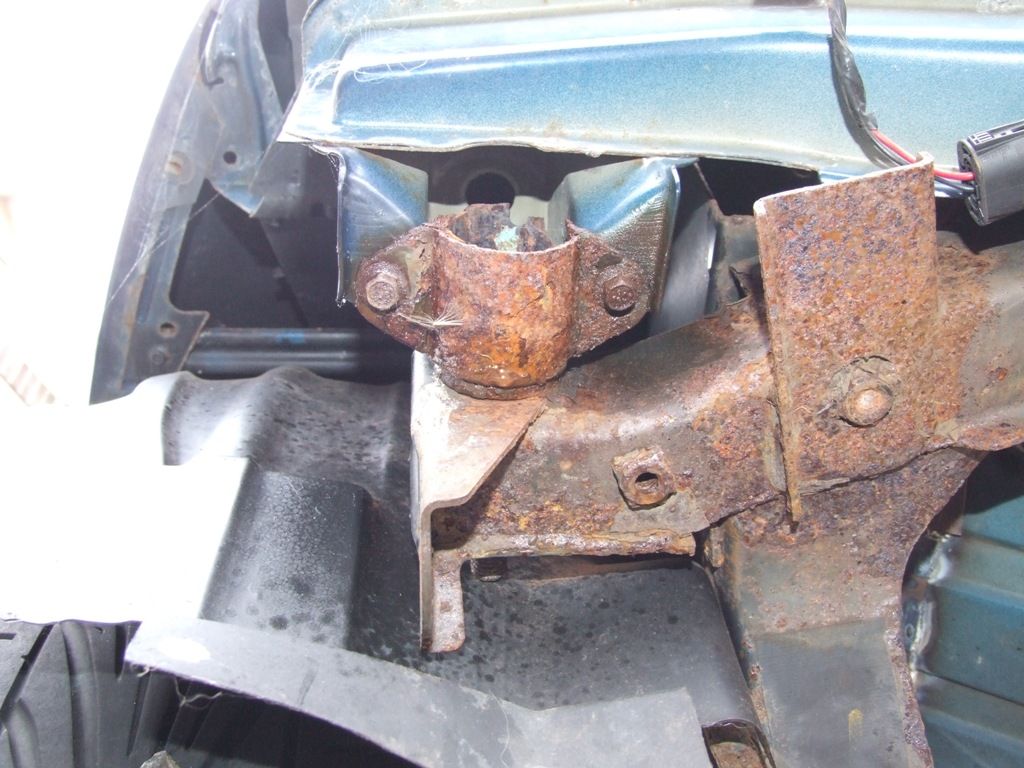
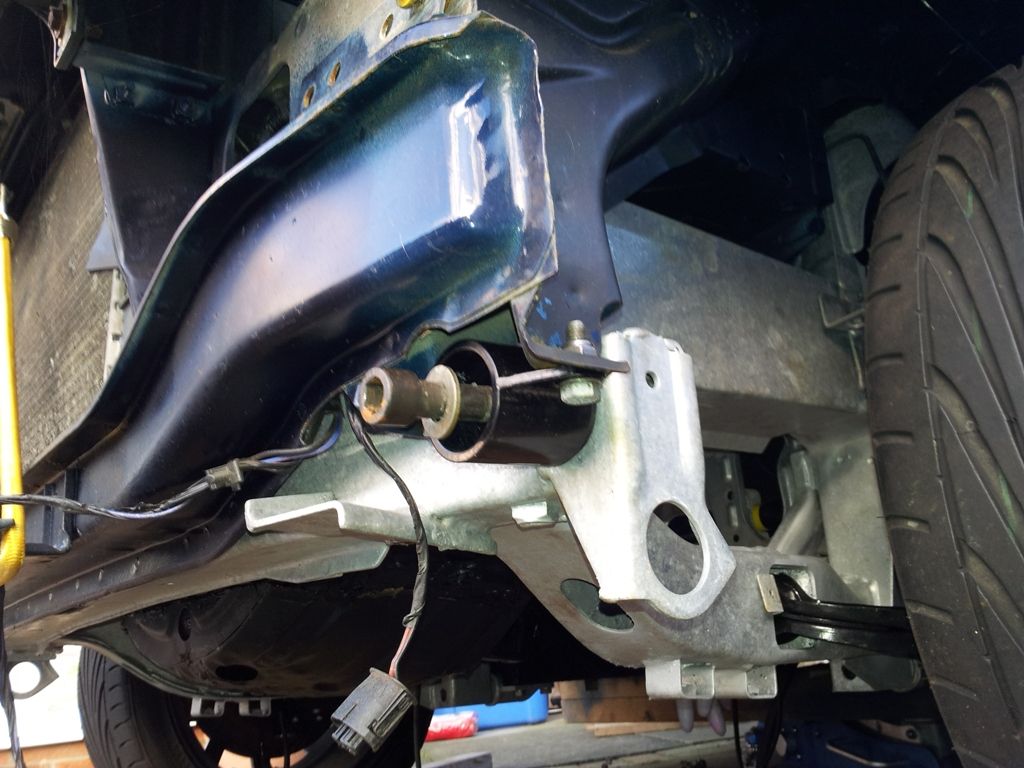
With the bumper removed, you can now inspect the front mounts.
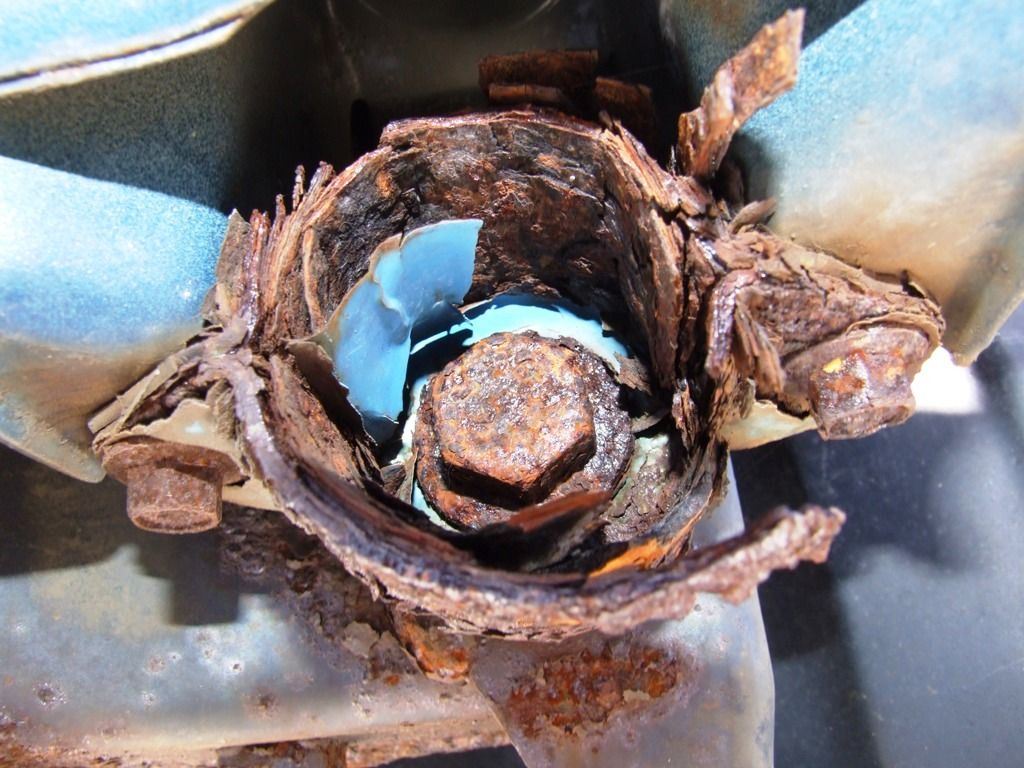
This is how mine looked on a 2004 TF160.
They are 9 years old (60,000 miles) but look far more corroded than any of the other body/subframe parts. This is why you need to inspect them and cannot rely on just looking at the condition of the subframe.
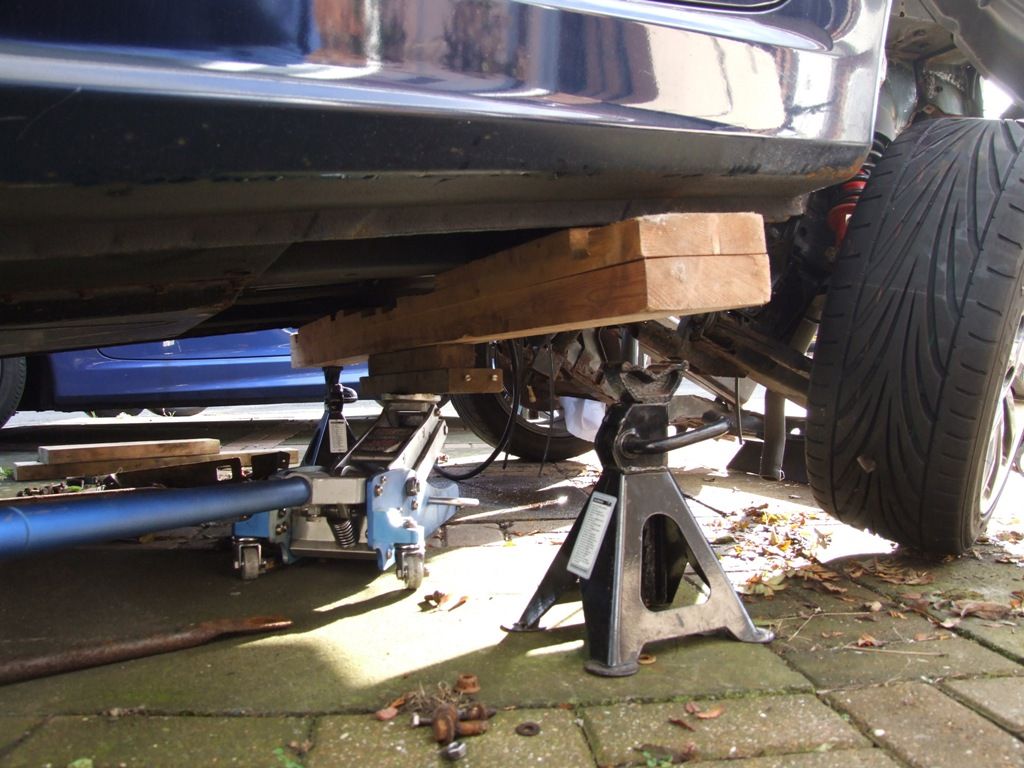
Next, you need to slightly raise the body so that you can take the weight off the subframe mounts. You only need to raise it just enough to take the weight off, if you raise it too much the subframe will be hanging by the mounts and will fall when they are undone. Don’t use the subframe as a jacking point as that would defeat the object.
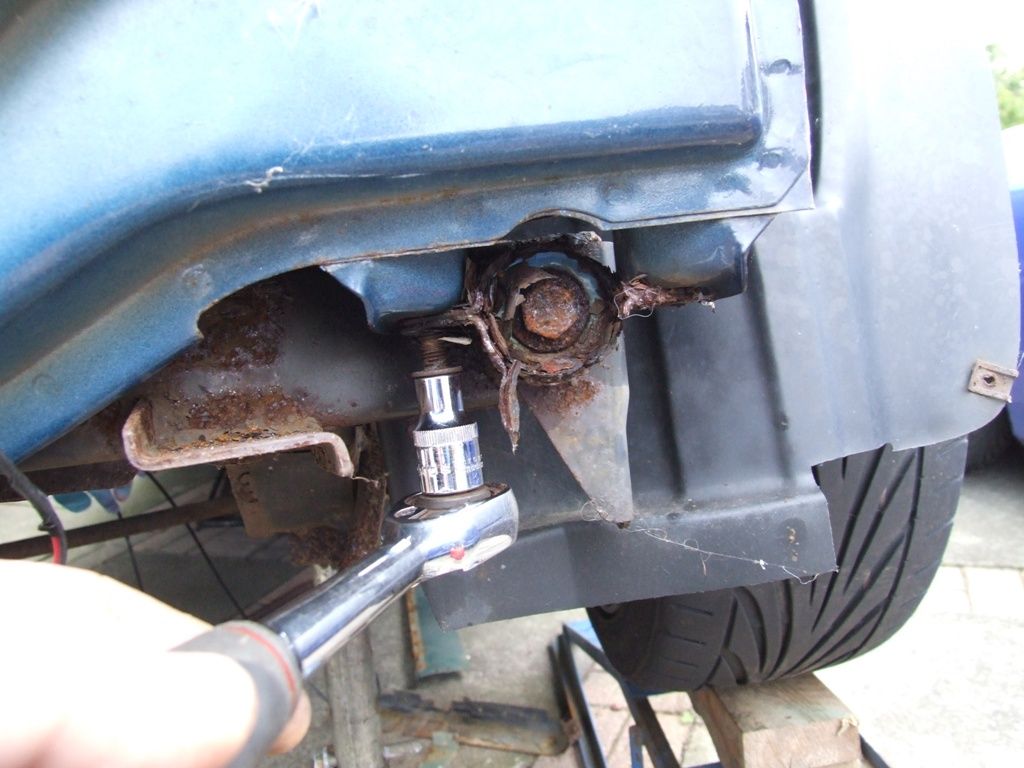
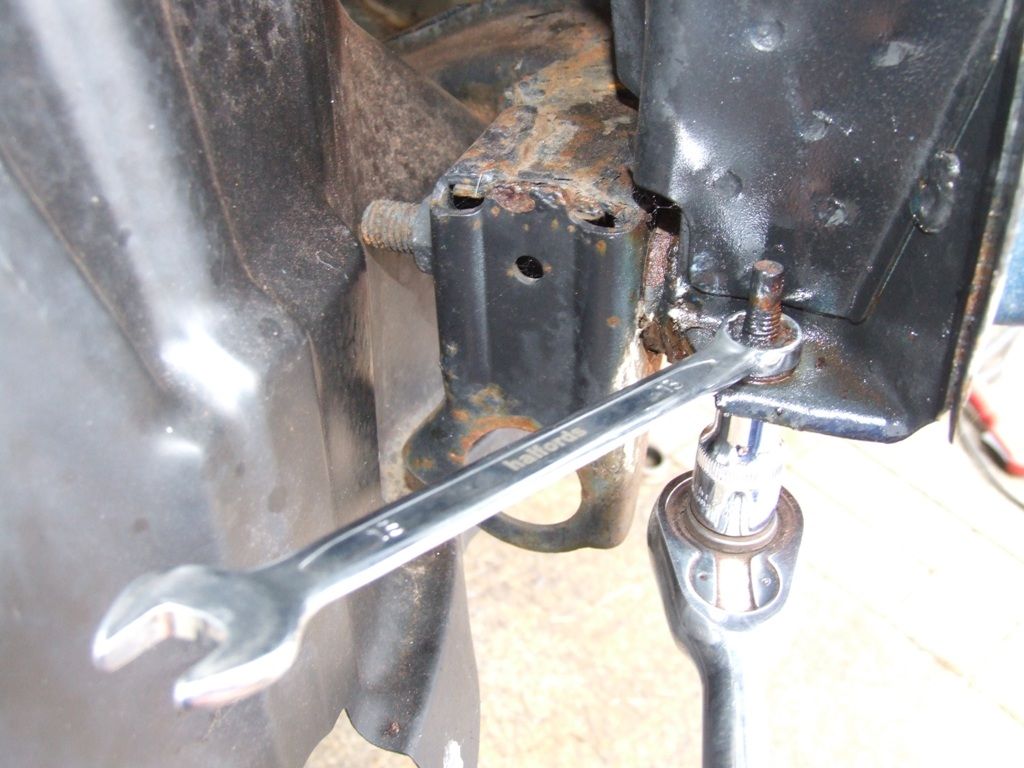
Once the weight is off the subframe mounts, you can remove the two 13mm bolts that hold the mount to the bodywork.
The inner bolt uses a captive nut
Be careful when removing this bolt as it will most probably shear off. Try to clean as much rust off it first and soak it in release oil. If it does shear off, the nut will need to be drilled out and rethreaded with a helicoil kit, or similar.
The outer bolt has a nut on the top, so even if this snaps, you can replace it with another nut and bolt.
Once the two bolts have been removed you can remove the main bolt that holds the mount to the subframe.
Remove the mount and replace with a new one. I also fitted new High Tensile Allen Bolts.
Loosely refit all bolts and lower the body back down onto the subframe.
Now torque the bolts up to the correct value.
The large main bolt to the subframe should be torqued to 100 Nm
The two 13mm bolts to the body should be torqued to 30 Nm
Once the new mounts are fitted and torqued, you can now refit the bumper and wheel arch linings.
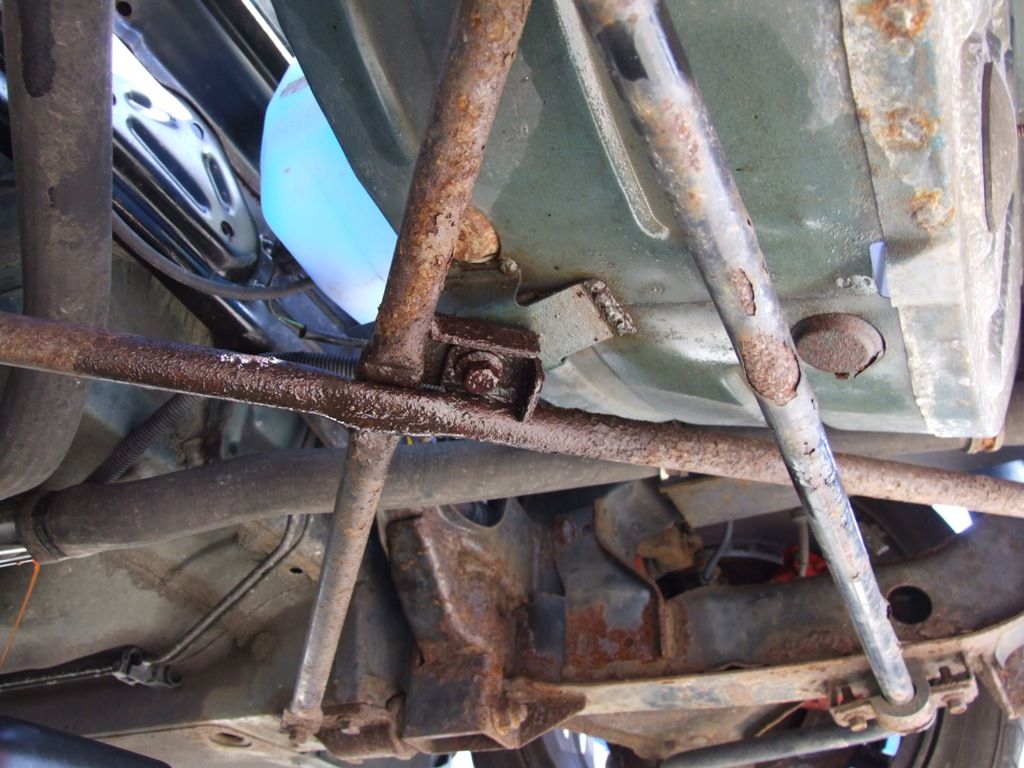
If you find that you can’t get much movement when raising the bodywork, you might want to loosen the centre bolt on the cross braces, which bolts through the bracket on the spare wheel well.