MGF to TF Chassis restoration - now with pictures added
MGF to TF Chassis restoration - now with pictures added was created by Simon h
Posted 7 years 9 months ago #177158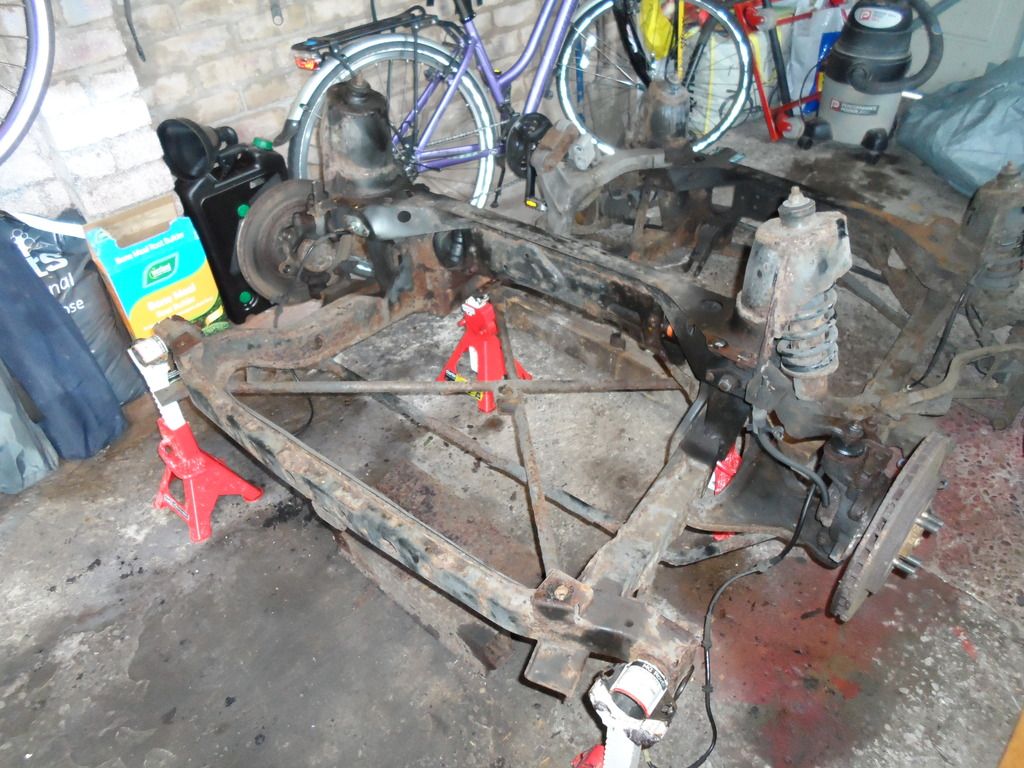
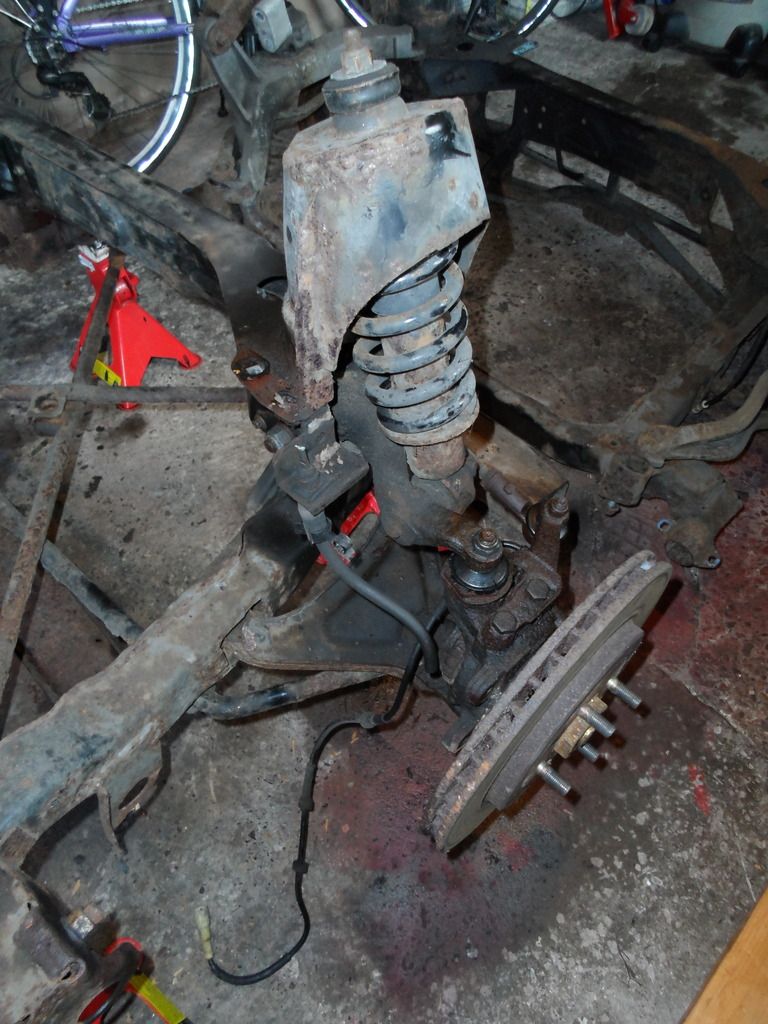
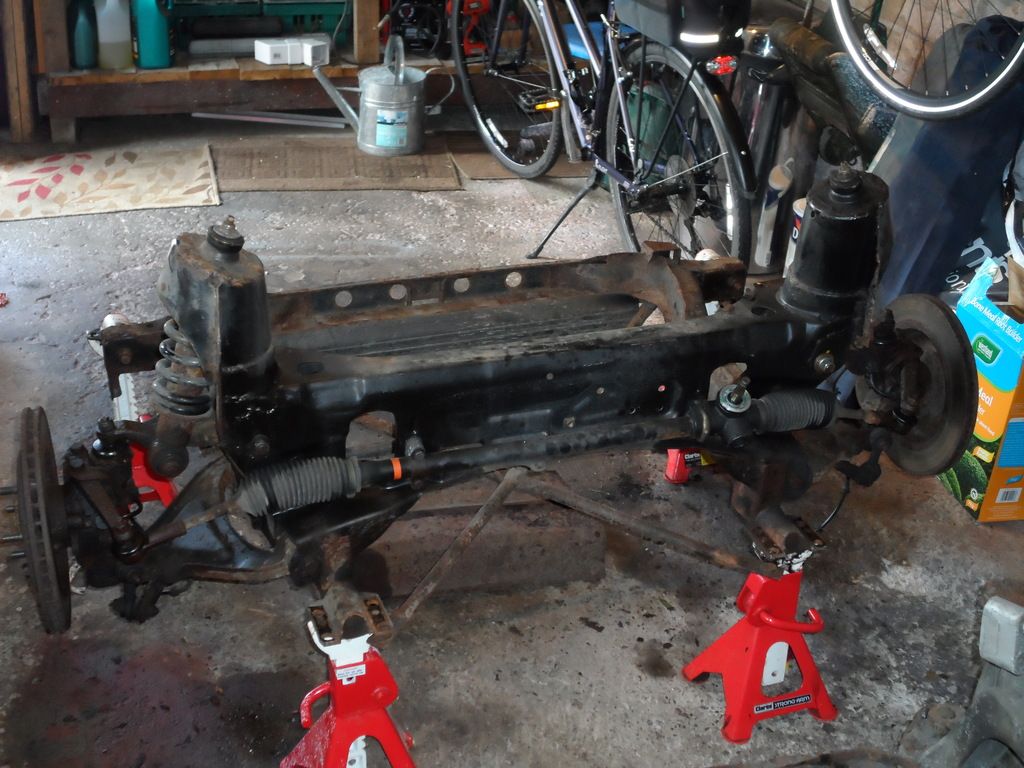
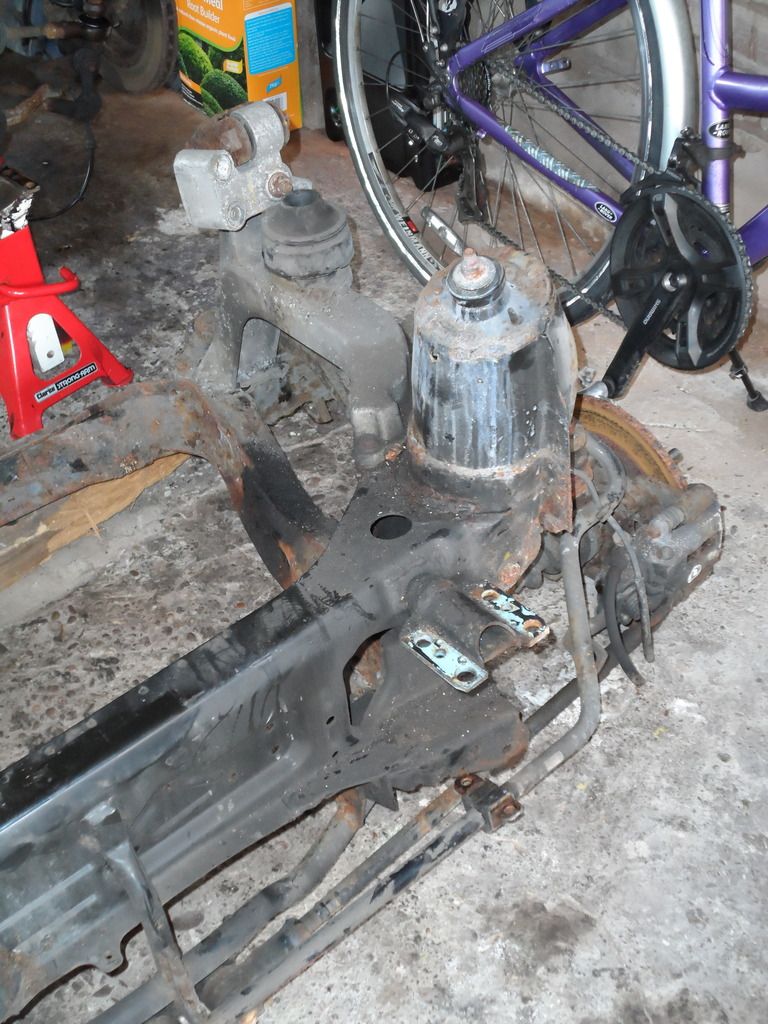
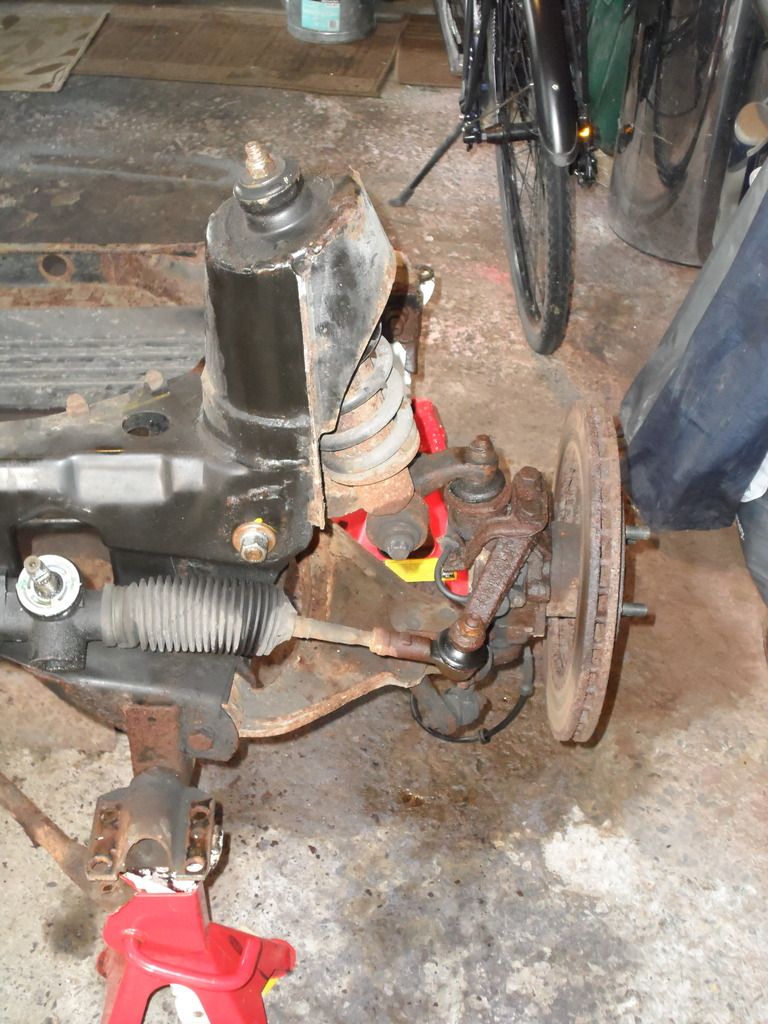
The first job was to strip all the various components from the front subframe, inspect and evaluate the parts etc (The how to do's on the T bar isa fabulous source of advice)
then its out with the grinder and wire brush! I will report on the various components on later posts...
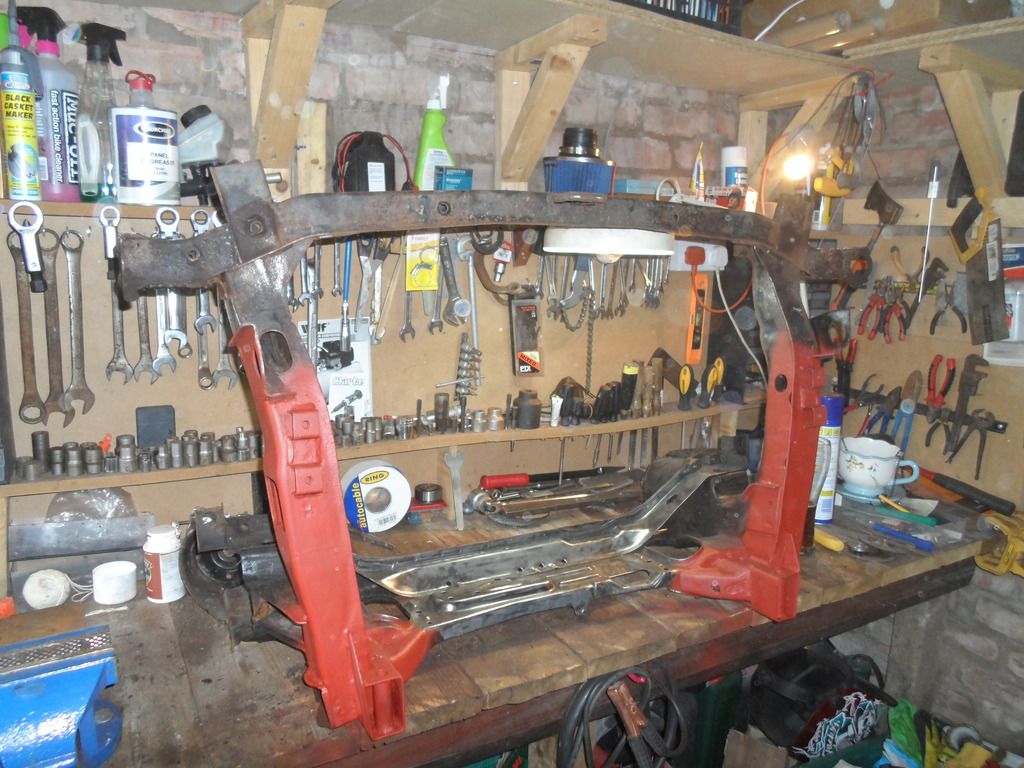
A work bench saves the back! I do a section at a time, using various wire brushes to get into all the tight areas, apply Kurust and a coat of red primer to protect.
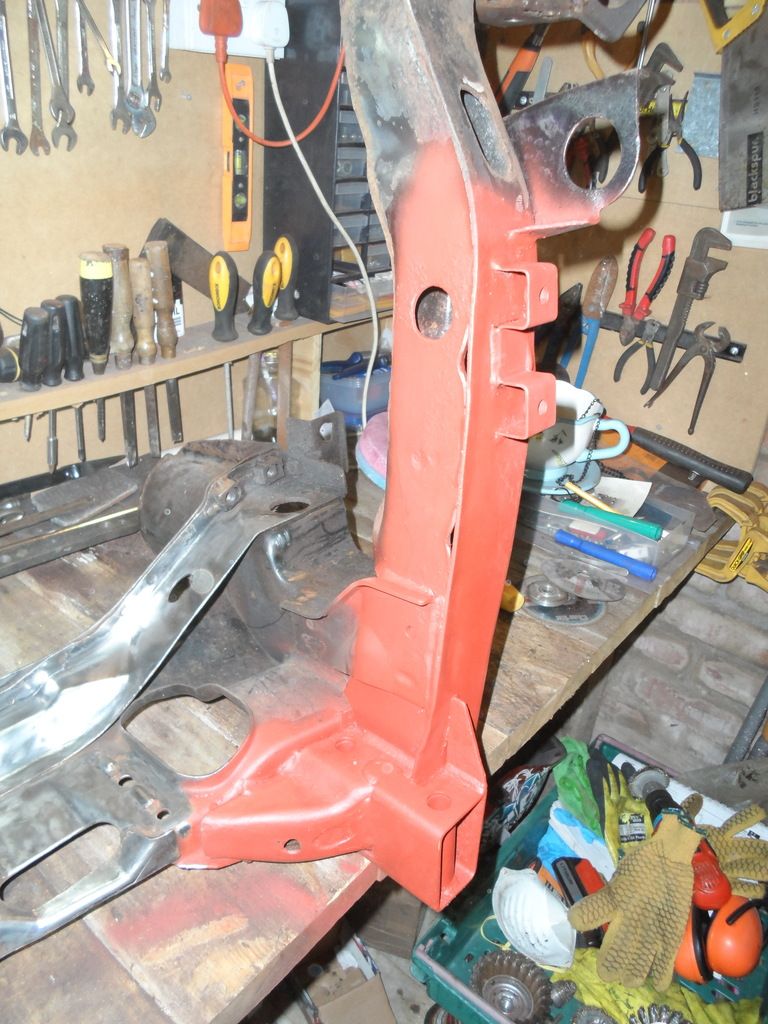
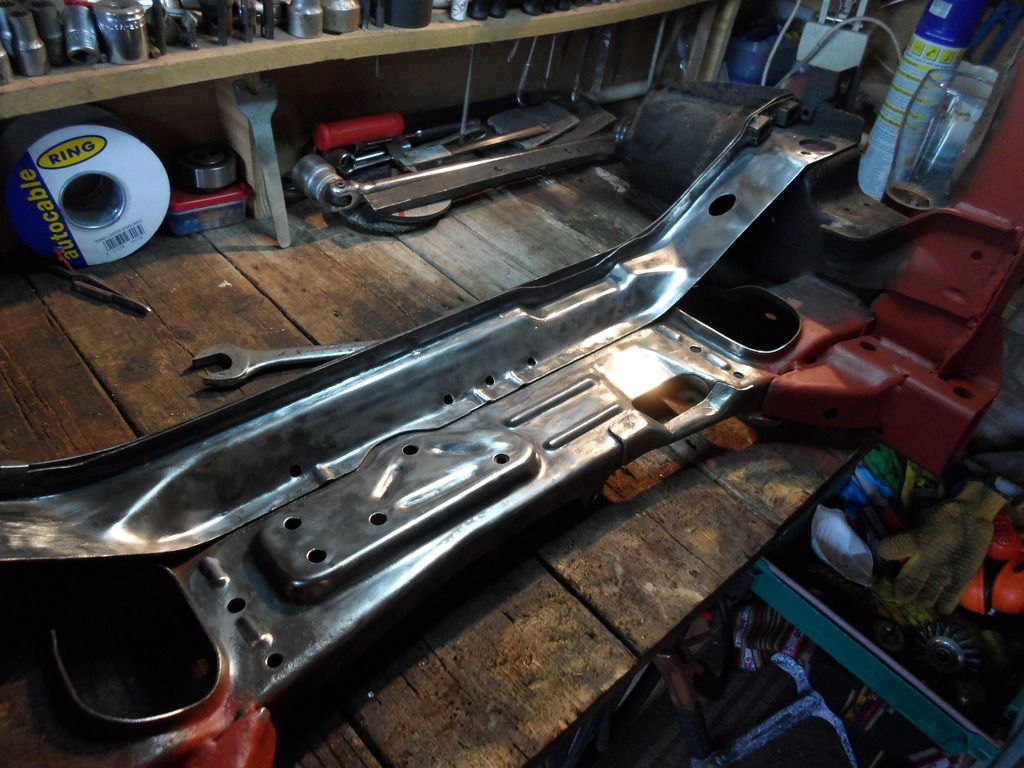
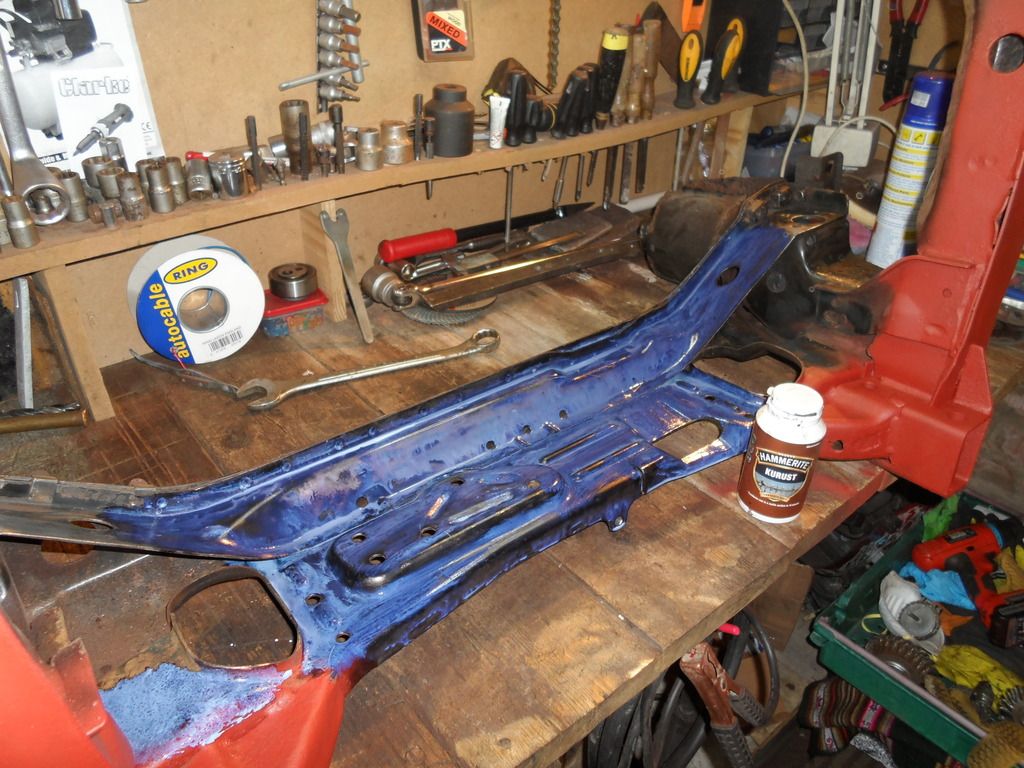
I have noticed an area of corrosion (above picture) I will be welding a 3mm metal plate over this section.
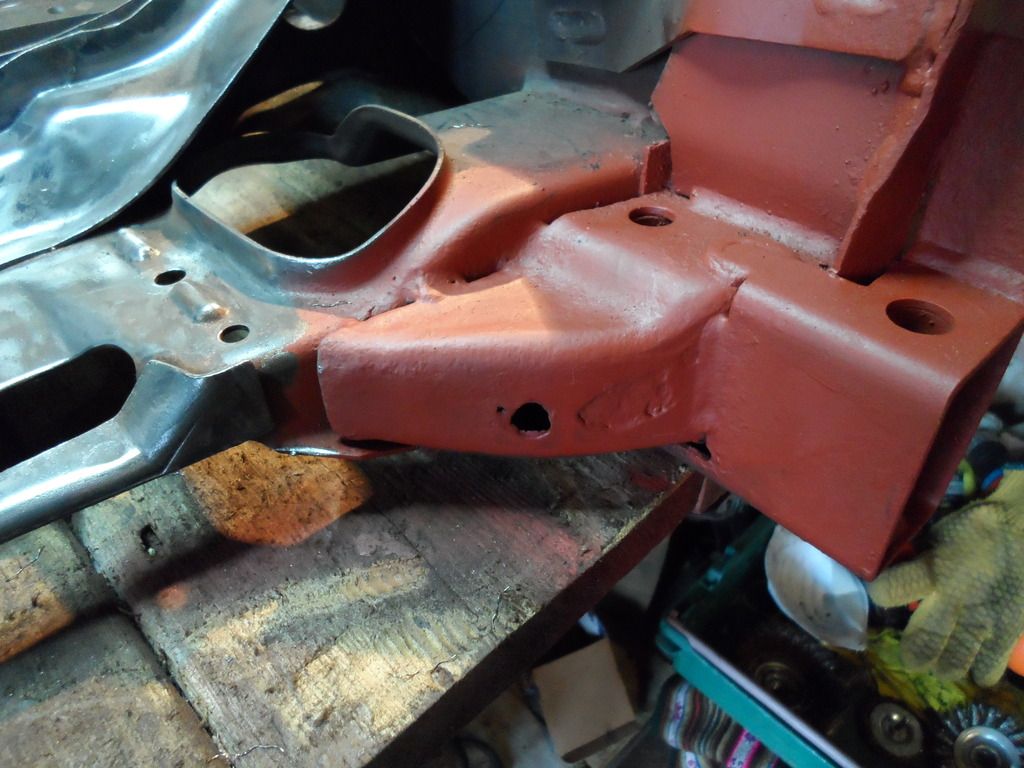
Areas of the subframe are in good condition and clean up well with the wire brush
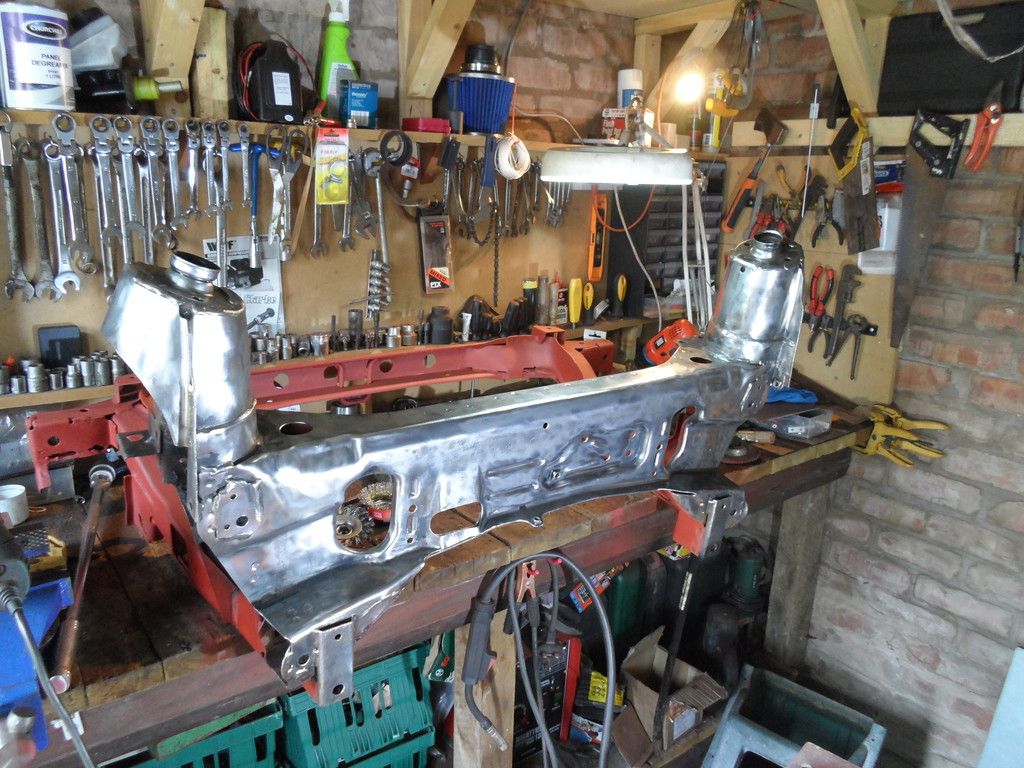
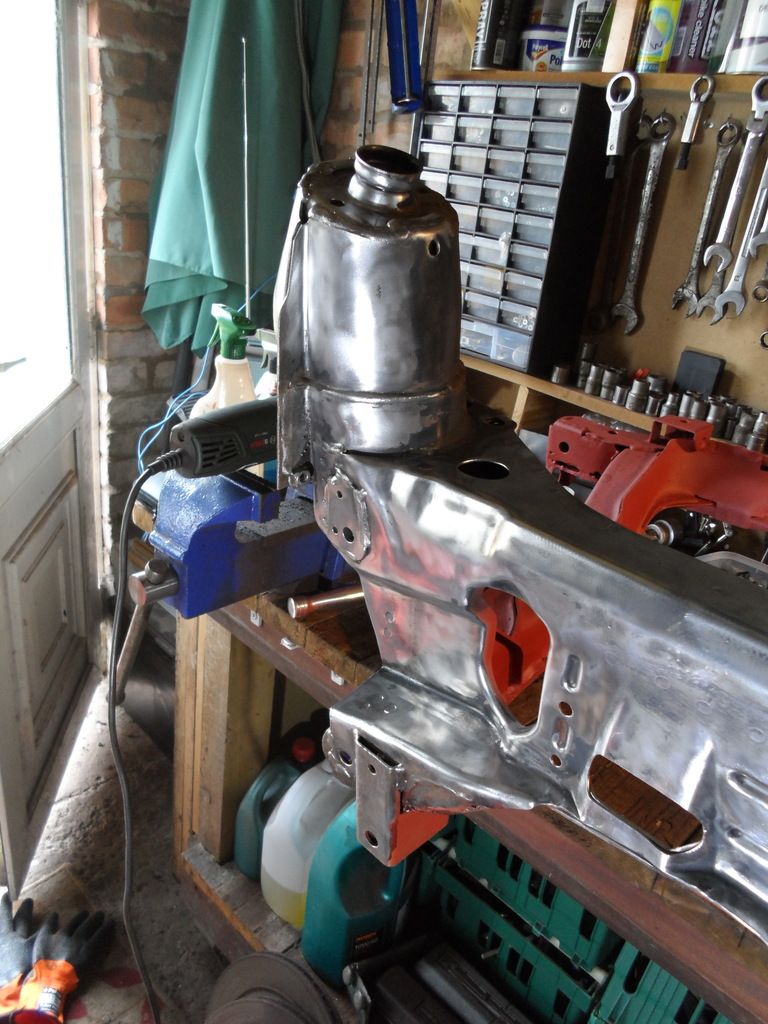
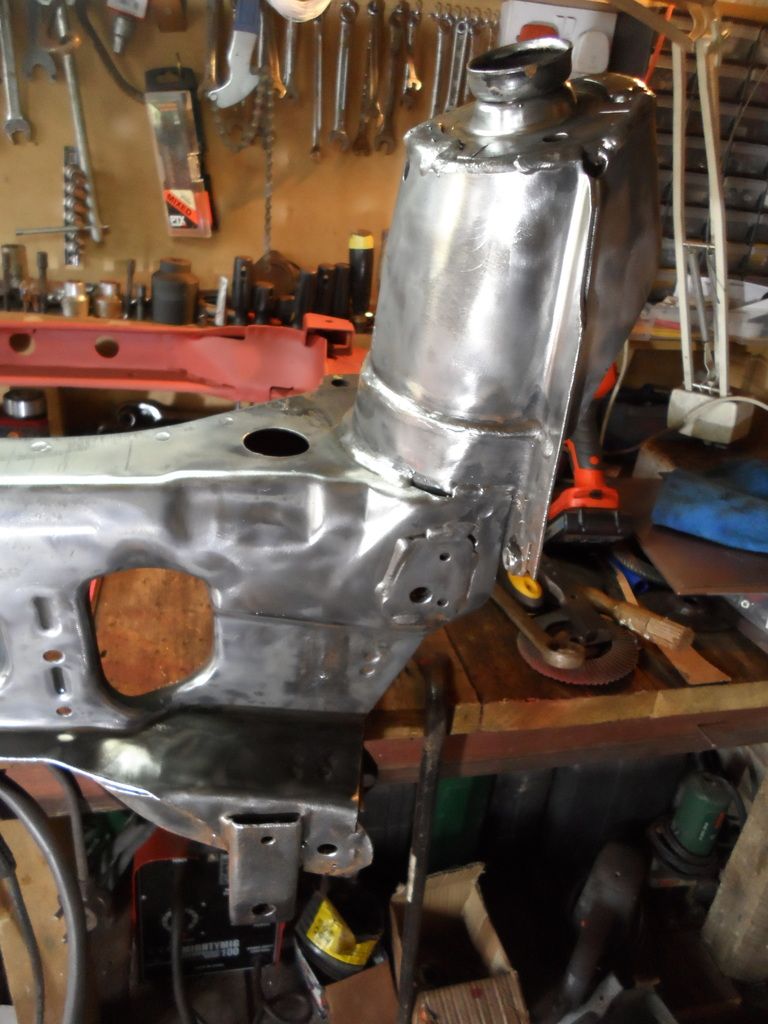
Well, I will keep at it and post updates as I go... I will be eventually spraying the subframes in enamel CMU Solar red to match the MGF and all the suspension components in black...
Regards
Simon
Please Log in or Create an account to join the conversation.
REgards
Simon
Please Log in or Create an account to join the conversation.
- talkingcars
-
 Offline
- Moderator
-

- Posts: 6883
- Thanks: 1297
Simon h wrote: Not sure what I have done wrong here lol... no pictures? any advice??
REgards
Simon
The addresses of the pictures is incorrect, where are the photos stored?
Home to black Alfa Romeo 159 3.2 V6 Q4 ,green MGF VVC and red MG Maestro T16.
MG - the friendly marque.
Please Log in or Create an account to join the conversation.
Any advise would be appreciated - Thank you
Please Log in or Create an account to join the conversation.
- talkingcars
-
 Offline
- Moderator
-

- Posts: 6883
- Thanks: 1297
Personally I load pictures to my photobucket accounts and use the link they provide, it means I still have some control of the photos and use them in multiple locations.
Looking forward to the resolution of the photos, I am in the middle of the same job.
Home to black Alfa Romeo 159 3.2 V6 Q4 ,green MGF VVC and red MG Maestro T16.
MG - the friendly marque.
Please Log in or Create an account to join the conversation.
Please Log in or Create an account to join the conversation.
- adamelphick
-
 Offline
- Moderator
-

- Posts: 3162
- Thanks: 572
We all look forwrad to the progress!
Please Log in or Create an account to join the conversation.
Replied by Simon h on topic MGF to TF Chassis restoration - stage 2
Posted 7 years 8 months ago #177429
I purchased an a4 sheet of 3mm and 2mm mild steel plate off ebay and after making a cardboard template, cut it out of 2mm plate and with some manipulation with a hammer, got the patch to fit well.

Then... it's time to tack the patch in place using my gas less mig welder, its a great piece of kit.

I am at this stage still yet to get the right amp/wire feed correct and my welding needs to improve but with a test of the hammer... its not gonna come off

Then it's a clean up with my flap disk before a coat of red primer.

Like I say... welding needs to improve but there is one other patch I discovered whilst cleaning up the subframe and that will be my next post.
Regards
Simon
Please Log in or Create an account to join the conversation.
Replied by Cobber on topic MGF to TF Chassis restoration - stage 2
Posted 7 years 8 months ago #177432I don't know any tradesman that would use gas less, damned thing make more mess than they fix.
Can you run gas with your mig? Most gas less mig welding machines will also run gas, though you do need to reverse the polarity to convert from gas less to gas.
Apart from the hassle of gas bottles etc the only other draw back of mig welding with gas is drafts and wing blowing the gas away while you trying to weld, I usually rig up some welding screens to help with this, welding screens are a good idea for safety too.
They protect others from welding flash and can help contain the sparks, slag etc. (lessen the fire risk)
Of course you have a fire extinguisher handy while you weld, don't you. :yesnod:
"Keep calm, relax, focus on the problem & PULL THE BLOODY TRIGGER"
Please Log in or Create an account to join the conversation.
Replied by Simon h on topic MGF to TF Chassis restoration - Update 3
Posted 7 years 8 months ago #177930I continued to use the angle grinder and wire brush to get all the old paint and crud off...
It,s cleaned up very well, there are no signs of corrosion around the turrets
However, I found corrosion on the front n/s subframe mount, inspection of the o/s showed that a plate has been previously welded in the same position... this would have to be sorted:
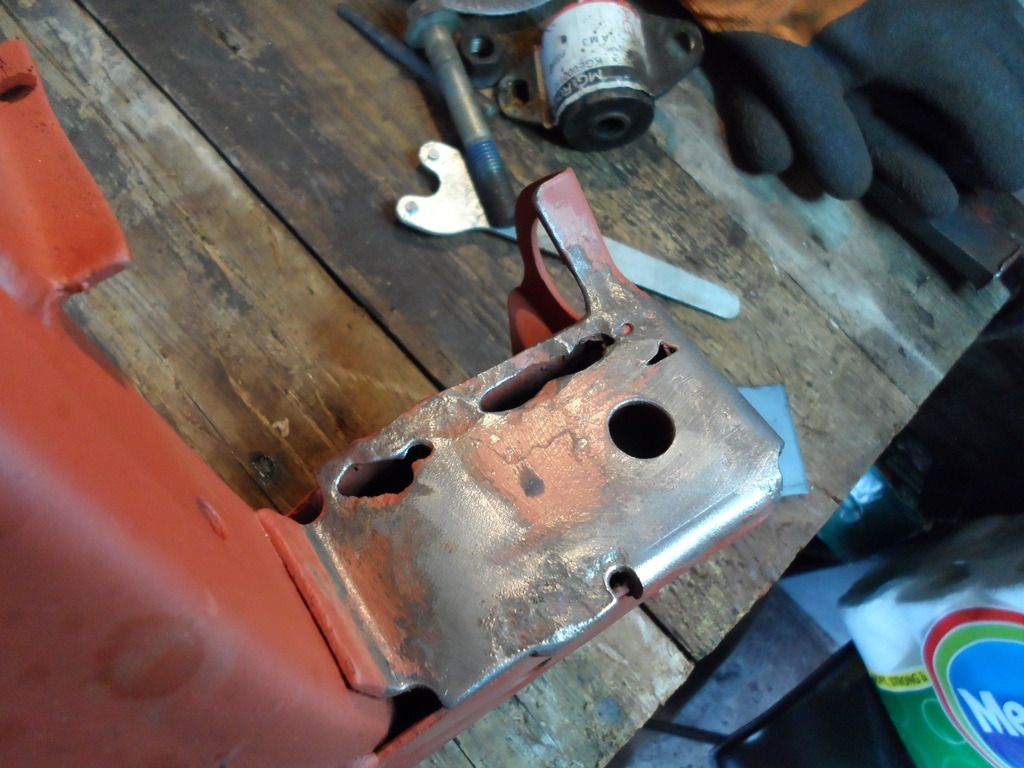
I've used 3mm plate for this section...
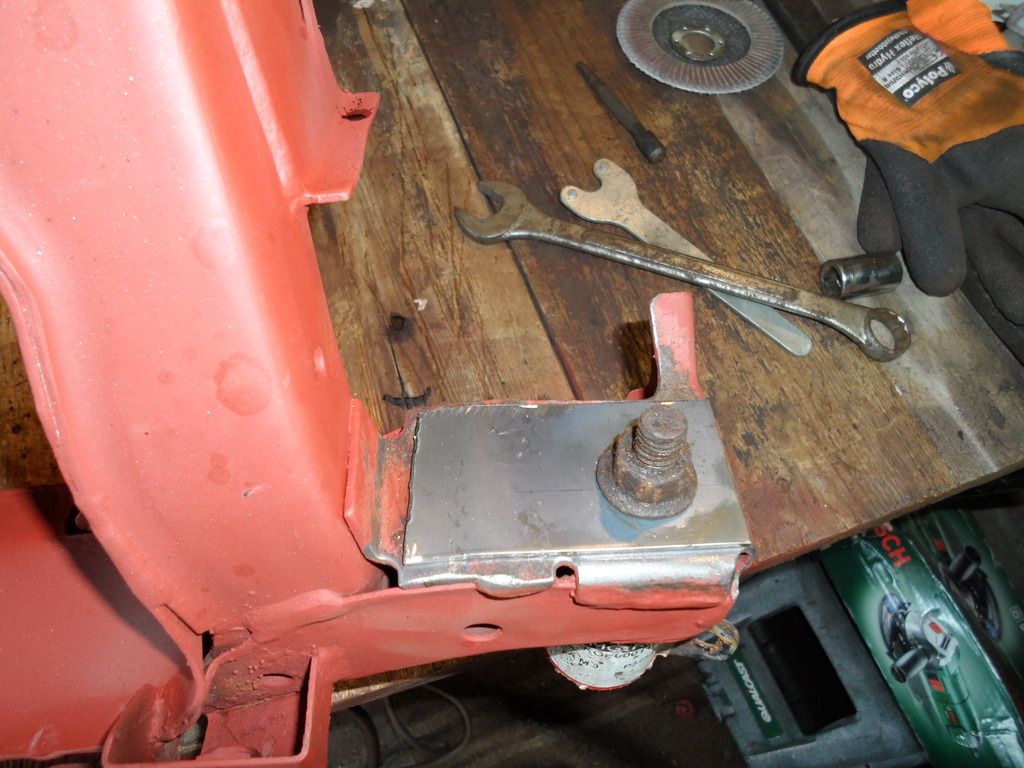
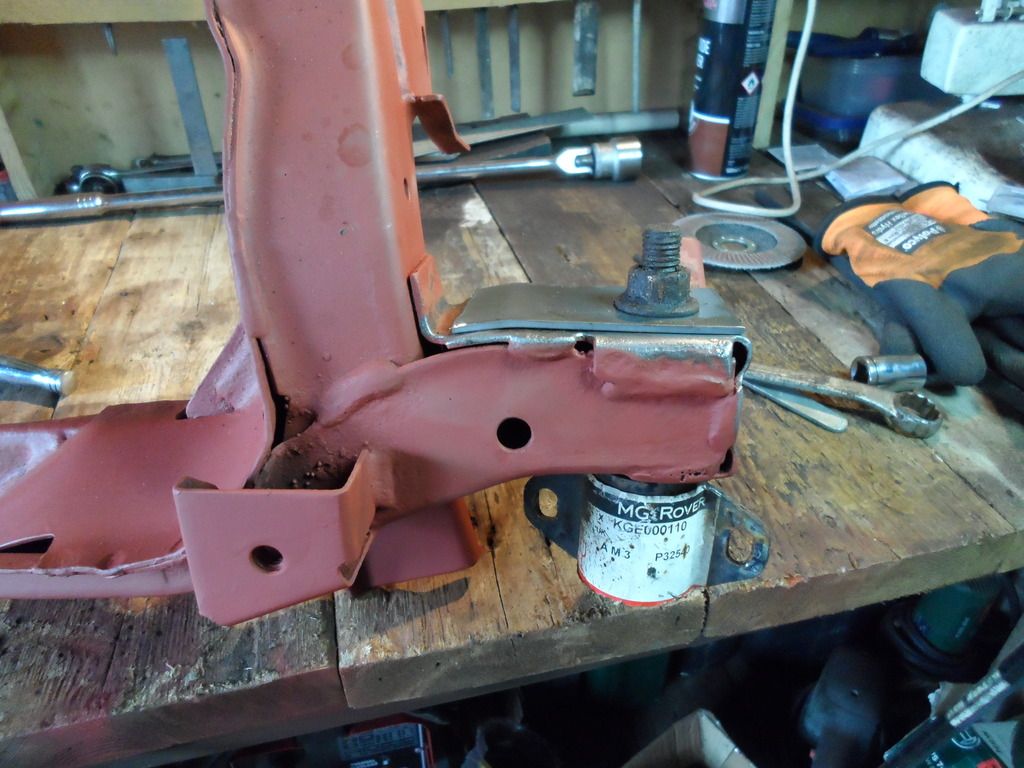
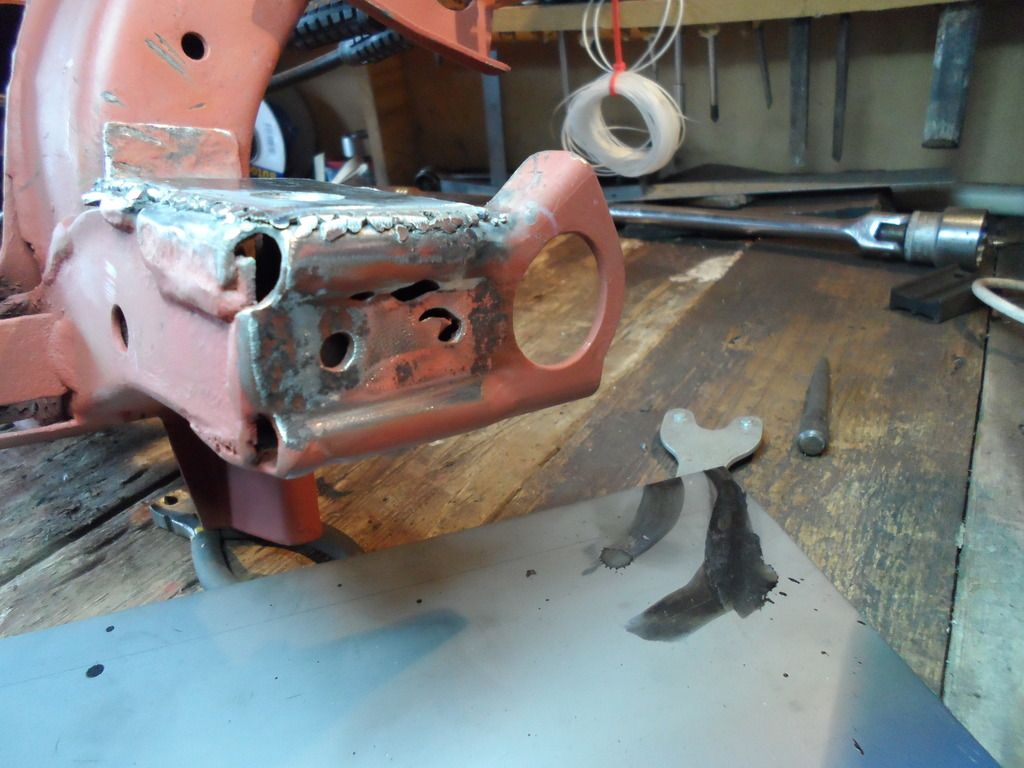
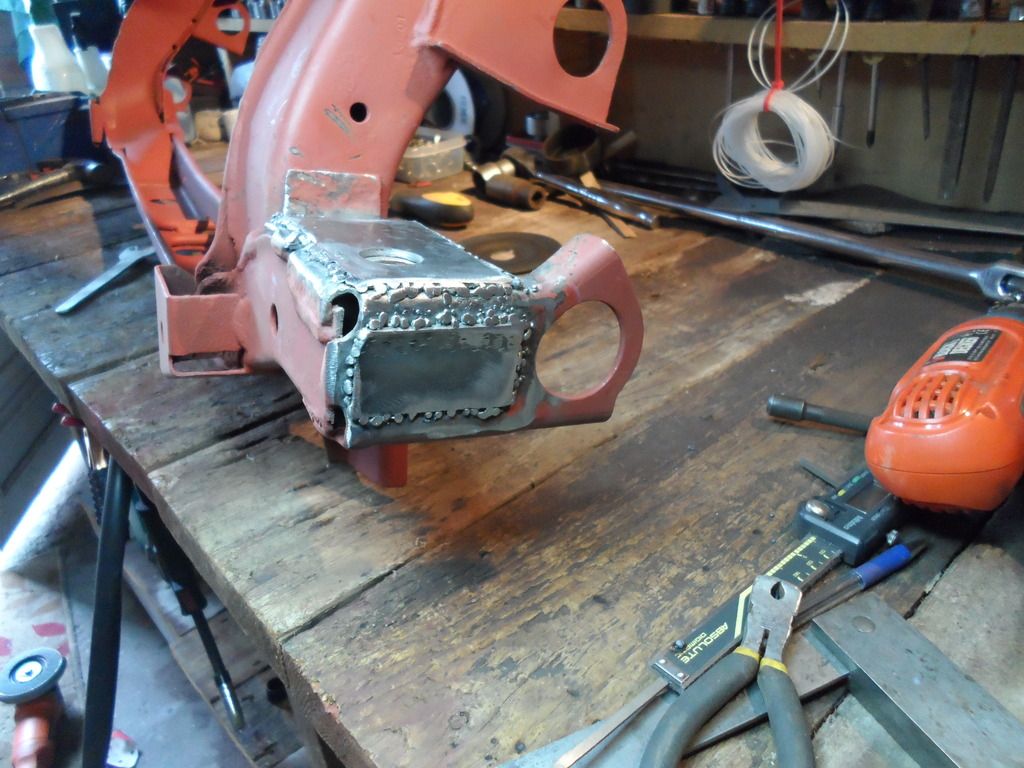
Yep... still need to practice welding but the hammer test proved that the plate are well and truely secure
A quick coat of red primer to protect the bare surfaces...
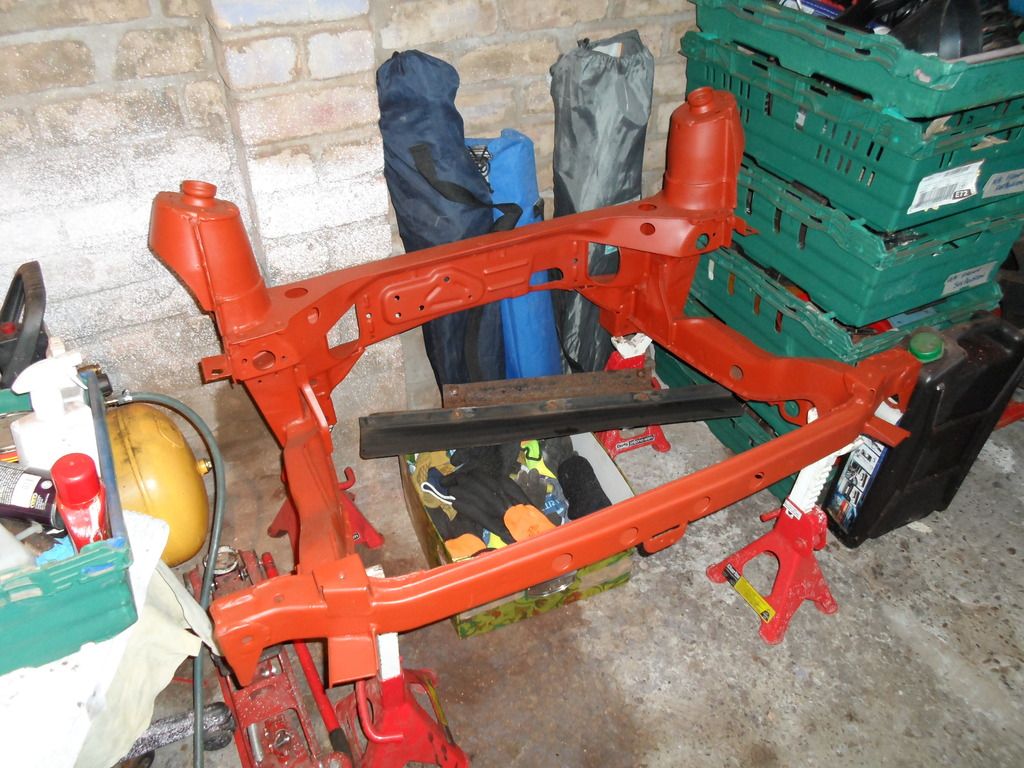
Thats it for the momment, more to follow... hoping to get a sand blasting cabinet soon, it'll make cleaning up of the hubs etc easier
PS: Fire extinguisher is close to hand :yesnod:
Please Log in or Create an account to join the conversation.
