Fitting a 4-2-1 Exhaust Manifold
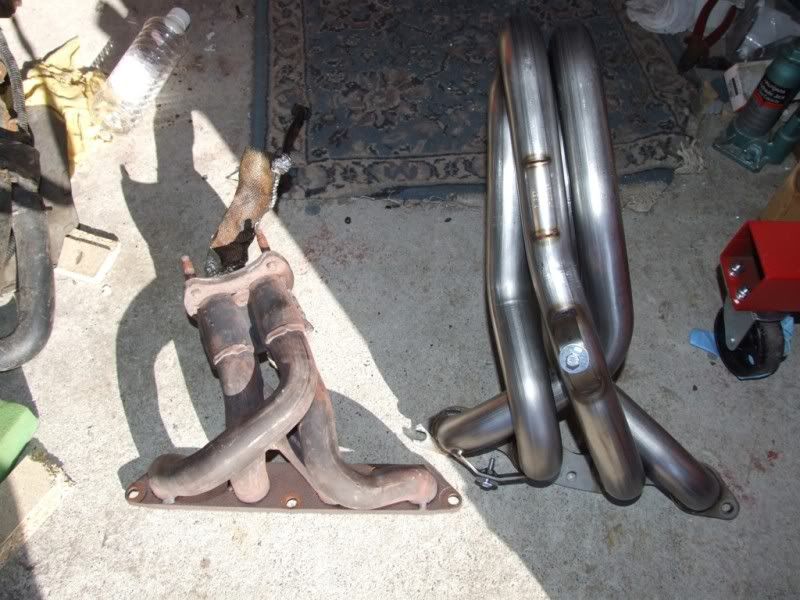
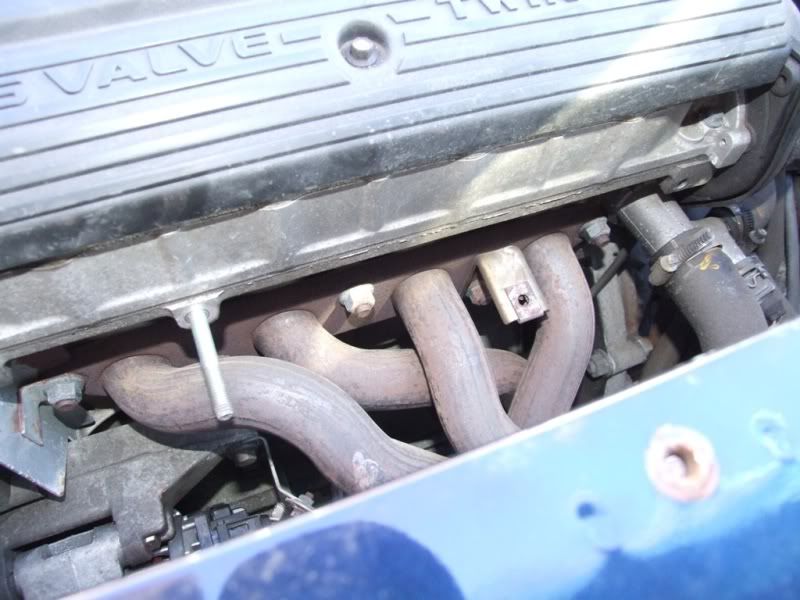
For those of you that don't know why or what a 4-2-1 manifold is, it is a performance modification to allow exhaust gasses flow more easily away from the engine. It normally consists of 4 of the same length tubes which are then merged into 2 tubes, which are then merged into one (hence the 4-2-1 name). It is also designed with the least bends and restrictions possible. In comparison, the original manifold goes from 4 tubes to 1 in a very short length, causing a bit more turbulence and restriction. The following picture shows the difference.
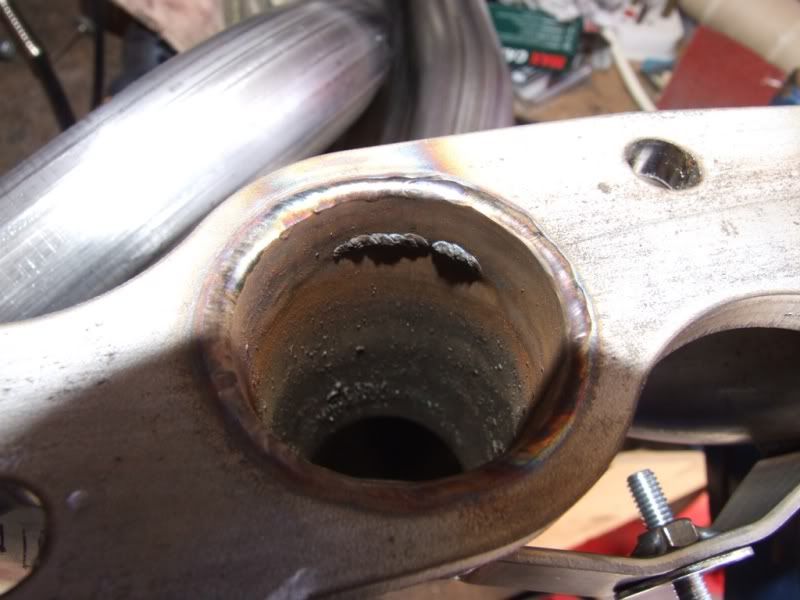
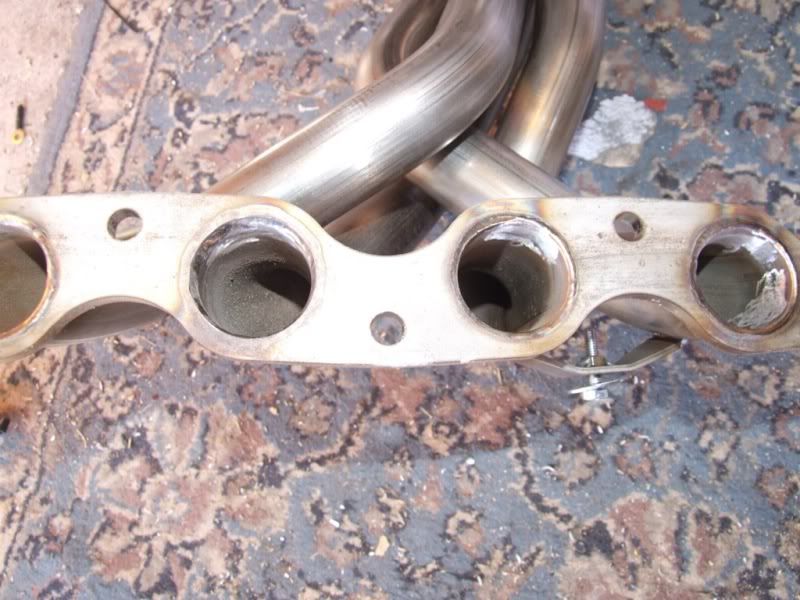
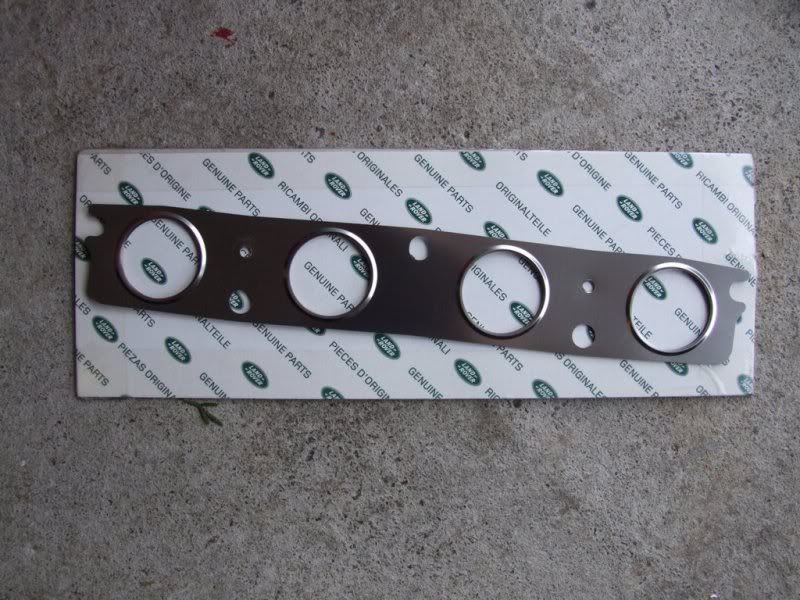
I was fairly disappointed to find a couple of nasty welds on the inside of the new manifold.
But nothing a Dremmel couldn't sort out.
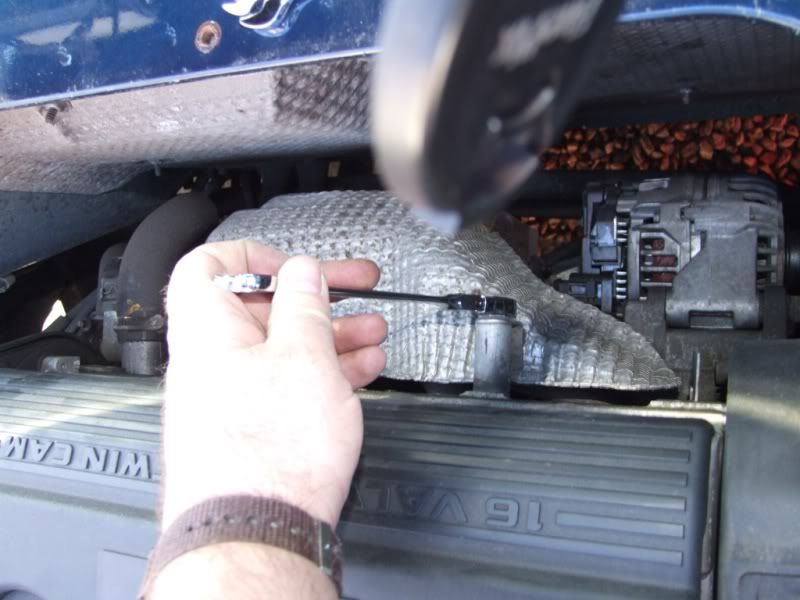
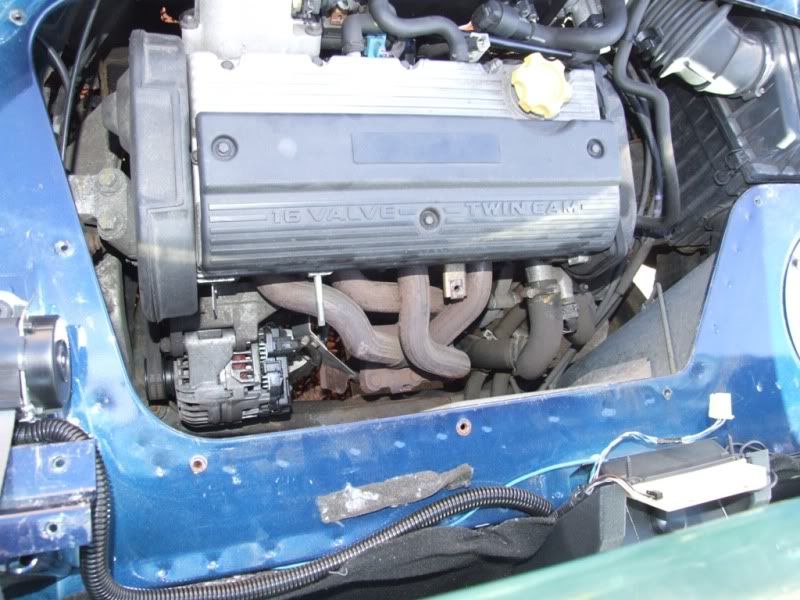
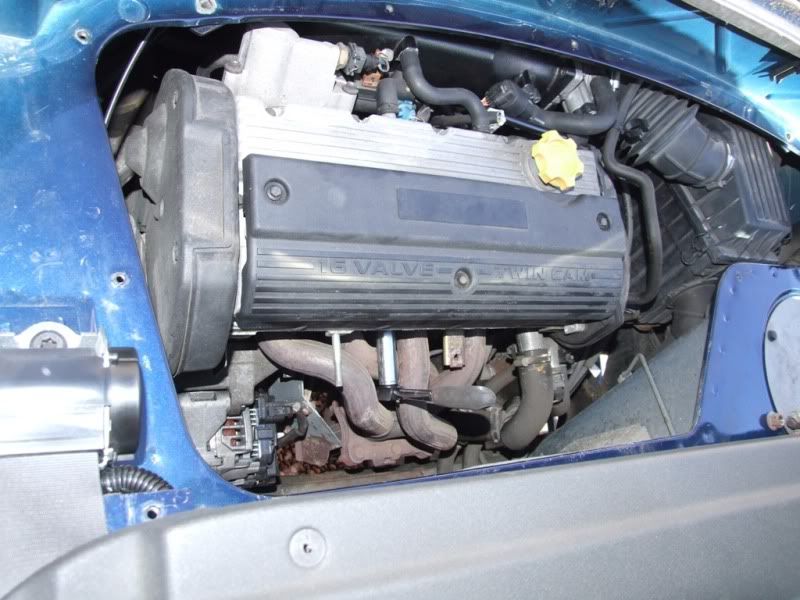
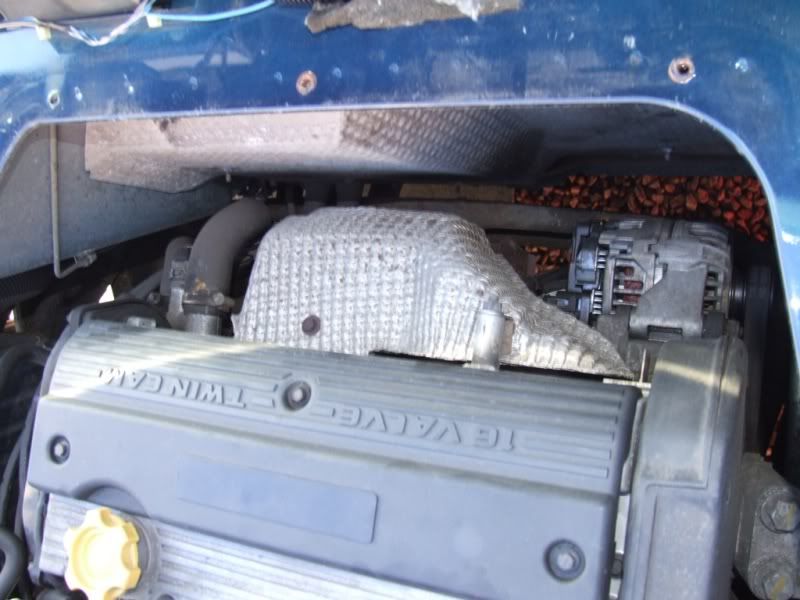
After removing the engine inspection panel and reversing up onto the ramps, the first thing I did was remove the heat shield.
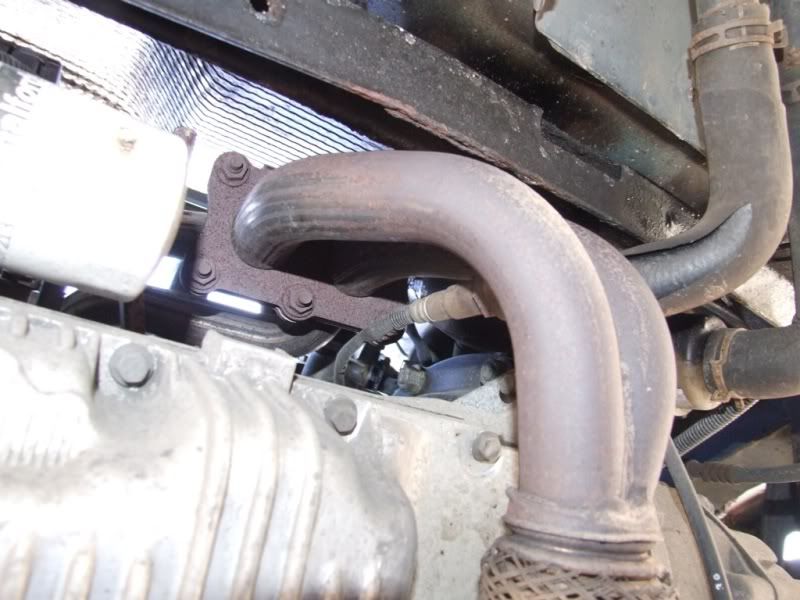
Which exposes the top end of the manifold and the 5 nuts that join it to the cylinder head.
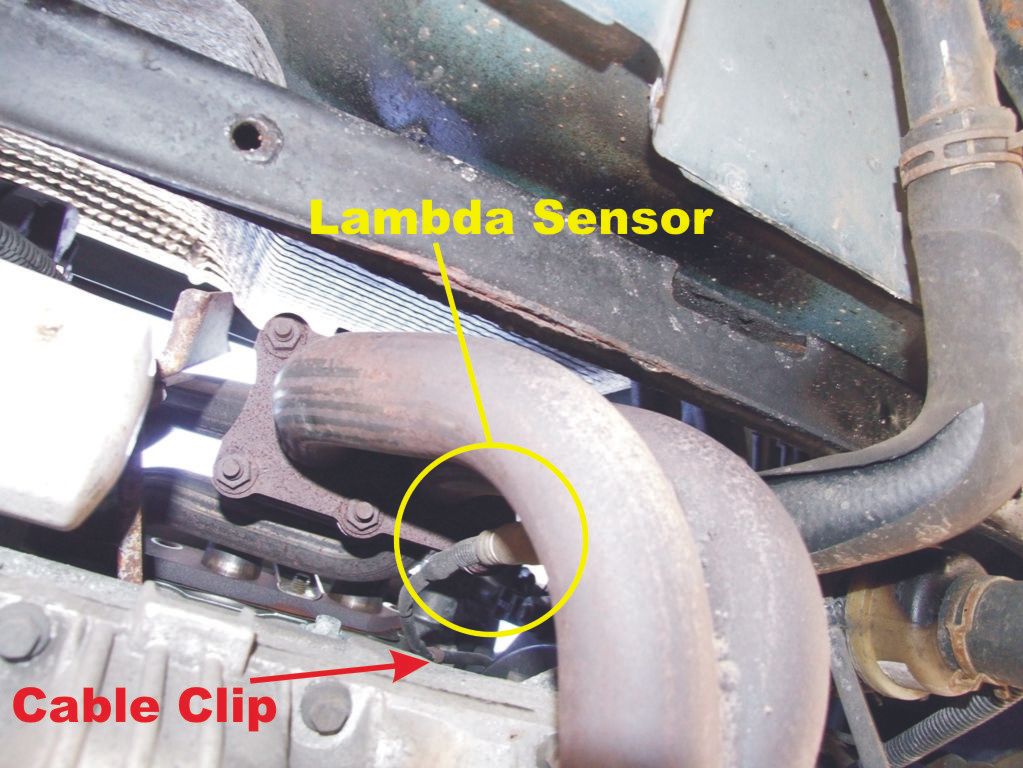
Before I removed these, I removed the O2 sensor below the manifold and unclipped the wire from the engine securing clip
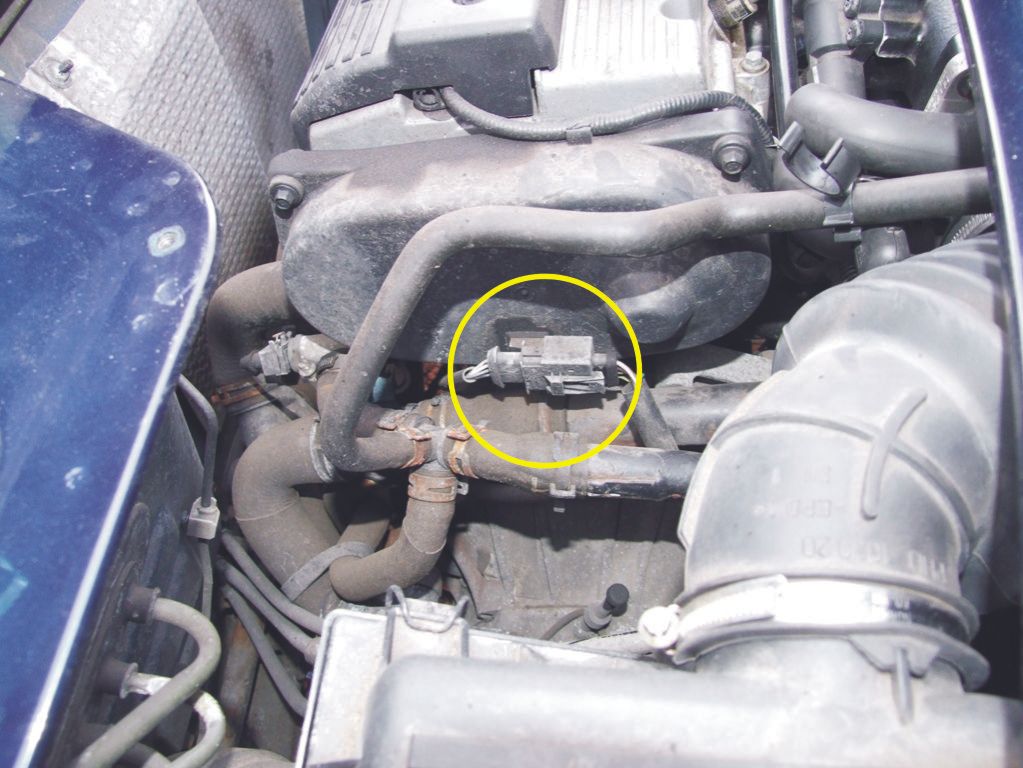
The plug for the O2 sensor (On the MG TF160) is clipped on the cam cover
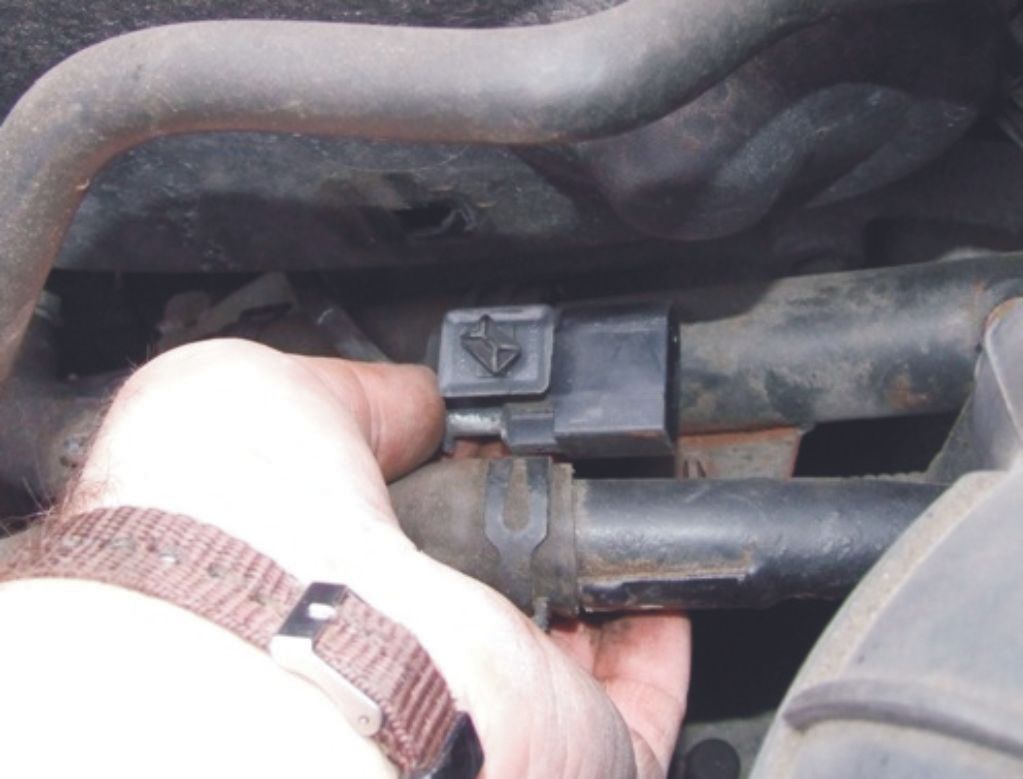
The O2 sensor end unclips and withdraws. The loom end of the clip rotates 45 degrees and withdraws. You will need to disconnect this from the cam cover as the O2 sensor will not reach once in its new location.
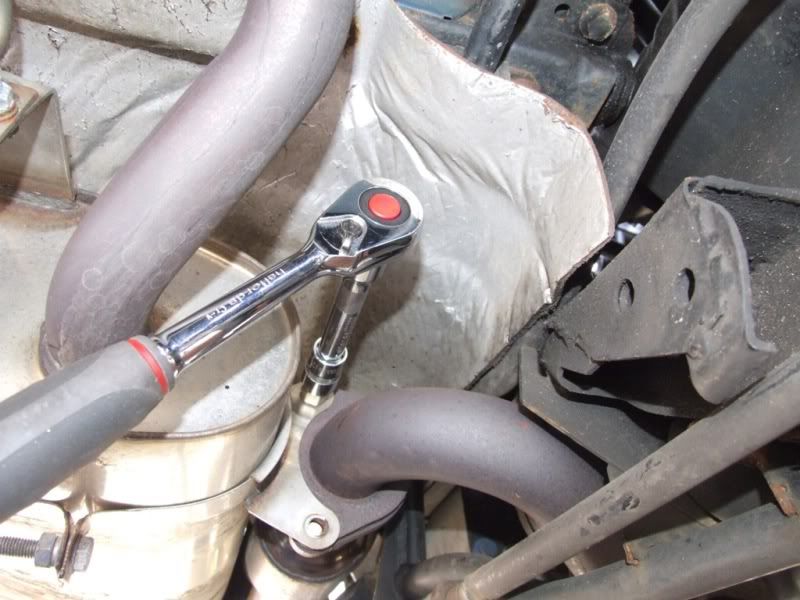
The 6 bolts securing the bottom half of the downpipe from manifold. The 2 furthest right bolts are a bit of a mare as the pipes are in the way
And the end of the downpipe/flexi pipe from the cat. Nice new cat saver nuts.
This just leaves the manifold now.
Undo the 5 nuts that hold the manifold onto the engine. There is a gasket between the manifold and head.
Unfortunately, as is often the case, when you undo the nuts holding the manifold to the head, it is normally the stud that comes out. Don't worry as they are fairly easy to put back in. For those of you who are experienced engine people, look away now.
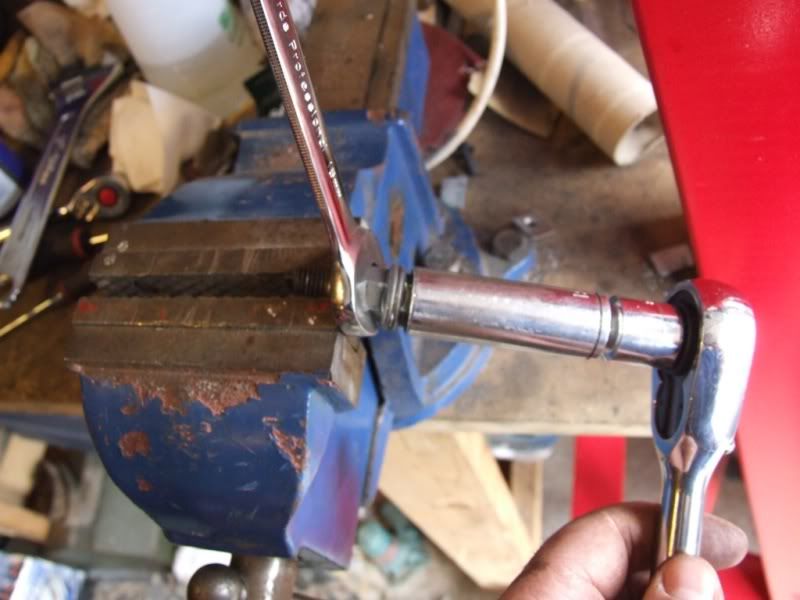
If you take a stud, place a nut on the manifold end, and then, holding that nut with a spanner, tighten another nut up against it.
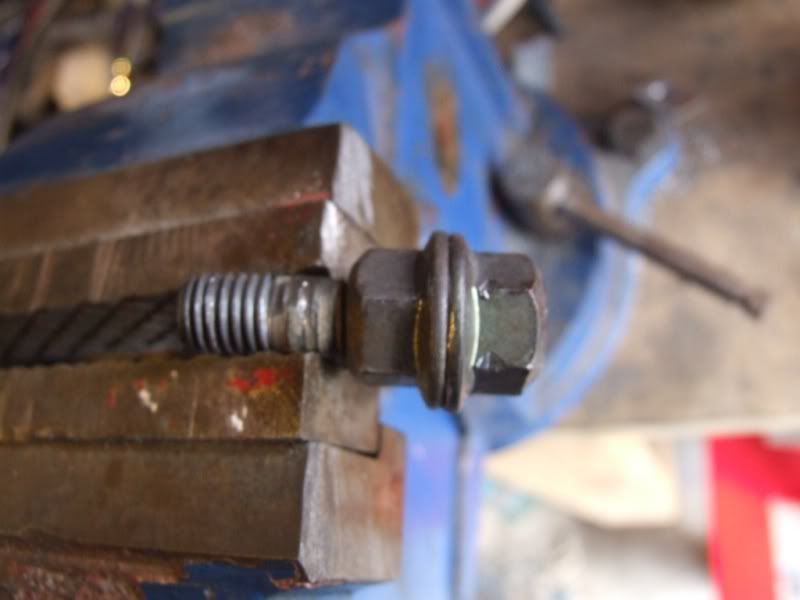
And this will leave you with your stud looking like this
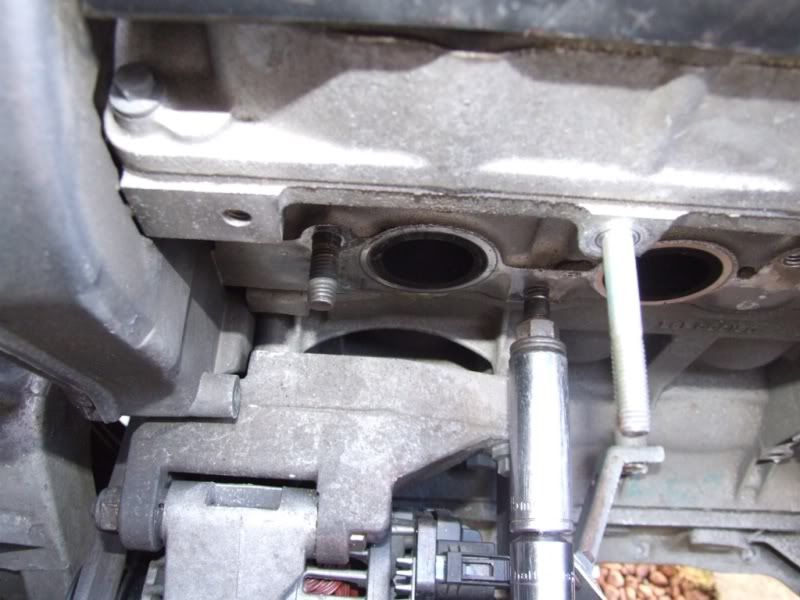
You can then tighten the stud back into the head. Do not over tighten as the head is aluminium and it can be easy to strip the threads.
To release the nuts, simply hold the inner nut with a spanner and loosen the outer nut. They should now both be easy to remove, leaving the stud in place.
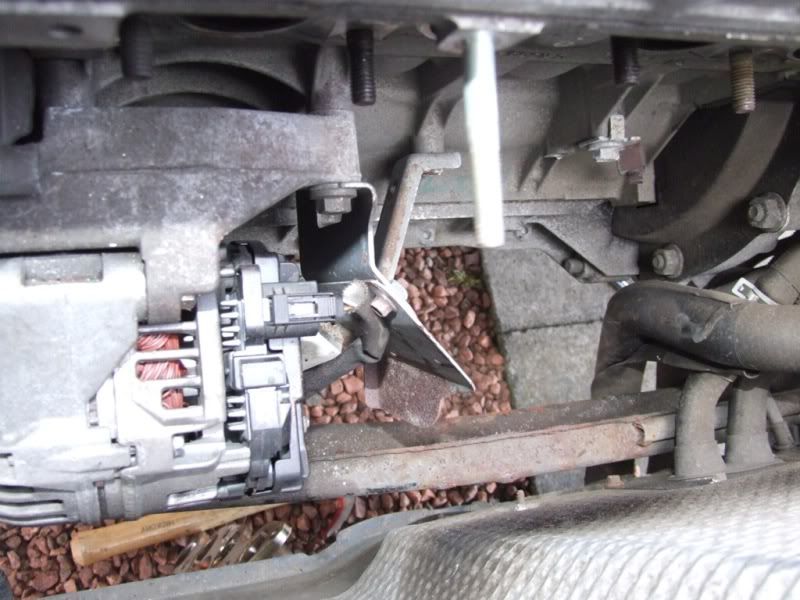
The studs are now back in place and we can see the space where the manifold used to be.
Now fit the new gasket over the studs ready for the new manifold.
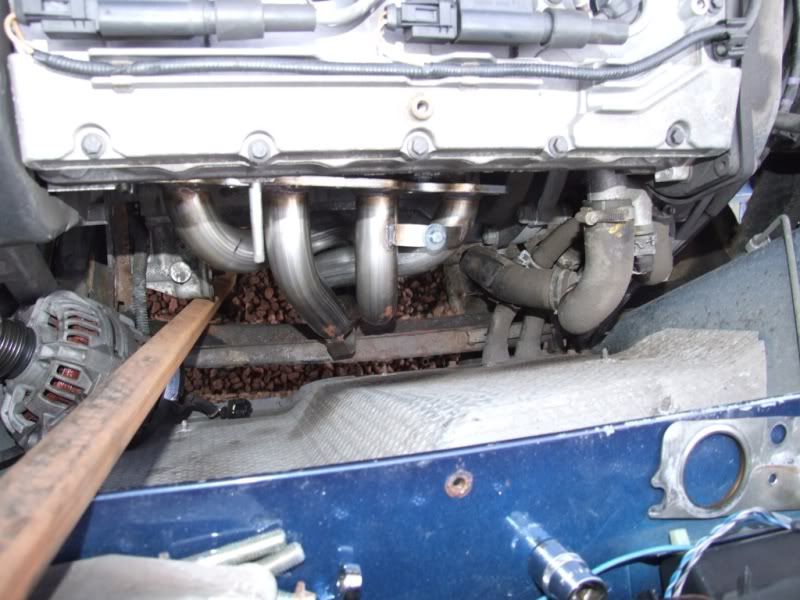
Now comes the easy part, yeah right, believe that and you believe anything. I spent at least 2 hours trying this way and that to get the new manifold in from the top. It will not go. I removed the alternator heat shield and bracket, I even removed the new alternator to give a little more room. Still no joy.
I then decided to go in from underneath the car. Nope. Oil filter was in the way. Banged my head against the ground. Nope, that didn't help either.
Bit the bullet and dumped the oil and removed the oil filter. This gave just enough room so that I could get the manifold jammed in a position I couldn't get it in or out. Banged my head a bit more.
Eventually I decided to use a lever against the oil filter housing to move the engine block back a little to give me more clearance. Before anyone tells me I shouldn't have levered there, I was moments away from removing the engine with my teeth, so it was the lesser of two weevils.
What I would do different now is I would undo the bottom engine mount, which would allow the engine to move easily and wouldn't have needed a lever.
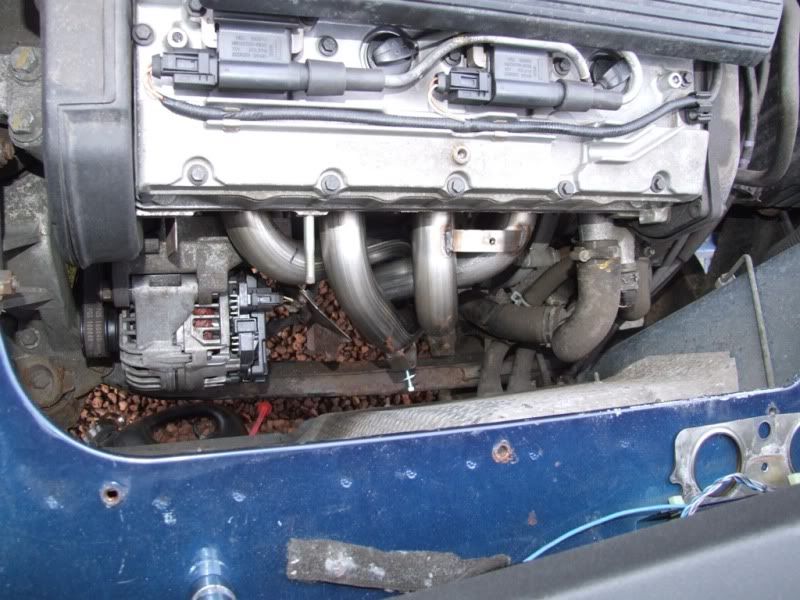
So, after a little gentle persuasion, the manifold was put in place and the nuts tightened. The alternator/heat shield was replaced and a new oil filter fitted.
And lastly the heat shield goes back on
The only other bits left to connect are the O2 sensor and the flexi section.
I tried fitting the O2 sensor before fitting the manifold, it just got in the way and was in danger of getting damaged. I fitted it once the manifold was in place. This was a mistake as well, due to the lack of clearance. I would recommend fitting it after you have got the manifold in place, but before you tighten it onto the head.
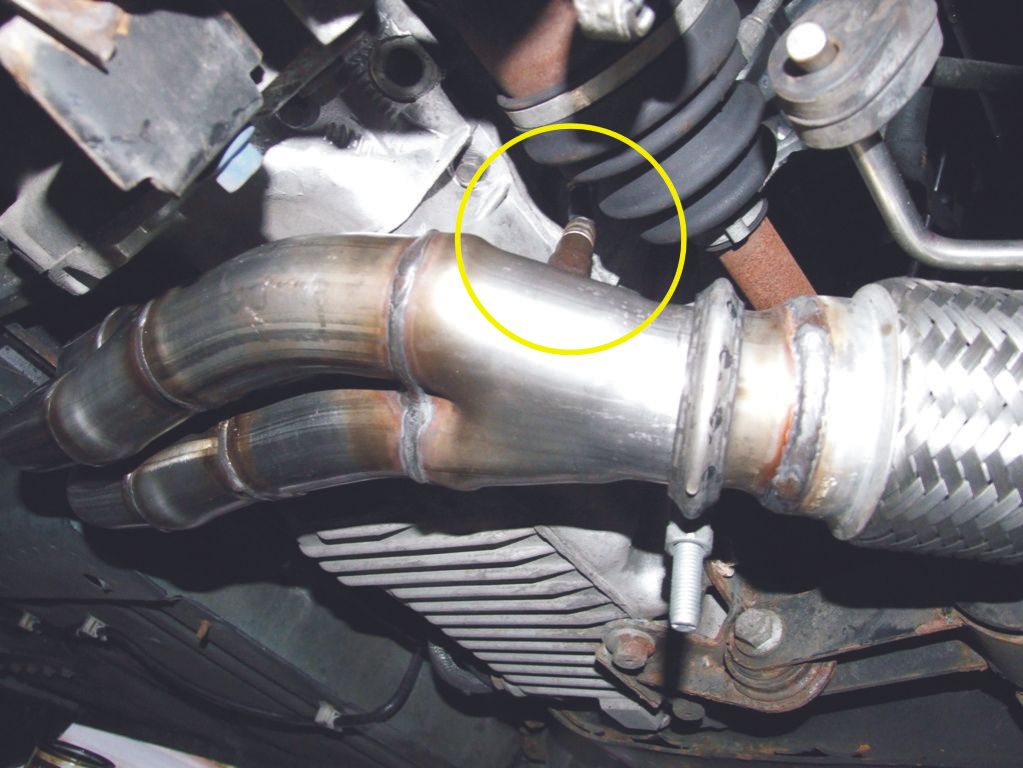
The new position for the post cat sensor is now to the rear of the engine, very close to a drive shaft.
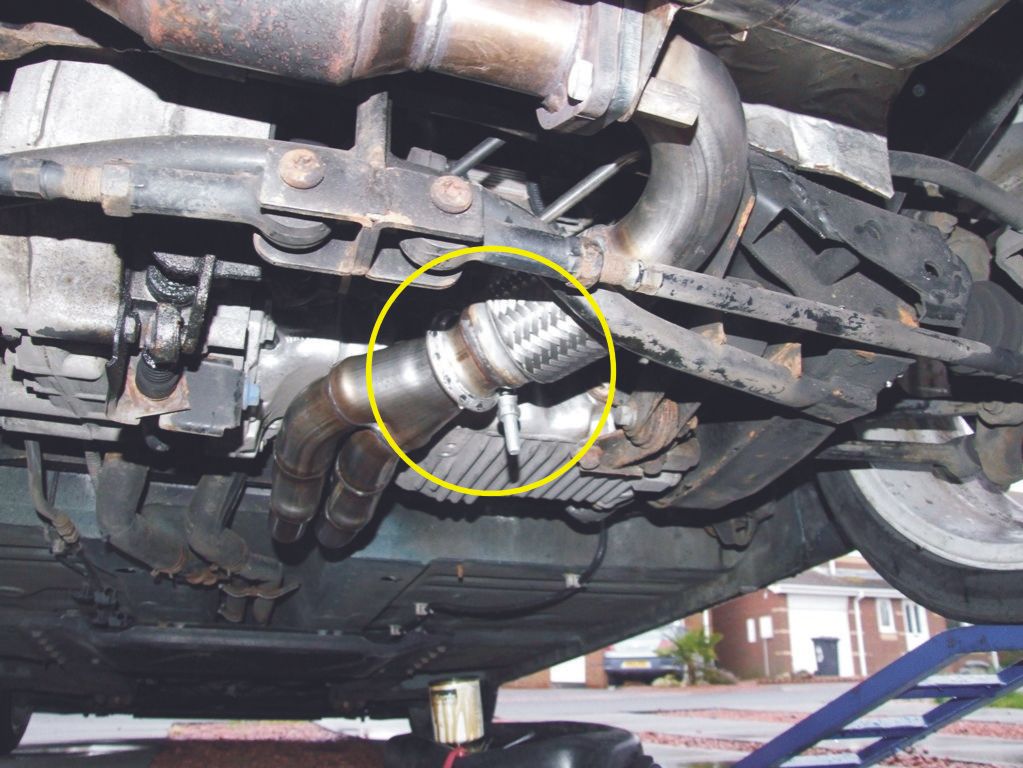
You can now fit the flexi section between the manifold pipe and the cat. The manifold side fits inside each other and a hollow round clip fits over, when tightened it pulls the 2 sections together. The cat end just connects using the 3 normal bolts and nuts.
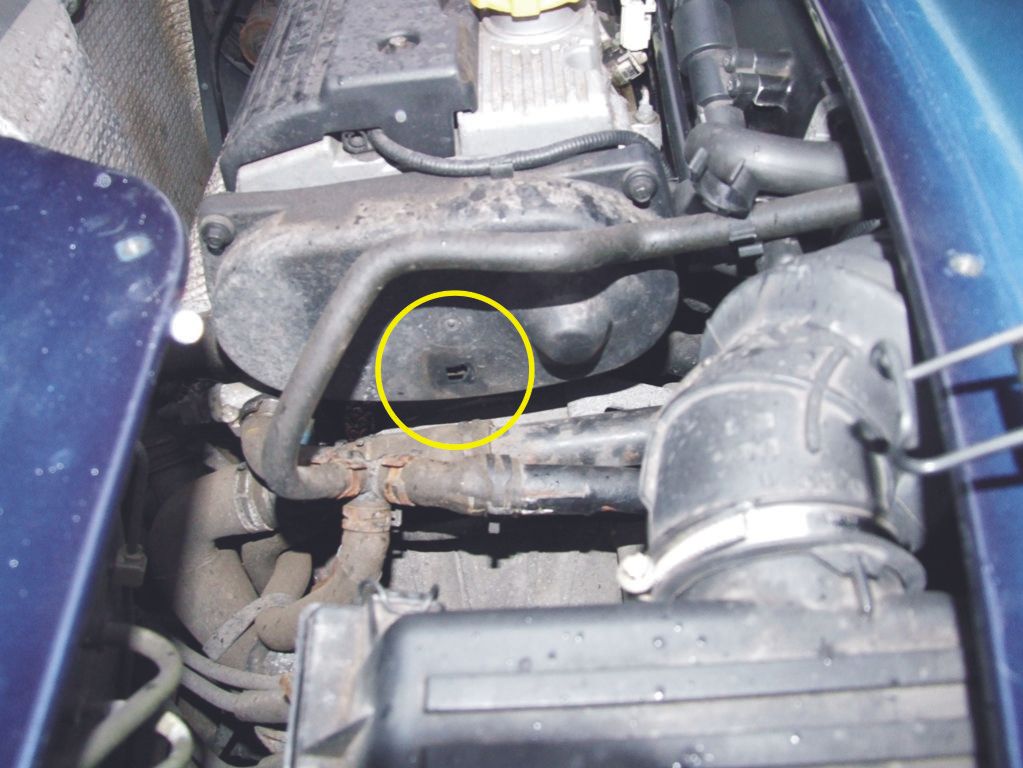
The O2 plug now connects somewhere down below the throttle body, leaving a small rectangular hole in the cam cover where it used to be. Might seal it up sometime.
And, apart from putting all the bits you have taken off back on, that is the manifold fitted.
If anyone tells you this is a 2 hour job, laugh at them in a knowing way.
Last Edit:10 years 11 months ago
by cjj
Last edit: 10 years 11 months ago by cjj.
Please Log in or Create an account to join the conversation.
- Rich in Vancouver
-
 Offline
- Senior MGer
-

- Posts: 1882
- Thanks: 666
Replied by Rich in Vancouver on topic Fitting a 4-2-1 Exhaust Manifold
Posted 10 years 11 months ago #137573
Another great how-to Clive-Well done! :woohoo:
Did you undo the lower engine mount to make levering the engine easier?
Did you undo the lower engine mount to make levering the engine easier?
Please Log in or Create an account to join the conversation.
Replied by Argen69 on topic Re:Fitting a 4-2-1 Exhaust Manifold
Posted 10 years 11 months ago #137578
Yes another great how-to.
I will have to remember to fit mine before I put the engine and subframe back into the car!
I will have to remember to fit mine before I put the engine and subframe back into the car!
by Argen69
Please Log in or Create an account to join the conversation.
You shouldn't have levered there, Clive. Two hour job well done, great pictures as usual. :woo2:
by really?
Please Log in or Create an account to join the conversation.
I know, but it wasn't a huge force applied.
If I did it now I would remove the lower engine mount. Don't think I did then, but that was many many years ago.
If I did it now I would remove the lower engine mount. Don't think I did then, but that was many many years ago.
by cjj
Please Log in or Create an account to join the conversation.
Rich in Vancouver wrote: Did you undo the lower engine mount to make levering the engine easier?
Have added this info.
by cjj
Please Log in or Create an account to join the conversation.
Time to create page: 0.491 seconds

