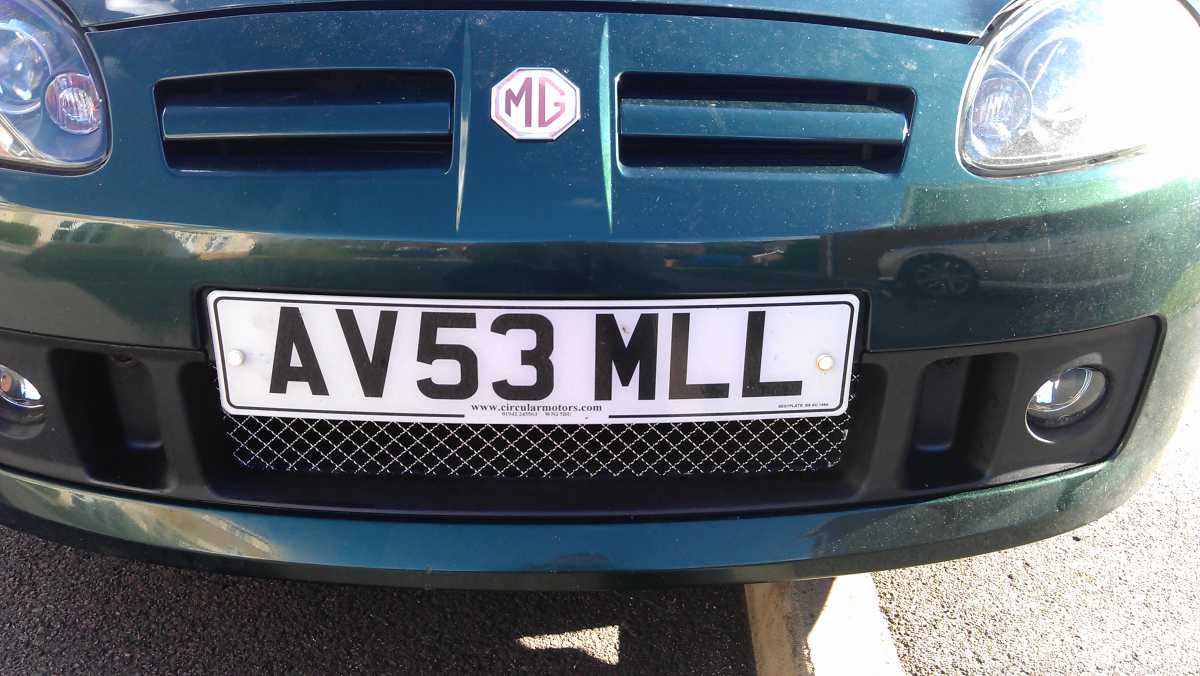
TF Front Meshing Guide
First off take your bumper off.
There’s a very good guide here:
Bumper removal.
You will have something like this:
Now lay the bumper on something flat and cosy (green blanket) and turn it upside down so you can see the original mesh (if you have one).
You will notice near the mesh there is a plastic wind to radiator thing that draws air through the mesh and into the radiator. This is held on by two screws in the corner and three plastic plugs.
To remove it push a screw driver through the top of the three plastic lugs they just push out.
Then remove the plastic lug and the wind draw thingy will come off in one go.
Next..
You will see the mesh in all its glory, it is held on by a few cross drive screws. Don’t know if they are Phillips or pozi but my Halfords screw driver fitted fine so take them out and keep them somewhere safe.
Then measure the current mesh that you’ve just taken off and make a replica with the meshing of your choice. I used the Halfords diamond stainless steel mesh (it was £5 a sheet once upon a time).
Then apply blobs of silicon or glue of your choice near the screw holes and around the edge a bit, this is just to bond it on a bit better and screw your screws back into place.
Replace the wind sucker radiator thing back on with the three lugs.
Refit your bumper and admire your handy work.
Here's some photos.
Before the mesh:
After the mesh:
I was faffing about with fog lamps at the same time. The mesh didn’t take that long, taking the bumper off was another story I had a few hours of pain using a variety of tools to remove some problematic plastic screws and rotten ‘rover oem’ quality metal screws from the front wheel arch.
I have the measurements in the garage so you can save some time cutting the mesh before hand, I will post these up once I’ve found my scientific piece of cardboard I wrote the measurements on. I used bolt croppers to cut the mesh as my side cutters were not good enough.
Next to follow is some side vent meshing
Last Edit:11 years 6 months ago
by bensewell
Last edit: 11 years 6 months ago by Leigh Ping. Reason: Link to bumper removal fixed :)
The following user(s) said Thank You: Leigh Ping
Please Log in or Create an account to join the conversation.
- Leigh Ping
-
 Offline
- Moderator
-

- Posts: 6838
- Thanks: 1631
Another great guide Ben! Good job. :broon:
Now in the bling mods section of the 'how to' guides. :broon:
Now in the bling mods section of the 'how to' guides. :broon:
Last Edit:11 years 6 months ago
by Leigh Ping
Last edit: 11 years 6 months ago by Leigh Ping.
The following user(s) said Thank You: bensewell
Please Log in or Create an account to join the conversation.
Time to create page: 0.499 seconds


