Scuttle Panel - How to replace.
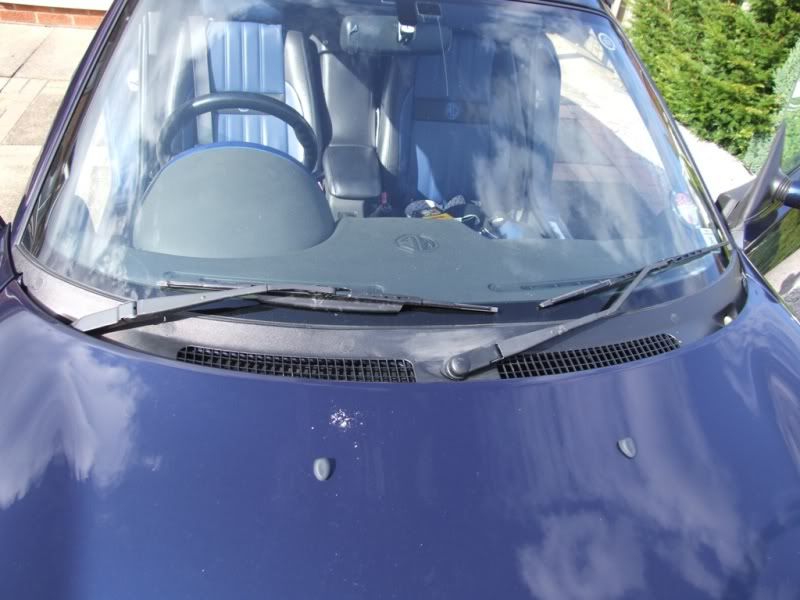
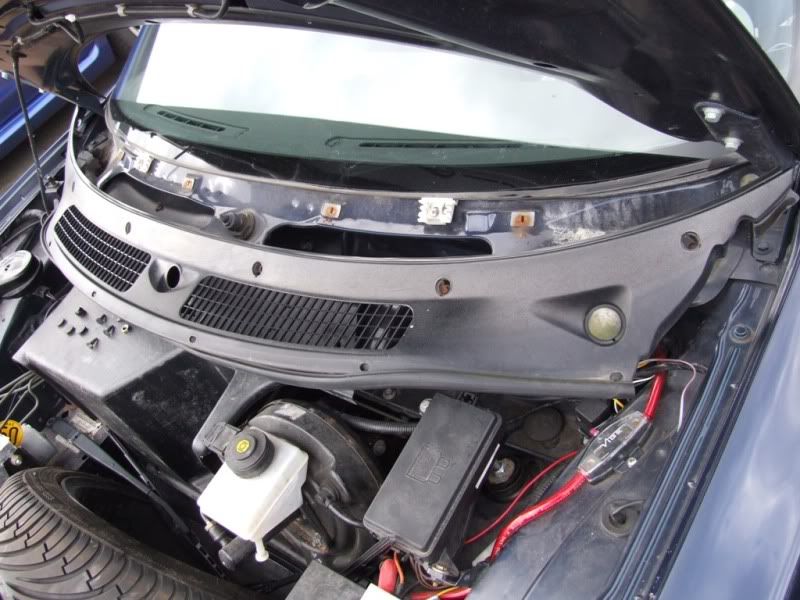
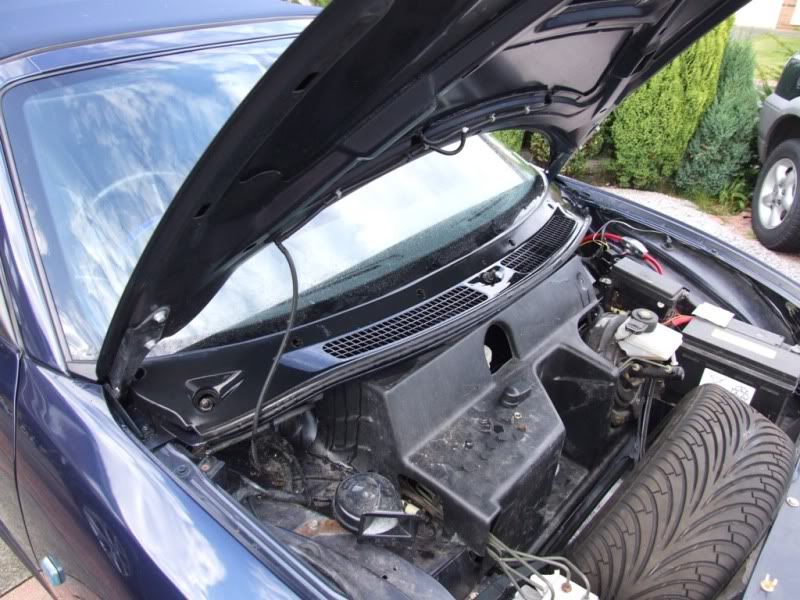
For those that don’t know, the scuttle panel is the plastic trim that sits at the bottom of the windscreen, under the wipers.
When I was doing some fibreglass work I managed to drip some resin on the scuttle panel and it created a light grey stain that I have never been able to remove.
I bought a replacement panel about a year ago, but never got around to fitting it, so yesterday was the day.
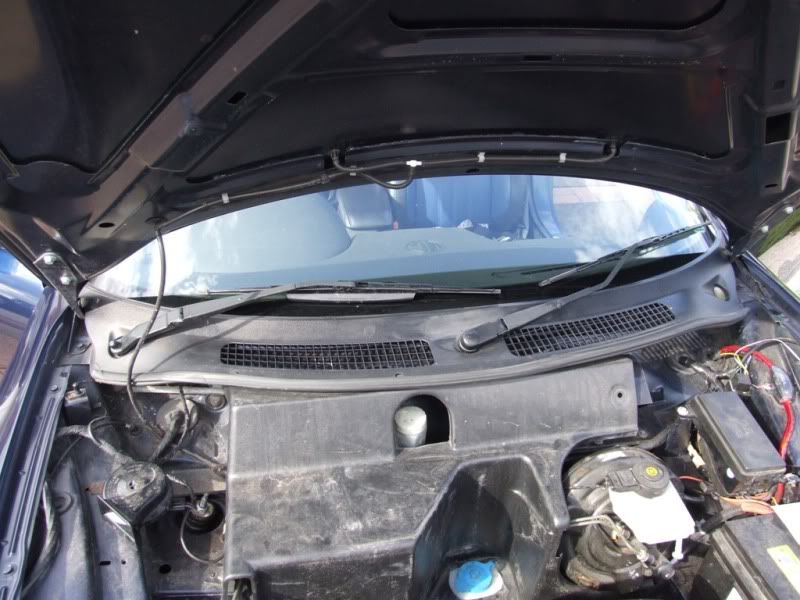
First thing to do is open the bonnet and remove the wipers.
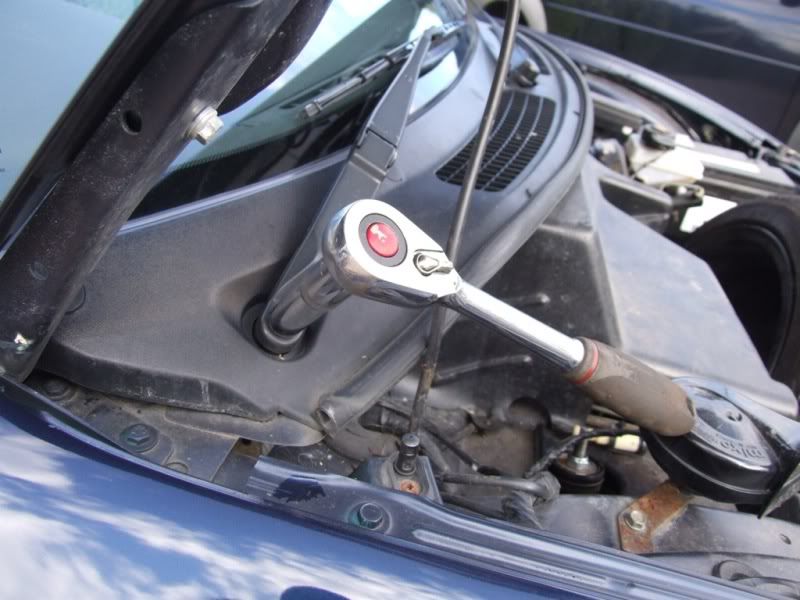
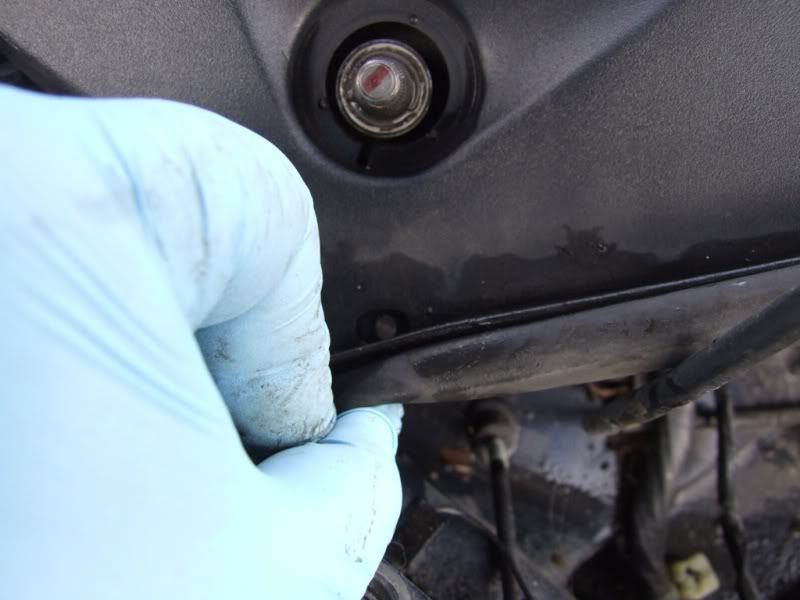
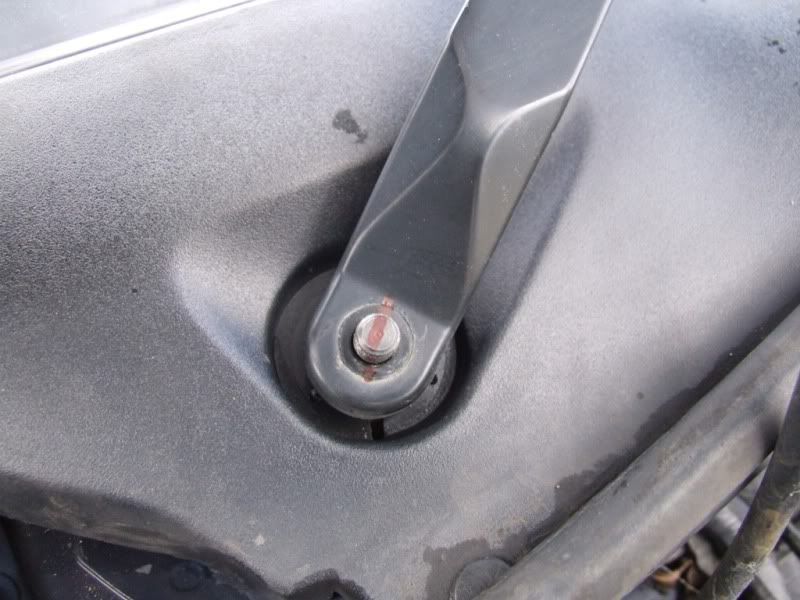
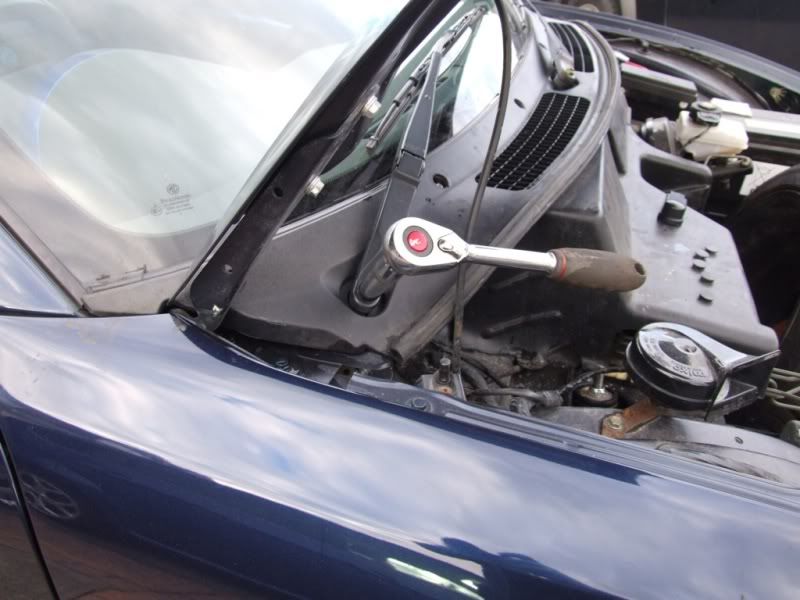
There is a 13mm plastic coated nut holding the offside wiper on. Remove this.
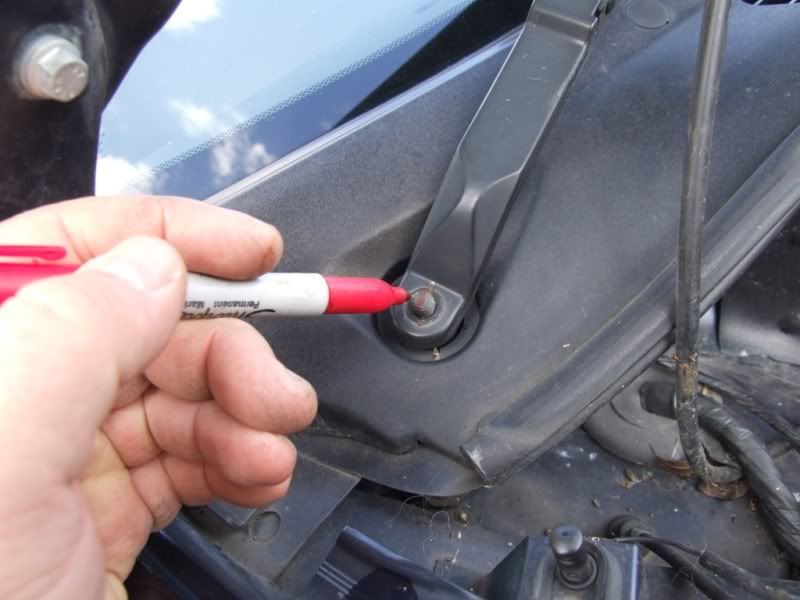
And use a marker pen to draw a line across the wiper arm and the drive shaft. This will help you put it back in roughly the same place.
The arm is pushed onto the drive shaft which is splined. It has probably been there for a while so may not come off easily. While pulling upwards, rock the arm and it should work it’s way up the splined shaft until it comes off. If you have trouble then apply some release oil, buut try not to get it on the windscreen or wiper blade as it will be a right mess next time it rains.
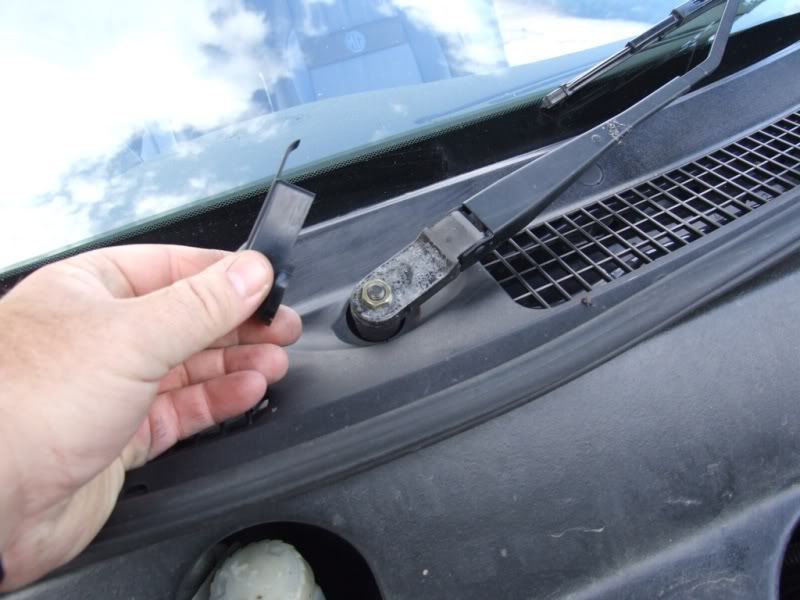
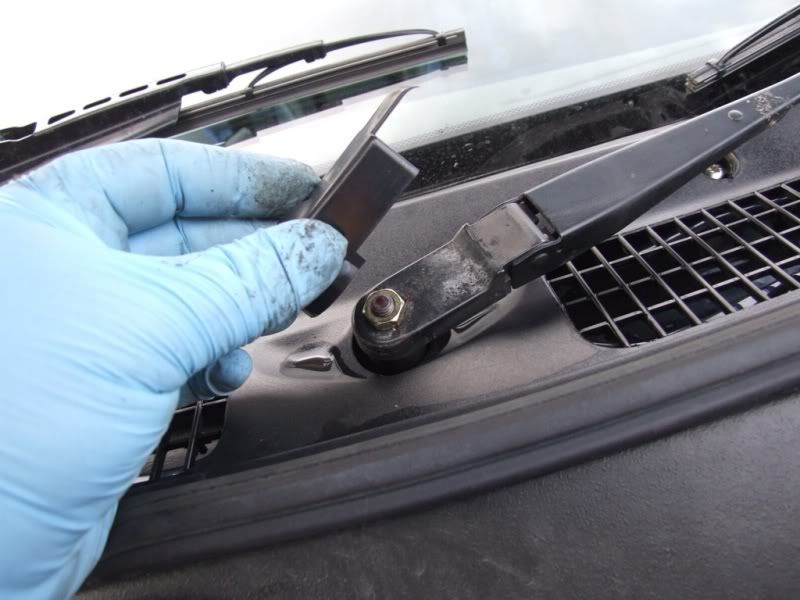
The nearside wiper arm has a cover over the nut. This should just pull off revealing the 13mm nut.
Remove the nut and arm in the same way as the offside arm.
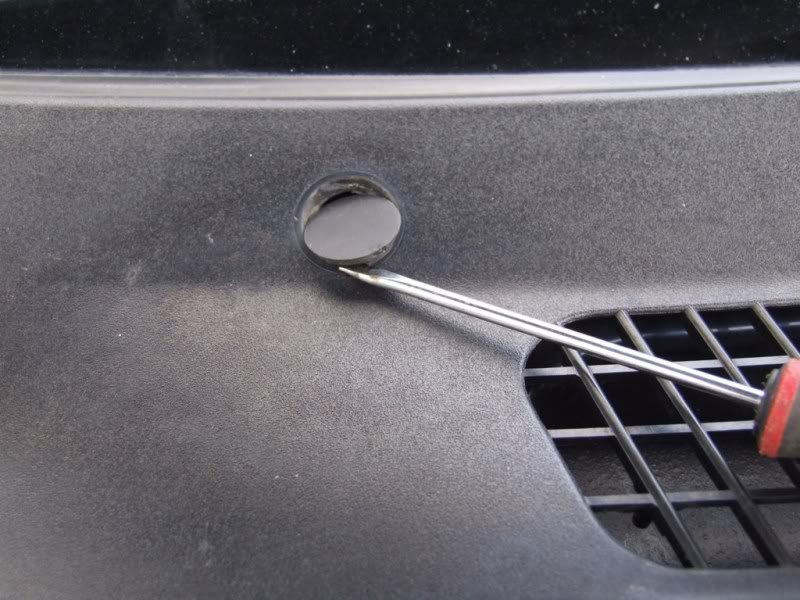
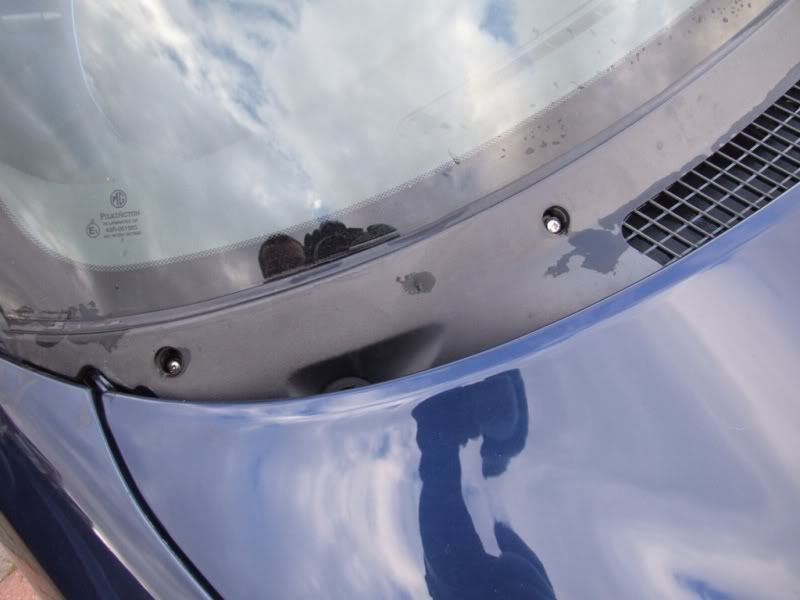
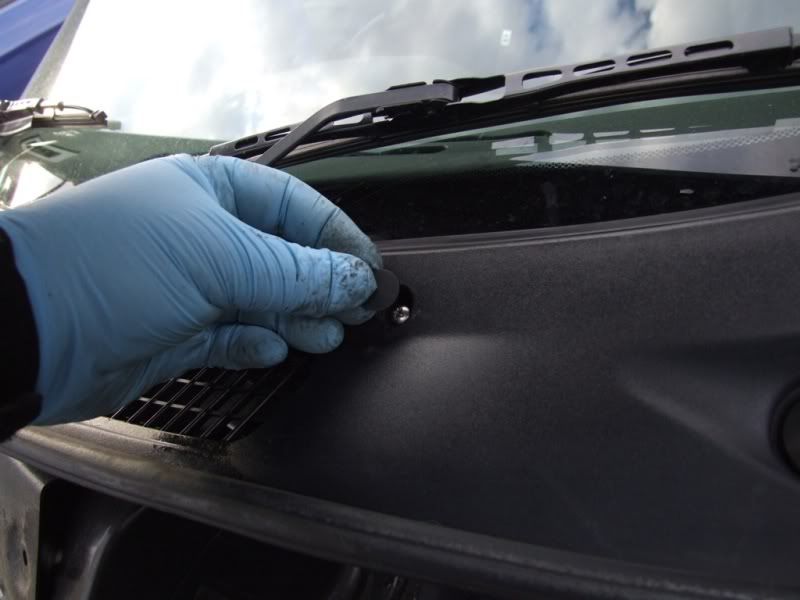
Next, using a small flat bladed screwdriver, prise off the caps that cover the fixing screws.
Until all 6 caps are removed.
Once the caps are removed, use a large crosspoint (Philips) screwdriver to undo and remove the six securing screws. Be careful with these as they may be rusty and if you round them off you may end up drilling them out.
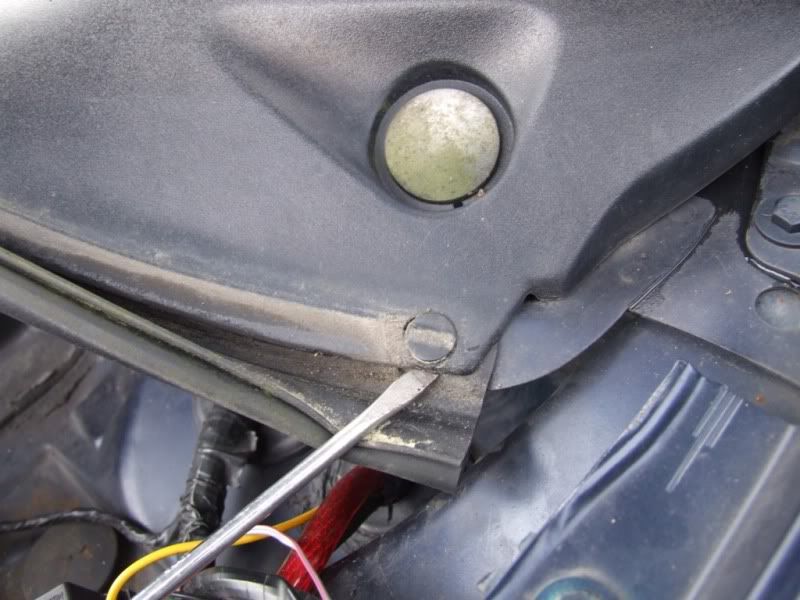
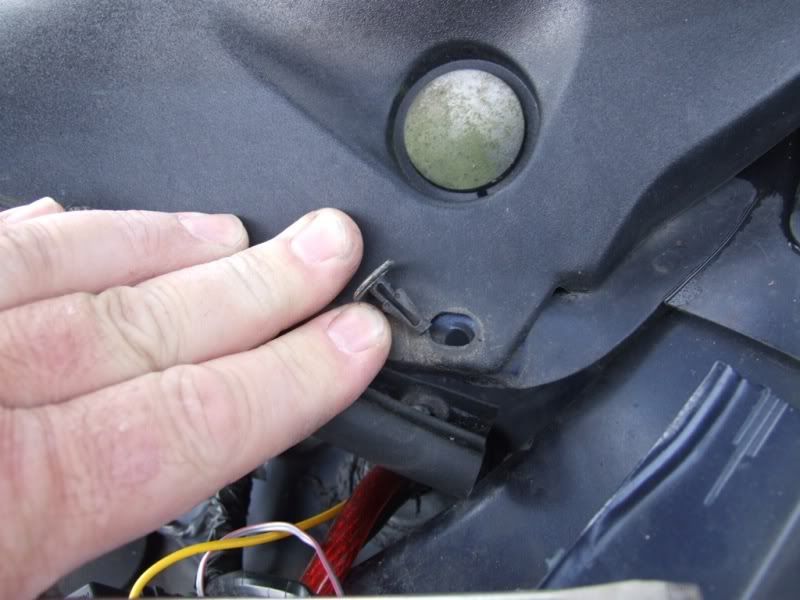
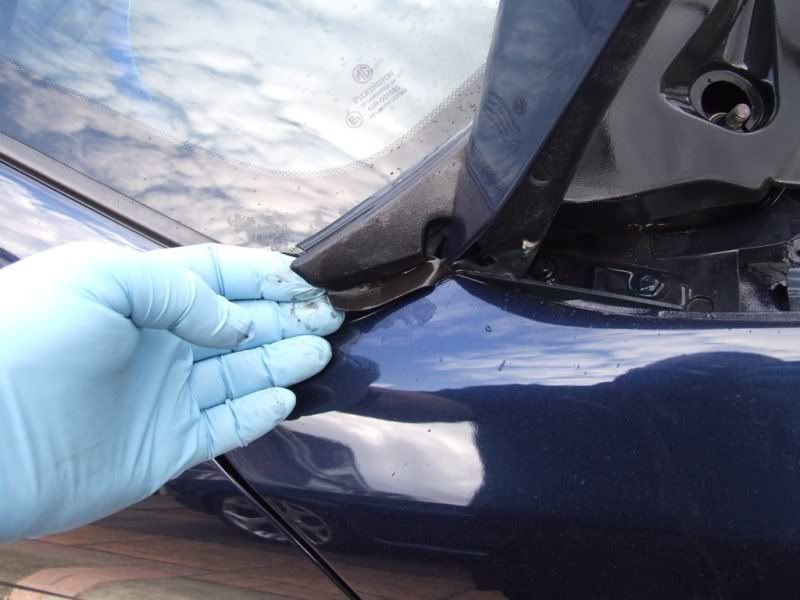
Now remove the clips that hold the leading edge of the panel and the rubber seal to the bodywork.
Lift the seal and use a flat bladed screwdriver to lever the push in clips out of their holes.
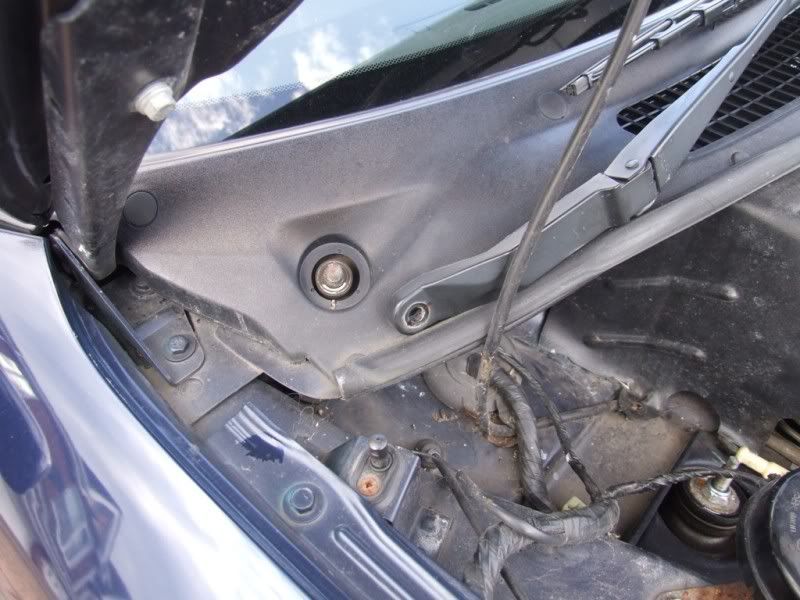
The scuttle panel is now free to remove.
Carefully bend the panel so that you can ease the corners out past the bonnet hinges.
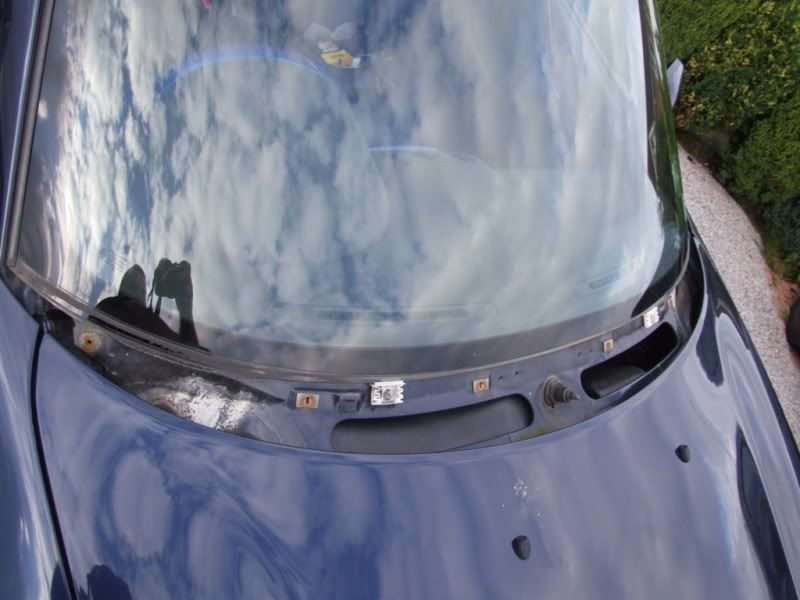
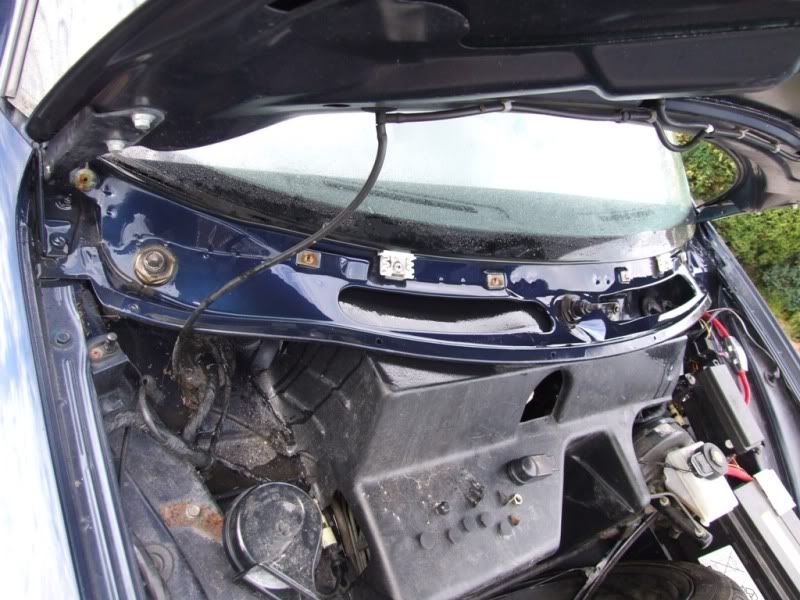
And the panel can be removed.
Now would be a good time to get a wet cloth and clean the area that is now exposed. It might not have seen daylight since the car was built. Also, touch up any rust that may now be exposed.
When you are ready to fit the panel, place the panel over the wiper drive shafts
And manoeuvre the edge/corners until they sit correctly around the bonnet hinges. There is a flexible seal at the edges and this should tuck under where it meets the wing top.
Now screw the panel screws back into the plastic clips. I replaced my rusty screws with new stainless screws.
Now line up the holes on the leading edge and push the plastic pin/clips through so that they go through the scuttle panel, the rubber seal and the metal bodywork.
Now replace the wiper arms, lining up the arms with the line you drew earlier, and push down to locate it on the splines. If the wiper looks too high or low when parked you can always remove it again and rotate one or two splines as necessary.
Now refit the nut
And refit the nearside wiper arm, remembering to refit the cover.
Push the screw cover caps back into place. You need to line them up for them to fit properly.
And admire your handywork. You have now refitted the panel.
A word of caution when levering the screw cover caps off. They can come off at great speed.
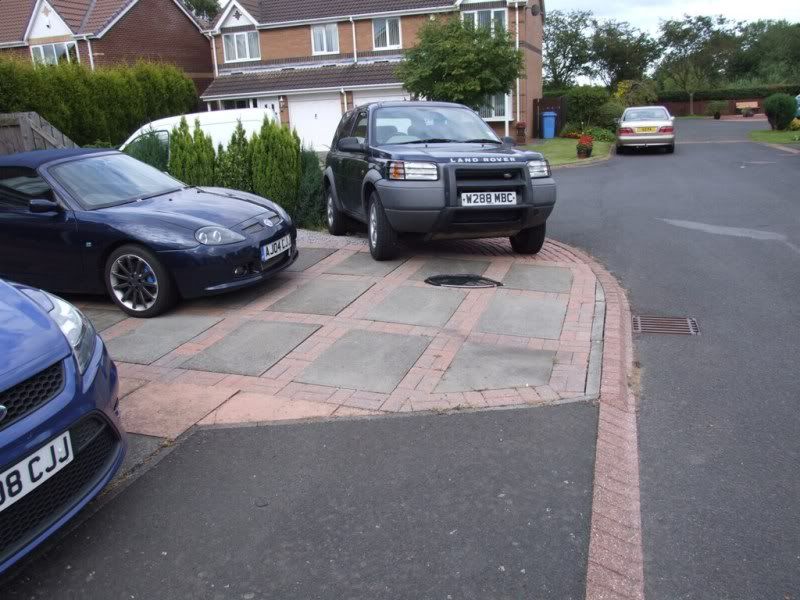
One of mine flew off, bounced off the bonnet and managed to fly as far as the drain in the next pic. Took me about an hour to get it back. They don’t float.
by cjj
The following user(s) said Thank You: bryan young, Yellow Peril
Please Log in or Create an account to join the conversation.
- David Aiketgate
-
 Away
Away
- David
-

- mgf mk2 freestyle mpi 16" wheels, in Anthracite.
- Posts: 20368
- Thanks: 4459
Replied by David Aiketgate on topic Re: Scuttle Panel - How to replace.
Posted 13 years 5 months ago #27228
Another one for the A-Z, Clive. :thumbsup:
I can also confirm the rapid rate of acceleration of those little screw covers. I never did find one of them! :nonod:
I can also confirm the rapid rate of acceleration of those little screw covers. I never did find one of them! :nonod:
David
:shrug:
Please Log in or Create an account to join the conversation.
- bryan young
-
 Offline
- Master MGer
-

- Posts: 3631
- Thanks: 773
Replied by bryan young on topic Re: Scuttle Panel - How to replace.
Posted 13 years 5 months ago #27280David Aiketgate wrote: Another one for the A-Z, Clive. :thumbsup:
I can also confirm the rapid rate of acceleration of those little screw covers. I never did find one of them! :nonod:
A small strip of "Gaffa" tape across the top shuld slow them down a bit :rant:
by bryan young
Please Log in or Create an account to join the conversation.
Time to create page: 0.511 seconds

