How to change the alternator belt.
A badly adjusted or loose alternator belt can cause overheating of the belt, squealing when first starting or pulling away, and , critically on an F/TF, can fail, jamming the timing belt and wrecking the engine.
If the alternator belt is old, contaminated, or on full adjustment already then it should be changed.
Firstly, jack up the car so that you can gain access from underneath. Remember to chock the front wheels and use axle stands for safety.
Remove the offside rear wheel and you will see a plastic cover between you and the engine. This is held on with about 3 plastic crosshead screws. Remove these and remove the plastic panel.
The F has a slightly different cover, or may not have one at all.
This will now give you access to the crankshaft pulley, alternator belt and two of the bolts that you need to undo.
You can also just see the alternator through the subframe
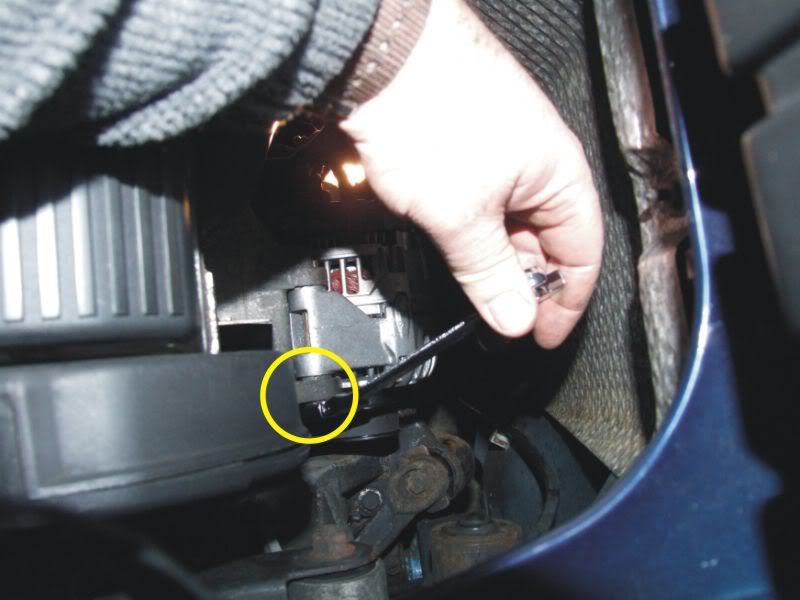
Loosen the nut from the top securing bolt.
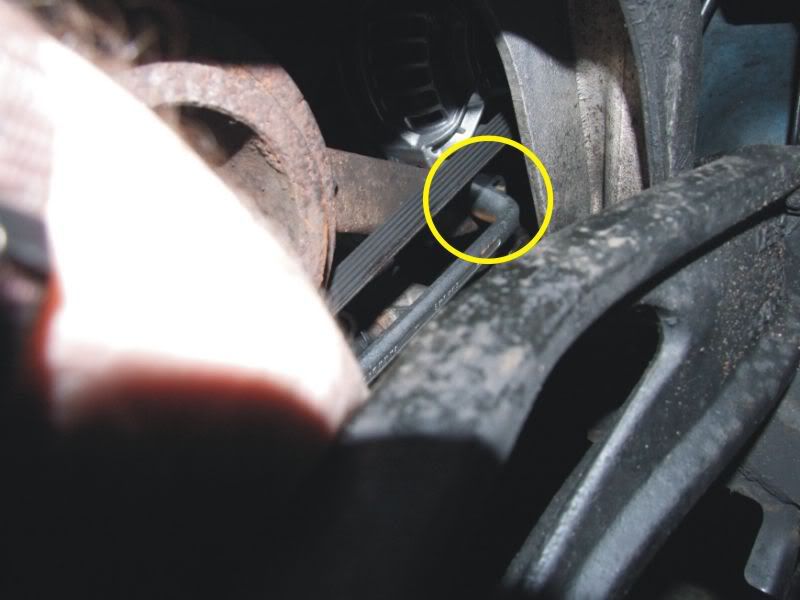
Next, loosen the bolt that holds the adjuster bracket to the engine, from the wheel arch.
Loosen the lower alternator securing bolt.
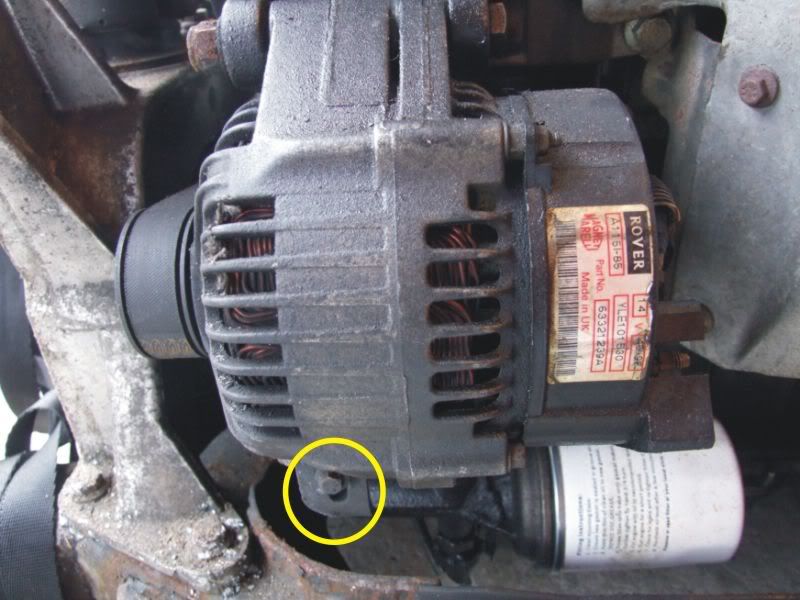
The alternator is now loose on the 3 securing bolts. You should now slacken and remove the 8mm adjusting bolt, shown here on a removed engine (no way to get the camera in on the car). This is best done from underneath the car with a ratchet and extension.
Now swivel the alternator towards the engine and remove the belt. If the alternator won’t move far enough you may have to remove the lower securing bolt from the alternator, and the adjuster bracket should now swivel down, free of the alternator.
Refit the belt and ensure that it is sitting correctly on both pulleys.
Clip the lower bracket back over the 8mm adjuster screw and refit the lower bolt through the alternator (if removed earlier), so that it protrudes through the slot in the bracket. Refit the nut, but do not tighten at this stage.
Now tighten the 8mm adjuster screw until the correct tension is felt on the belt. I went for about 15mm movement up/down at the longest point. You can also twist the belt to get a feeling of how tight it is. There is probably a correct figure somewhere, but I have done a few belts in my time and tend to go by feel, which is difficult to put in words. Over tightening can cause more problems than under tightening, as you are putting a greater load on the bearings.
Once the belt is at a correct tension you can tighten the 3 alternator securing bolts.
The upper bolt
The engine securing bolt
And the bottom alternator securing bolt
Your new alternator belt is now fitted and adjusted. It may be worth starting the engine at this point and checking that the new belt doesn't squeal when you put the heater on full along with the lights. Now to put the car back together. Don't forget to put the plastic cover back in the wheel arch.
Put the wheel back on, but before putting the rest of the car back together, it might be worth checking that the alternator is charging OK. I checked the battery voltage and it was 12.48 Volts. Started the car and.....It works, 14.18 Volts.
Now you can put the rest of the car back together.
It may be advisable to put some threadlock on the 8mm adjuster bolt, as this has been known to work loose and fall out.
Usual stuff applies. Although I have tried to think of everything you need, I can't be held responsible if you try this yourself and things go wrong.
by cjj
Please Log in or Create an account to join the conversation.
- David Aiketgate
-
 Offline
- David
-

- mgf mk2 freestyle mpi 16" wheels, in Anthracite.
- Posts: 20337
- Thanks: 4441
Replied by David Aiketgate on topic Re: How to change the alternator belt.
Posted 13 years 4 weeks ago #30624
Added to the A-Z list. :thumbsup:
David
:shrug:
Please Log in or Create an account to join the conversation.
- bryan young
-
 Offline
- Master MGer
-

- Posts: 3631
- Thanks: 773
Replied by bryan young on topic Re: How to change the alternator belt.
Posted 13 years 4 weeks ago #30693
You need some Vaselene or copper grease on those battery terminals  they look a bit "furry" :broon:
 they look a bit "furry" :broon:
by bryan young
Please Log in or Create an account to join the conversation.
Replied by alanrt54 on topic Re: How to change the alternator belt.
Posted 11 years 6 months ago #118744
Please note. Cars with air conditioning have a different arrangement
by alanrt54
Please Log in or Create an account to join the conversation.
True, but still a few similarities. I didn't have a TF with aircon at the time, I do now, so if I ever change it I will update the thread. :broon:
Oh, and the terminals were never furry. I hurriedly sprayed some lithium grease on as I was in a hurry and couldn't find the terminal grease. It has been rectified since.
Oh, and the terminals were never furry. I hurriedly sprayed some lithium grease on as I was in a hurry and couldn't find the terminal grease. It has been rectified since.
by cjj
Please Log in or Create an account to join the conversation.
Time to create page: 0.503 seconds


