Cam Shaft Cover Seal replacement how to.
The symptoms of the camshaft cover gasket going are obviously oil loss and oil down the top part of the engine. Another symptom can be oil gathering in the spaces where the spark plugs go.
Changing the camshaft cover gasket is quite an easy job.
Bear in mind that some of the actual pictures were of the Freelander engine, but the engine is the same.
To get full access you need to remove the engine inspection cover.
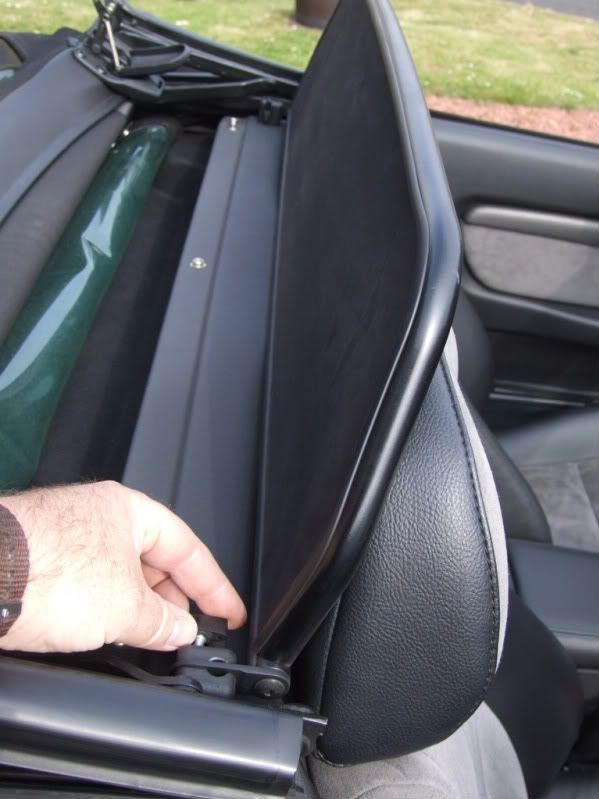
To do this you also need to remove the wind stop if you have one. Fold the roof back and remove the wind stop
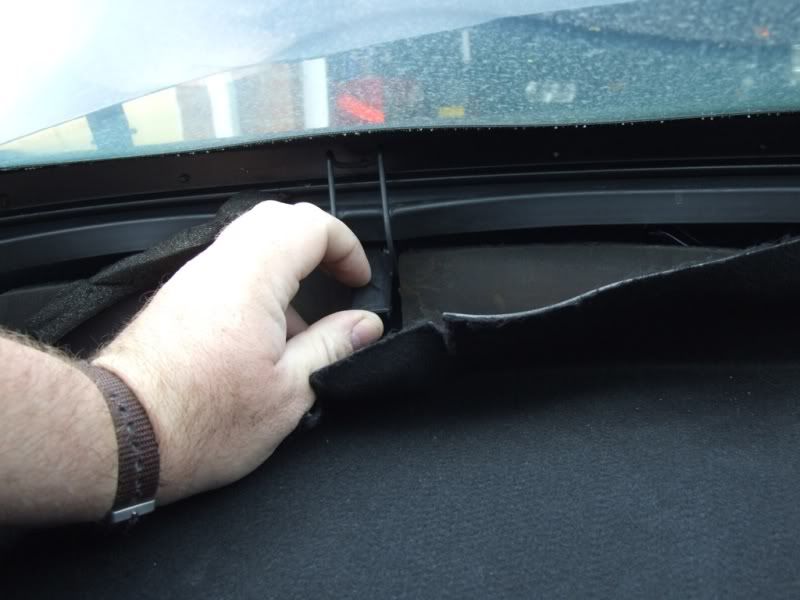
Now fold the roof forward and undo the clips that hold the rear of the hood to the car body (At least unclip the hood to windscreen clips when you do this as it releases a bit of tension).
and fold the rear part of the hood forward. Remember to avoid creases in the window when folding. If you cannot get the rear hood to stay up by itself you can tie it up.
Next remove the wind stop brackets using an allan key
and the 3 cross head screws from the top of the T-bar cover.
The cover then pulls forward (you will have to move the seats forward first). There are 2 plastic push in fasteners at each end of the cover and two at the top of the arm rest. These simply pull out when you pull the cover forward, or break off if my experience is anything to go by. I am now sick of gluing them and I am going to use black plastic screws to hold in place. You may also need to pull the door seal off at each side to release the cover.
Pull the cover forward out of the way and rest on the seats.
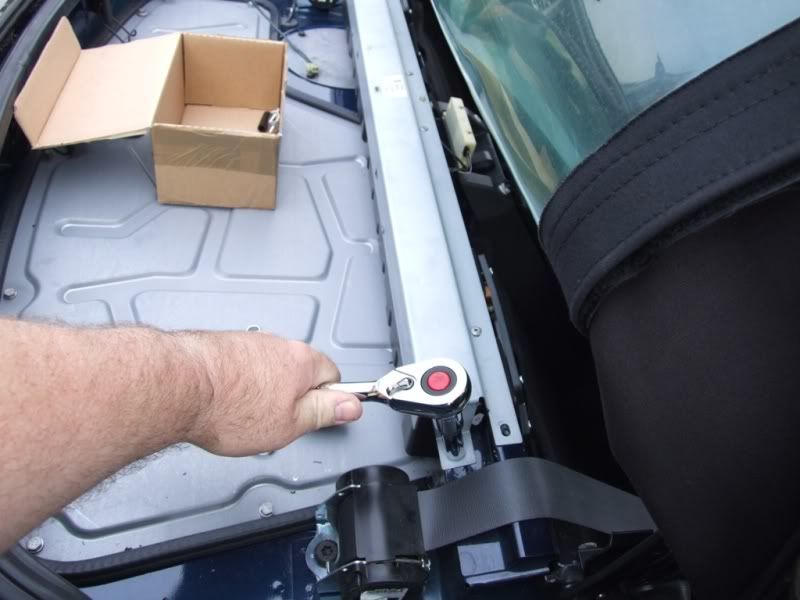
Next you need to remove the two 10mm bolts (one at each end) holding the speaker pods to the body, and place out of the way.
The box in the picture is for holding any screws and bits removed. I really recommend this as it saves you hours of searching for bits.
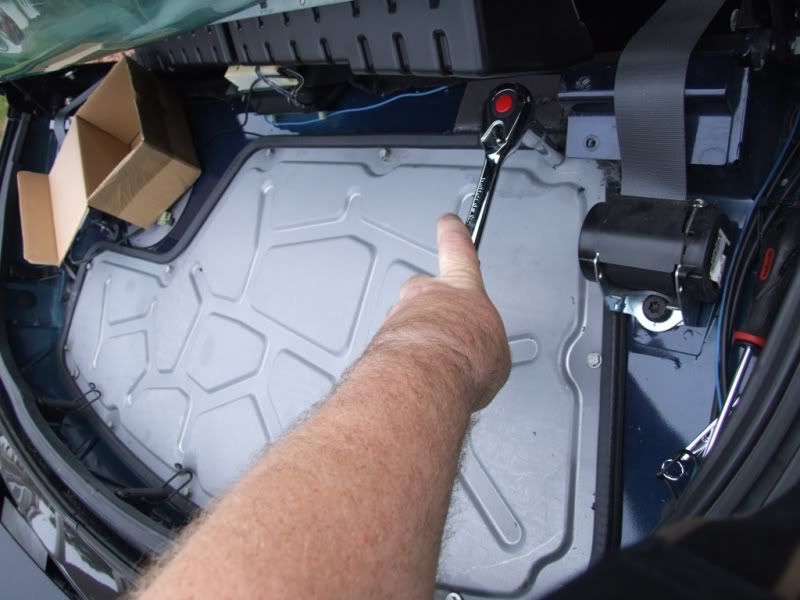
Next remove the parcel shelf cover
and the soundproofing
and remove the inspection panel
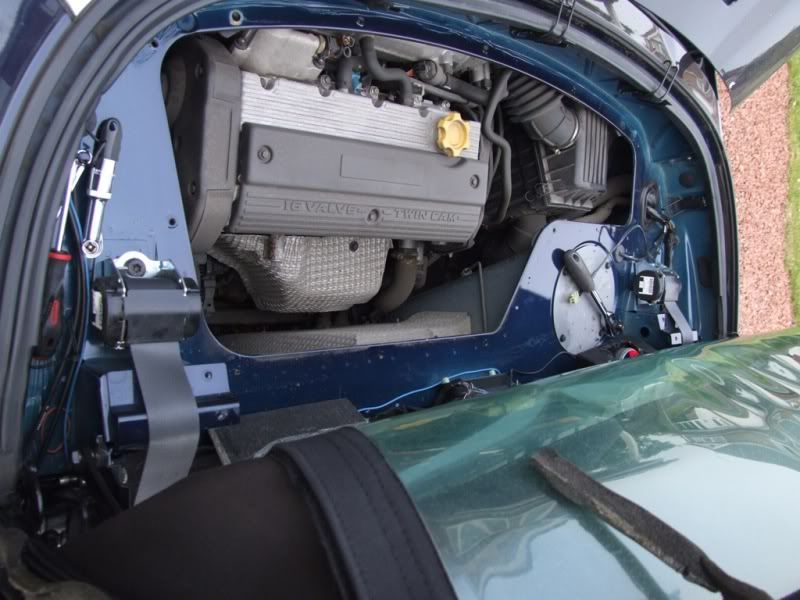
You should now be faced with an engine (if not, then you have a bigger problem )
)
On the TF or MEMS 3
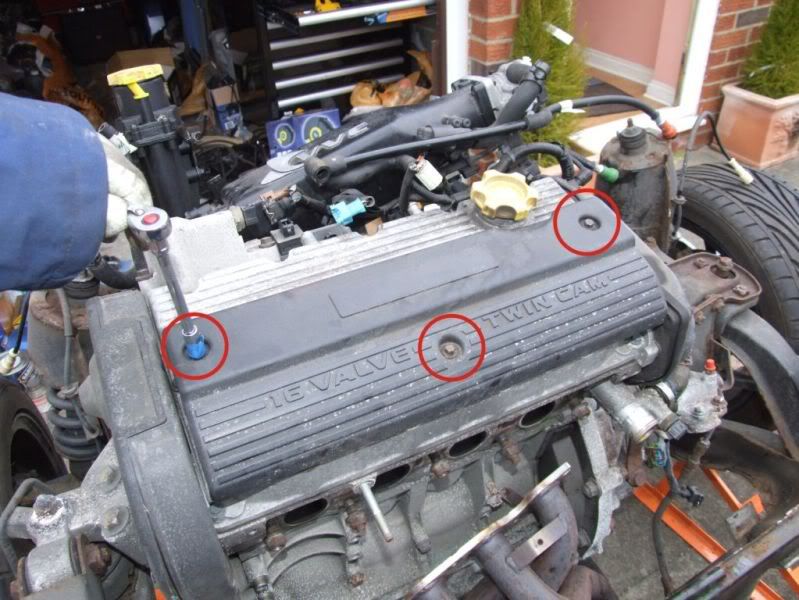
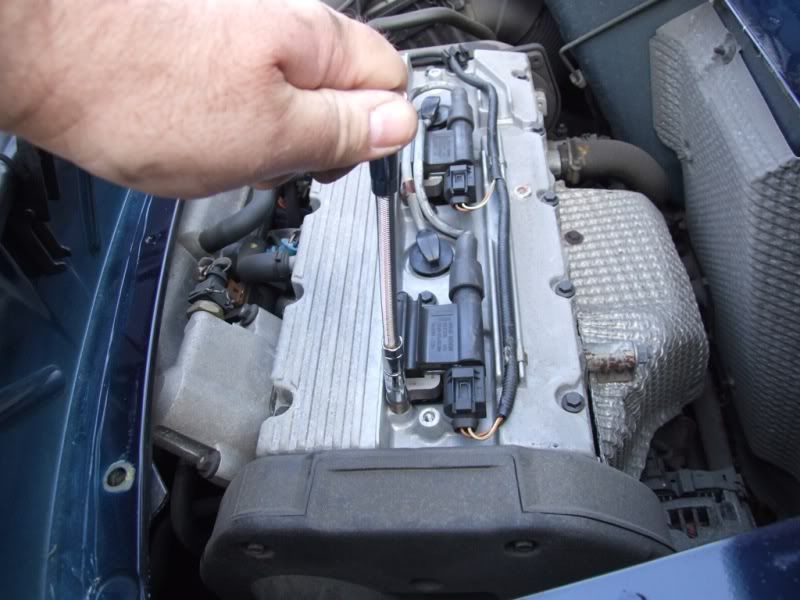
First remove the top cover from the engine. There are 3 8mm bolts. Two long ones at the top and a shorter one in the middle front.
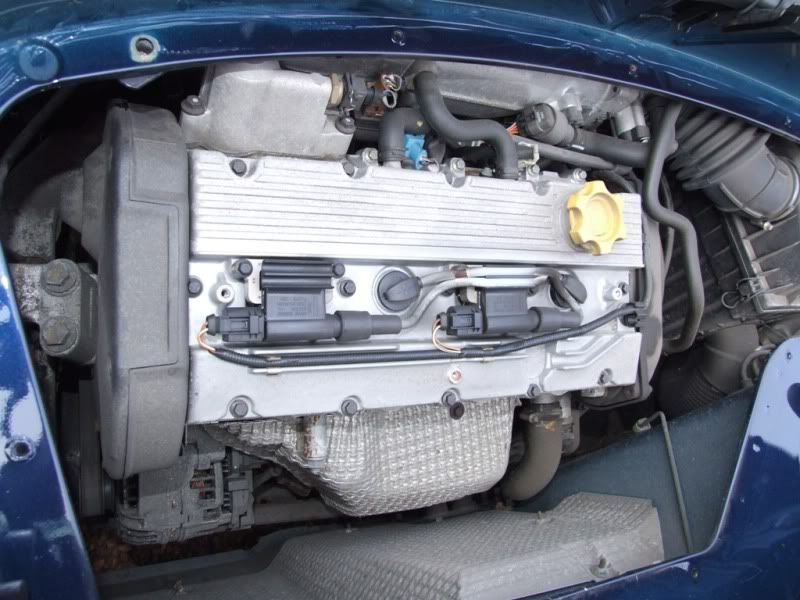
This exposes the coil packs and HT leads
Two of the plugs are easy to get at and you just pull the plug caps up and out.
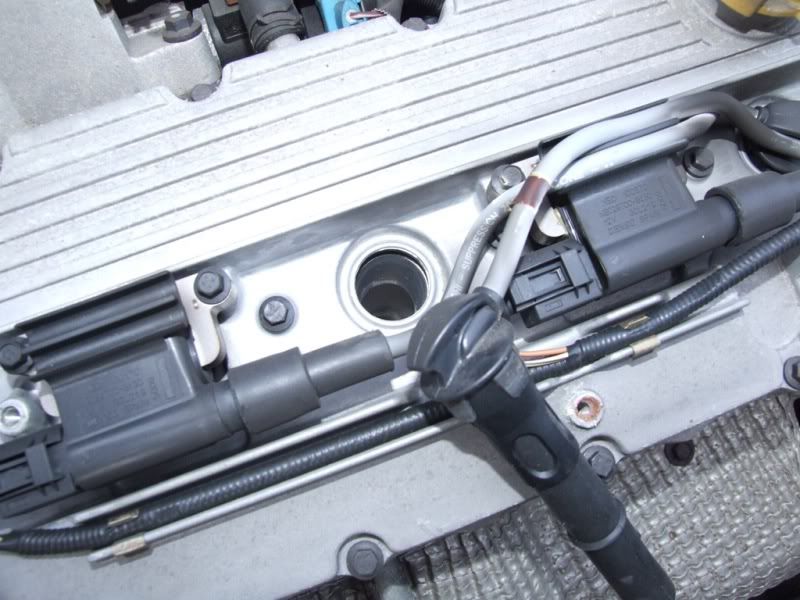
The other two are accessed by removing the two 8mm securing bolts and pulling each coil pack up and out
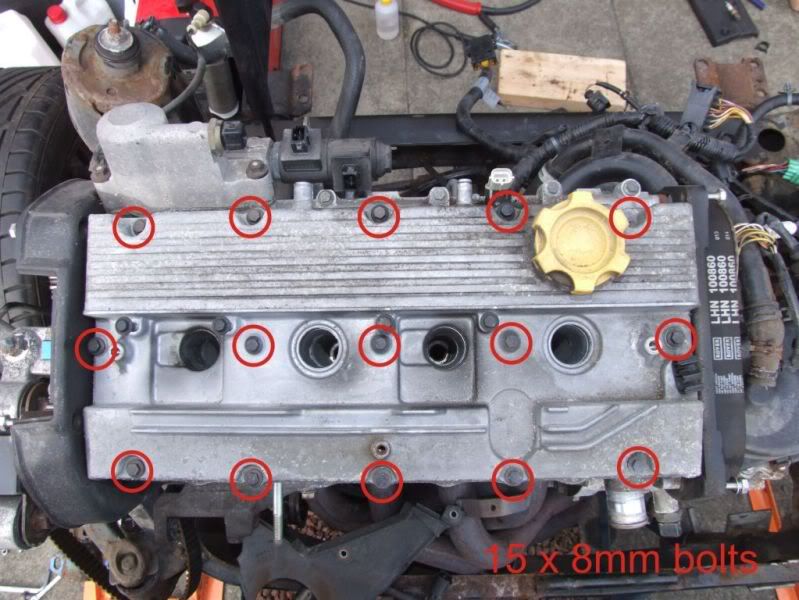
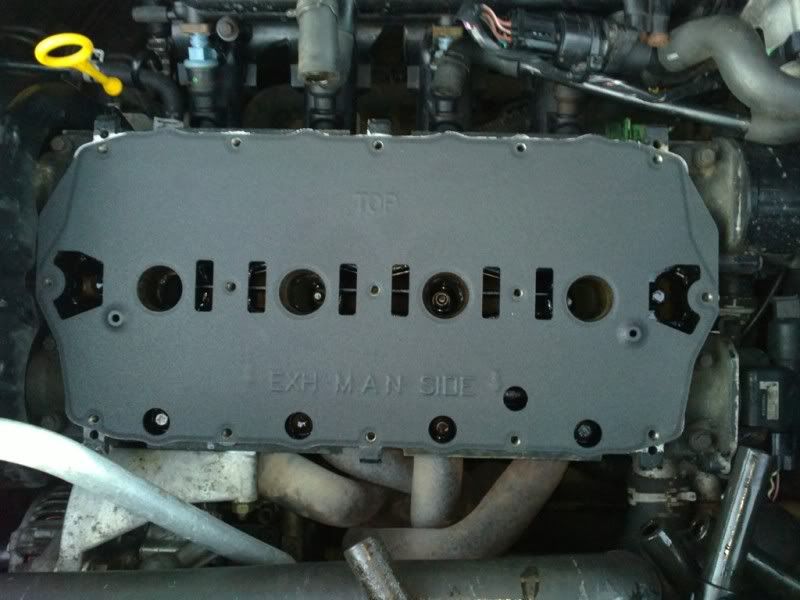
Next slacken and remove the 15 x 8mm bolts securing the camshaft cover in place.
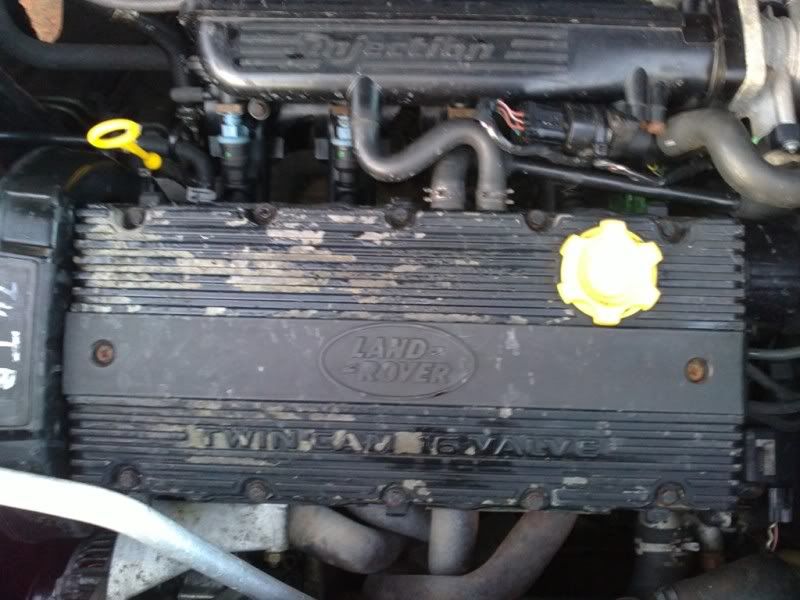
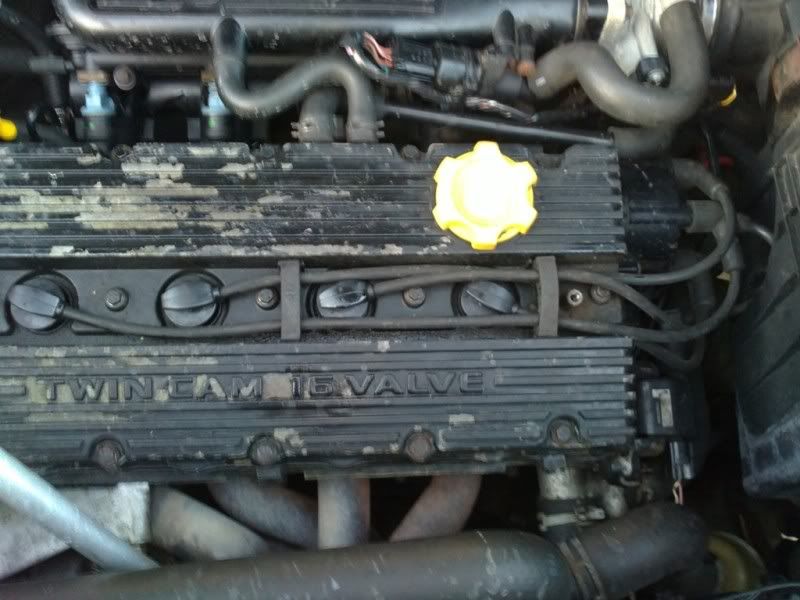
The early MGF cover is slightly different.
Remove the 2 cross head screws holding the spark plug cover in place
and remove
Now remove the plug leads from the plugs and clear of the head. They are of different lengths and shouldn't be difficult to refit. If you are unsure then label them.
Remove the 15 x 8mm bolts.
Using a block of wood or hide faced hammer, tap around the edge of the camshaft cover to loosen it.
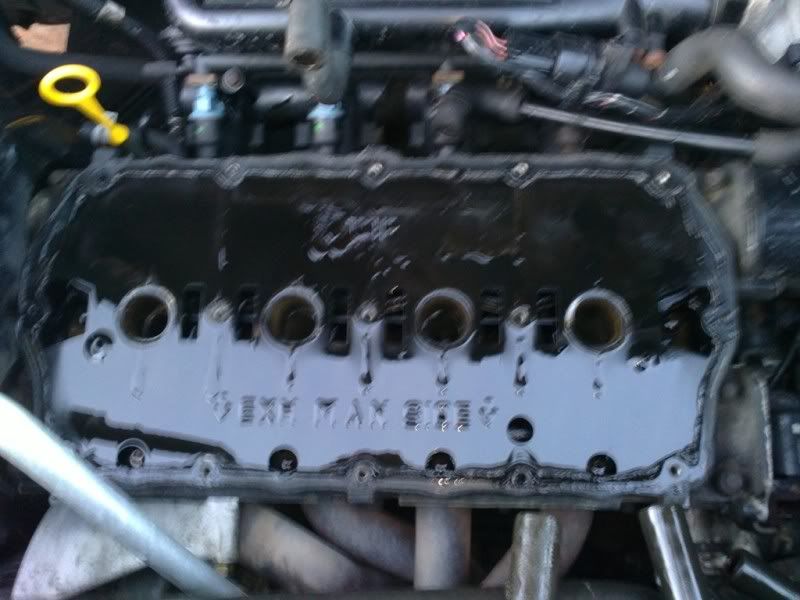
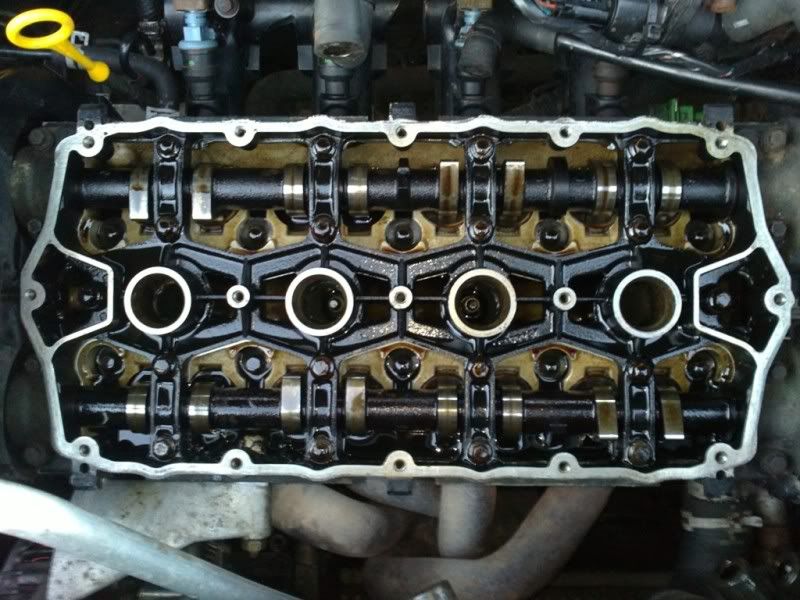
Remove the cover and you should see the old cover gasket.
Remove the old gasket and clean the mating faces of the cam carrier and the camshaft cover. Also inspect for damage.
Refit the new gasket, noting the orientation information stamped on it.
Now, reassemble the engine, torqueing the cover bolts to 9Nm.
Run the engine before refitting the engine inspection panel and check for leaks.
If ok then reassemble the rest of the car.
This is probably one of the easiest gaskets to change and should solve an annoying oil leak.
Changing the camshaft cover gasket is quite an easy job.
Bear in mind that some of the actual pictures were of the Freelander engine, but the engine is the same.
To get full access you need to remove the engine inspection cover.
To do this you also need to remove the wind stop if you have one. Fold the roof back and remove the wind stop
Now fold the roof forward and undo the clips that hold the rear of the hood to the car body (At least unclip the hood to windscreen clips when you do this as it releases a bit of tension).
and fold the rear part of the hood forward. Remember to avoid creases in the window when folding. If you cannot get the rear hood to stay up by itself you can tie it up.
Next remove the wind stop brackets using an allan key
and the 3 cross head screws from the top of the T-bar cover.
The cover then pulls forward (you will have to move the seats forward first). There are 2 plastic push in fasteners at each end of the cover and two at the top of the arm rest. These simply pull out when you pull the cover forward, or break off if my experience is anything to go by. I am now sick of gluing them and I am going to use black plastic screws to hold in place. You may also need to pull the door seal off at each side to release the cover.
Pull the cover forward out of the way and rest on the seats.
Next you need to remove the two 10mm bolts (one at each end) holding the speaker pods to the body, and place out of the way.
The box in the picture is for holding any screws and bits removed. I really recommend this as it saves you hours of searching for bits.
Next remove the parcel shelf cover
and the soundproofing
and remove the inspection panel
You should now be faced with an engine (if not, then you have a bigger problem
On the TF or MEMS 3
First remove the top cover from the engine. There are 3 8mm bolts. Two long ones at the top and a shorter one in the middle front.
This exposes the coil packs and HT leads
Two of the plugs are easy to get at and you just pull the plug caps up and out.
The other two are accessed by removing the two 8mm securing bolts and pulling each coil pack up and out
Next slacken and remove the 15 x 8mm bolts securing the camshaft cover in place.
The early MGF cover is slightly different.
Remove the 2 cross head screws holding the spark plug cover in place
and remove
Now remove the plug leads from the plugs and clear of the head. They are of different lengths and shouldn't be difficult to refit. If you are unsure then label them.
Remove the 15 x 8mm bolts.
Using a block of wood or hide faced hammer, tap around the edge of the camshaft cover to loosen it.
Remove the cover and you should see the old cover gasket.
Remove the old gasket and clean the mating faces of the cam carrier and the camshaft cover. Also inspect for damage.
Refit the new gasket, noting the orientation information stamped on it.
Now, reassemble the engine, torqueing the cover bolts to 9Nm.
Run the engine before refitting the engine inspection panel and check for leaks.
If ok then reassemble the rest of the car.
This is probably one of the easiest gaskets to change and should solve an annoying oil leak.
by cjj
Please Log in or Create an account to join the conversation.
- Leigh Ping
-
 Offline
- Moderator
-

- Posts: 6838
- Thanks: 1631
Replied by Leigh Ping on topic Cam Shaft Cover Seal replacement how to.
Posted 12 years 3 weeks ago #91642That's what I have. So, this is just what the Doctor ordered. Great job as usual. Cheers Clive. :broon:cjj wrote: This is probably one of the easiest gaskets to change and should solve an annoying oil leak.
by Leigh Ping
The following user(s) said Thank You: Libby
Please Log in or Create an account to join the conversation.
- doramatadora
-
 Offline
- Apprentice MGer
-

- Posts: 23
- Thanks: 8
Replied by doramatadora on topic Cam Shaft Cover Seal replacement how to.
Posted 4 years 4 months ago #193999
Thank you for this guide, it's just what I needed! Does his gasket need sealant?
by doramatadora
Please Log in or Create an account to join the conversation.
- David Aiketgate
-
 Offline
- David
-

- mgf mk2 freestyle mpi 16" wheels, in Anthracite.
- Posts: 20359
- Thanks: 4457
Replied by David Aiketgate on topic Cam Shaft Cover Seal replacement how to.
Posted 4 years 4 months ago #194002
:nonod:
David
:shrug:
The following user(s) said Thank You: doramatadora
Please Log in or Create an account to join the conversation.
- doramatadora
-
 Offline
- Apprentice MGer
-

- Posts: 23
- Thanks: 8
Replied by doramatadora on topic Cam Shaft Cover Seal replacement how to.
Posted 4 years 4 months ago #194058
Thank you! Just got around to replacing it. I was surprised at how flimsy the gasket feels – I'd expected some rubbery thing.
by doramatadora
Please Log in or Create an account to join the conversation.
Time to create page: 0.603 seconds

