How to replace a brake line/pipe.
The brake lines on the TF seem to be made of some form of alloy protected by some form of green coating. If this coating is damaged then the brake lines start to corrode and this can be an MOT failure.
The problem that I had was the brake union where the pipe meets the calliper flexi pipe had corroded to such an extent that it had bonded with the pipe and it wouldn’t turn.
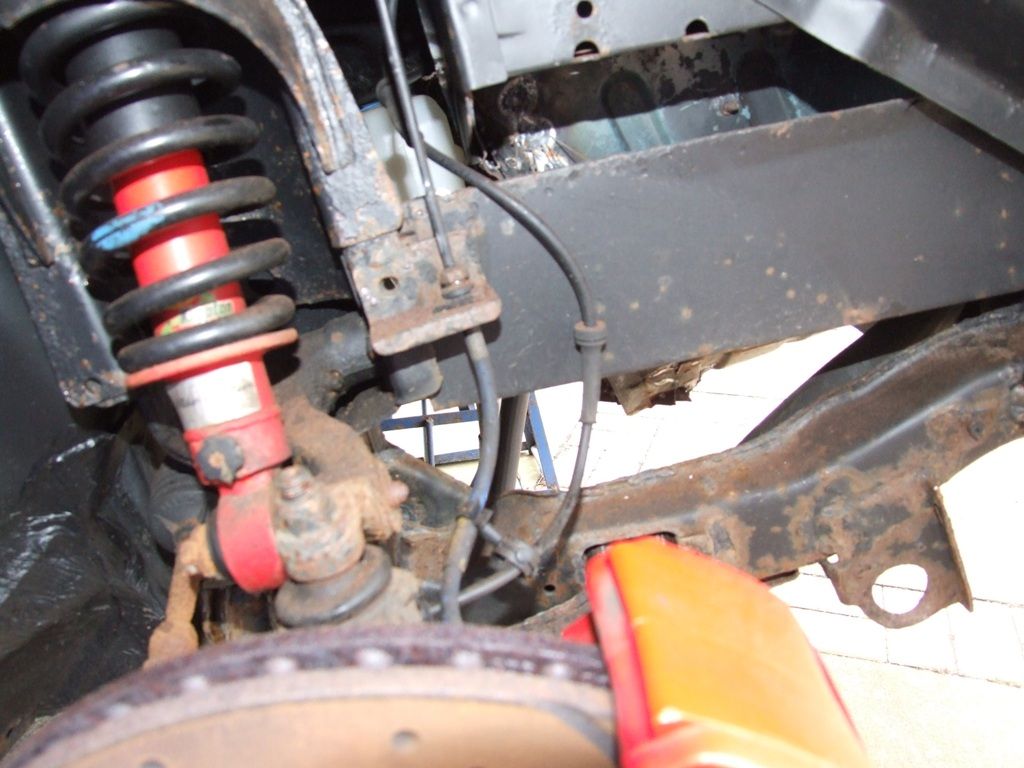
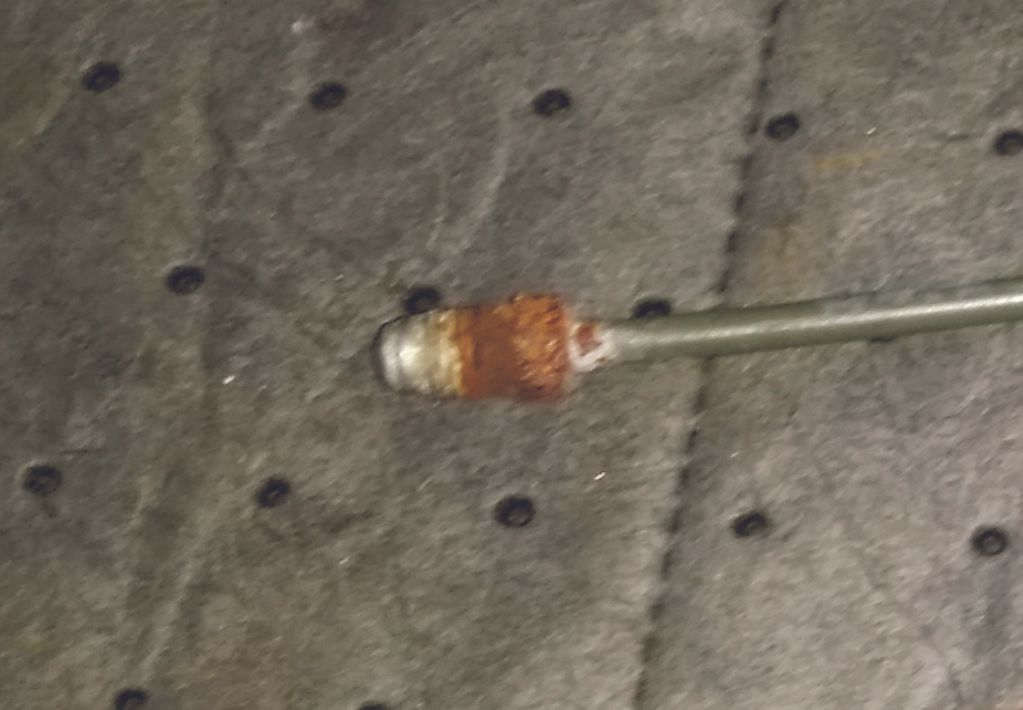
To try and stop this happening again, I bought some stainless steel unions
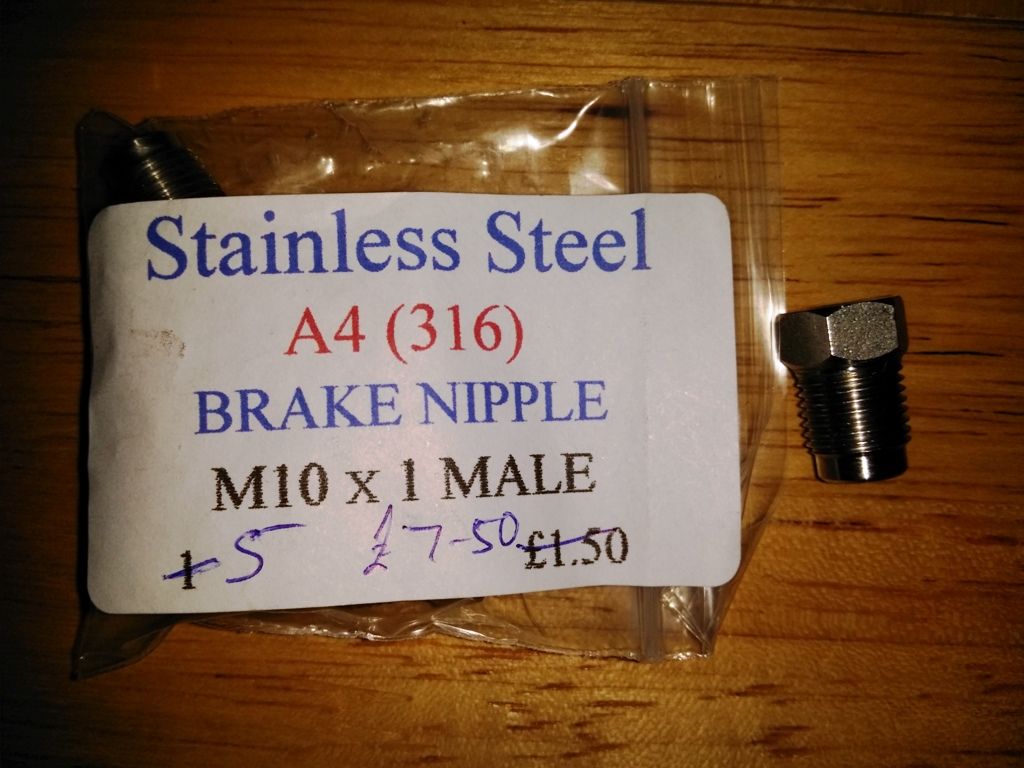
The unions are Male M10 x 1 and were £1.50 each. I got them from here http://ccsfasteners.co.uk/stainless-brake-pipe-nuts-c-124.html?osCsid=86927be7fdb3755ae00e8678ed6d5f3c
And 25ft of Kunifer (Cupro Nickel) brake line.
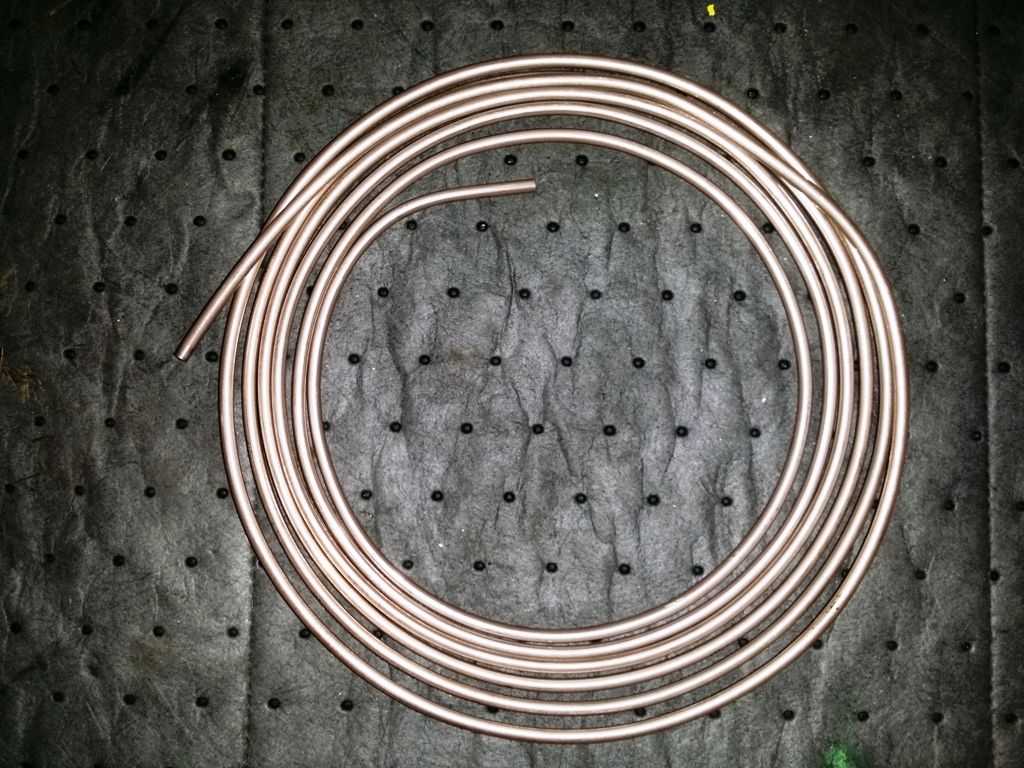
The Kunifer brake line is slightly harder to work with and flare than standard copper brake line, but it is also more resistant to corrosion. If you plan on keeping the car then I would choose Kunifer. I was looking into getting some stainless steel lines made, but not many places seem to do it and it is more difficult to seal at the union end, resulting in leaky brake pipes.
So, the first thing to do is remove the brake line that you need to replace. This can be tricky as some of them are quite long and go around other pipes and cables. Try and remove it as one in its original shape so you can use it as a template. You can fit the brake lines and fashion them as you go, but it is easier this way if you can.
Loosen and remove both ends using a brake line spanner.
For those of you that don’t know what a brake spanner is, it is like a ring spanner with a gap. This allows you to pass the spanner over the brake line and then place the spanner round the union. You can use an open ended spanner, but you are more likely to round the union off and damage it.
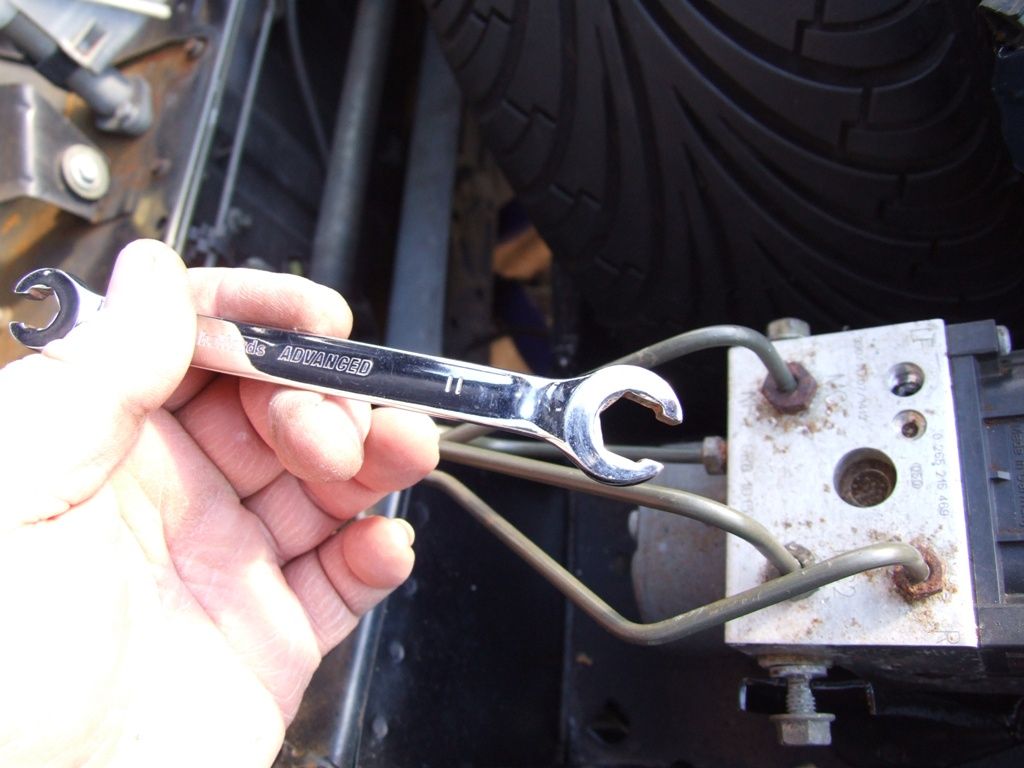
The pipe I was replacing was the ABS to front offside wheel. It’s worth mentioning at this point, before we disconnect anything, that you will lose brake fluid. Either use a suitable container to catch the brake fluid or bag the end (make sure the bag doesn’t have holes in ). Remember that brake fluid is bad for you and bad for the car. Try not to get it in your eyes, on your skin or on your paintwork. If any of these happen, flush the area with plenty of water.
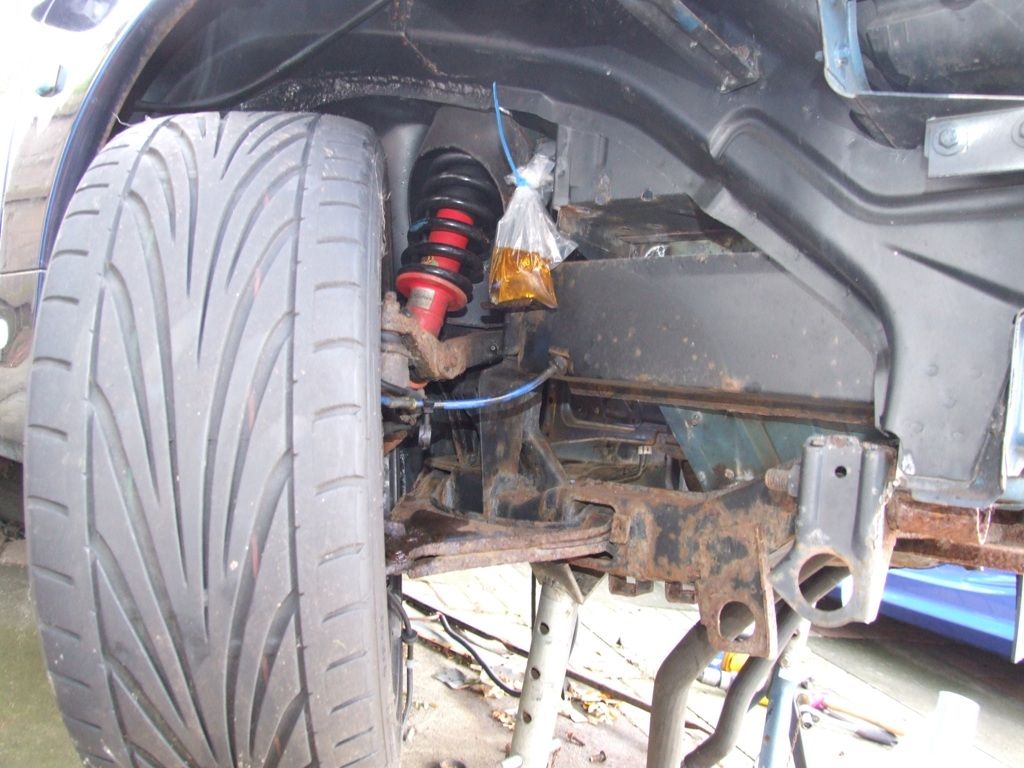
My system had been drained previously, so I undid the brake end
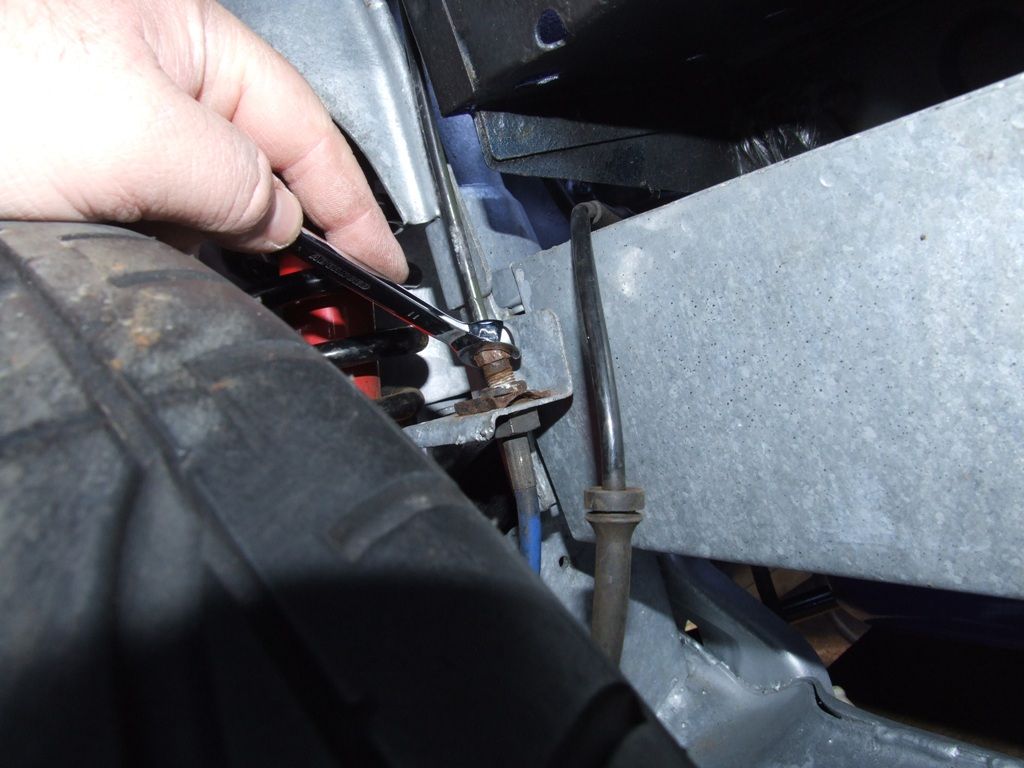
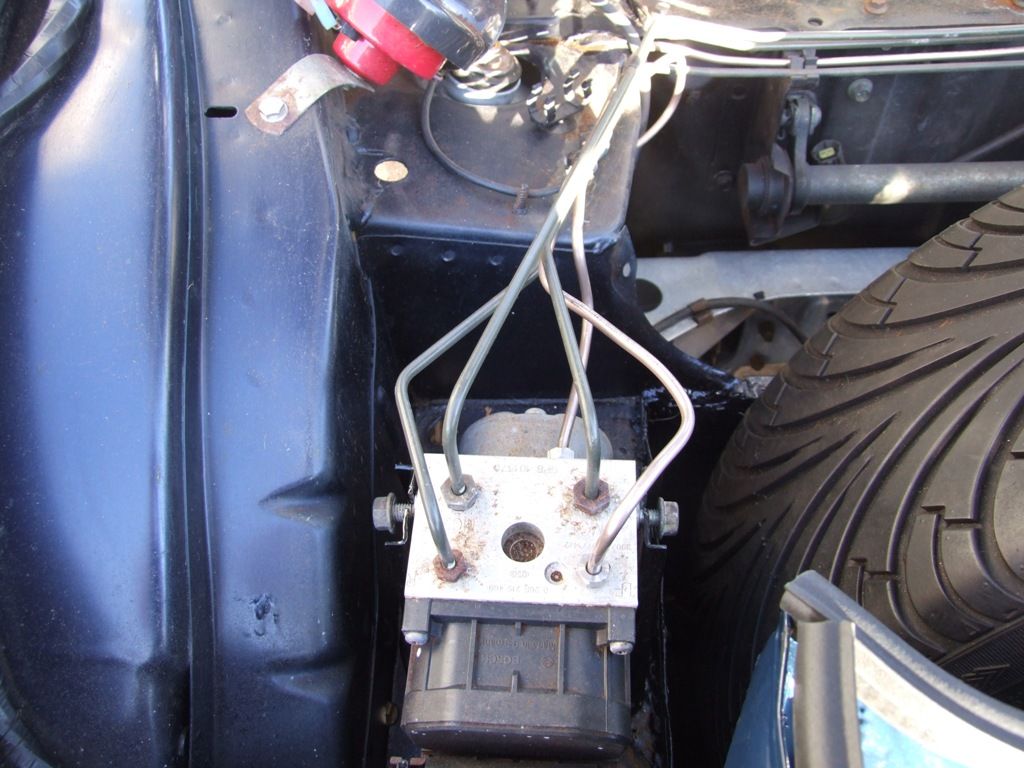
Undid the ABS unit end
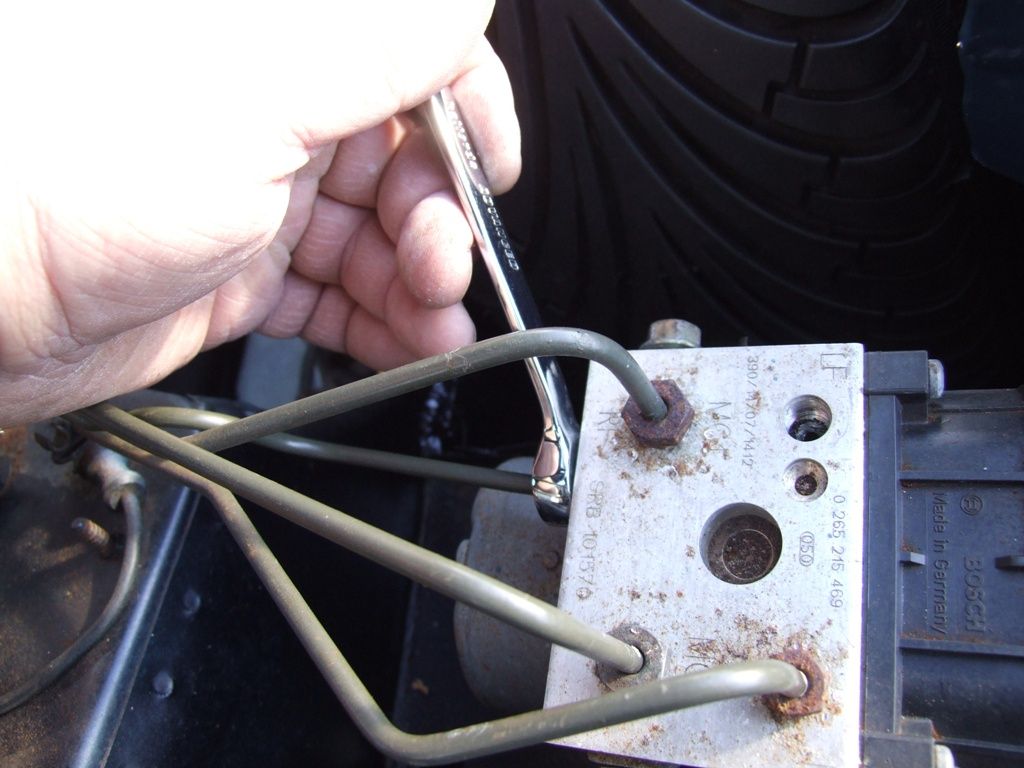
And carefully manoeuvred the pipe free of the car. You may need to unclip it from clips that support the brake line and you may need to twist it and turn it a bit to get it free.
Measure the brake line that you have used using a piece of string or wire, so that you can follow the curves and get an exact measurement.
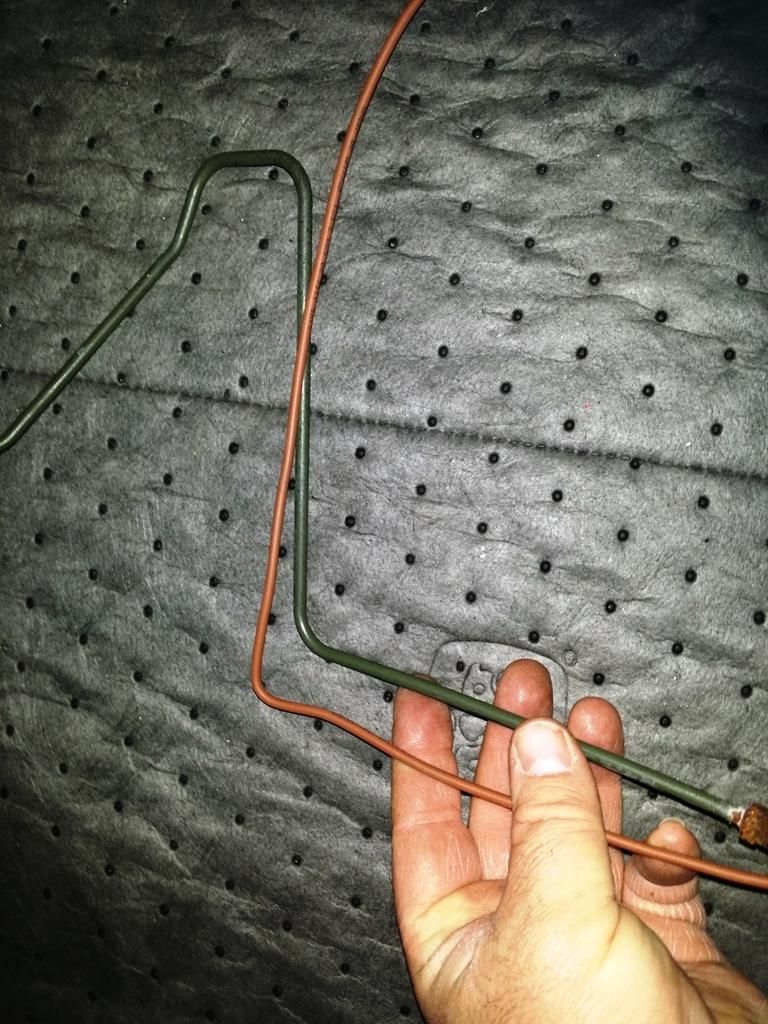
And now take the coil of new brake line and straighten enough to work with.
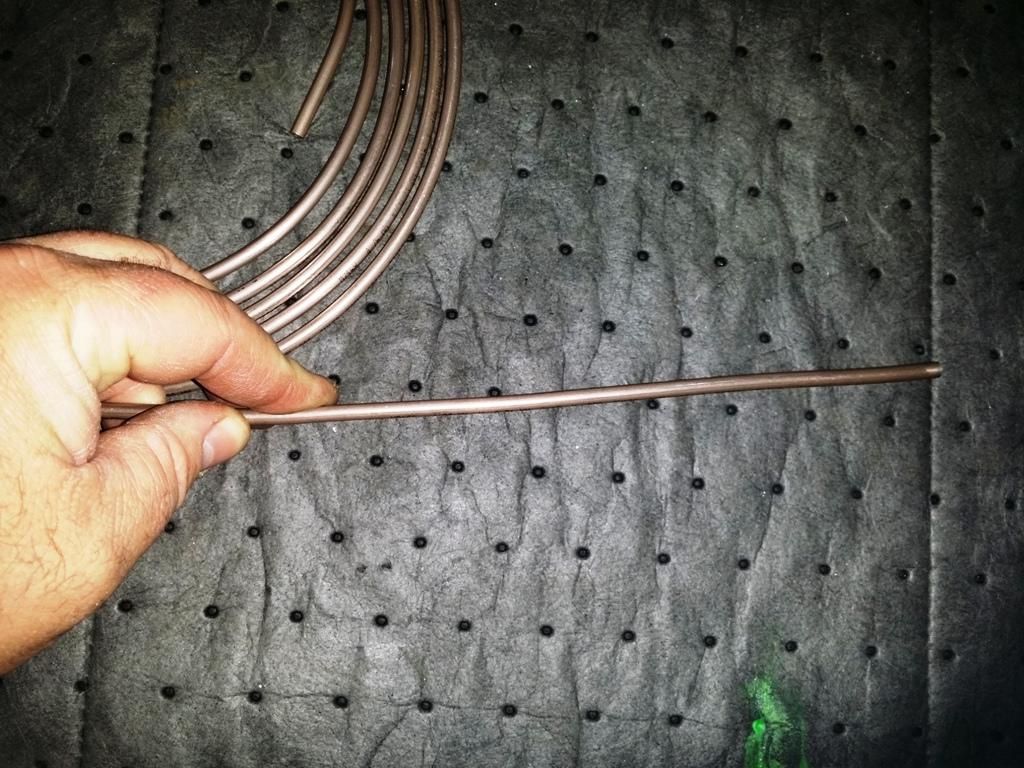
Measure enough of the new brake line, using the length of string/wire and cut using a pipe cutter. You can cut the line using other methods, but a good pipe cutter gives you a good end to flare with no crimping or distortion. You might also want to add a couple of inches, depending on how confident you are that you will get the flare right first time. You can always incorporate the extra length behind panels, but you cannot add length once cut without adding extra unions. Remember though that you need to add a little length for the flares, about 15mm will give you plenty.
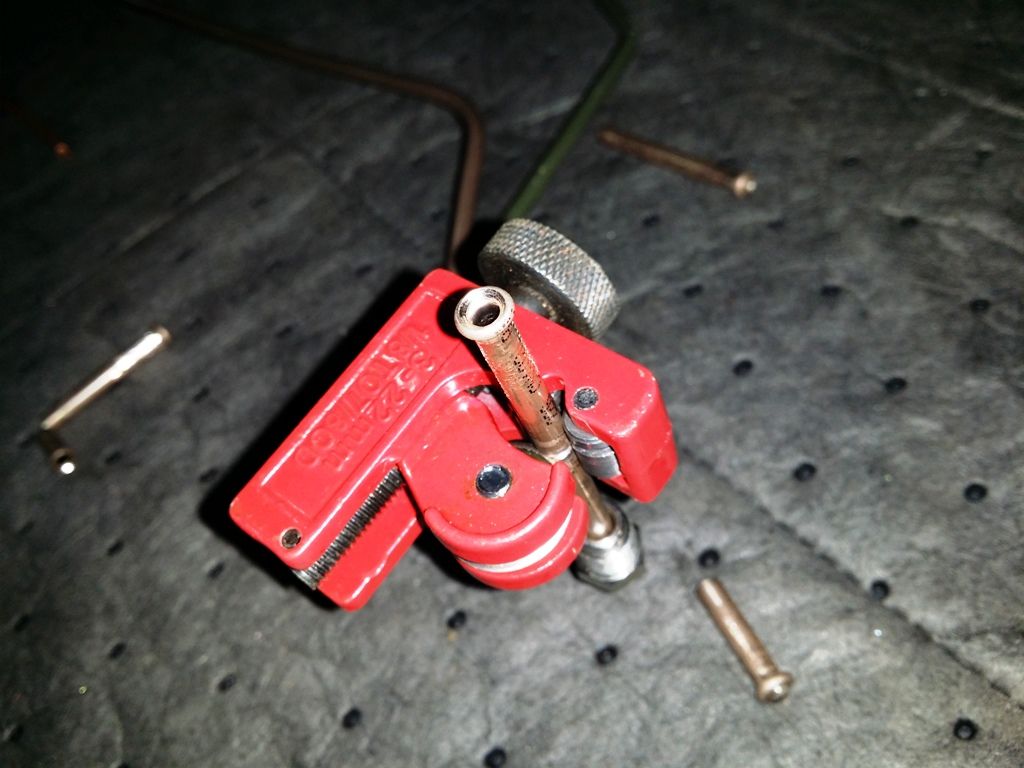
Once you have cut the length of brake line you can lay it next to the old one and start adding bends and angles as needed. Don’t try and copy the tight bends of a factory item, just get it as close as possible.
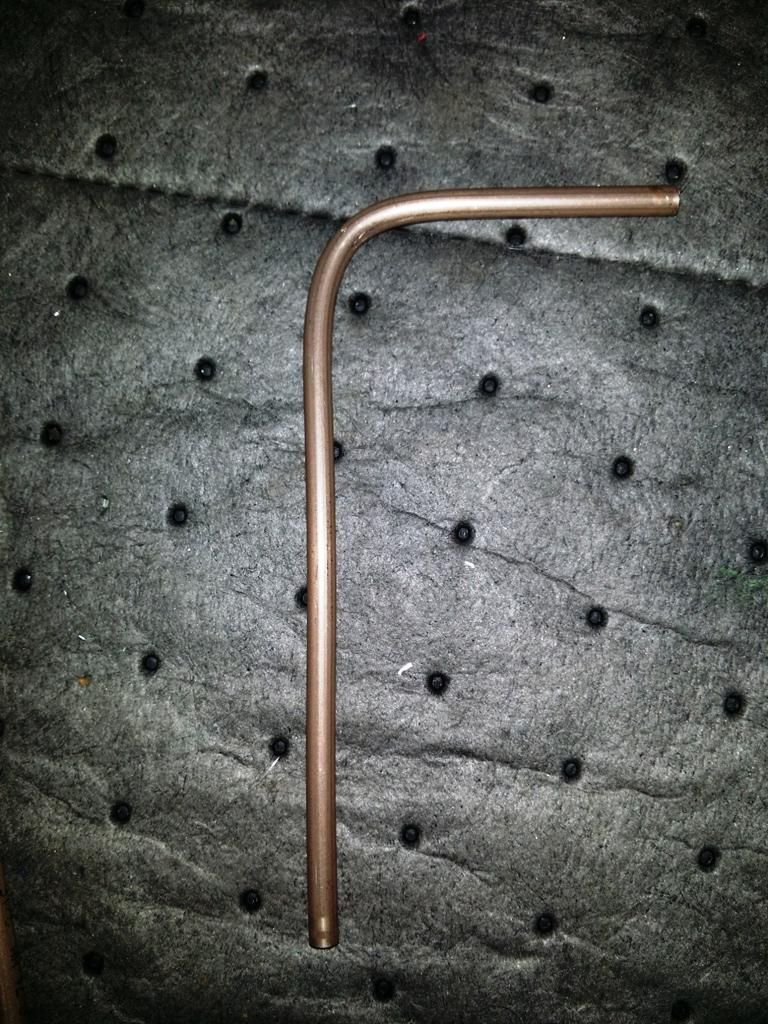
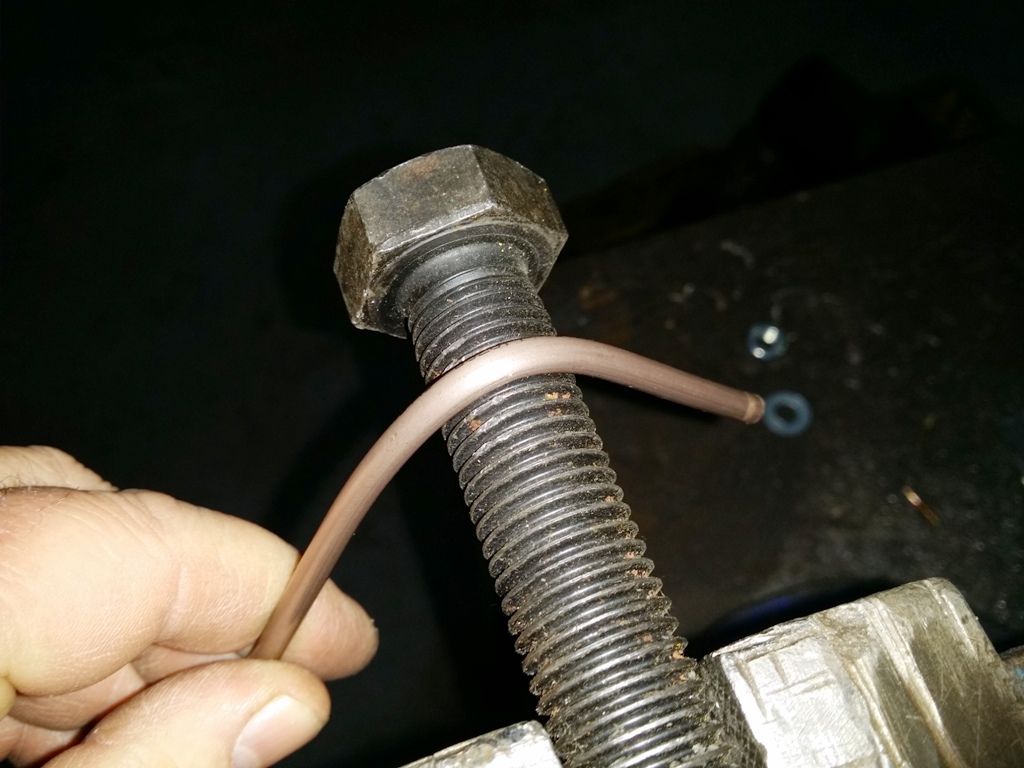
You can use different methods to bend the brake line. You can get proper bending tools, or you can use a former of some sort. I used a large bolt to get reasonable bends. If you bend too tightly or quickly you can kink the brake line and then it is scrap. A kink in the line will restrict the flow of fluid when you press the brake pedal and will reduce your brake efficiency, if not stop it all together. Take your time and gradually bend it to a shape that you are happy with.
Once you have the correct length and correct shape you are ready to add the unions and flare the pipe. It isn’t unknown to flare the pipe and get it just right and then realise the union is still in your pocket. Dohhh.
Place the union on the brake line, with the threaded end facing the cut end, and then place the brake line in the correct size hole of the flaring tool. I judged the correct amount protruding by placing the flaring adaptor next to the line and making it flush with the shoulder.
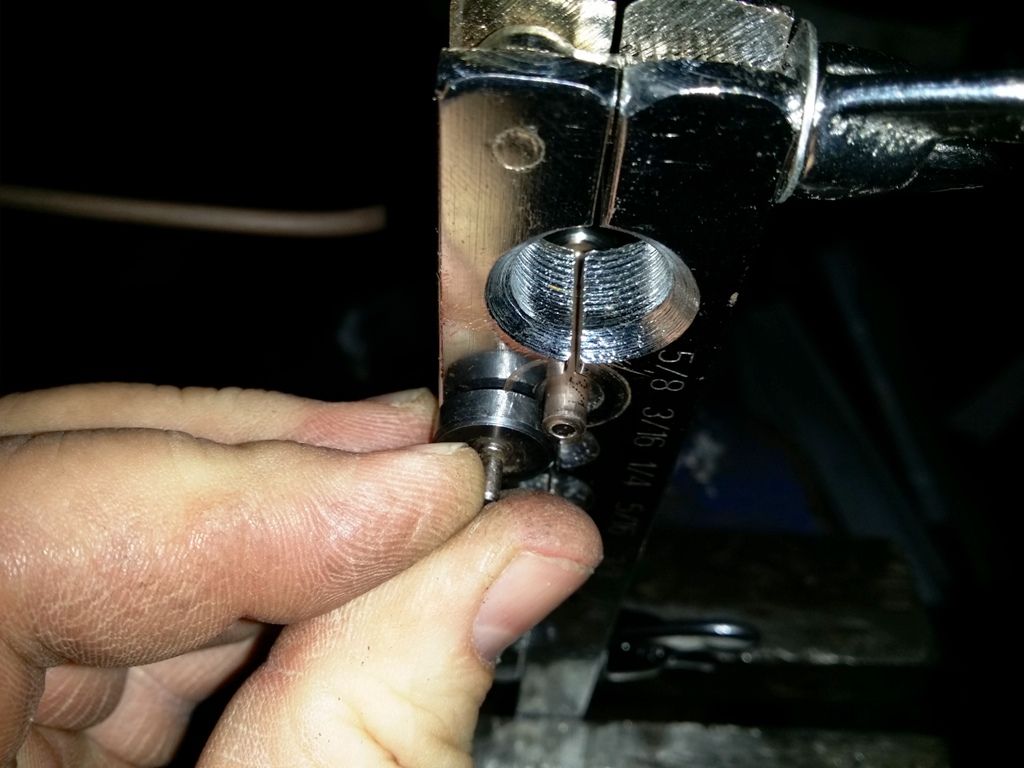
You now need to tighten the flaring tool as tight as you can onto the brake line. The grip is important, otherwise the line will slip while you are flaring.
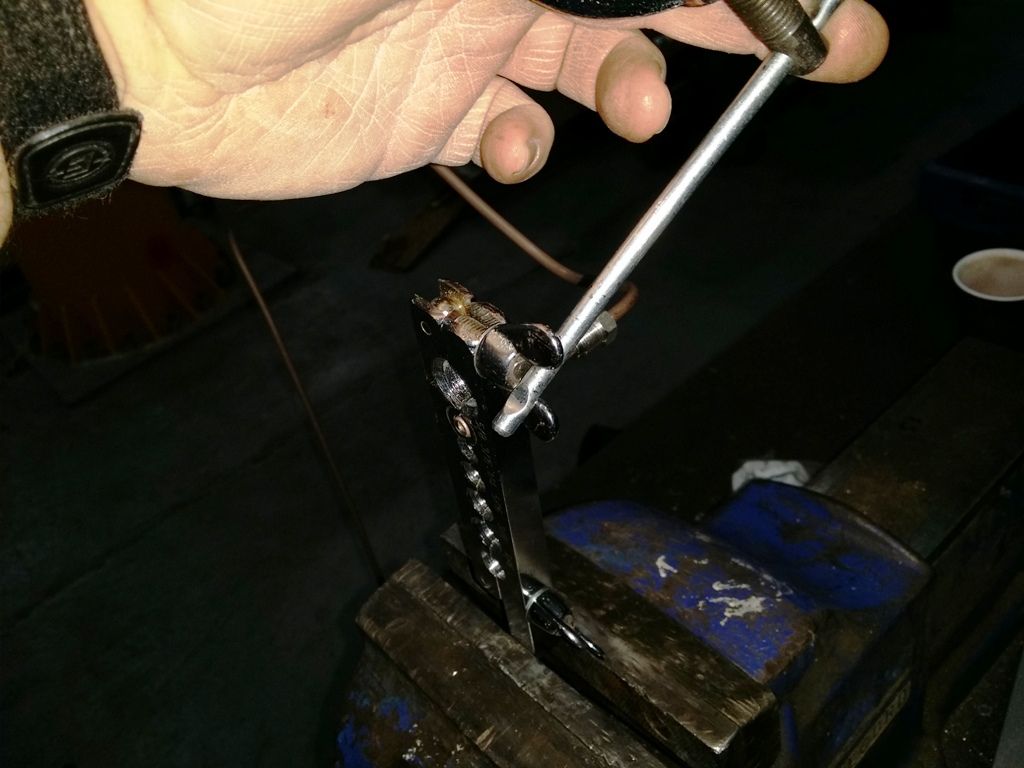
Then place the protruding part of the flaring adaptor into the brake line. If you have used a hacksaw or other method to cut the line, you may need to dress the end to get a good finish.
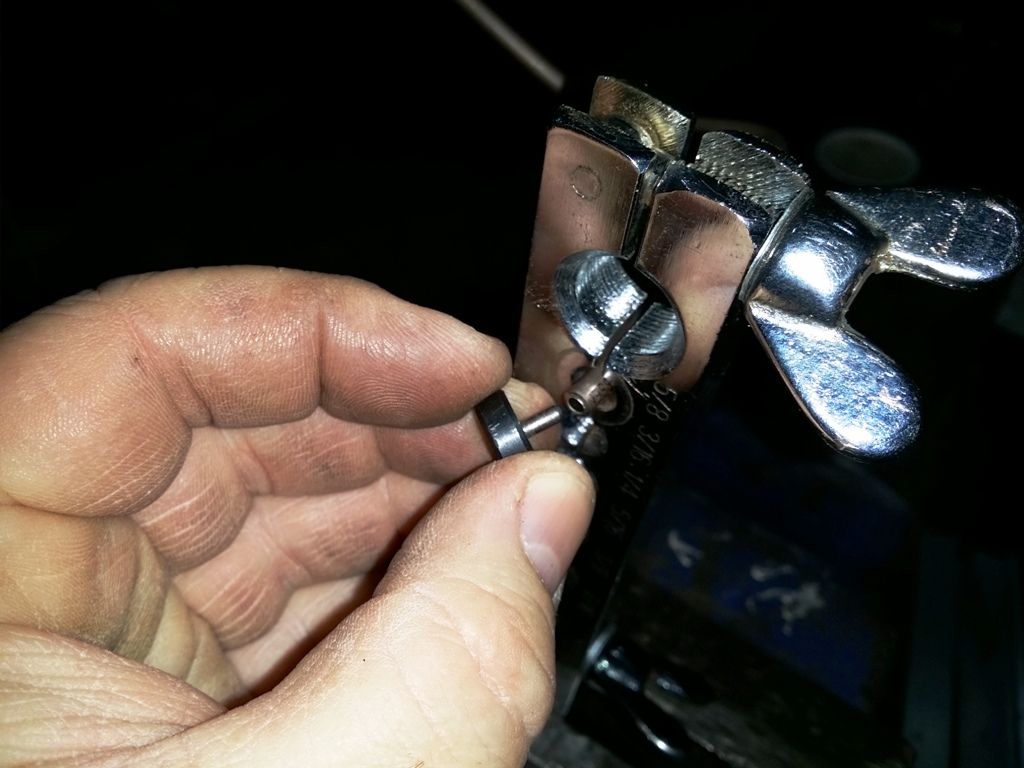
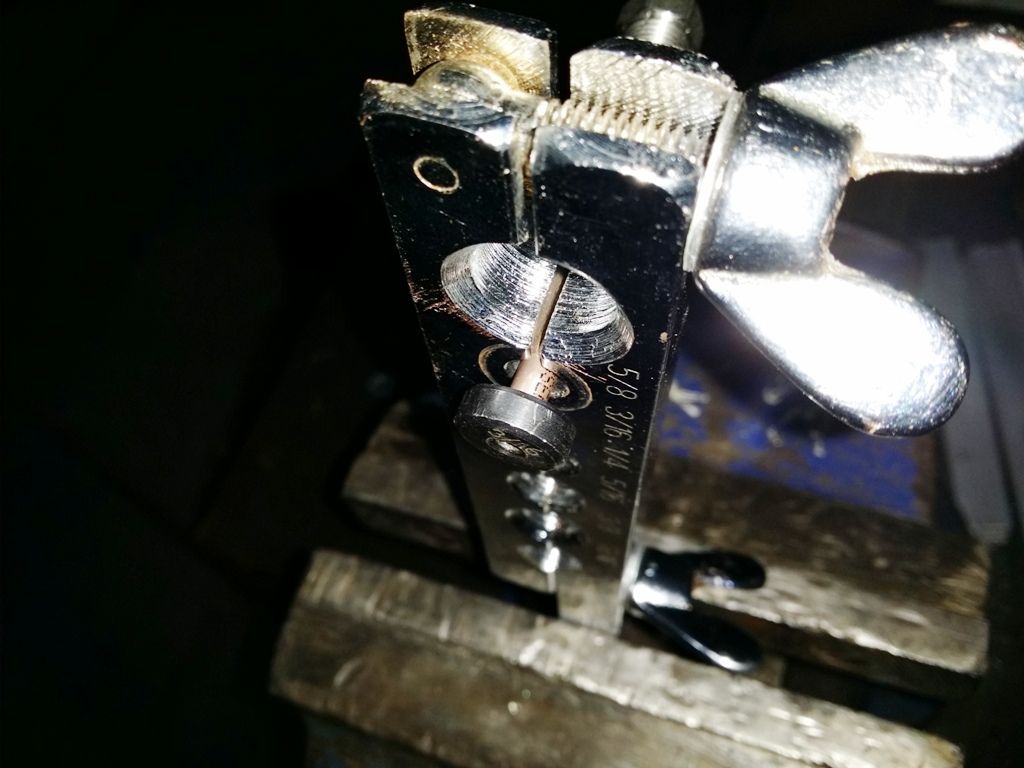
Place the clamp over the flaring tool with the cone located into the hole on the back of the adaptor and twist the whole clamp to locate it onto the tool.
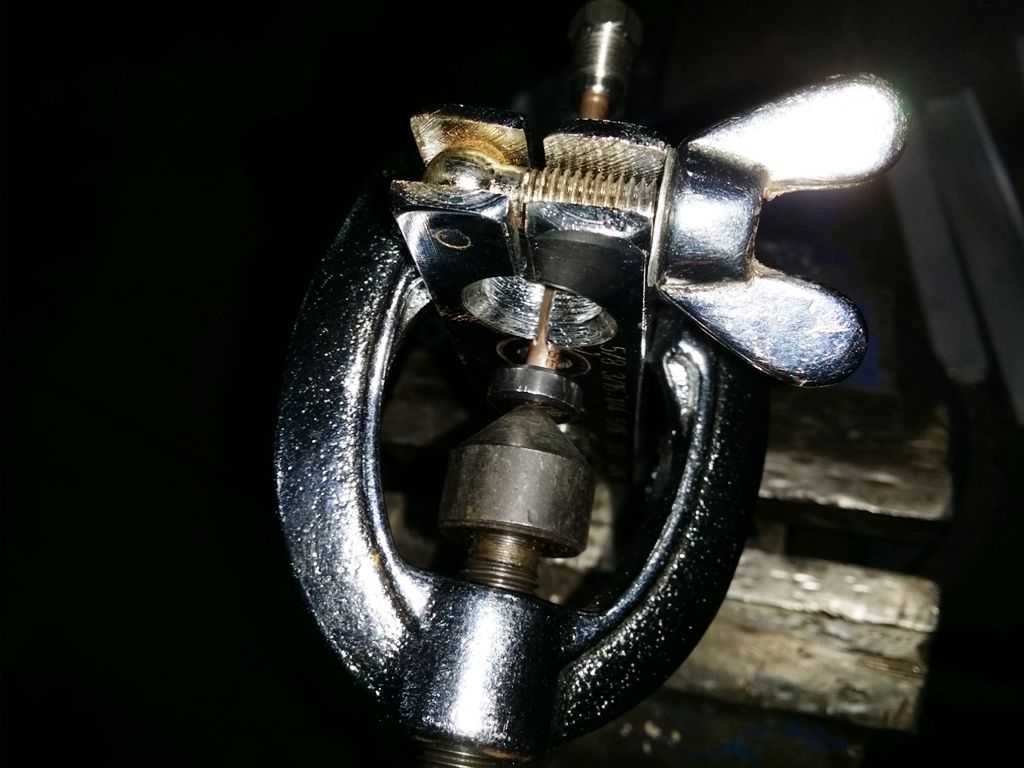
Now screw the clamp down as far as it will go, so that the first flare is formed. The adaptor will be flush with the tool.
Now, unscrew the clamp and remove the adaptor
Now place the cone of the clamp directly into the newly formed flare and tighten it ½ to ¾ of a turn. This finishes off the flare and is known as a double flare, which is what you need.
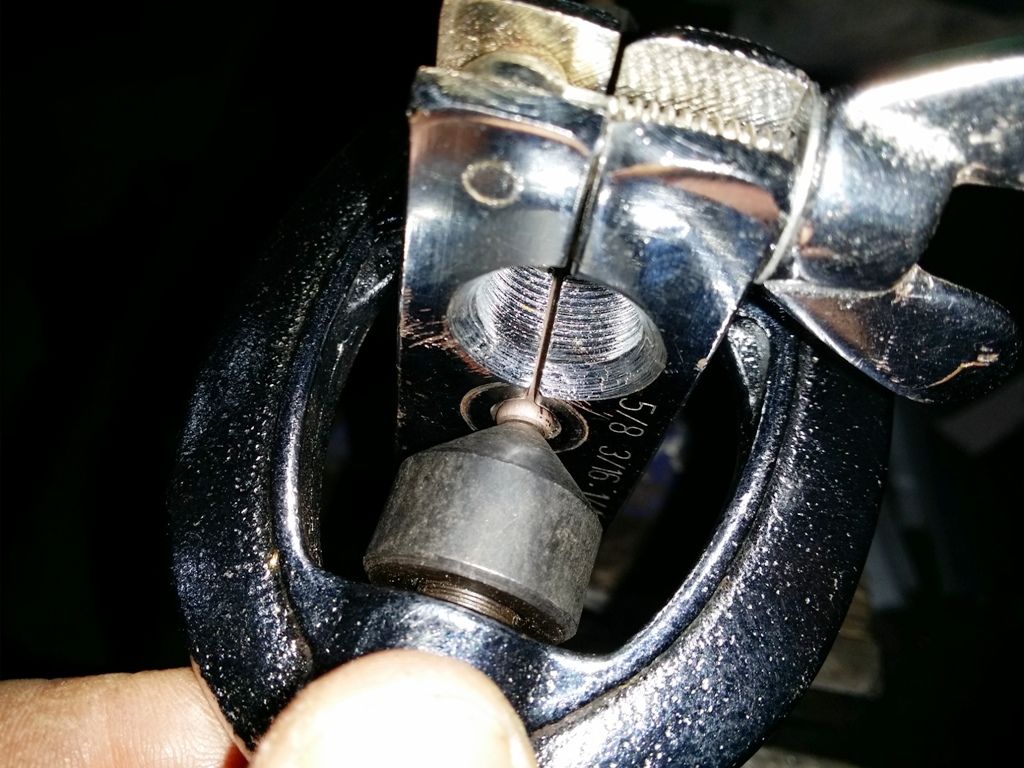
Now remove the clamp, take the brake line out of the tool and check that the flare looks good and uniform. If it looks like it could pull through the union with a bit of force then it is too small.
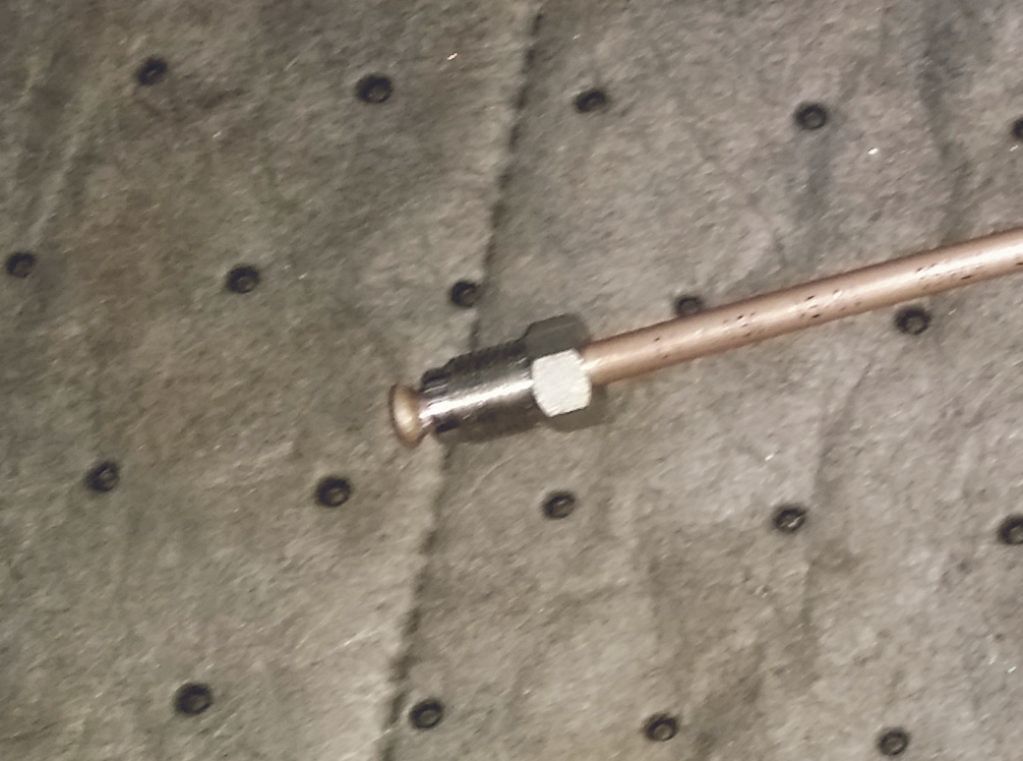
Now flair the other end and the new brake line is finished and ready to fit.
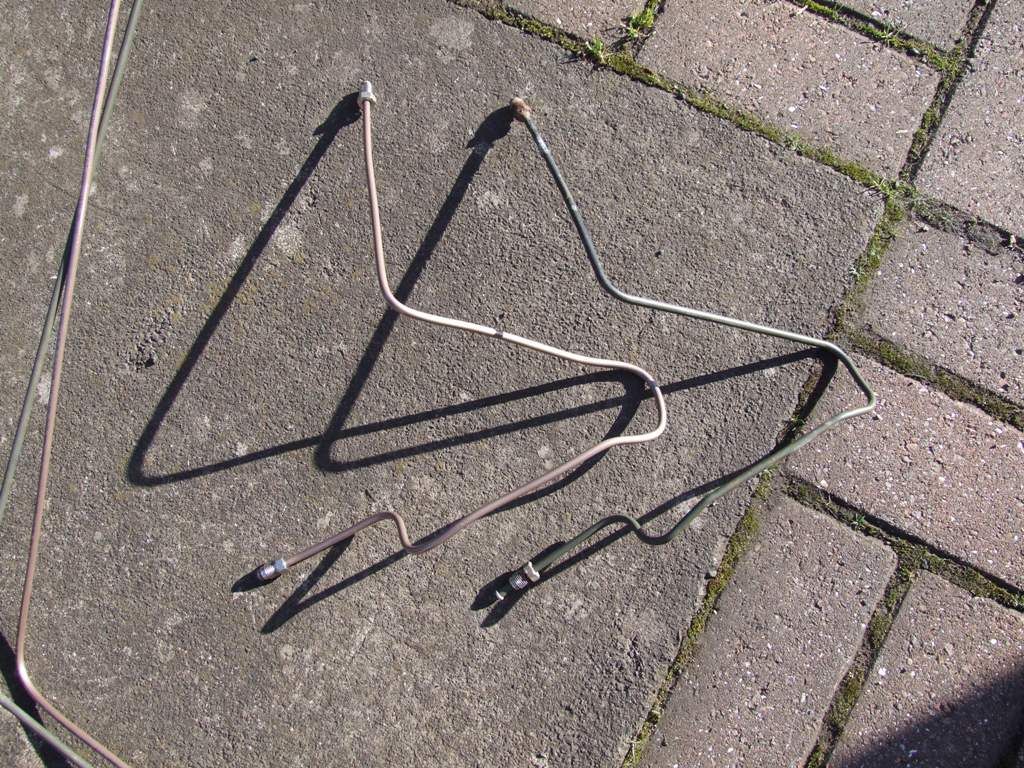
This shows the new and the old lines together.
Fitting the new brake line is the reverse of the removal. Manipulate the line into place, and screw the new unions into place.
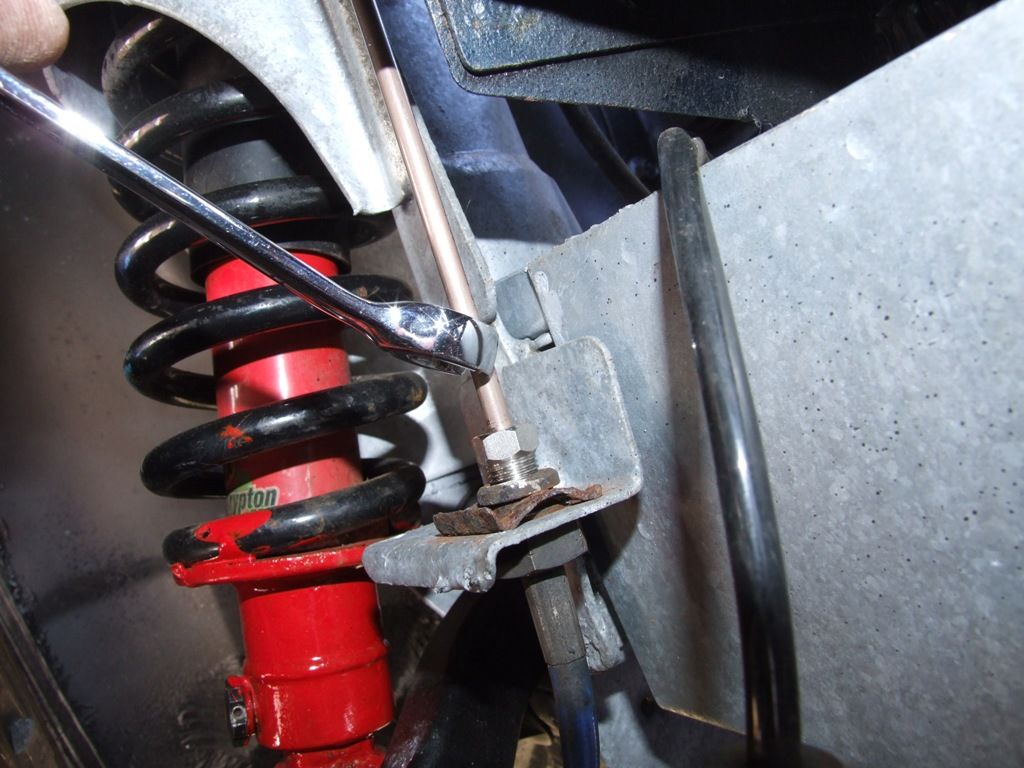
Push the line back into any clips that were holding the original along its length.
Make sure that the lines are not rubbing against each other or the bodywork. If they are rubbing then under the vibration of driving the lines could ware through after time, causing the line to rupture.
Refill the brake system with new brake fluid and bleed all 4 callipers until correct braking is achieved. After pumping the brakes for a while, check the new unions for any signs of leaking.
If you do not feel confident enough to work on braking systems then have the work carried out by someone experienced, or get them to check the system afterwards. The brakes are one of the most important systems on a car and not something you would want to get wrong.
The problem that I had was the brake union where the pipe meets the calliper flexi pipe had corroded to such an extent that it had bonded with the pipe and it wouldn’t turn.


To try and stop this happening again, I bought some stainless steel unions

The unions are Male M10 x 1 and were £1.50 each. I got them from here http://ccsfasteners.co.uk/stainless-brake-pipe-nuts-c-124.html?osCsid=86927be7fdb3755ae00e8678ed6d5f3c
And 25ft of Kunifer (Cupro Nickel) brake line.

The Kunifer brake line is slightly harder to work with and flare than standard copper brake line, but it is also more resistant to corrosion. If you plan on keeping the car then I would choose Kunifer. I was looking into getting some stainless steel lines made, but not many places seem to do it and it is more difficult to seal at the union end, resulting in leaky brake pipes.
So, the first thing to do is remove the brake line that you need to replace. This can be tricky as some of them are quite long and go around other pipes and cables. Try and remove it as one in its original shape so you can use it as a template. You can fit the brake lines and fashion them as you go, but it is easier this way if you can.
Loosen and remove both ends using a brake line spanner.
For those of you that don’t know what a brake spanner is, it is like a ring spanner with a gap. This allows you to pass the spanner over the brake line and then place the spanner round the union. You can use an open ended spanner, but you are more likely to round the union off and damage it.

The pipe I was replacing was the ABS to front offside wheel. It’s worth mentioning at this point, before we disconnect anything, that you will lose brake fluid. Either use a suitable container to catch the brake fluid or bag the end (make sure the bag doesn’t have holes in

My system had been drained previously, so I undid the brake end

Undid the ABS unit end

And carefully manoeuvred the pipe free of the car. You may need to unclip it from clips that support the brake line and you may need to twist it and turn it a bit to get it free.
Measure the brake line that you have used using a piece of string or wire, so that you can follow the curves and get an exact measurement.

And now take the coil of new brake line and straighten enough to work with.

Measure enough of the new brake line, using the length of string/wire and cut using a pipe cutter. You can cut the line using other methods, but a good pipe cutter gives you a good end to flare with no crimping or distortion. You might also want to add a couple of inches, depending on how confident you are that you will get the flare right first time. You can always incorporate the extra length behind panels, but you cannot add length once cut without adding extra unions. Remember though that you need to add a little length for the flares, about 15mm will give you plenty.

Once you have cut the length of brake line you can lay it next to the old one and start adding bends and angles as needed. Don’t try and copy the tight bends of a factory item, just get it as close as possible.

You can use different methods to bend the brake line. You can get proper bending tools, or you can use a former of some sort. I used a large bolt to get reasonable bends. If you bend too tightly or quickly you can kink the brake line and then it is scrap. A kink in the line will restrict the flow of fluid when you press the brake pedal and will reduce your brake efficiency, if not stop it all together. Take your time and gradually bend it to a shape that you are happy with.

Once you have the correct length and correct shape you are ready to add the unions and flare the pipe. It isn’t unknown to flare the pipe and get it just right and then realise the union is still in your pocket. Dohhh.
Place the union on the brake line, with the threaded end facing the cut end, and then place the brake line in the correct size hole of the flaring tool. I judged the correct amount protruding by placing the flaring adaptor next to the line and making it flush with the shoulder.

You now need to tighten the flaring tool as tight as you can onto the brake line. The grip is important, otherwise the line will slip while you are flaring.

Then place the protruding part of the flaring adaptor into the brake line. If you have used a hacksaw or other method to cut the line, you may need to dress the end to get a good finish.


Place the clamp over the flaring tool with the cone located into the hole on the back of the adaptor and twist the whole clamp to locate it onto the tool.

Now screw the clamp down as far as it will go, so that the first flare is formed. The adaptor will be flush with the tool.
Now, unscrew the clamp and remove the adaptor
Now place the cone of the clamp directly into the newly formed flare and tighten it ½ to ¾ of a turn. This finishes off the flare and is known as a double flare, which is what you need.

Now remove the clamp, take the brake line out of the tool and check that the flare looks good and uniform. If it looks like it could pull through the union with a bit of force then it is too small.

Now flair the other end and the new brake line is finished and ready to fit.
This shows the new and the old lines together.

Fitting the new brake line is the reverse of the removal. Manipulate the line into place, and screw the new unions into place.


Push the line back into any clips that were holding the original along its length.
Make sure that the lines are not rubbing against each other or the bodywork. If they are rubbing then under the vibration of driving the lines could ware through after time, causing the line to rupture.
Refill the brake system with new brake fluid and bleed all 4 callipers until correct braking is achieved. After pumping the brakes for a while, check the new unions for any signs of leaking.
If you do not feel confident enough to work on braking systems then have the work carried out by someone experienced, or get them to check the system afterwards. The brakes are one of the most important systems on a car and not something you would want to get wrong.
Last Edit:10 years 9 months ago
by cjj
Last edit: 10 years 9 months ago by cjj.
Please Log in or Create an account to join the conversation.
- David Aiketgate
-
 Offline
- David
-

- mgf mk2 freestyle mpi 16" wheels, in Anthracite.
- Posts: 20354
- Thanks: 4453
Replied by David Aiketgate on topic How to replace a brake line/pipe.
Posted 10 years 9 months ago #139677
More sterling work from Mr Fixit.  :broon:
David
:shrug:
Please Log in or Create an account to join the conversation.
Replied by petetf160 on topic How to replace a brake line/pipe.
Posted 10 years 9 months ago #139777
Great "How to", :broon: :broon:
Saw a picture of a "T", piece at the back of the car where it looked like the unions would just twist away, because they were so rusty.
First thing I did with the TF was to replace the front bendy pipes with stainless braided ones.
:drive: :drive:
Saw a picture of a "T", piece at the back of the car where it looked like the unions would just twist away, because they were so rusty.
First thing I did with the TF was to replace the front bendy pipes with stainless braided ones.
:drive: :drive:
by petetf160
Please Log in or Create an account to join the conversation.
Time to create page: 0.491 seconds
