Weekend itinerary
dash leds didnt turn up so wont be doin that today!!
Secondly
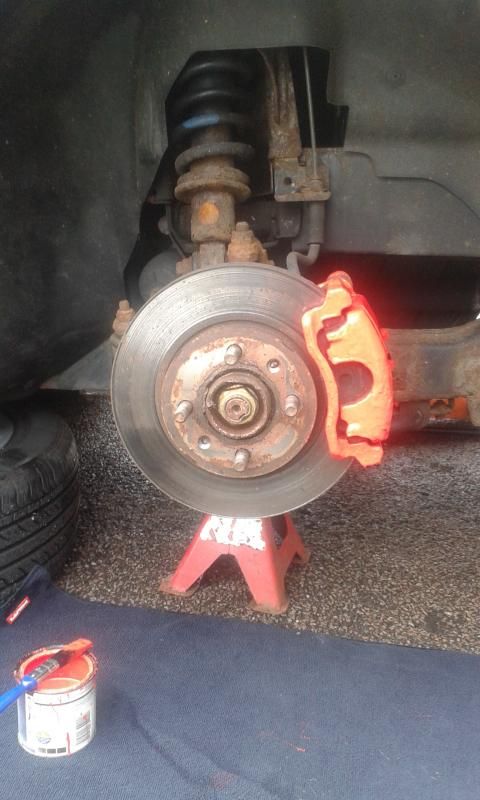
Turns out the front brakes were changed the same time as the rears (last mot) but no paper work showing the work to the front ..only an invoice for the rears ... mot advidory stated that front disc lipped and pads worn but not excessive ... they have no ware so was definatly changed with the rears!!
Damn me for not checking first and believing an mot cerificate..
Proceed in calling me a donkey!!
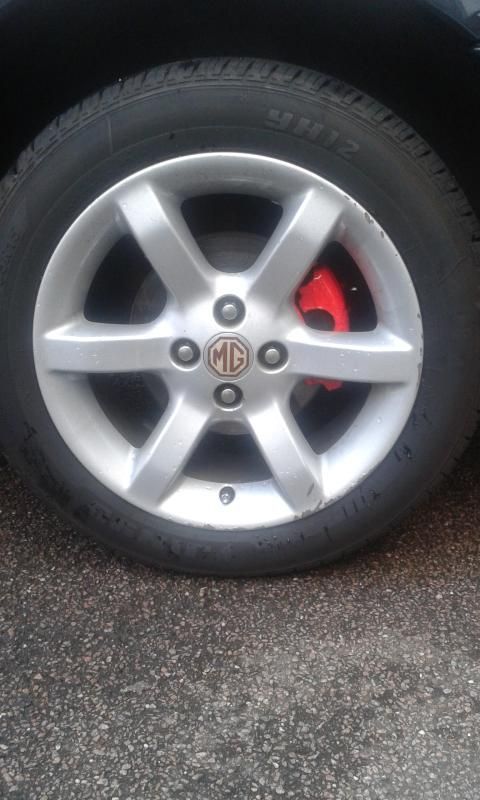
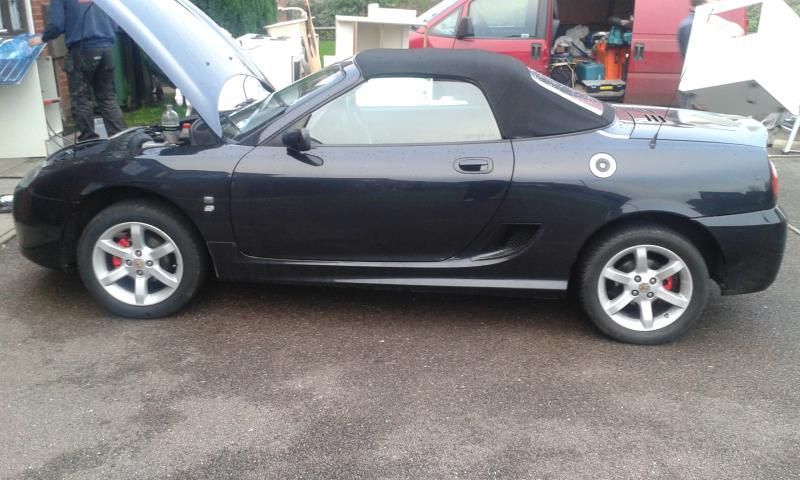
Looks like im just painting calipers and bleeding cooling system today
Please Log in or Create an account to join the conversation.
- talkingcars
-
 Offline
- Moderator
-

- Posts: 6876
- Thanks: 1296
Home to black Alfa Romeo 159 3.2 V6 Q4 ,green MGF VVC and red MG Maestro T16.
MG - the friendly marque.
Please Log in or Create an account to join the conversation.
- adamelphick
-
 Offline
- Moderator
-

- Posts: 3162
- Thanks: 572
Please Log in or Create an account to join the conversation.
- talkingcars
-
 Offline
- Moderator
-

- Posts: 6876
- Thanks: 1296
Home to black Alfa Romeo 159 3.2 V6 Q4 ,green MGF VVC and red MG Maestro T16.
MG - the friendly marque.
Please Log in or Create an account to join the conversation.
I think it packed up at the petrol station .. I went to pay for my fuel and I left my lad in the car and locked it . Around 30 seconds later alarm went off with hazards light but then it went quiet when I went back to the car the hazards where still goin but no horn at this point I didnt think anyrhin of it at the time .. only when I wanted to use the horn did I realise that it did die at petrol station
the joys
Please Log in or Create an account to join the conversation.
Opened bonnet smacked said faulty horn with medium weight ball hammer pressed steeting wheel buttons and now works again
great sucess!!
Please Log in or Create an account to join the conversation.
- talkingcars
-
 Offline
- Moderator
-

- Posts: 6876
- Thanks: 1296
I had a bit of success today,
found the braided hoses for the ZS but not the brackets,
found not one but 2 spare HRW switched and a spare mk1 MGF switch panel (ideal for the heated front screen),
I also found a heated window timer relay but it needs a base.
I went round to my sons where I've got a load of parts and got a legal wheel for the ZR.
Unplanned but I managed to get hold of my daughters car for 10 minutes and I think I found the source of her oil leak, a slightly loose sump plug.
Not to mention an hour and a half taking nails out of old horse shoes and washing them, the shoes that is, and 4 hours sorting my sorting my shed.
Home to black Alfa Romeo 159 3.2 V6 Q4 ,green MGF VVC and red MG Maestro T16.
MG - the friendly marque.
Please Log in or Create an account to join the conversation.
- talkingcars
-
 Offline
- Moderator
-

- Posts: 6876
- Thanks: 1296
Home to black Alfa Romeo 159 3.2 V6 Q4 ,green MGF VVC and red MG Maestro T16.
MG - the friendly marque.
Please Log in or Create an account to join the conversation.
Quick how to
Remove the 4 Philips head screws that that hold the clock shroud in place and drop the steering wheel to allow removal (no pics of this as its self explanatory)
Remove the 4 Philips screws that hold the dials in place in the dash there's 2 at the top and 2 at the bottom
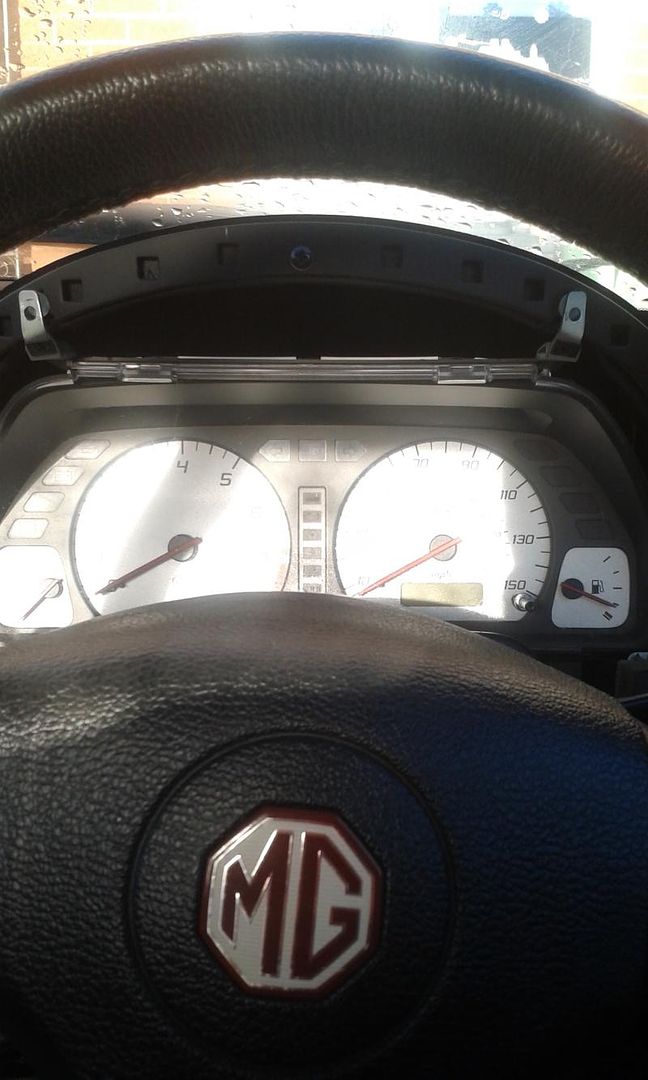
Now that the mounting screws have been removed the unit can be tilted forward now you can see the top of the lighting unit of the clocks now remove the brass coloured screws that hold each mounting brackets to the clock unit(1 screw each side) these screws also hold the lighting unit to the dials
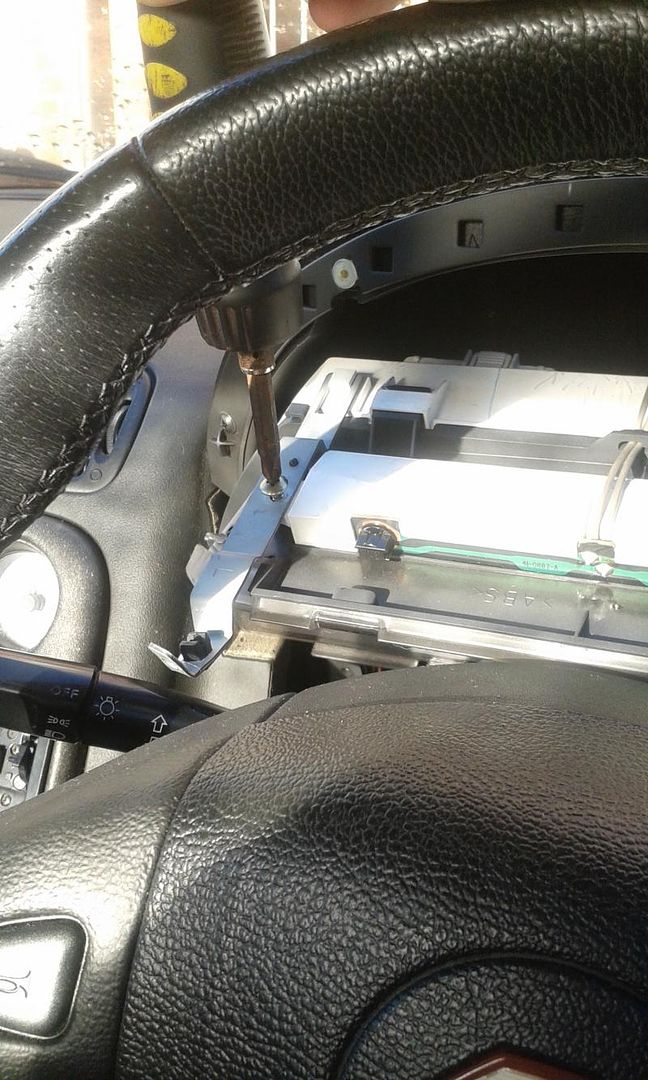
With these now removed looks like this
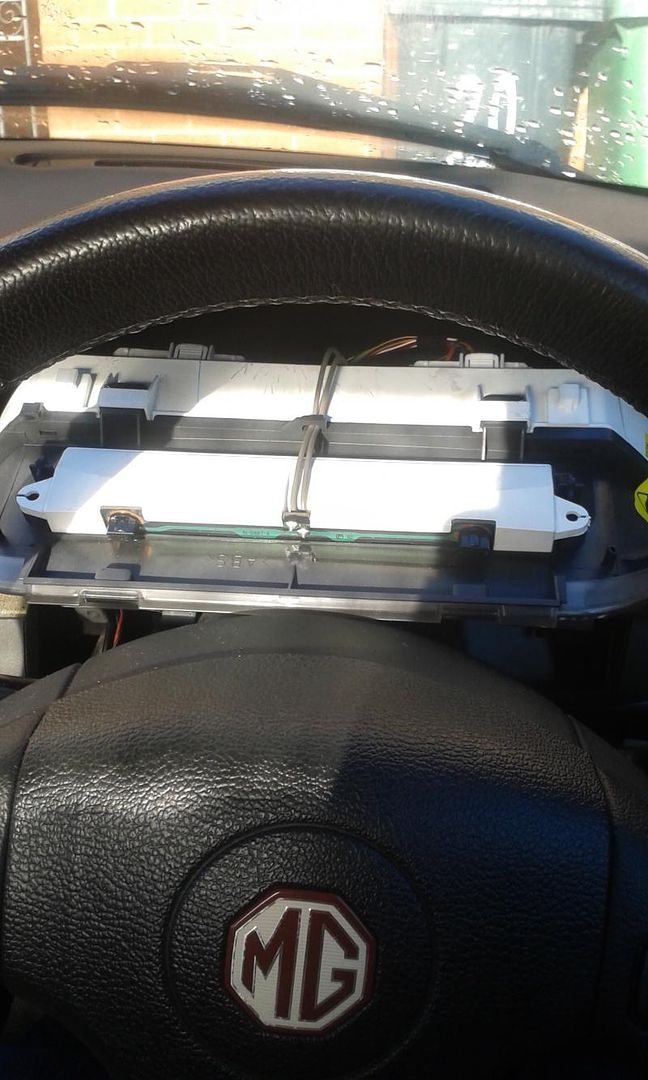
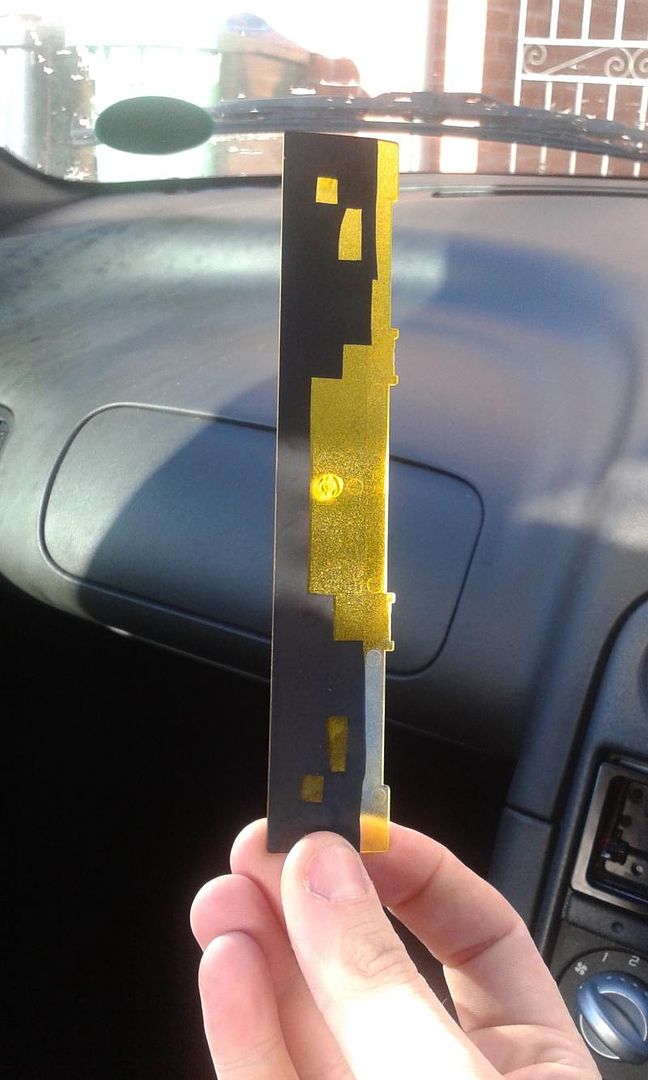
Now you can lift up the top and slide out the yellow tinted plastic that gives the standard clocks that crap yellows glow
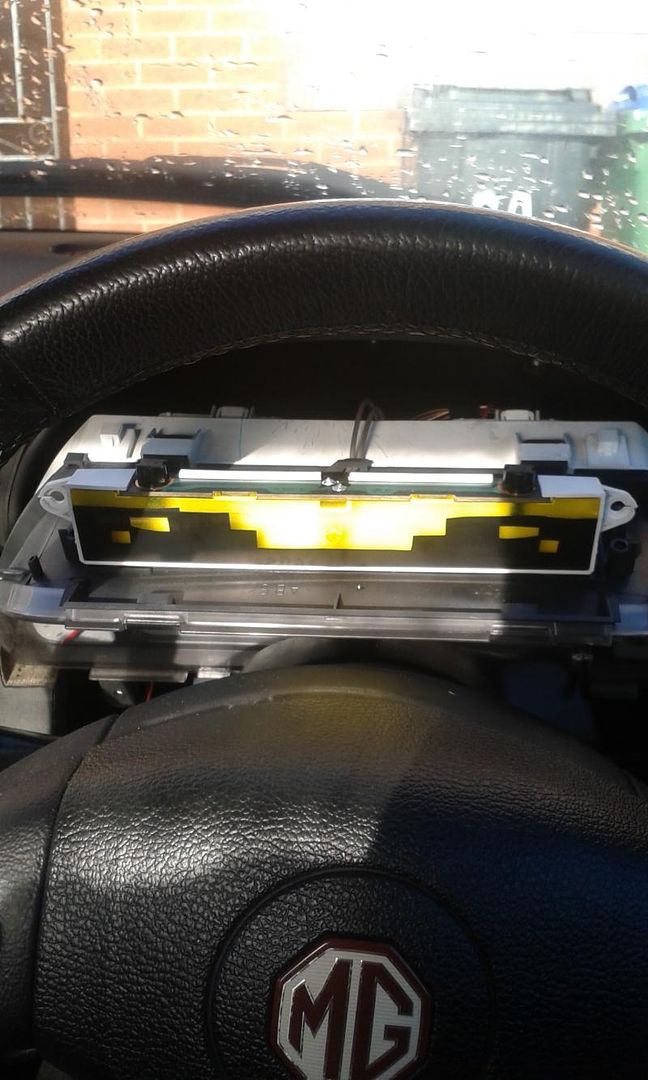
Now you can unscrew the black plastic bulb holders the standard bulbs just pull out from the holders and LEDs just push in and can be fitted back into the lighting unit at this point check the polarity of the leds by turning your side lights on to see if they turn on ,if they don't just rotate the led 180 degrees and hey presto!!
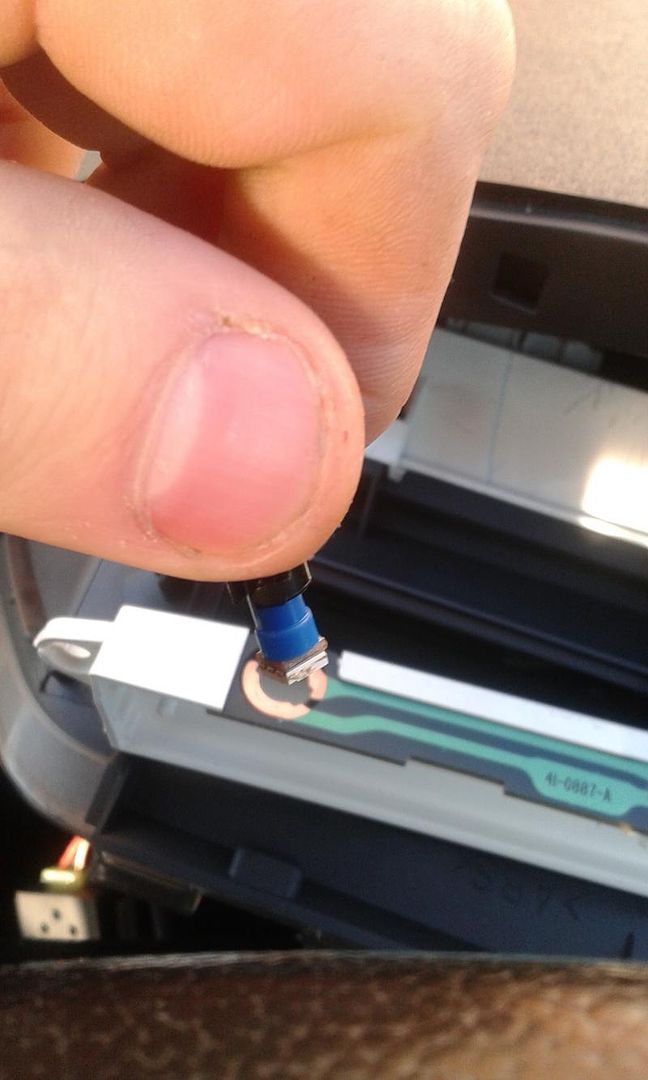
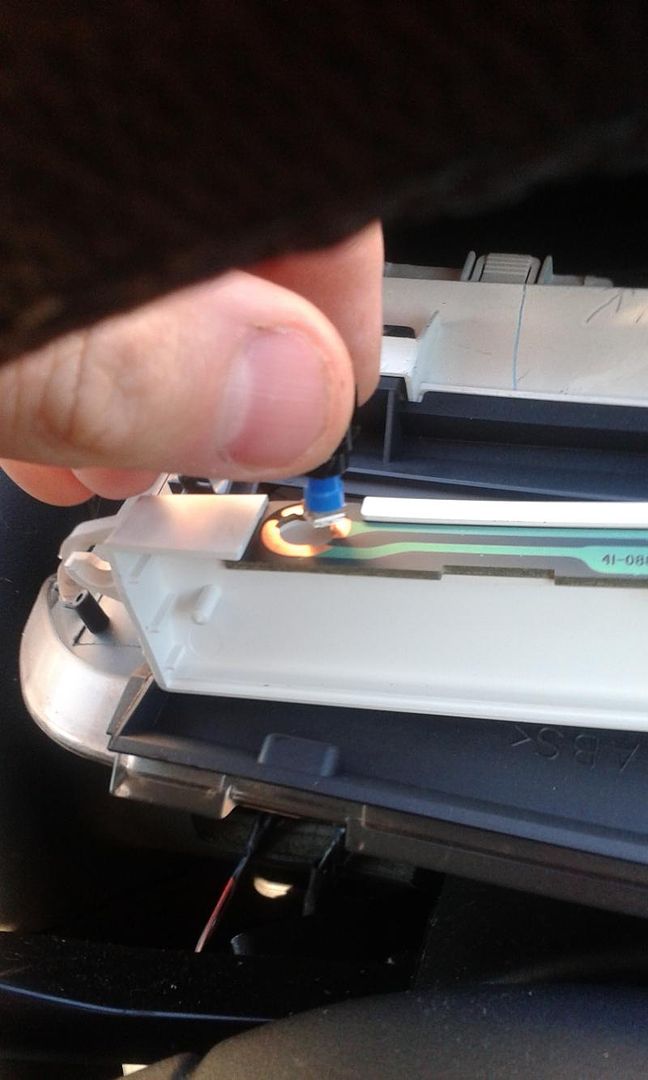
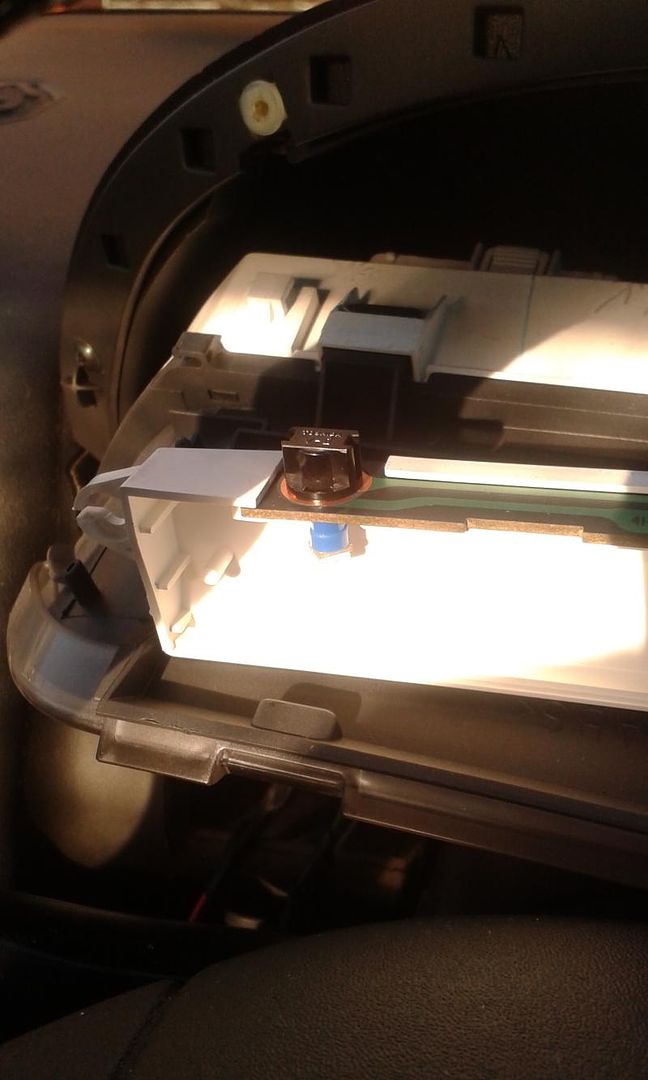
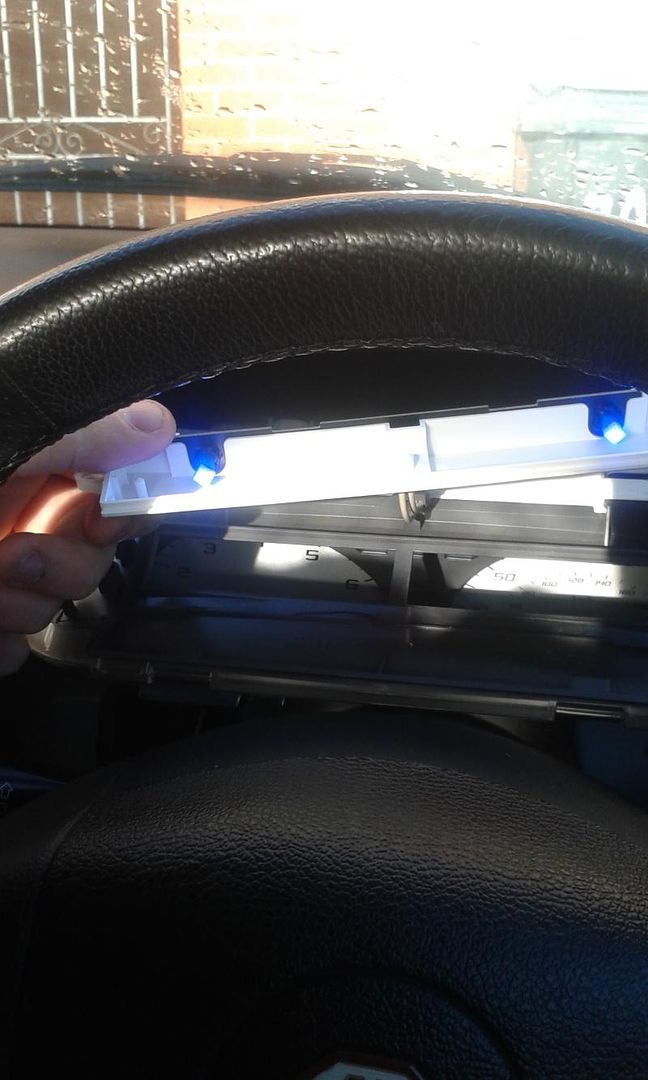
Finally assembly is the reversal of disasembly but do not re fit the yellow plastic as this will ruin the look of your new LEDs
And finally what it looks like at night in all its glory
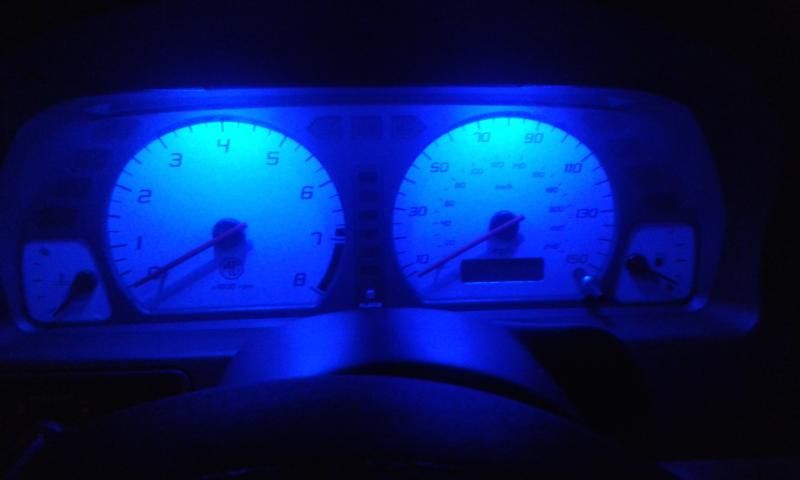
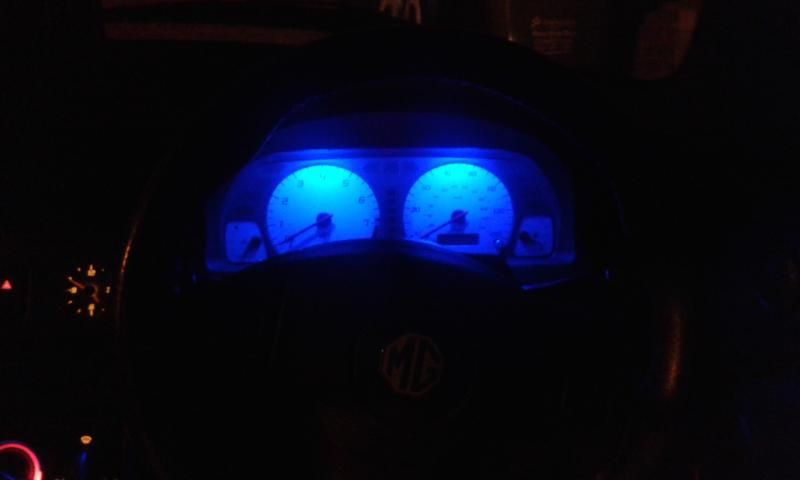
And the difference in bulbs just for reference
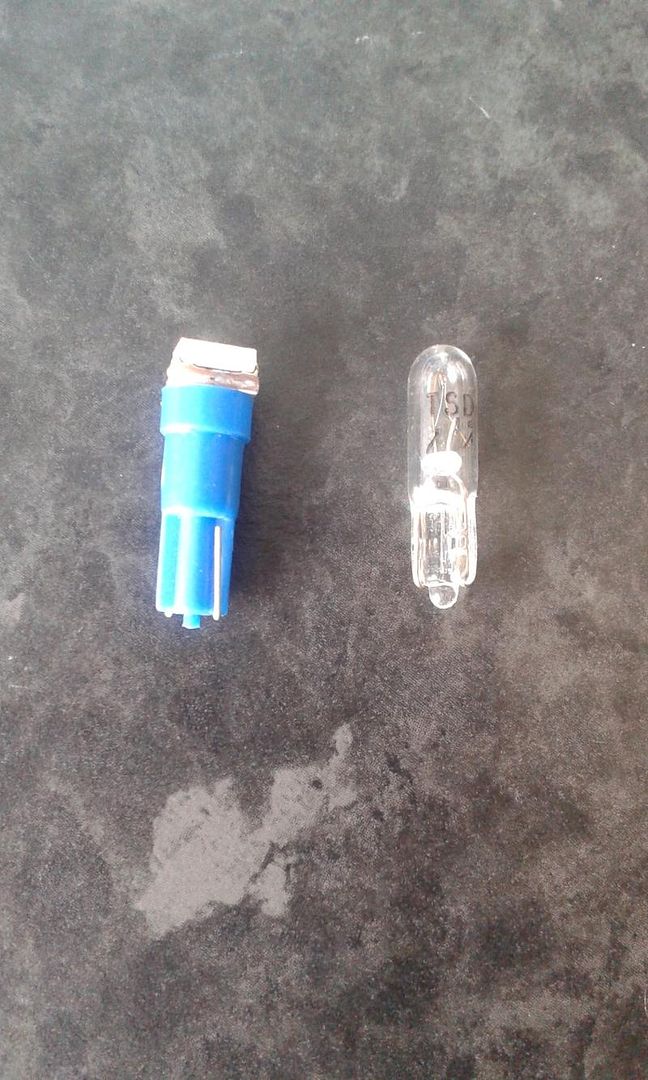
Hope this helps anyone interested in doin this mod I'm well happy with it
Please Log in or Create an account to join the conversation.
- talkingcars
-
 Offline
- Moderator
-

- Posts: 6876
- Thanks: 1296
CR41G wrote: Today's work consisted of changing the dash lights to blue LEDs and what a simple and easy mod to do!! I read on the net that bulbs had to be soldered etc but nope simple as removing the old bulb and popping in the led making sure it's the right way round..............
That is because you used proper bulbs rather than loose LEDs.
Some people scrape the yellow off the plastic and re-install it because it also defuses the light and spreads it more evenly.
Nice how-to BTW.
Home to black Alfa Romeo 159 3.2 V6 Q4 ,green MGF VVC and red MG Maestro T16.
MG - the friendly marque.
Please Log in or Create an account to join the conversation.
If someone wants to do a full write up and add extra pictures of removing the clock shroud etc to add to the howto section then by all means your welcome to use my pictures ...anythin to help others
Please Log in or Create an account to join the conversation.

