MGF to TF Sub Frame Conversion
- sworkscooper
-
 Offline
- Senior MGer
-

- Posts: 1486
- Thanks: 451
Hope your financial advisor will be accommodating in that respect . Mine rolled her eyes when I told her I wanted to remove the bumpers again for painting for the second time this year . The first time I took them to a place that was recommended to me and wish I hadn't as the paint was thiner than my hair ! :rant: They are now back on and have been done to my satisfaction.
John .
Please Log in or Create an account to join the conversation.
Got both wings off with little issue, it helps a great deal when painting / under-sealing the body work but the main progress was finishing off the front subframe assembly... I recently decided to go with the soft - comfort set up and purchased the shocks and springs from MGF Bitz in Glossop. So, I was able to put the brake disks, calipers and the Goodridge brake hoses on and the wheels to make it easier to move around. I have still to torque up the various components but plenty of time to do this.
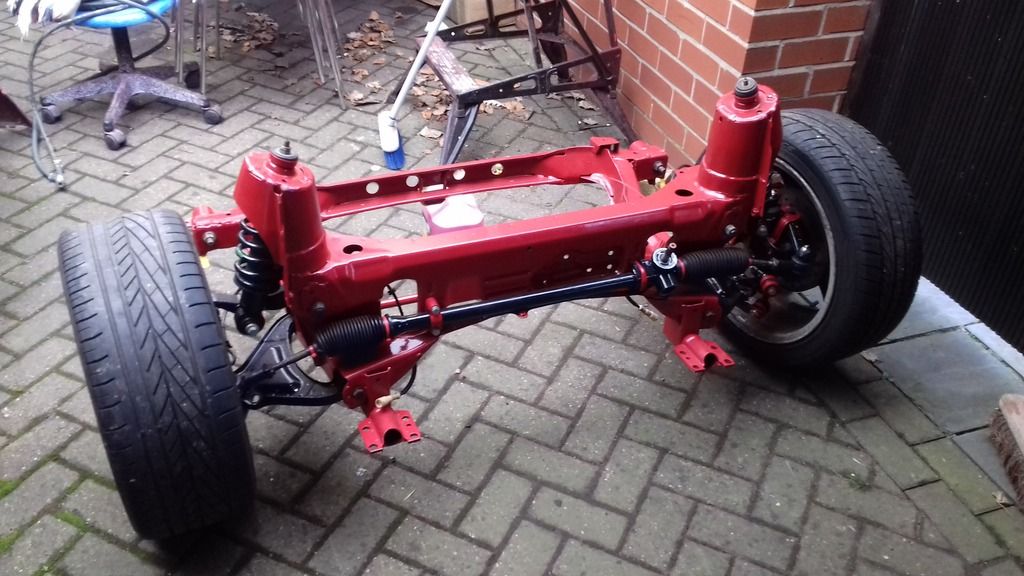
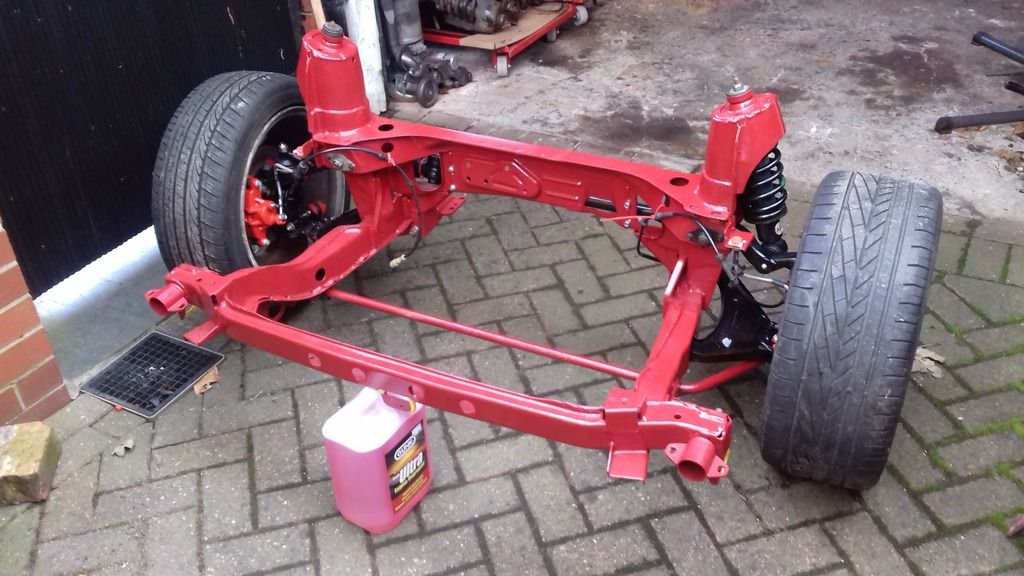
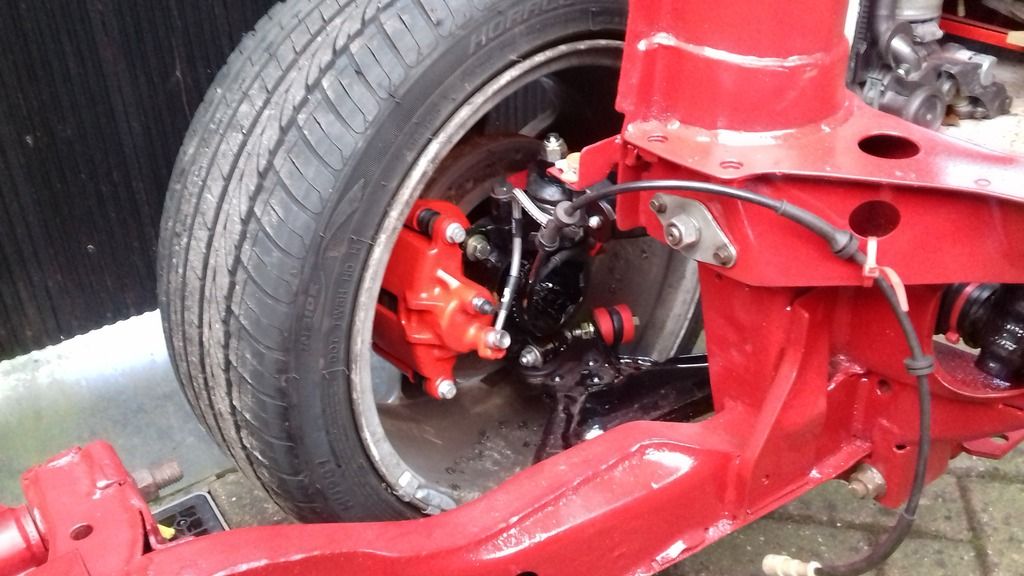
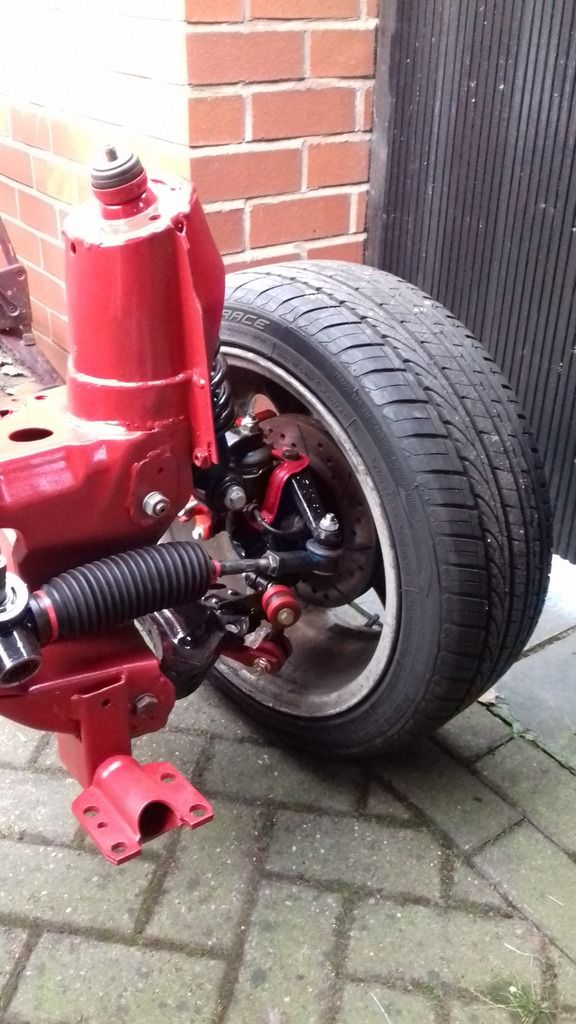
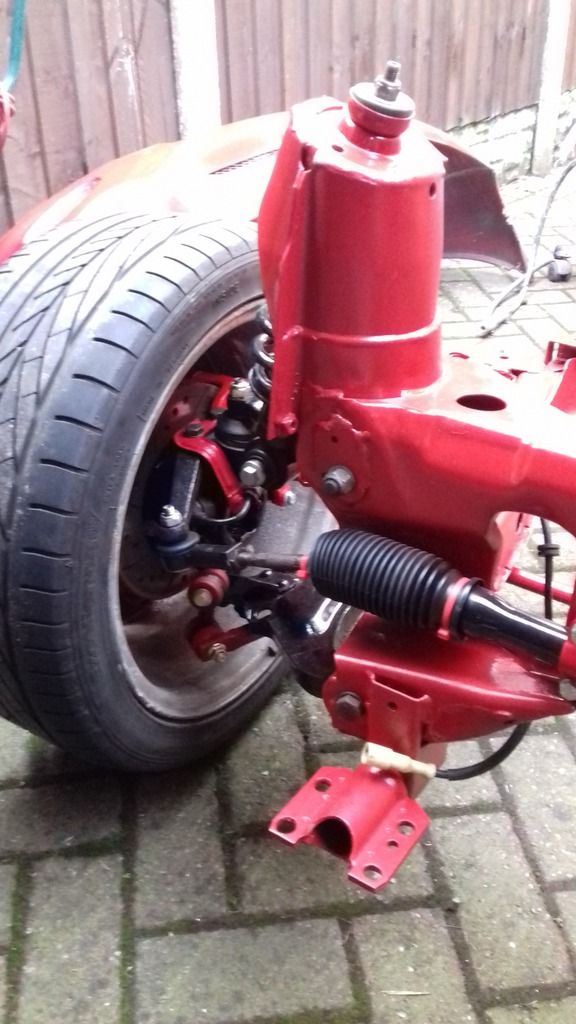
Hoping that the good weather comes soon, I need to drill 2 holes in the inner wings and underseal the body work :clap:
Please Log in or Create an account to join the conversation.
- talkingcars
-
 Offline
- Moderator
-

- Posts: 6876
- Thanks: 1296
Replied by talkingcars on topic MGF to TF Suspension restoration
Posted 6 years 10 months ago #183171Simon h wrote: Hoping that the good weather comes soon, I need to drill 2 holes in the inner wings and underseal the body work :clap:
I didn't realise this until I had fitted the front subframe so my holes are not quite in the correct place.
Home to black Alfa Romeo 159 3.2 V6 Q4 ,green MGF VVC and red MG Maestro T16.
MG - the friendly marque.
Please Log in or Create an account to join the conversation.
Whilst I had the front subframe out, I took advantage of the extra room to prepare the under body for underseal and paint:
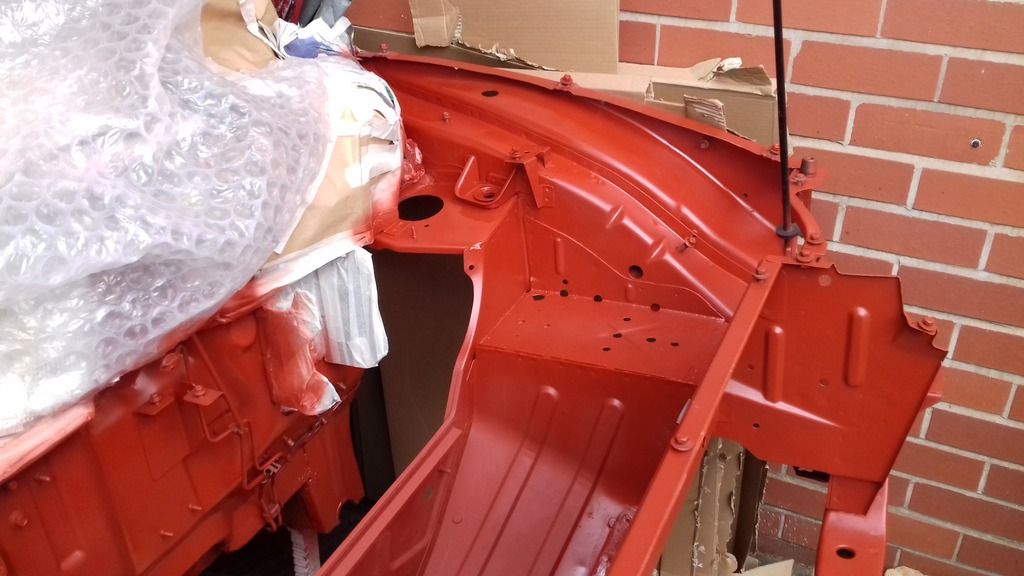
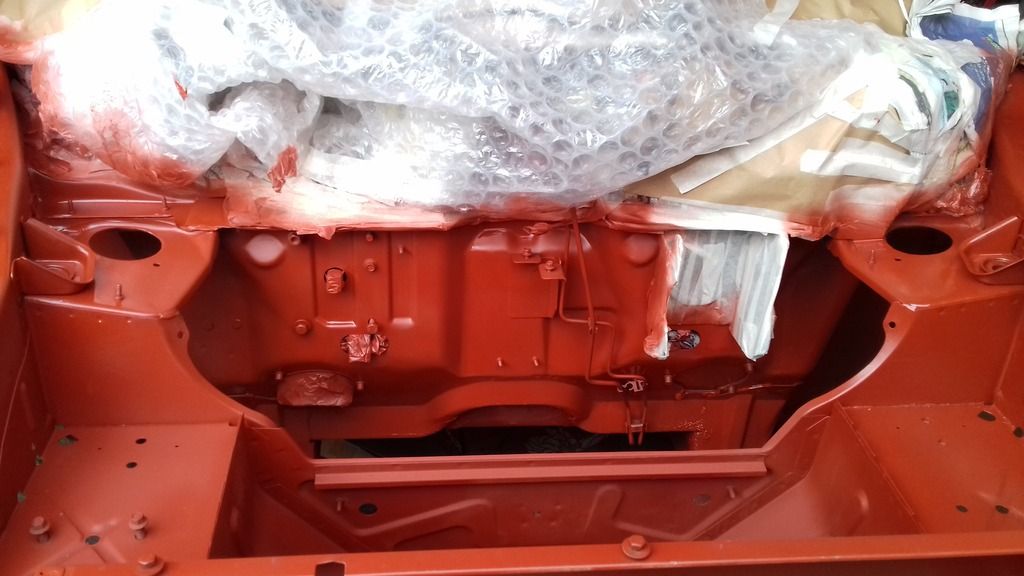
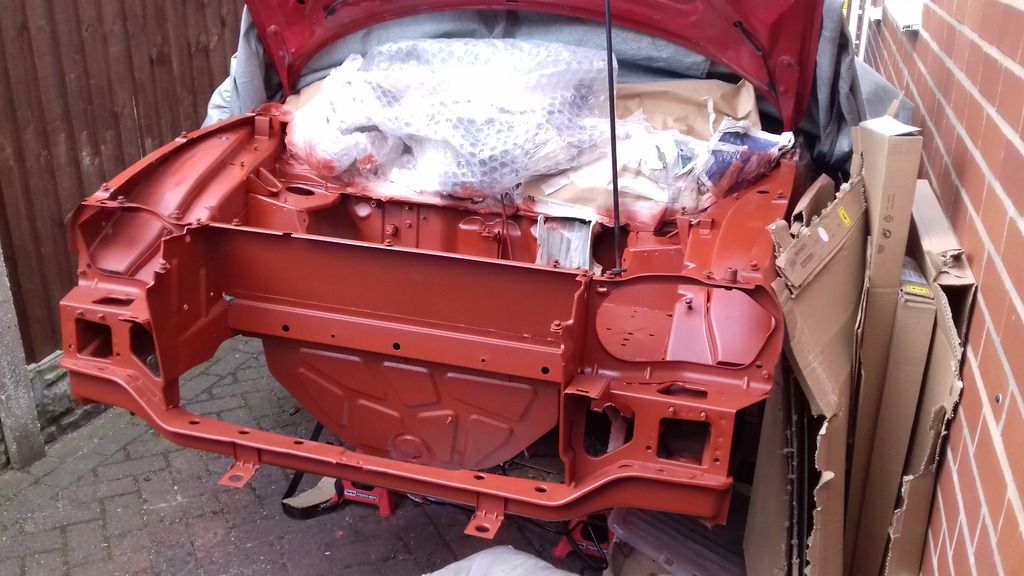
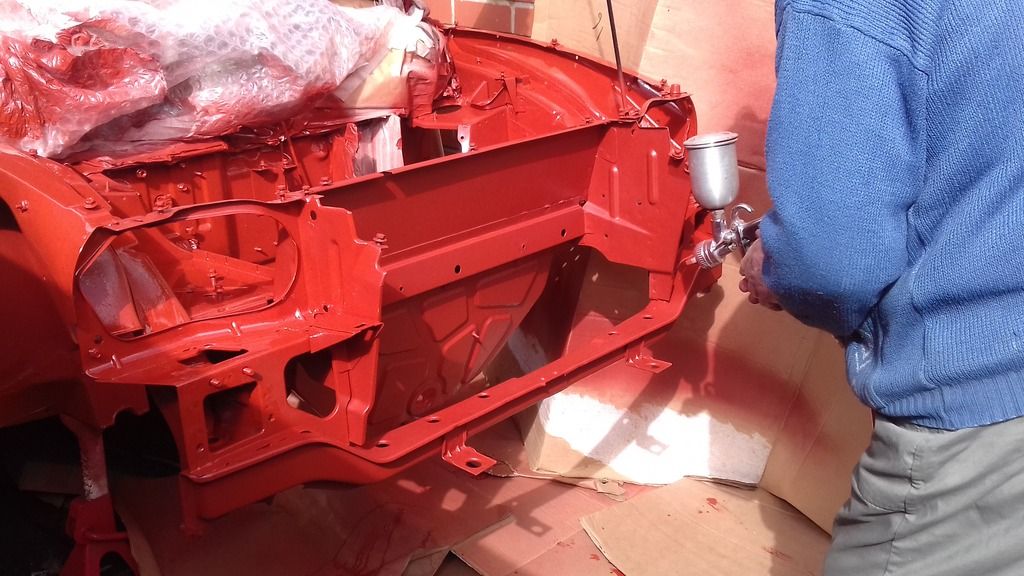
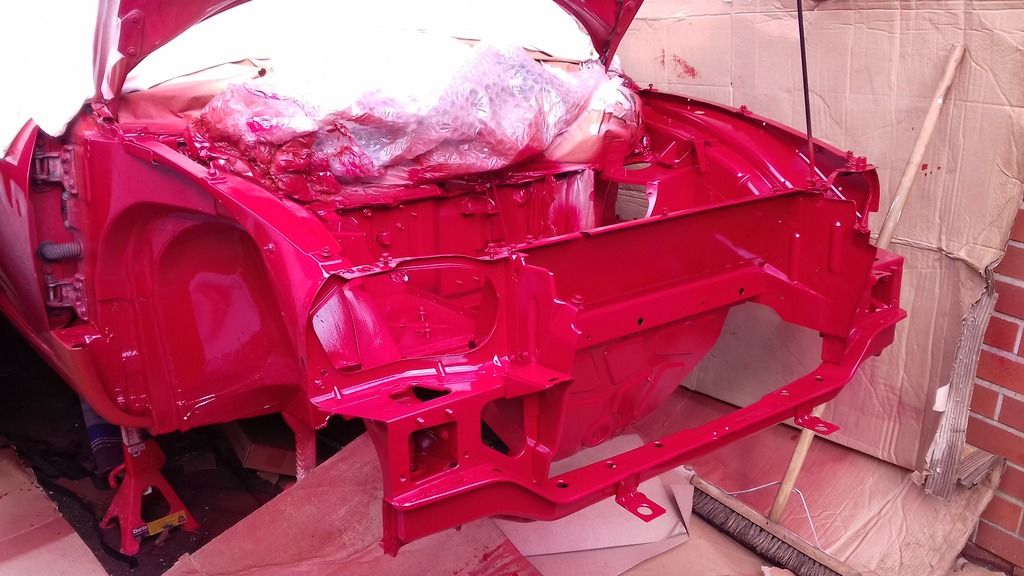
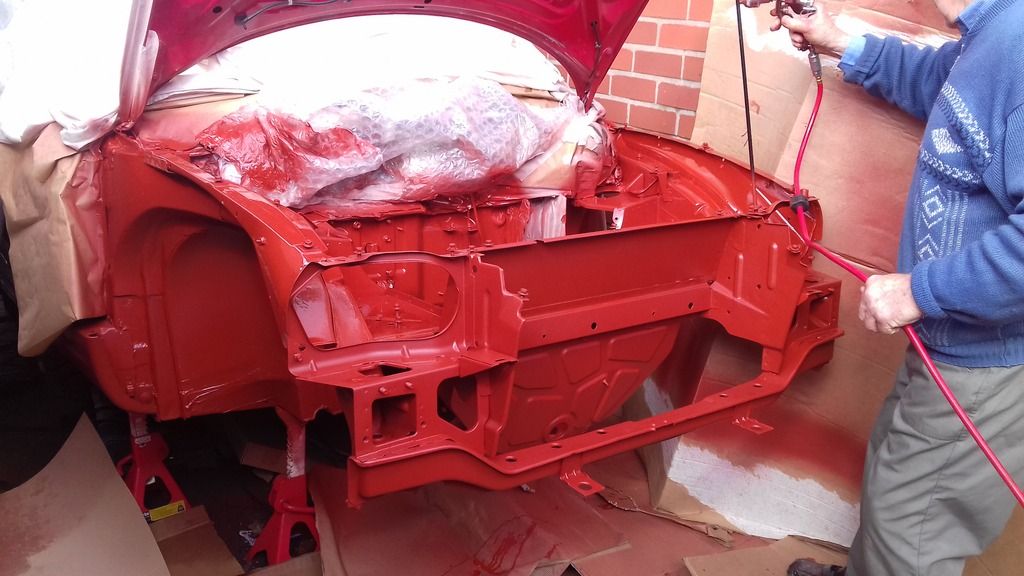
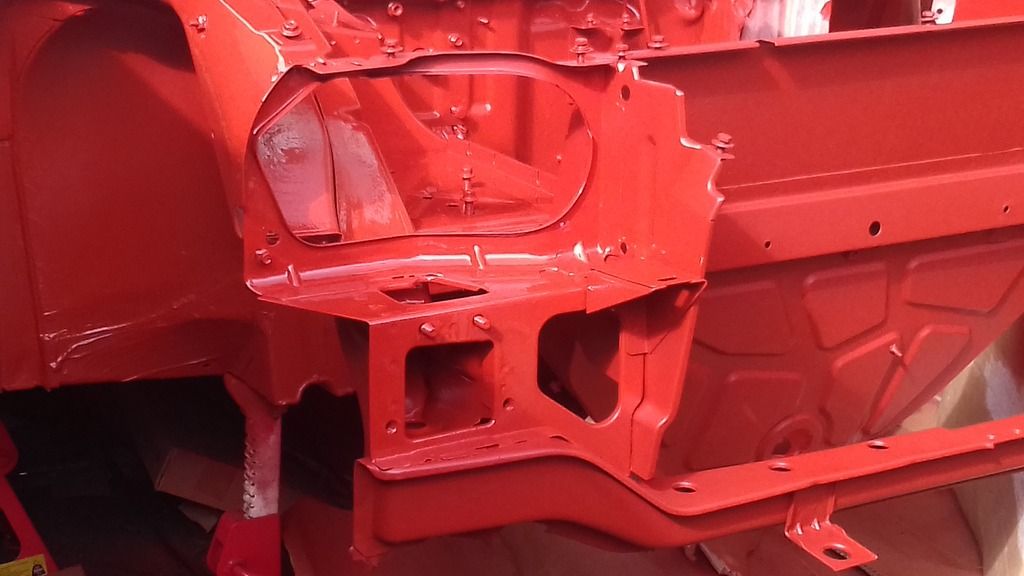
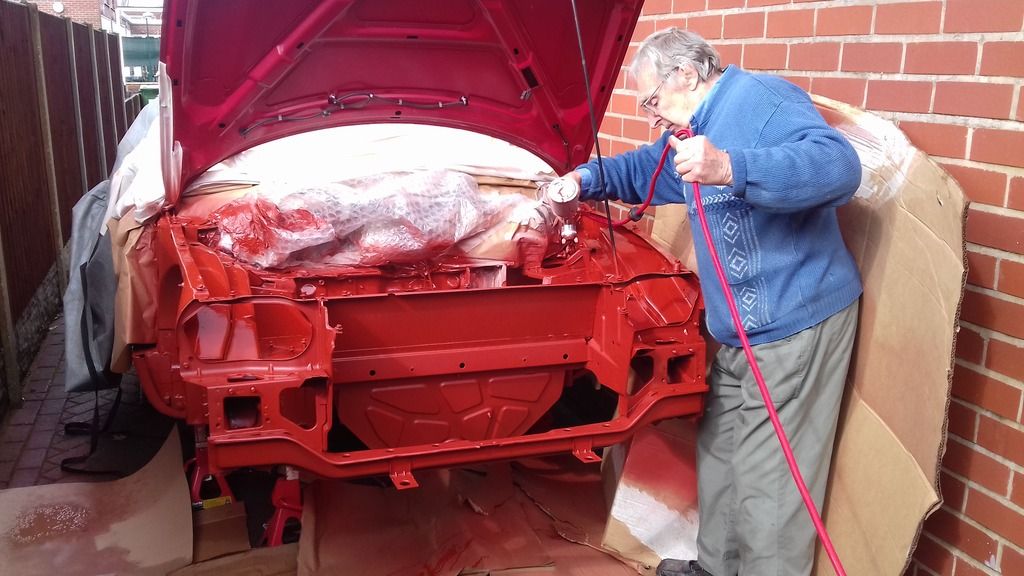
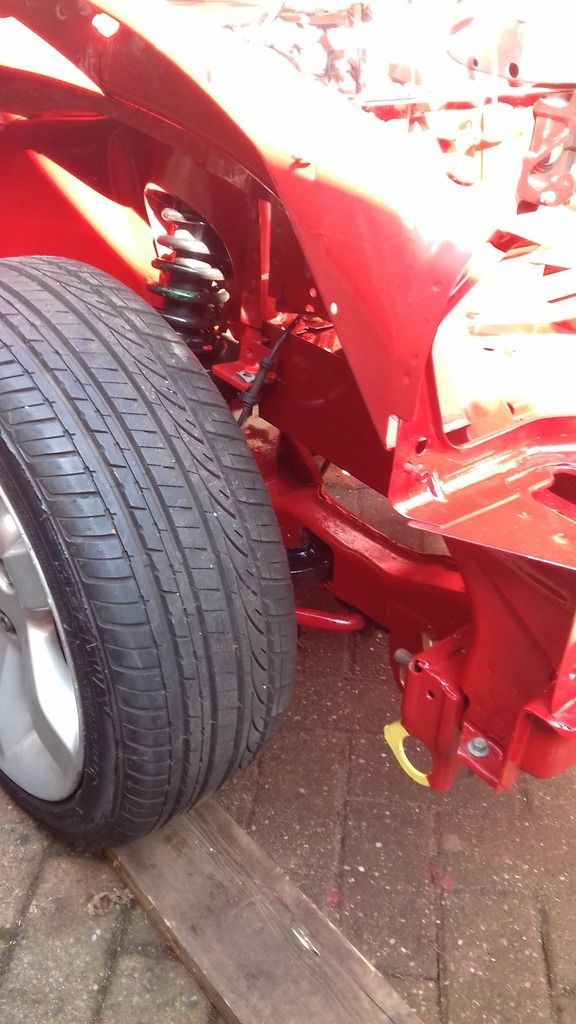
With help from my great friend Fred, we got the front area prepped and the new subframe slotted in nicely. I have started to fit new brake lines and will take pics when done but... time to turn the car around and start on the rear!
Regards
Simon
Please Log in or Create an account to join the conversation.
I put the front wheels on ramps and jacked up the rear, Using my engine hoist and a strap, lifted the body away from the rear subframe... it took some doing! the 4 front bolts had to be ground off as they were completely seized, The remaining studs to be drilled out later
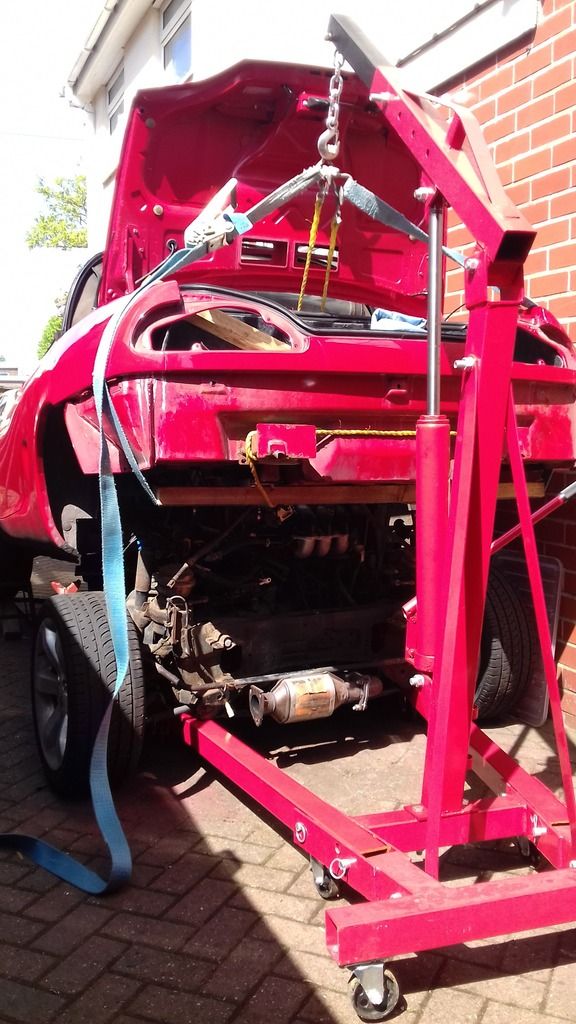
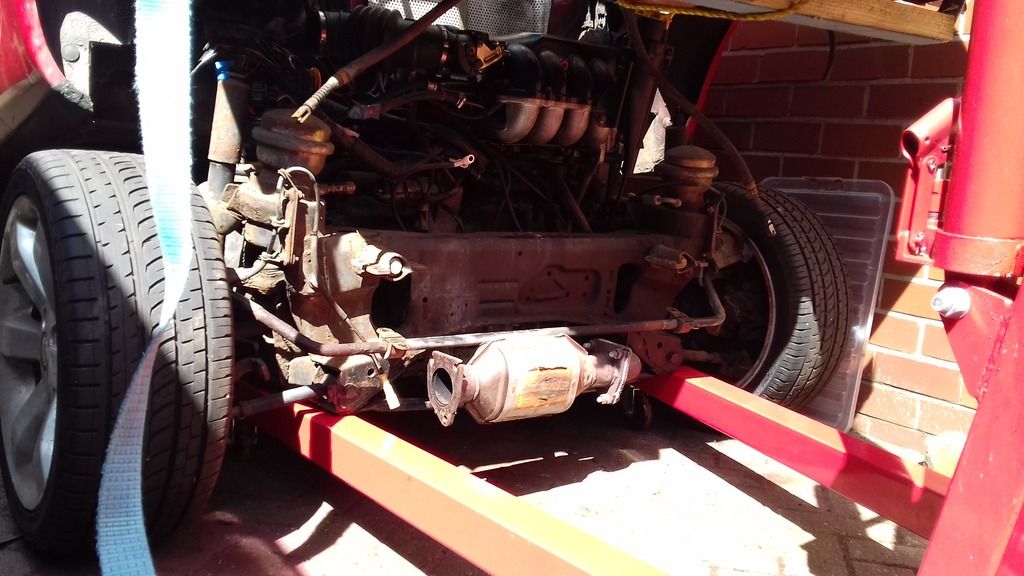
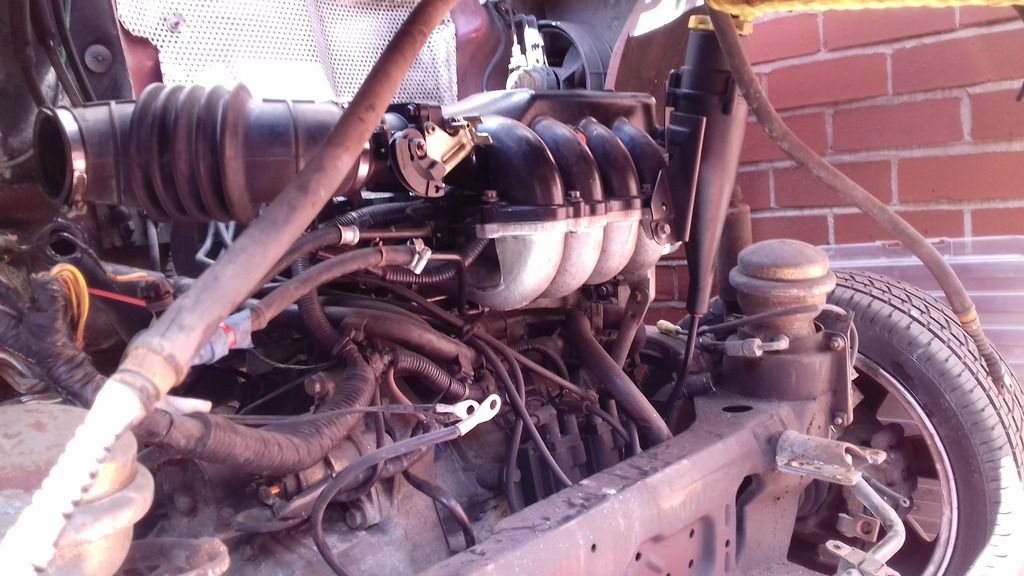
Again, I had extra hands to help... an extra set of eyes are always useful to spot hazards as this was quite a task. More pictures to follow of the engine rebuild.
Regards
Simon
Please Log in or Create an account to join the conversation.
Really been looking forward to this... Whilst the subframe is out, you might as well do as much to the engine as possible. I have tried to put the pictures in order but you will get the gist of whats happening. First of all, I took all the manifolds off, sensors and wiring loom, then the gear box so I could put the engine on the stand (best £35 spent and worth every penny!)
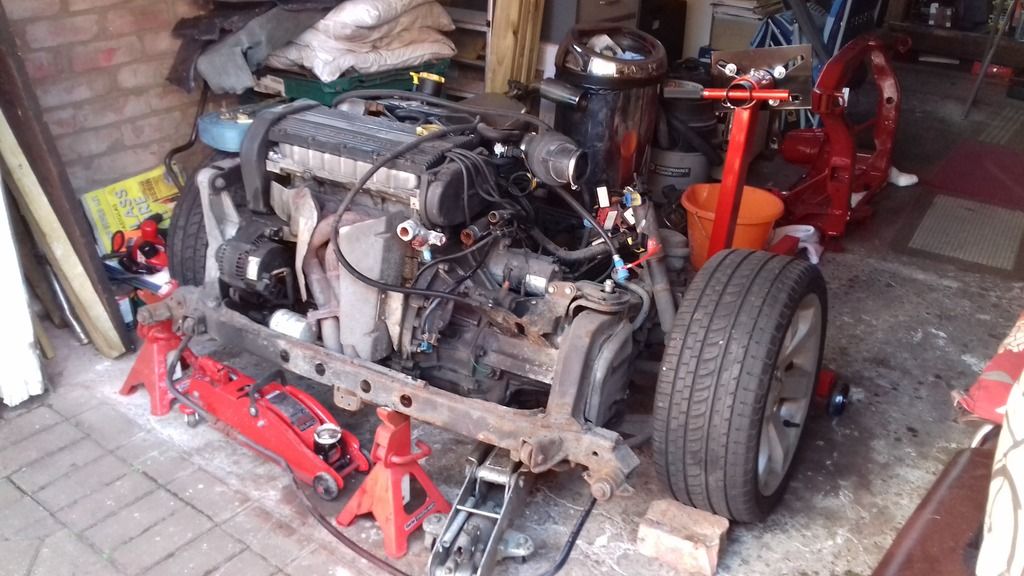
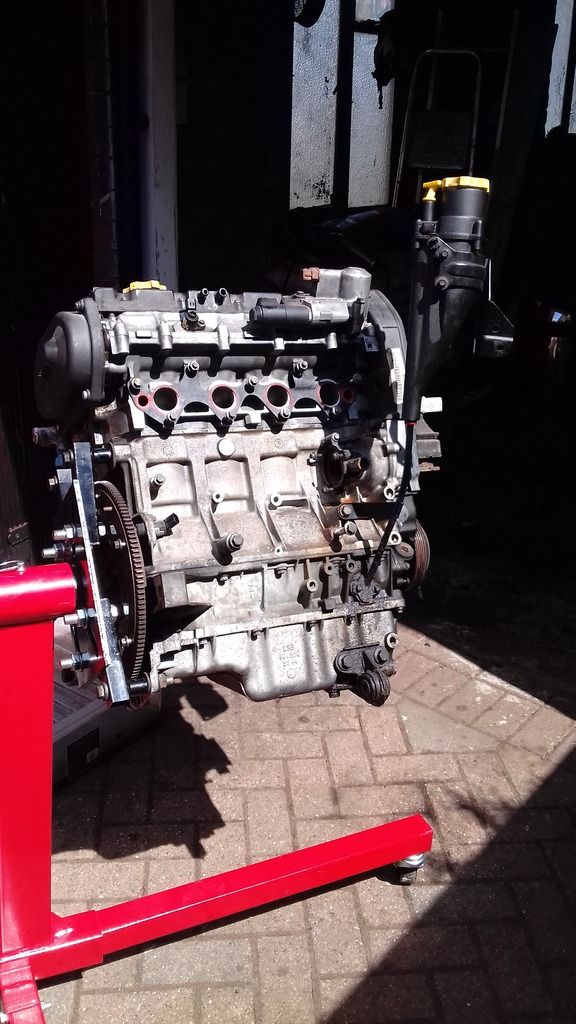
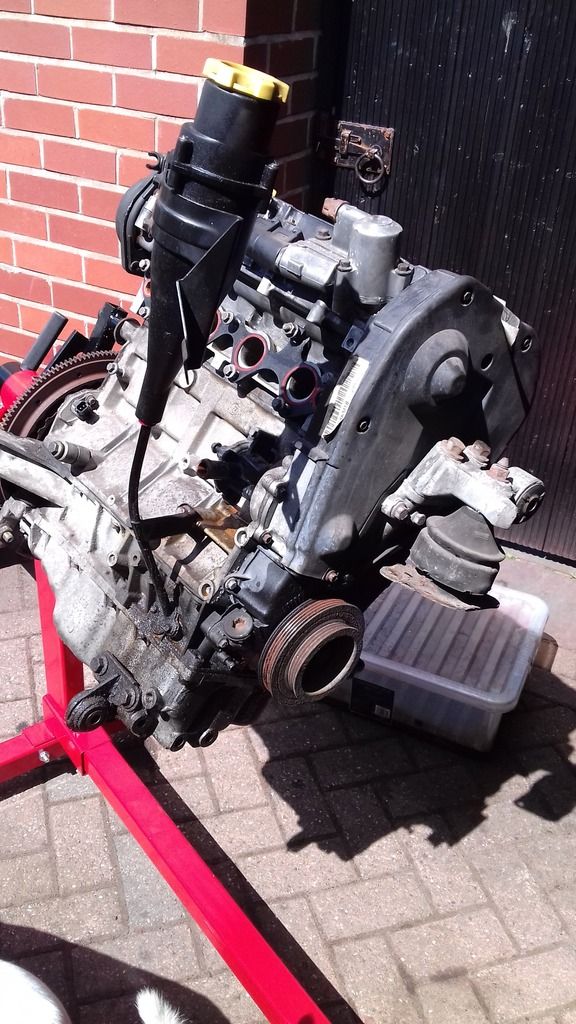
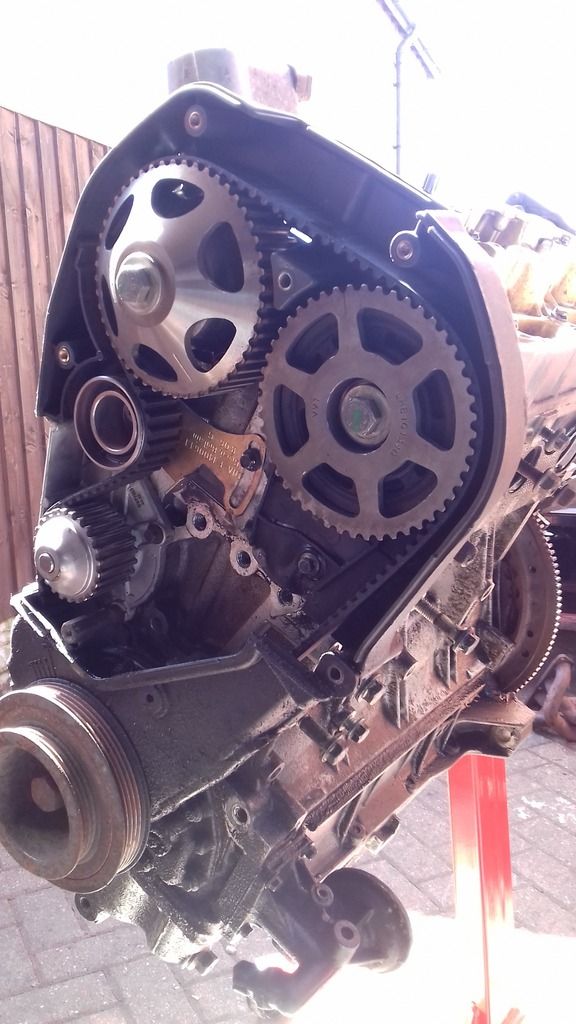
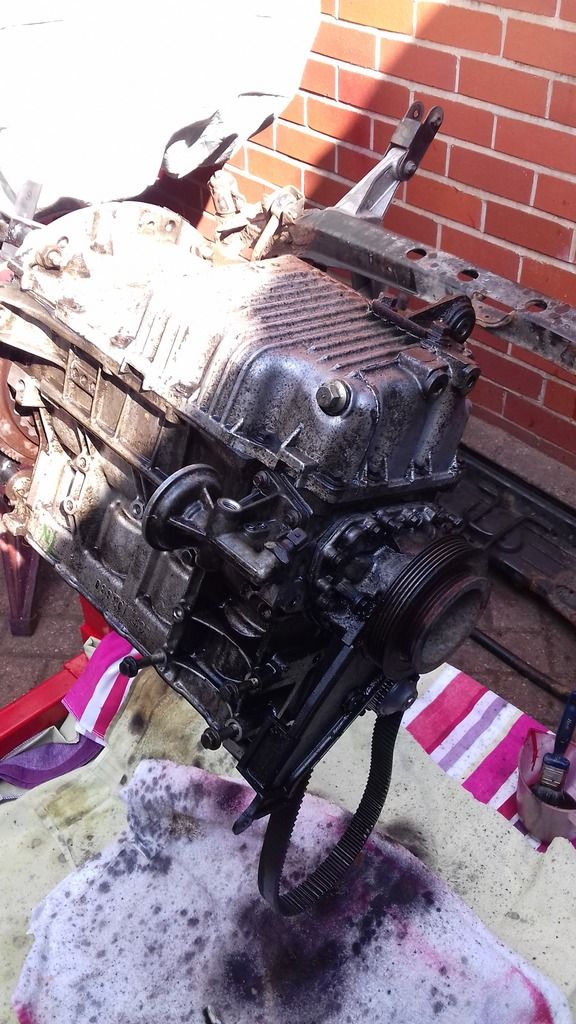
With the head removed, its not so top heavy and I can easily rotate The engine to clean
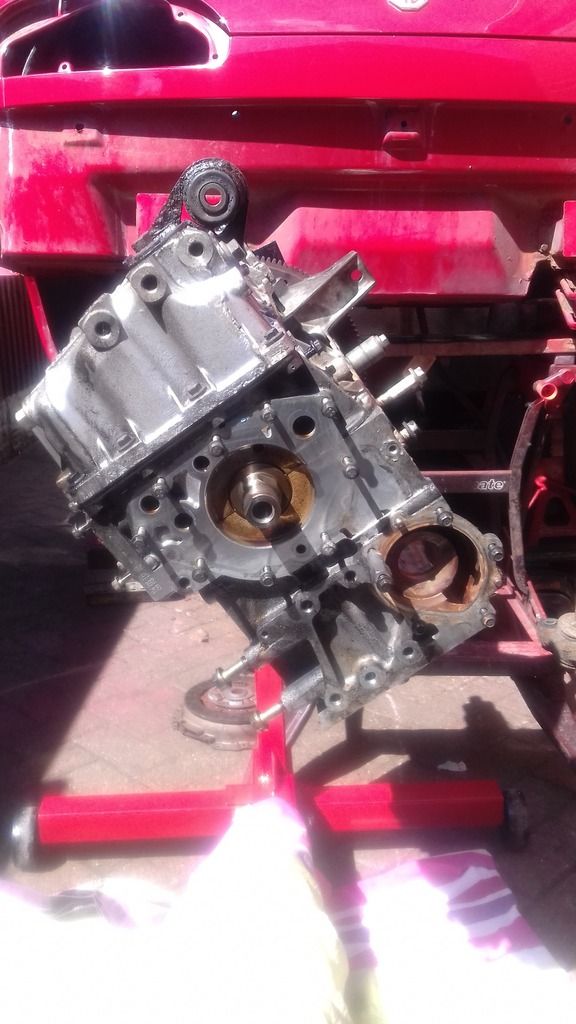
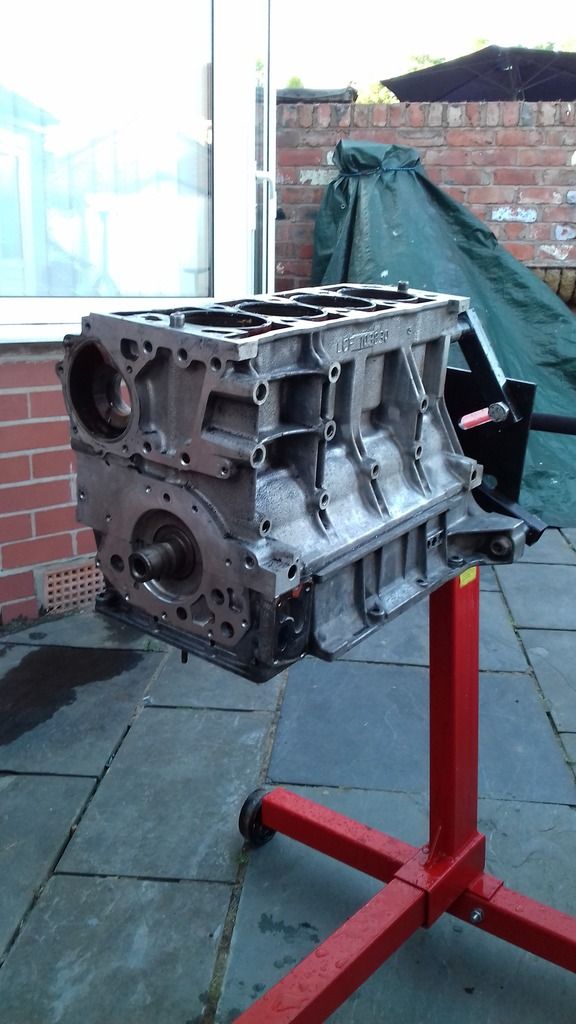
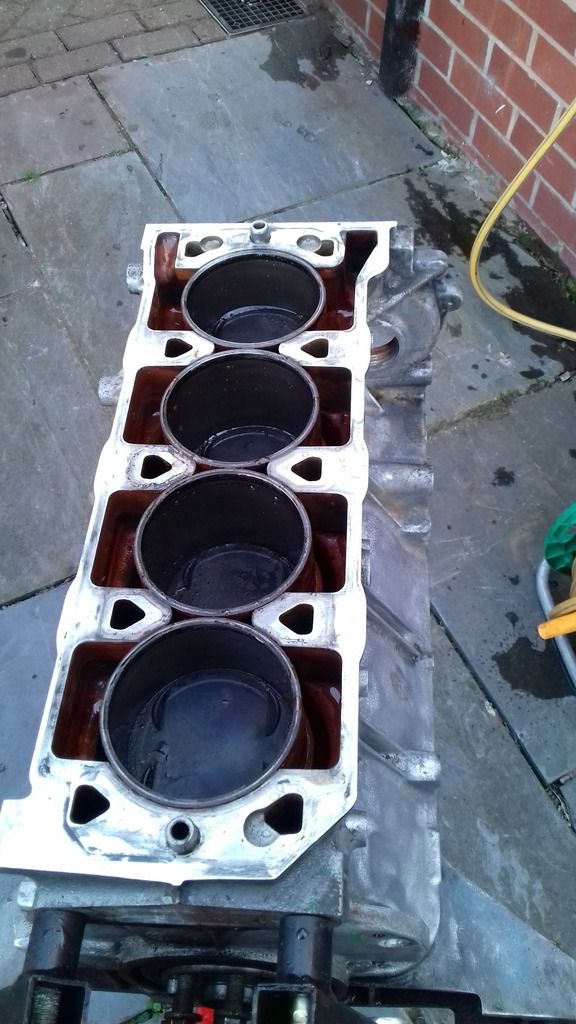
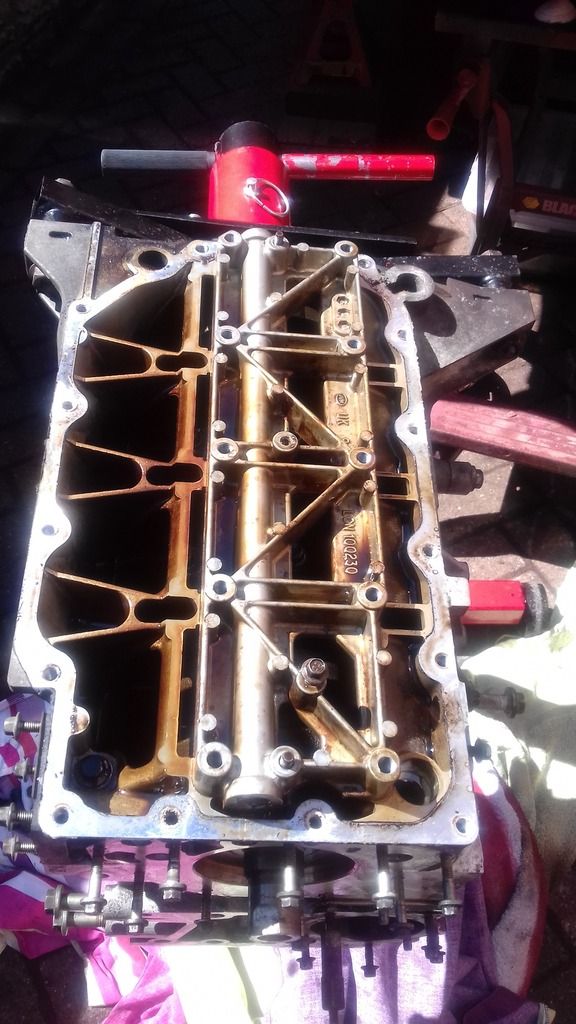
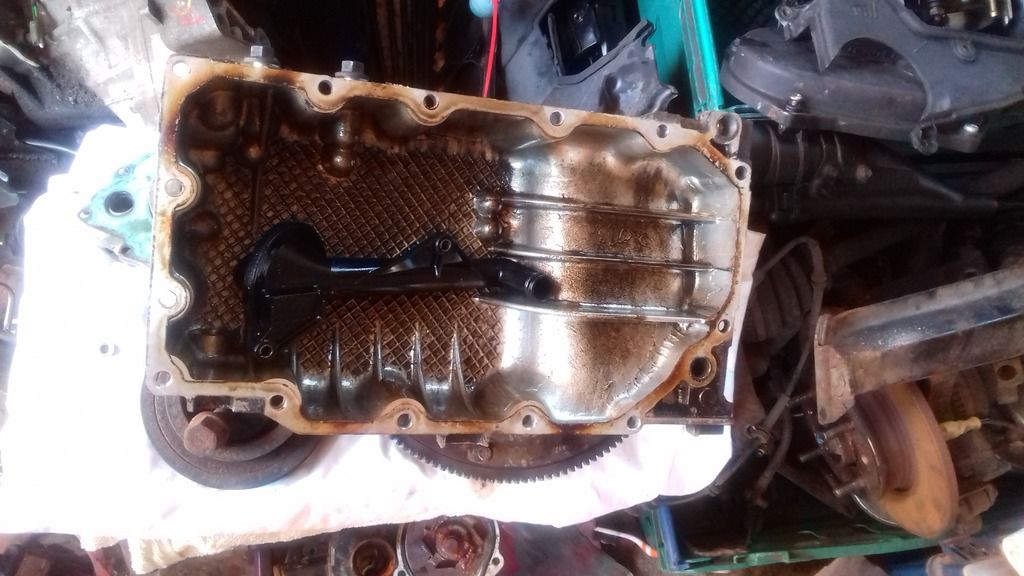
The block is starting to look a lot cleaner, lots of white spirit and elbow grease... my die grinder with mini wire wheels got into all the nooks and crannies. More pictures to follow....
Regards
Simon
Please Log in or Create an account to join the conversation.
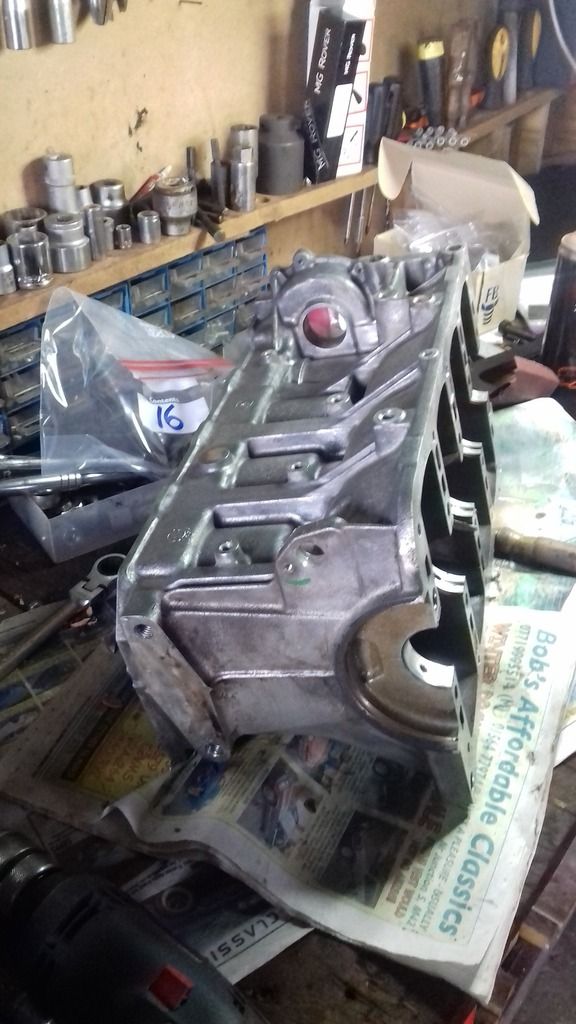
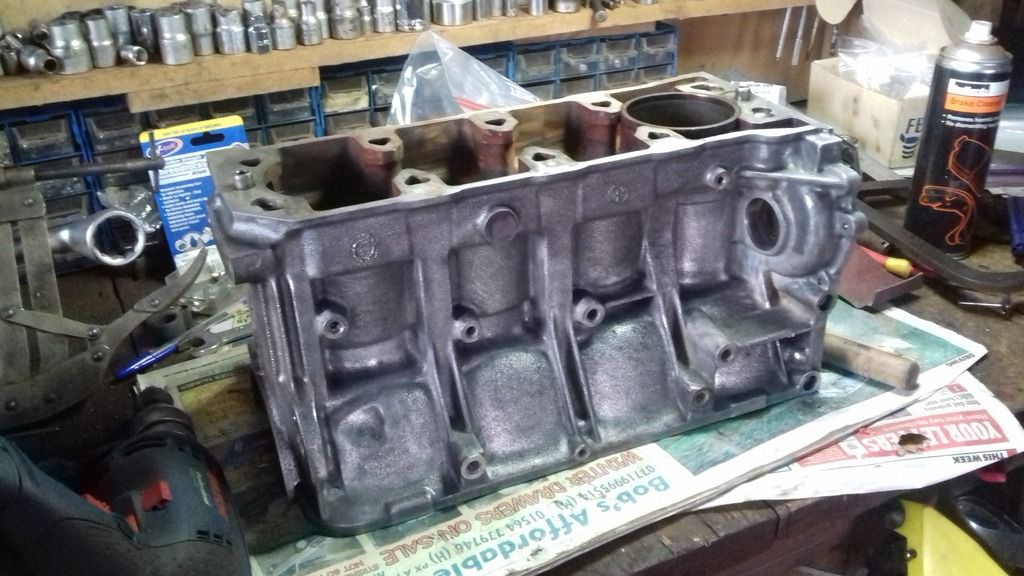
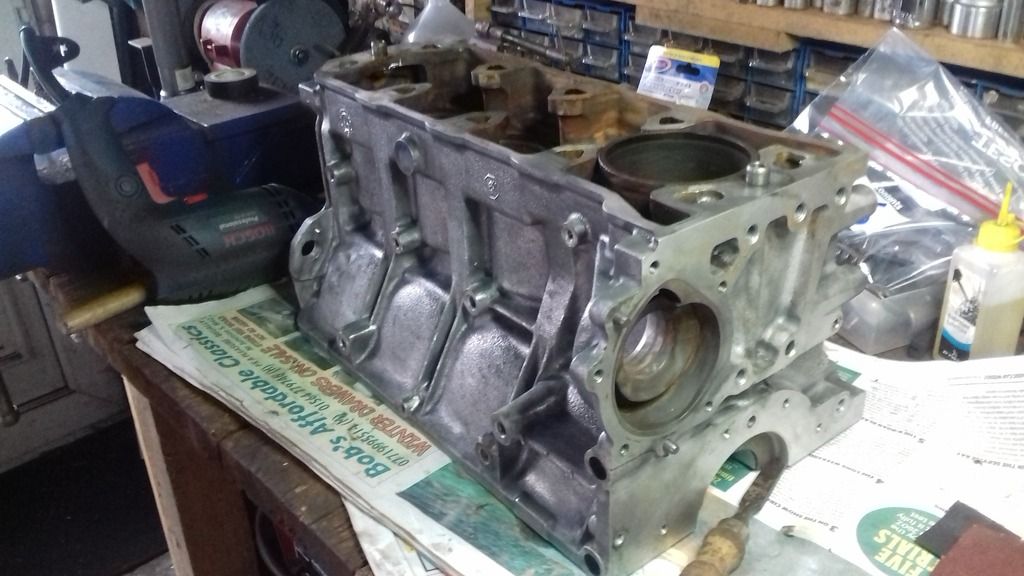
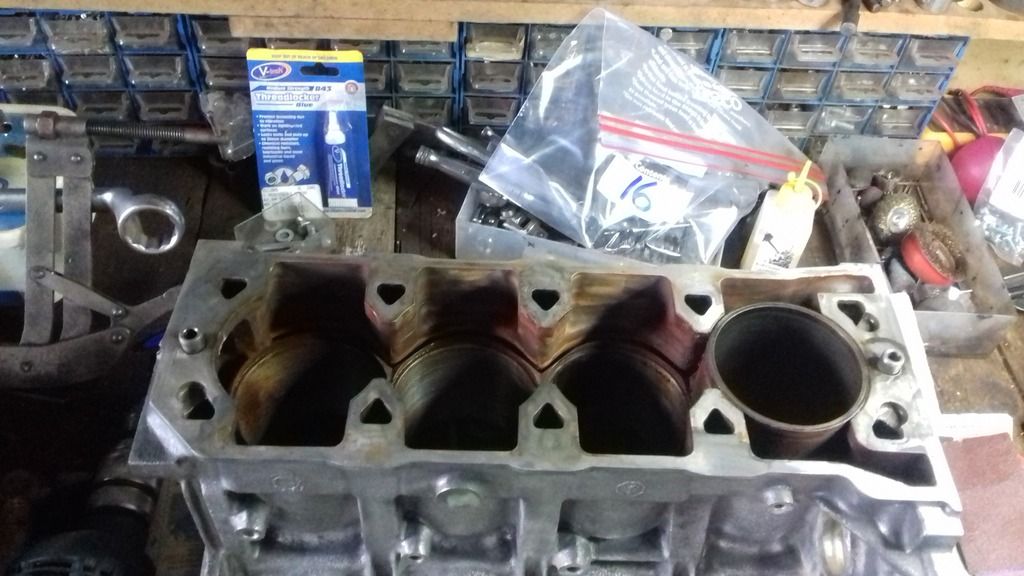
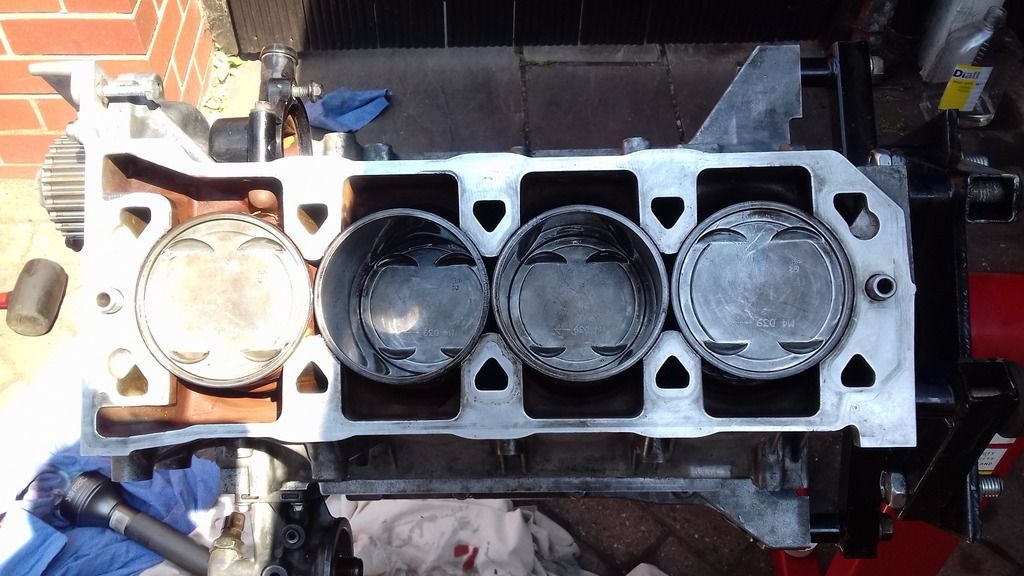
3 of the liners came out very easily but as you can see... one was stuck in place and I wasn't going to disturb it...
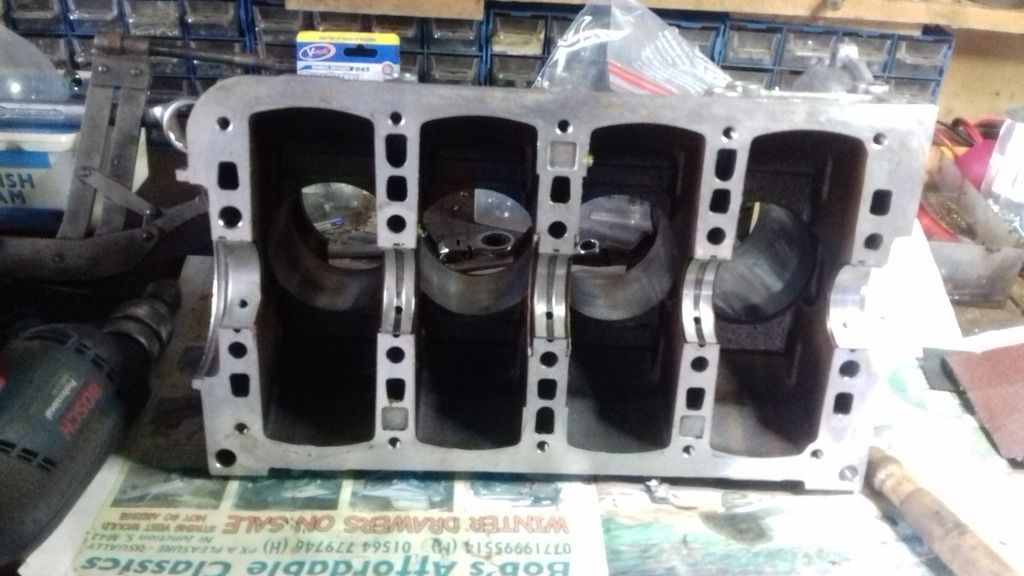
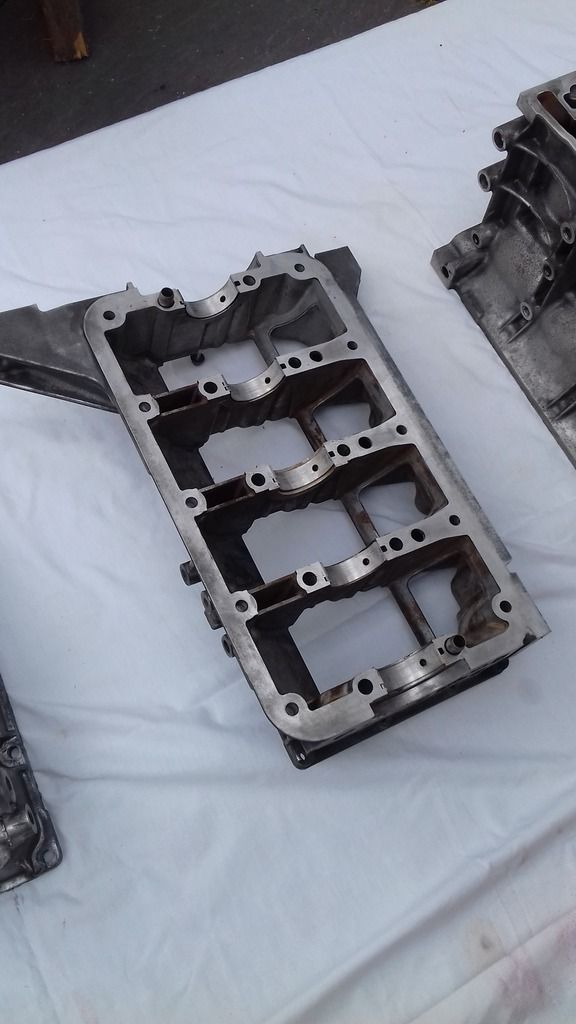
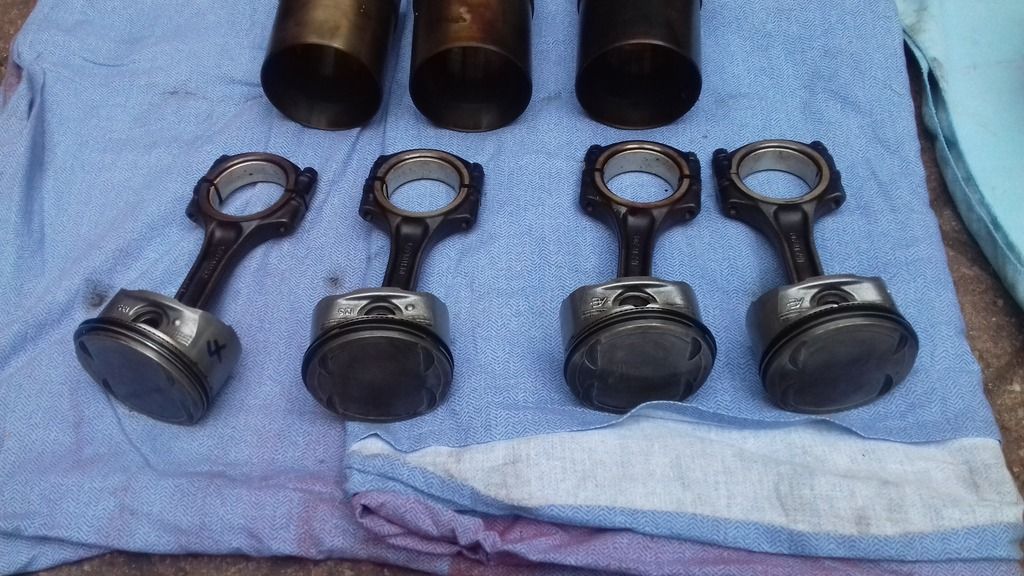
There was quite a lot of carbon build up on the pistons, they got a good polish ready for the new rings...
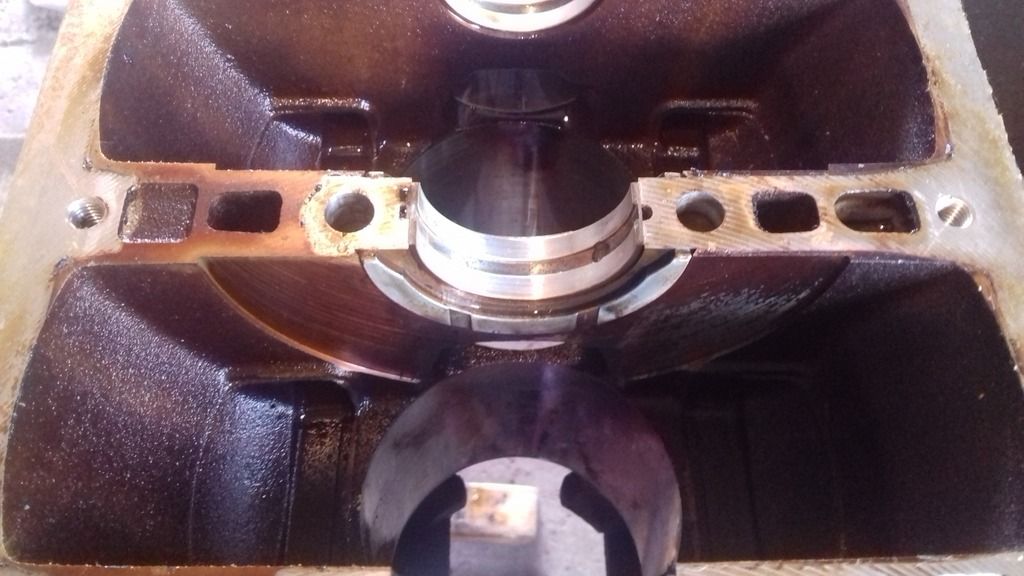
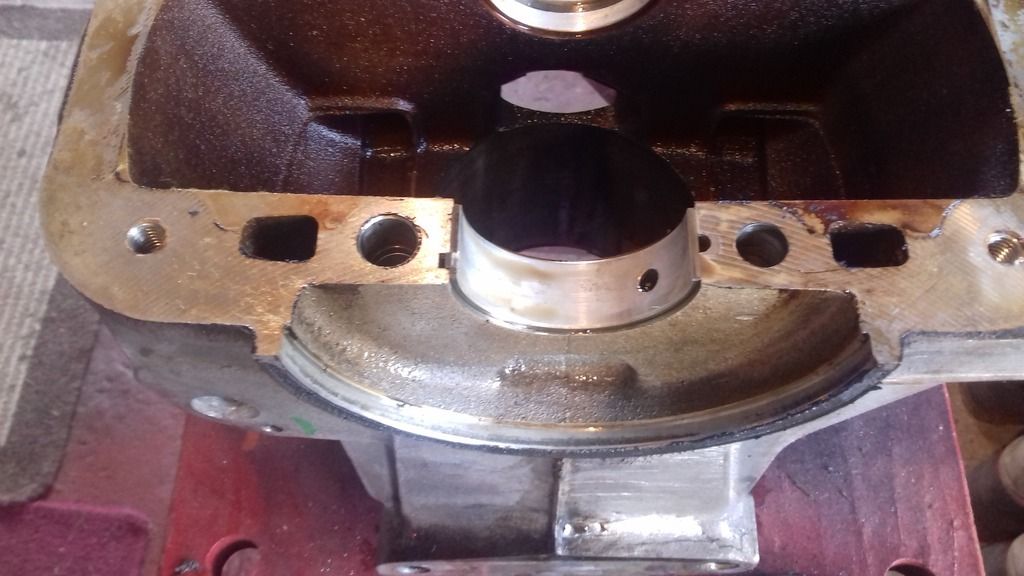
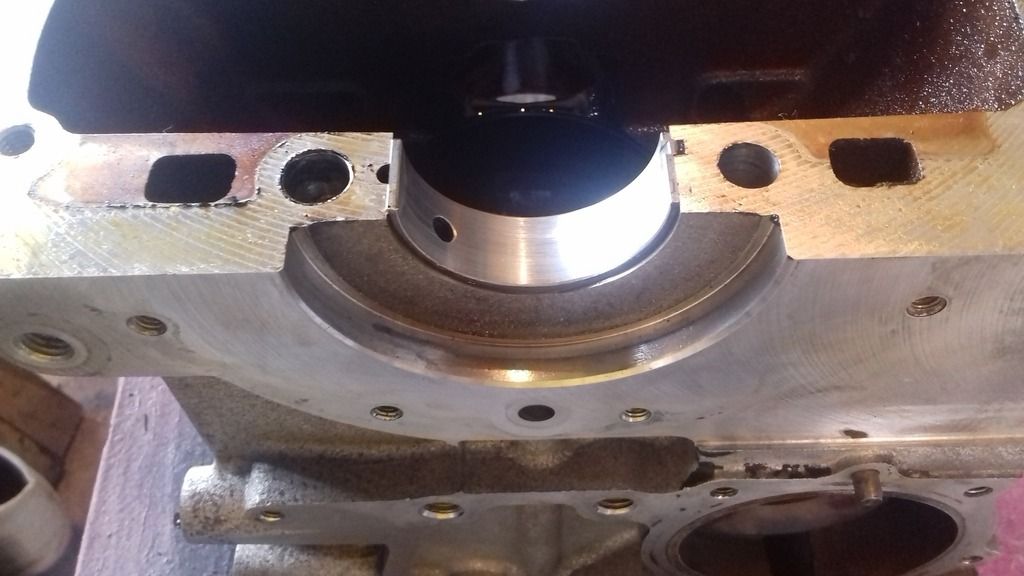
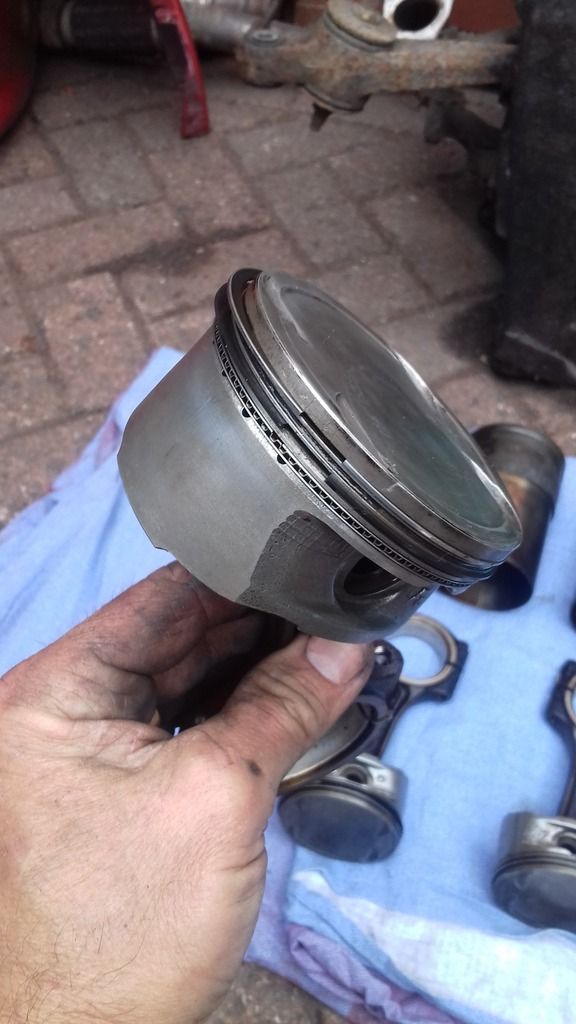
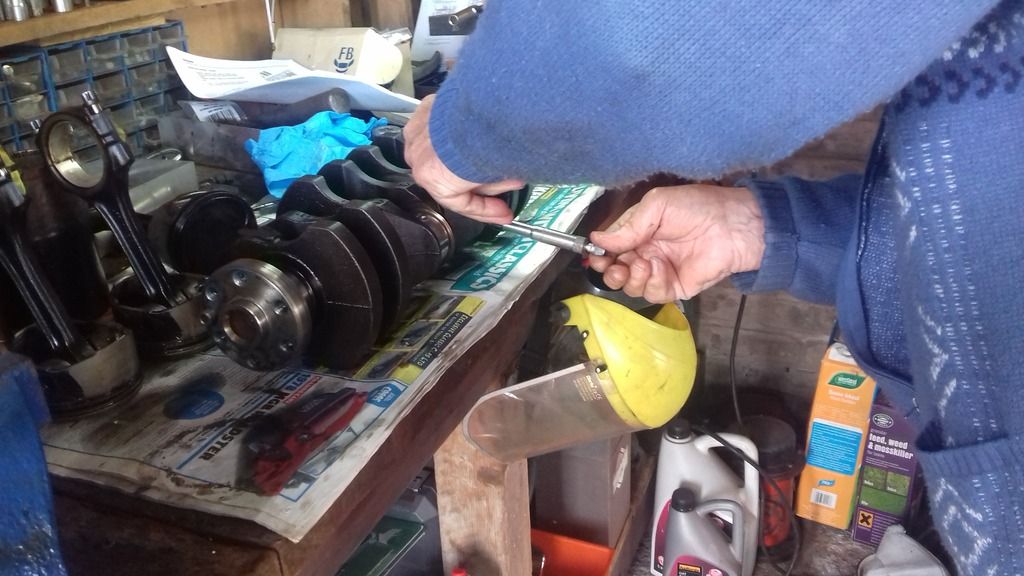
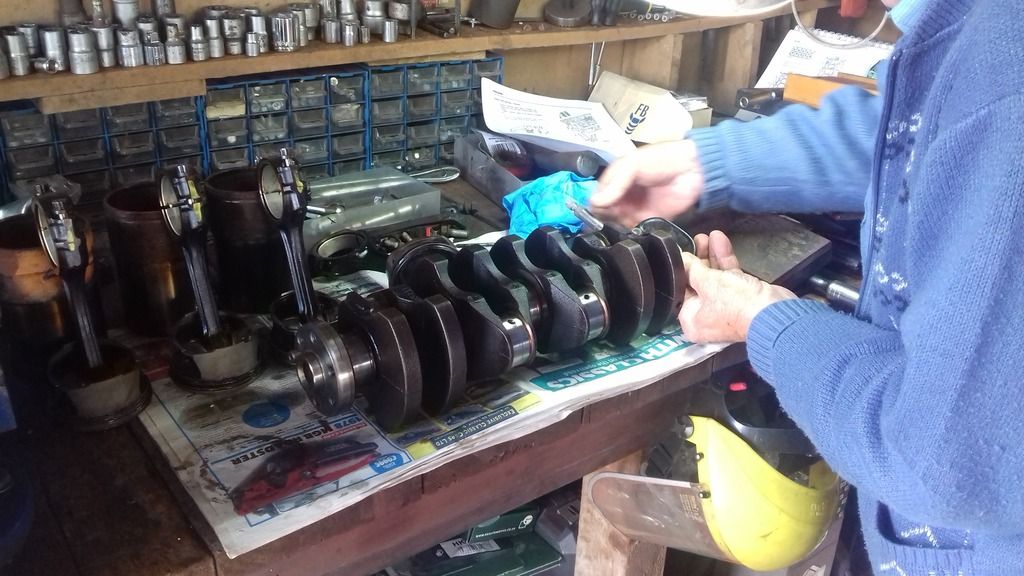
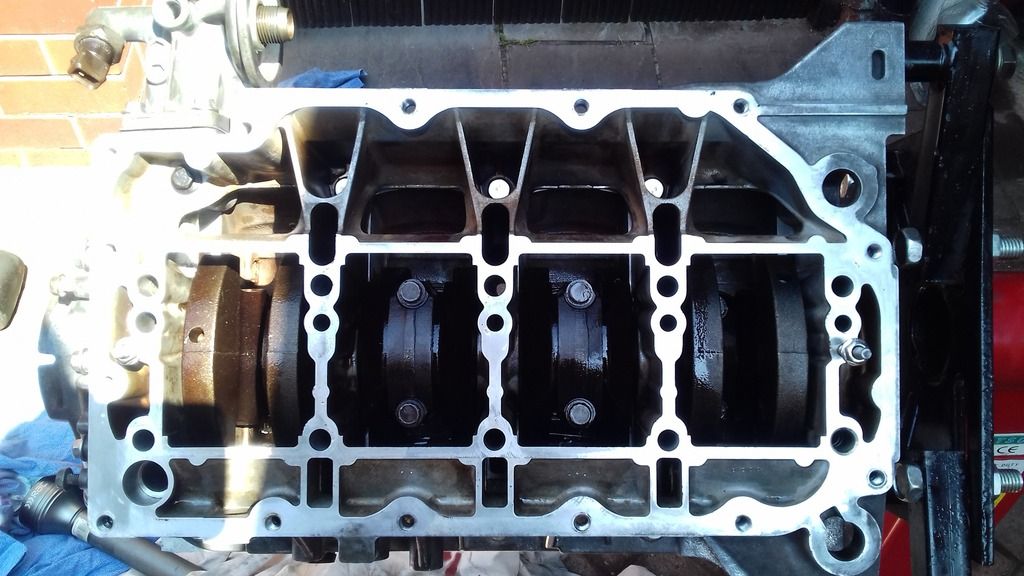
The crank got a good inspection...
All the casings got a very good clean, all oil channels cleaned and made ready for assembly.
Regards
Simon
Please Log in or Create an account to join the conversation.
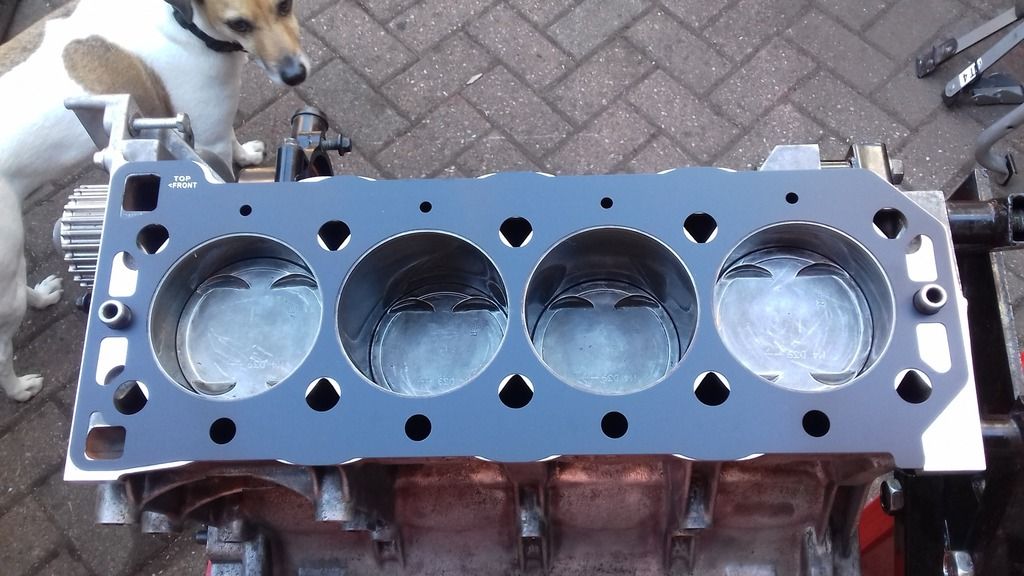
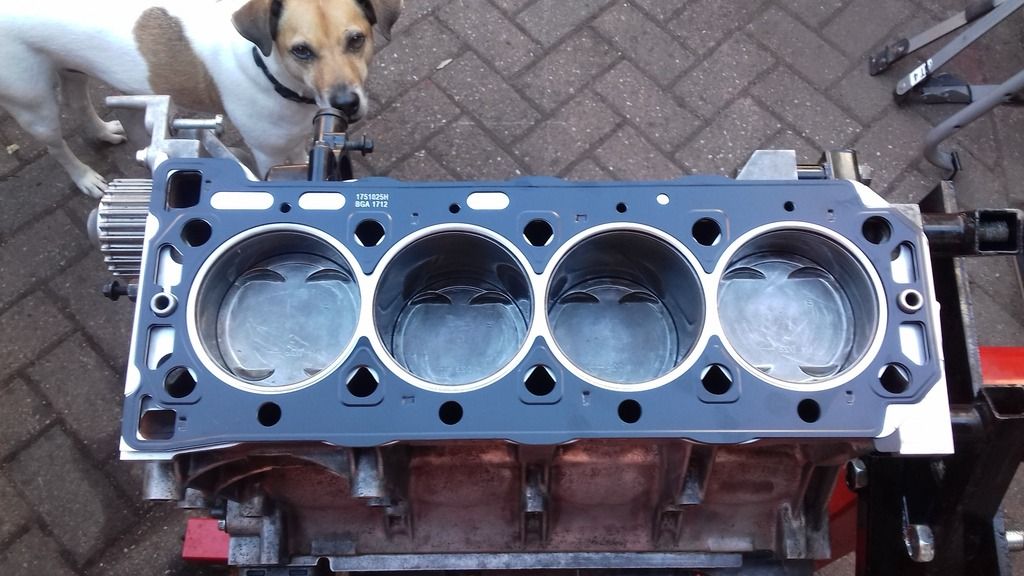
For me, this is the satisfying bit, I watch car stuff on the tv and internet and look at lovely clean engines being put together and now its my turn... I have where possible replaced all origional bolts with stainless steel flanged bolts, I sourced the various piston rings seal fluid gasket adhesives and uprated oil ladder from Rimmer, The water pump was only 18 months old and in perfect condition as were the cam belts which had done less than 1000 miles.
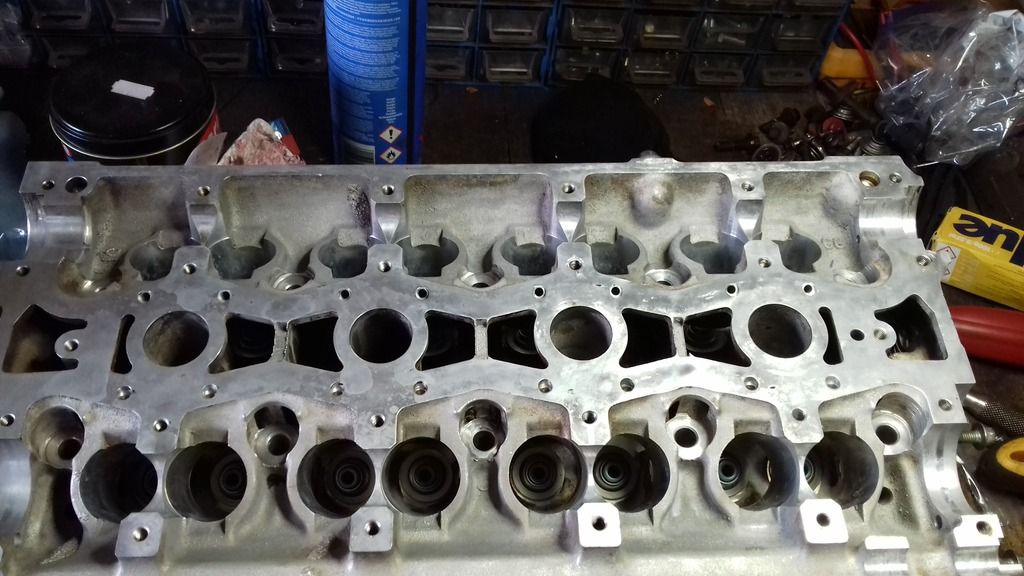
New valve stem seals...
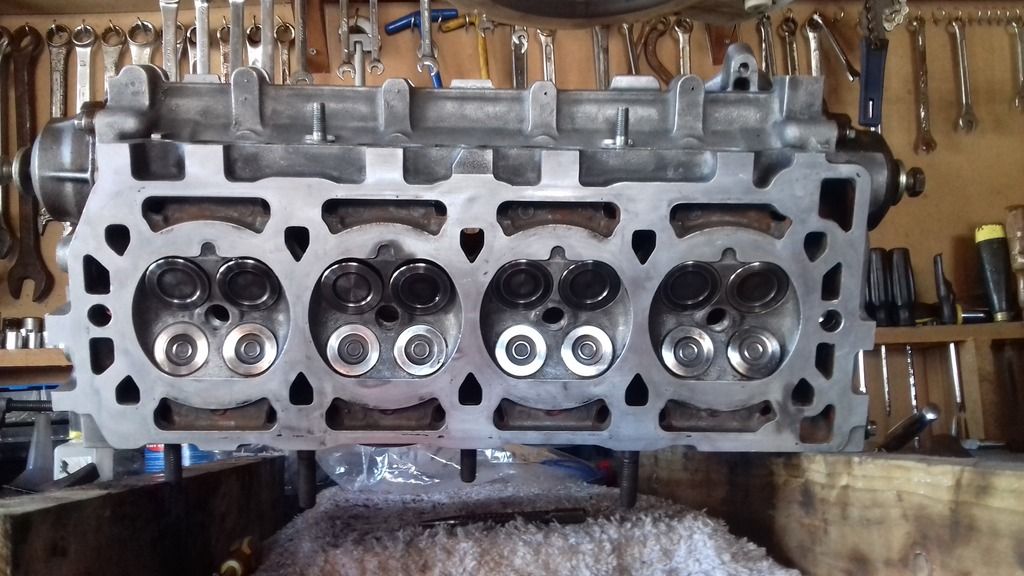
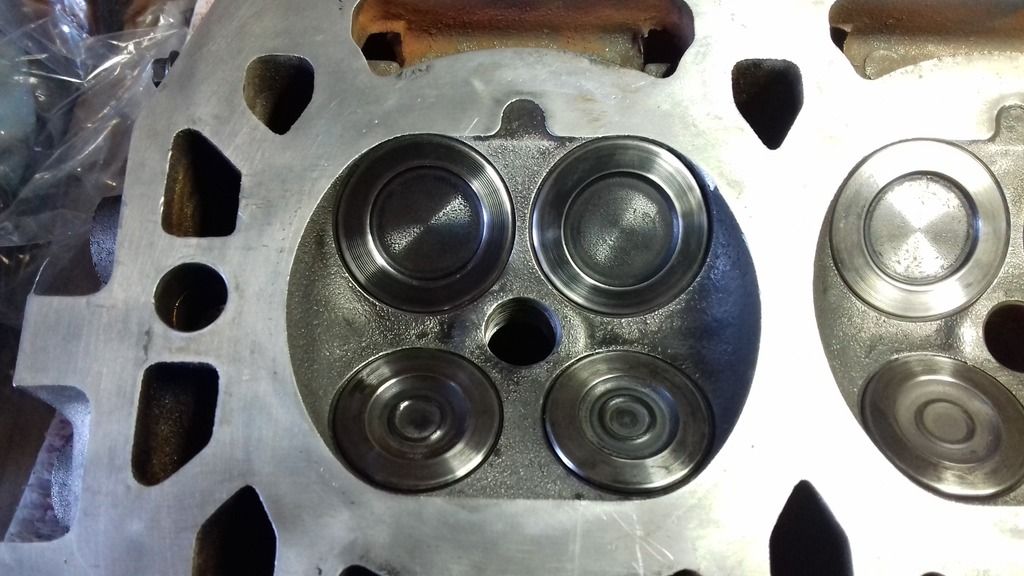
The head was checked for any warping and all perfect :clap: All valves polished...
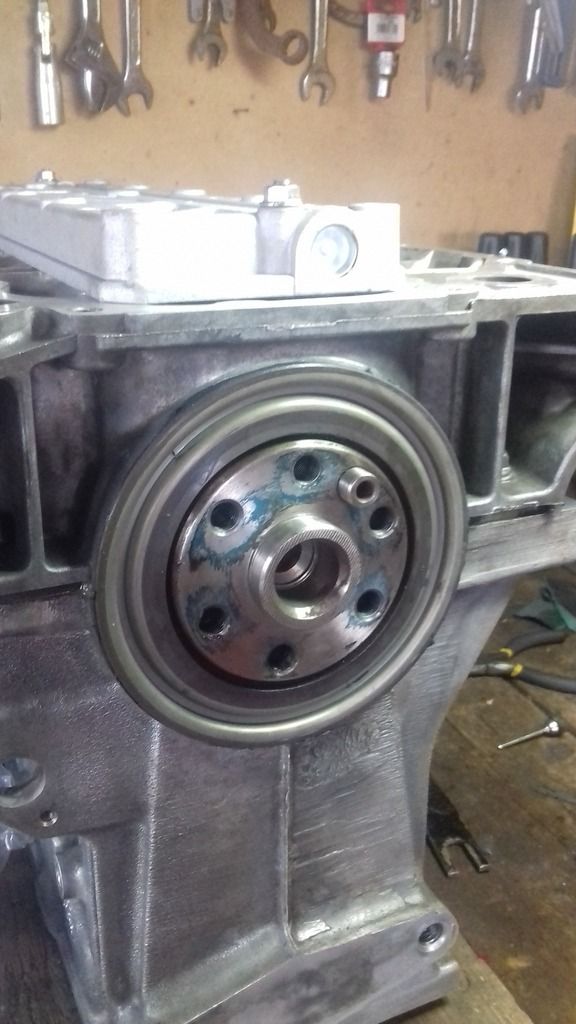
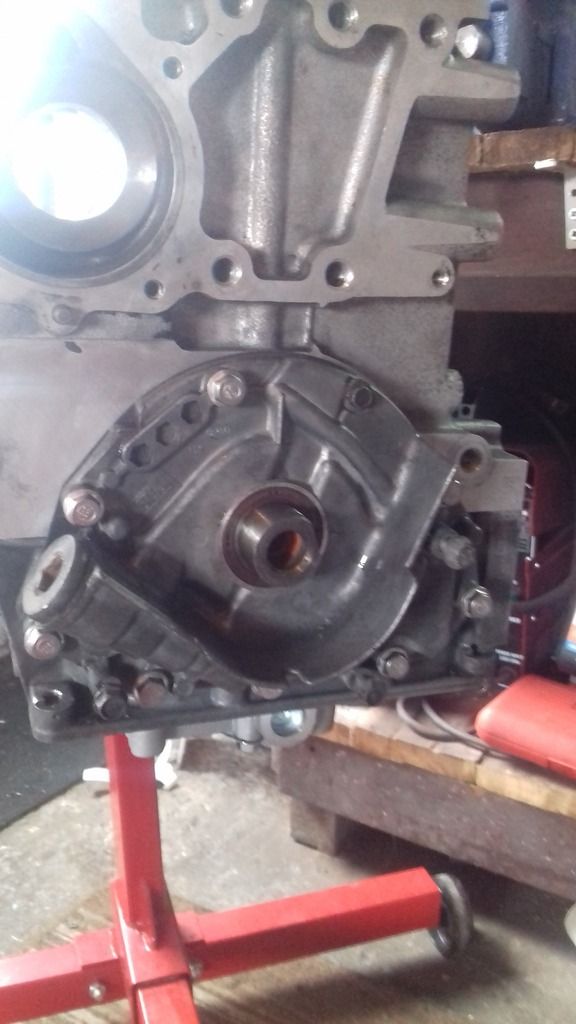
New crank seals...
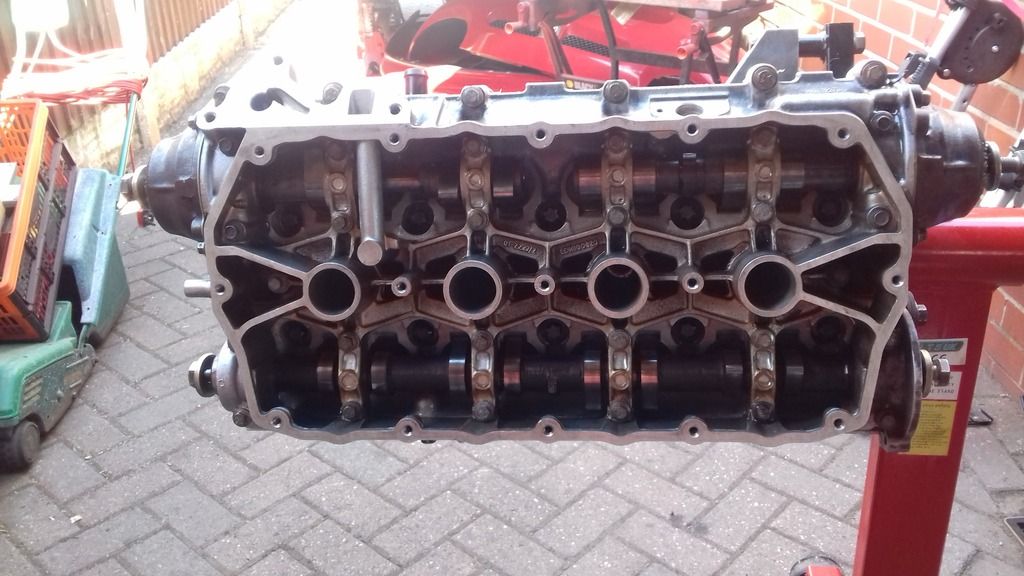
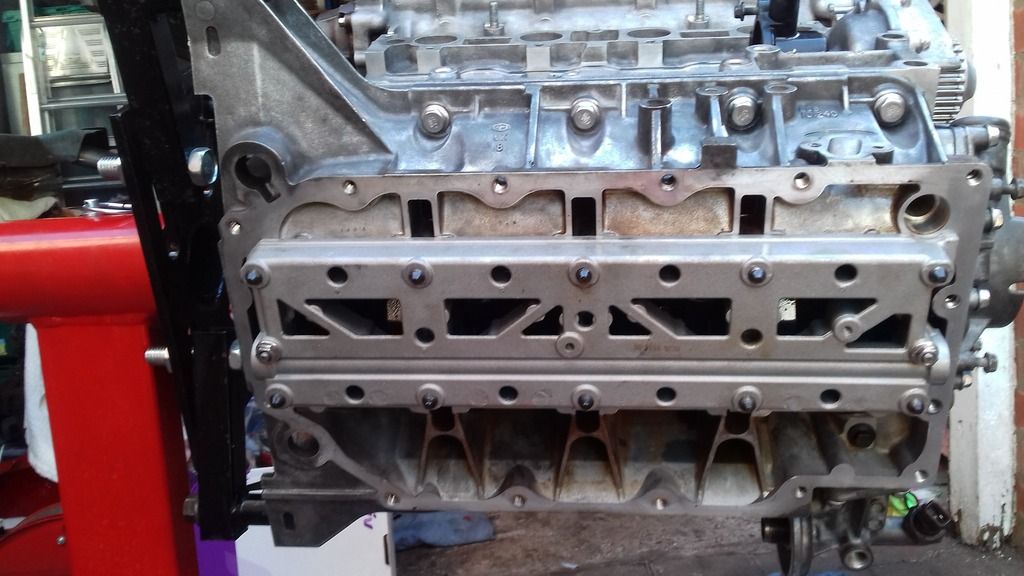
Engine stand is just perfect for bolting down the head!
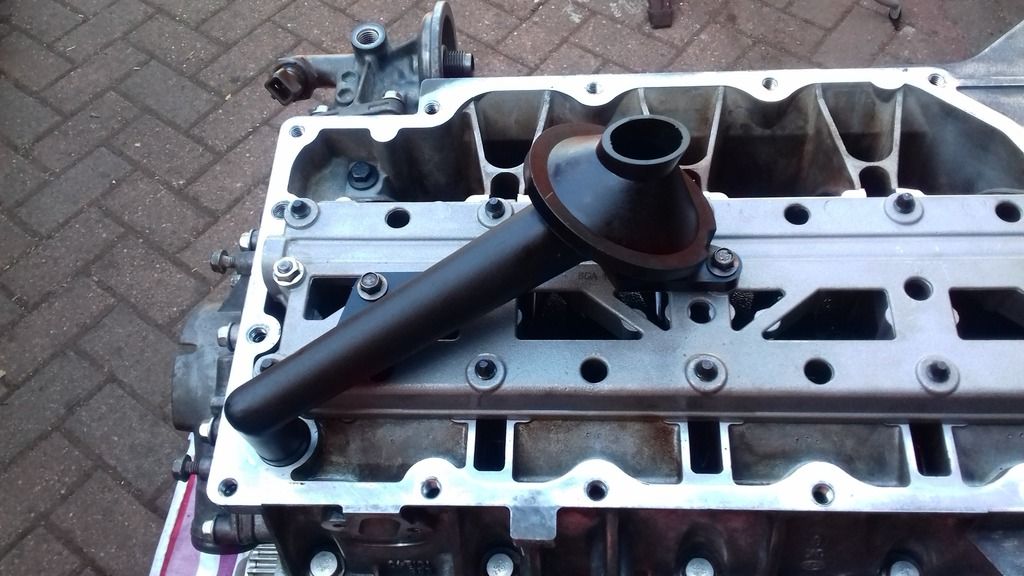
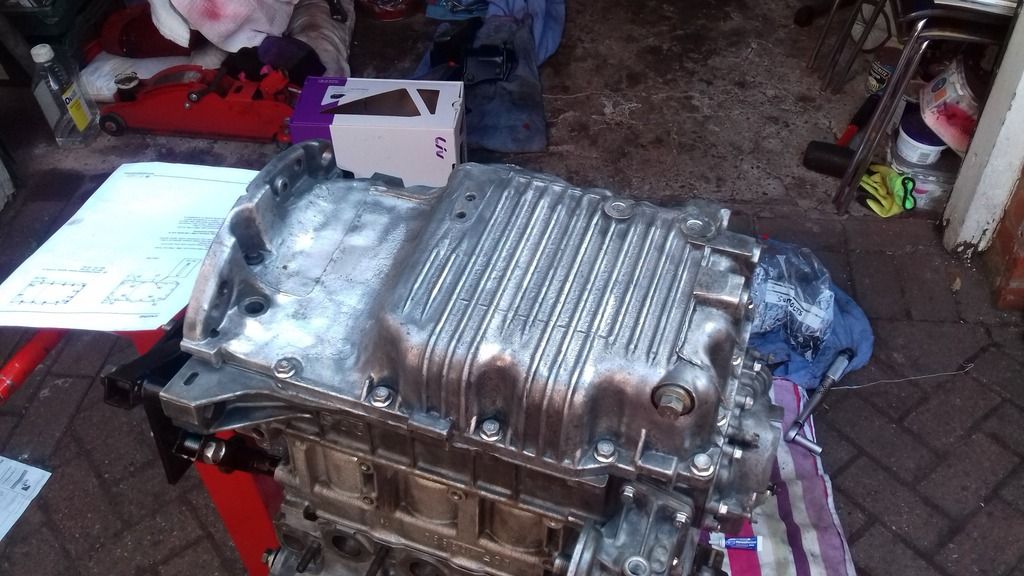
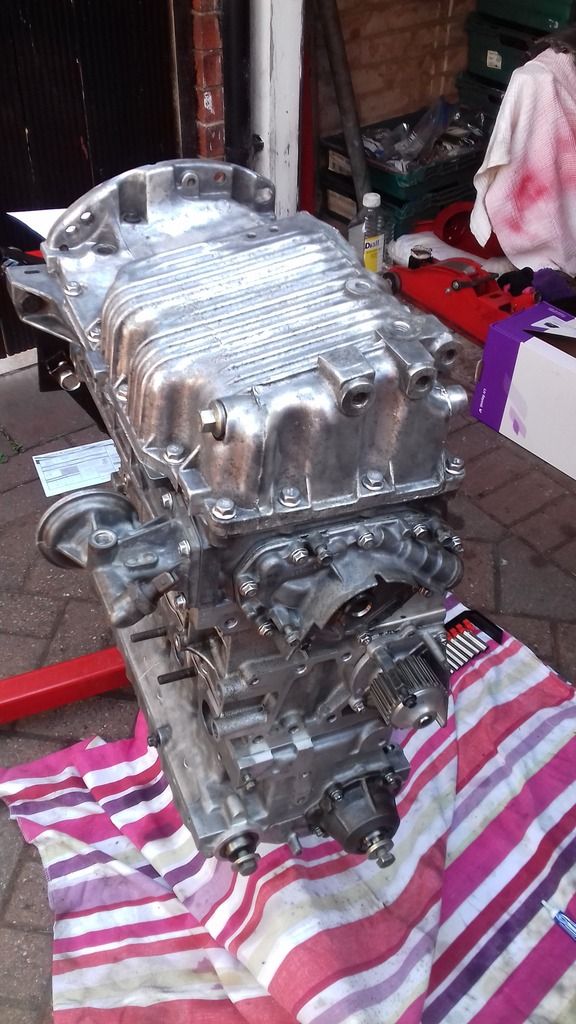
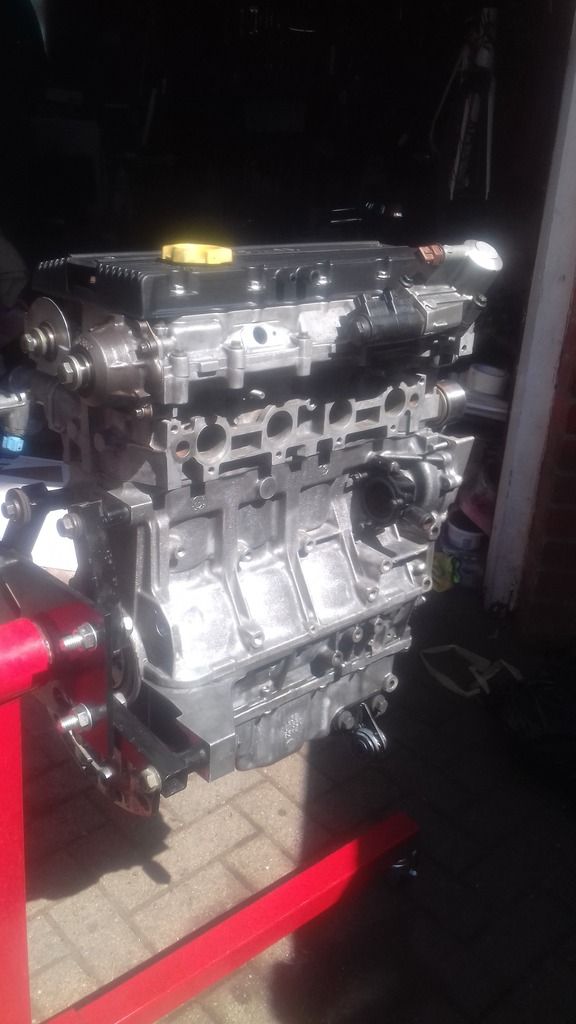
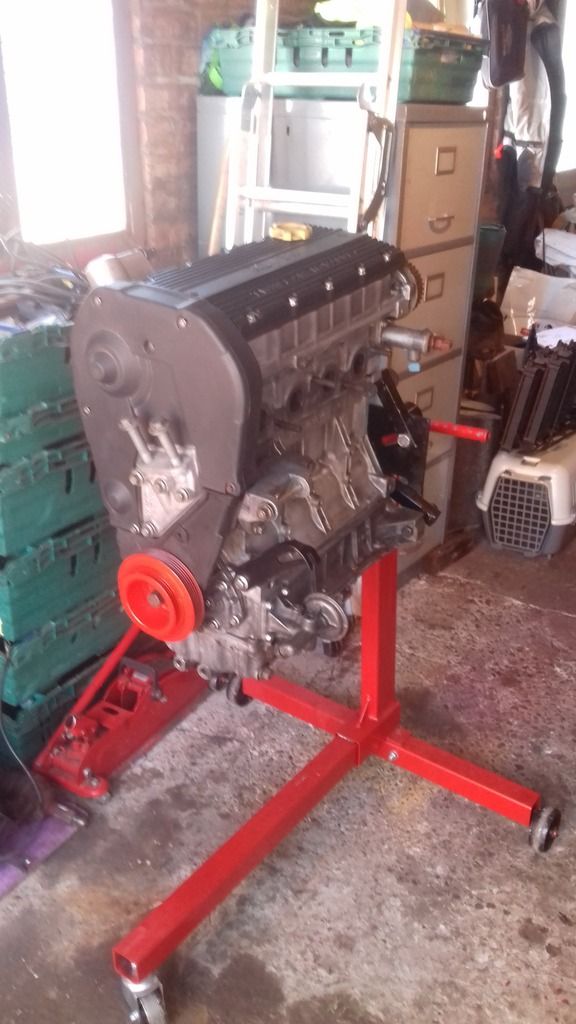
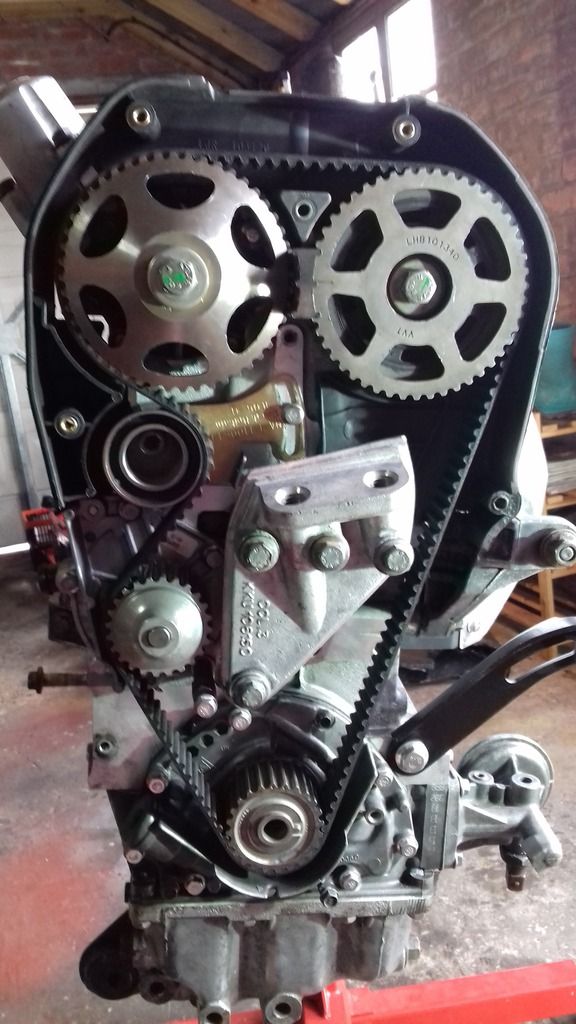
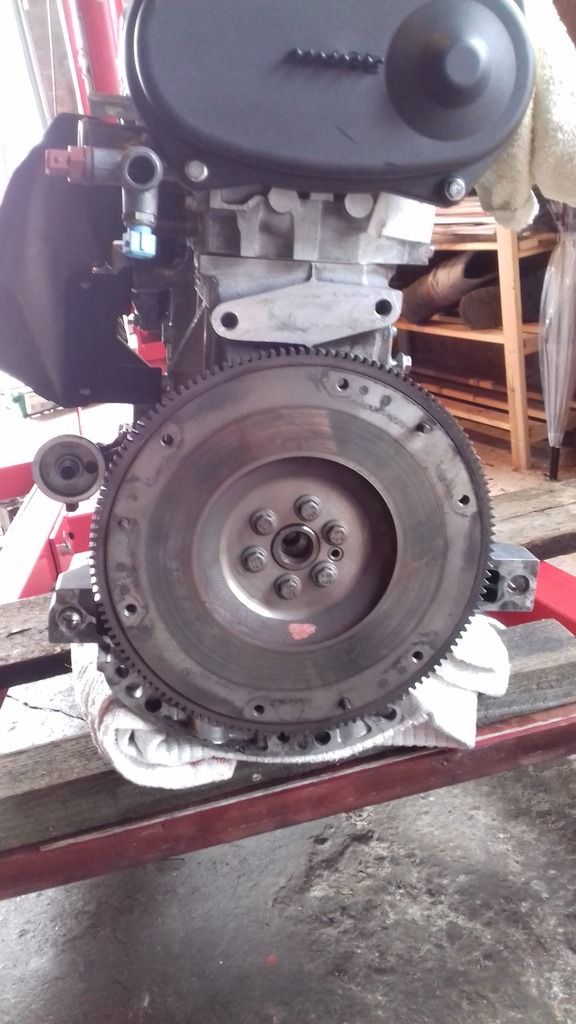
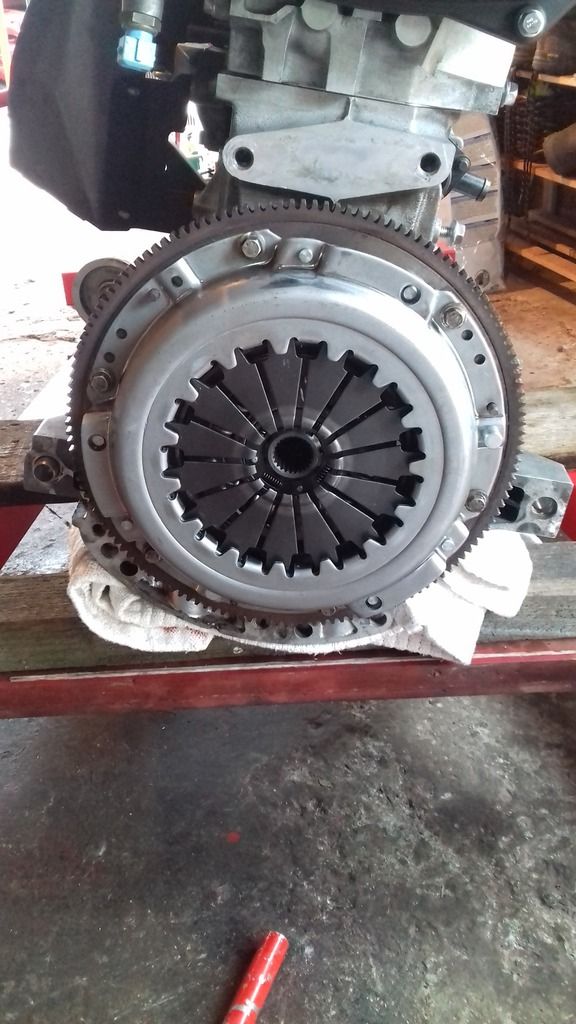
New clutch...
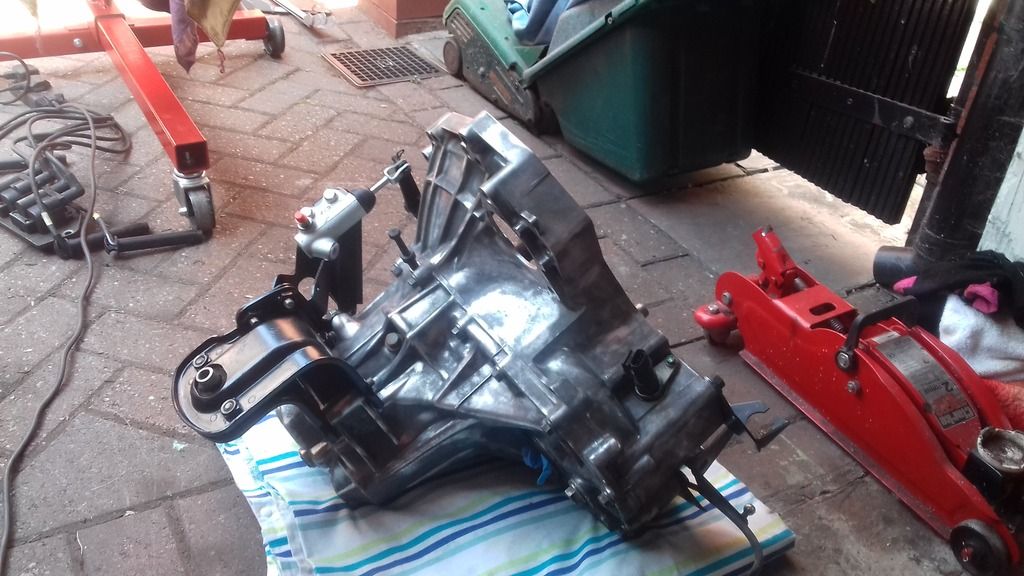
Cleaned up gear box, new slave cylinder etc...
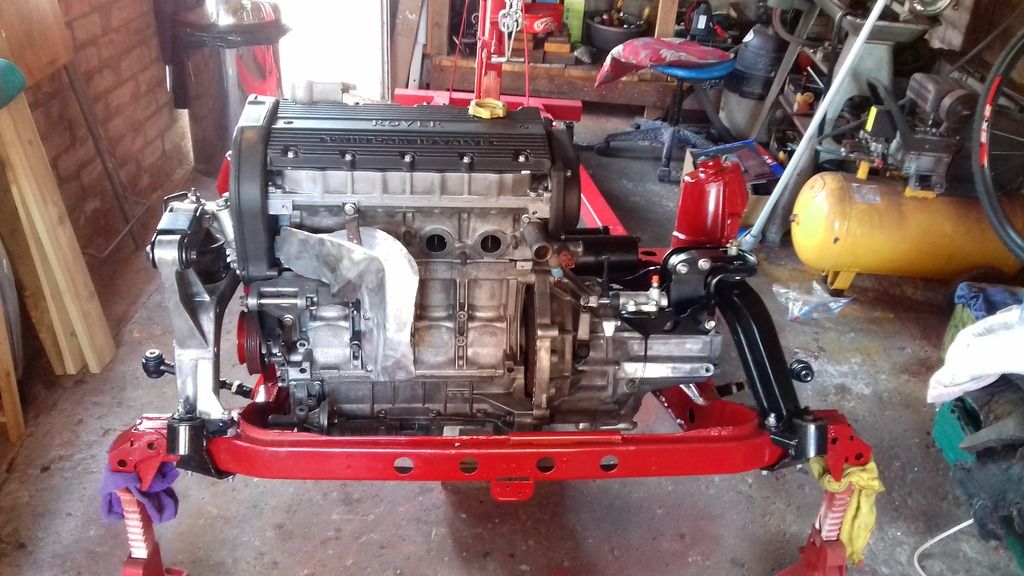
and onto a nice new subframe...
Now its time for the manifolds...
Regards
Simon
Please Log in or Create an account to join the conversation.
- talkingcars
-
 Offline
- Moderator
-

- Posts: 6876
- Thanks: 1296
Home to black Alfa Romeo 159 3.2 V6 Q4 ,green MGF VVC and red MG Maestro T16.
MG - the friendly marque.
Please Log in or Create an account to join the conversation.
- David Aiketgate
-
 Offline
- David
-

- mgf mk2 freestyle mpi 16" wheels, in Anthracite.
- Posts: 20331
- Thanks: 4437
Replied by David Aiketgate on topic MGF to TF Sub Frame Conversion
Posted 6 years 2 months ago #187876Just one question, you did assemble the head gasket in the order --block-head gasket-shim-head, didnt you?
From the pics it looks like you put the shim under the gasket, but you didnt, did you?
David
:shrug:
Please Log in or Create an account to join the conversation.
Please Log in or Create an account to join the conversation.
