
headlamp refurbishment
- judiths handyman
-
 Offline
Topic Author
Offline
Topic Author
- Time served MGer
-

- Posts: 102
- Thanks: 28
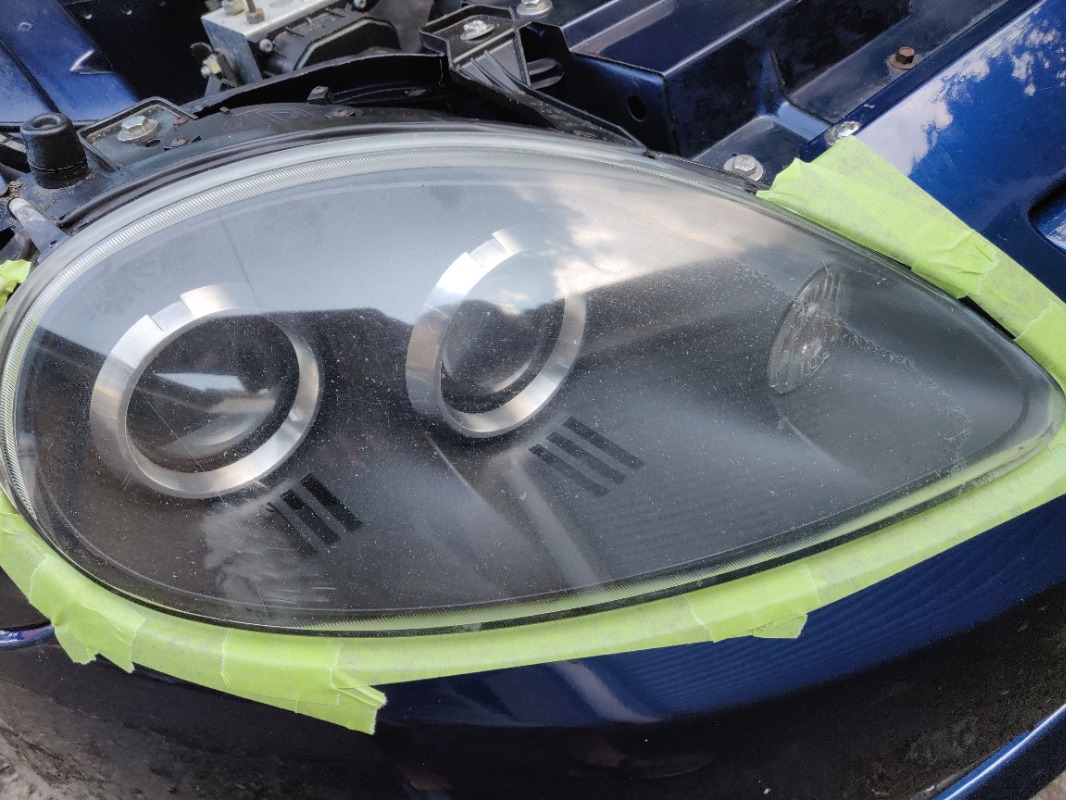
I purchased a 3M kit which comes complete with a rotor pad, different grade of sanding discs, polish masking tape etc.
Its quite a good kit, but for deep scratches and pitting the sanding discs are a little fine in my opinion.
I ended up in addition using elbow grease and 320 and 1200 grit wet and dry too, with a final dab of T cut for good measure.
But combining those with my dewalt and the 3M kit brought fairly good results.
I left the bonnet open to save masking additional bits, if you do that cover the innards with a sheet, that polish gets flung everywhere.
Also, double up on the masking tape, one slip with the Dewalt could have cost me a lot of paint.
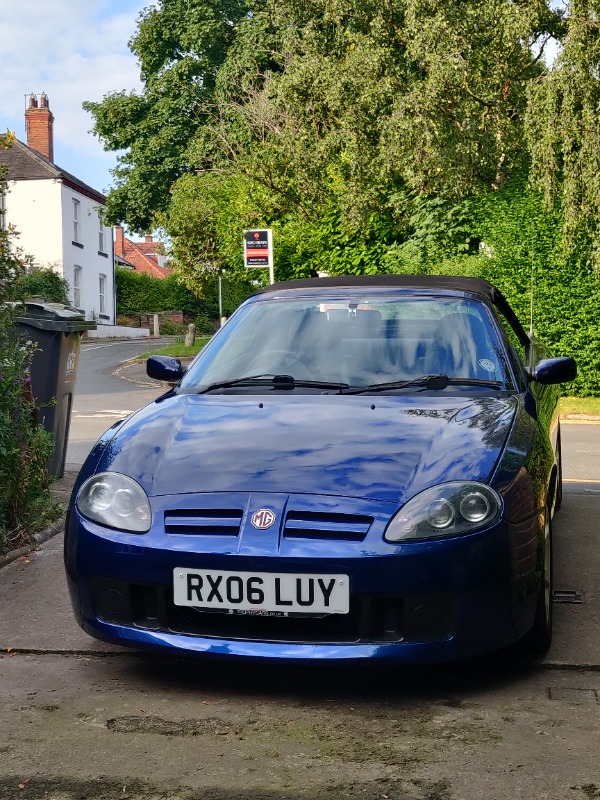
The first photo is a before heavily pitted lamp, the second after a bit of graft.
Anyway, lots of elbow grease and patience brought results, the 3M kit is around £30.00.
Last Edit:5 months 2 weeks ago
by judiths handyman
Last edit: 5 months 2 weeks ago by Cobber.
Please Log in or Create an account to join the conversation.
- trevtherevs
-
 Offline
- Apprentice MGer
-

- Posts: 46
- Thanks: 6
I have used the same kit and can agree the polish certainly flicks about. The two units I'm working on are heavily pitted and have decided to hand sand them and eventually machine polish them, however It's still a work in progress.
by trevtherevs
Please Log in or Create an account to join the conversation.
- judiths handyman
-
Offline
Topic Author
- Time served MGer
-
- Posts: 102
- Thanks: 28
Which is just what I did Trev.
A sanding block with wet and dry, then the discs then T cut and then the 3M polish.
I was at it for around 2-3 hours and reckon they could still do with another polish.
A sanding block with wet and dry, then the discs then T cut and then the 3M polish.
I was at it for around 2-3 hours and reckon they could still do with another polish.
The following user(s) said Thank You: trevtherevs
Please Log in or Create an account to join the conversation.
Time to create page: 0.506 seconds