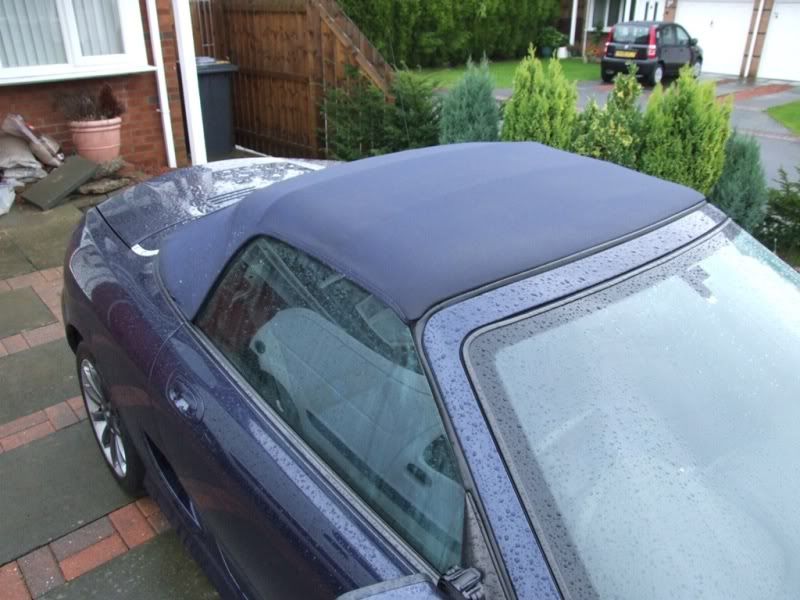
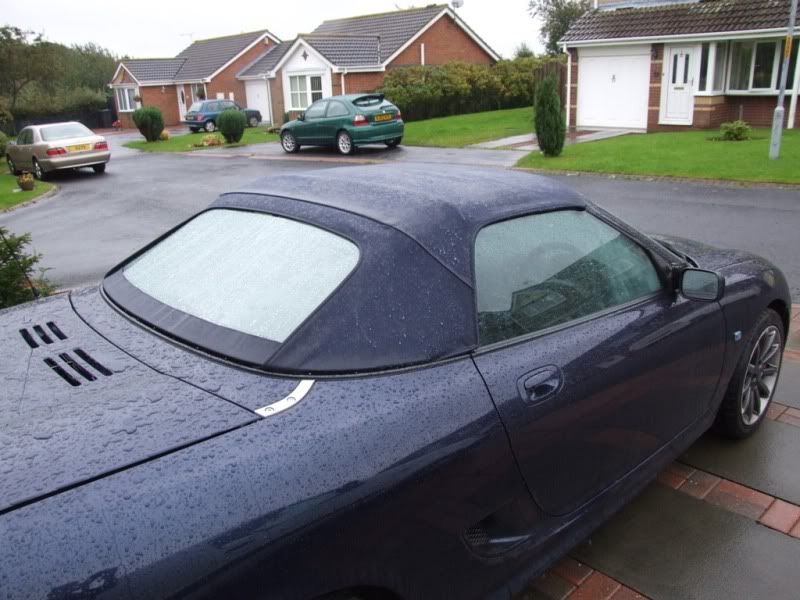
Hood and rear window - How to Replace.
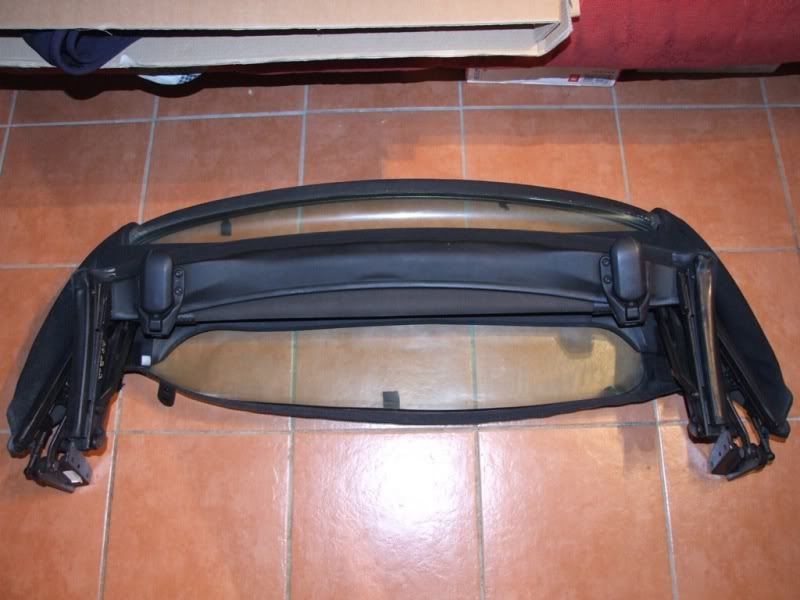
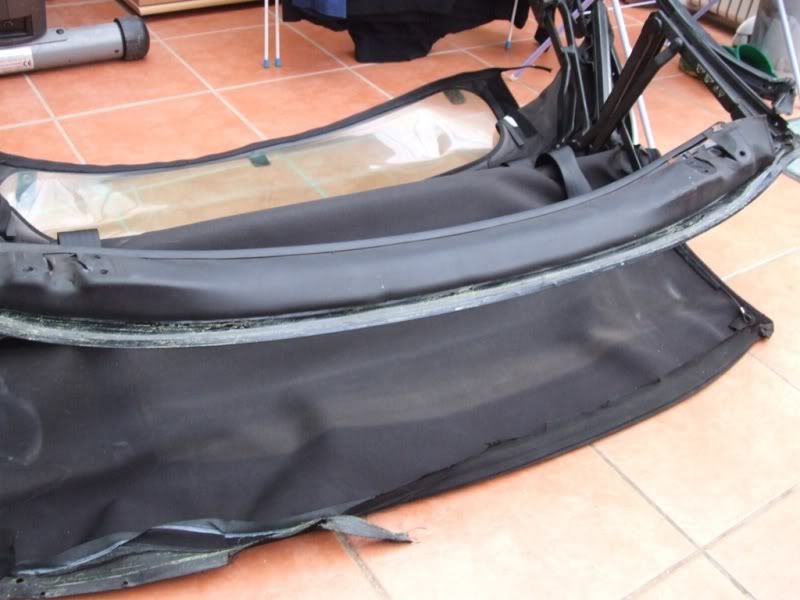
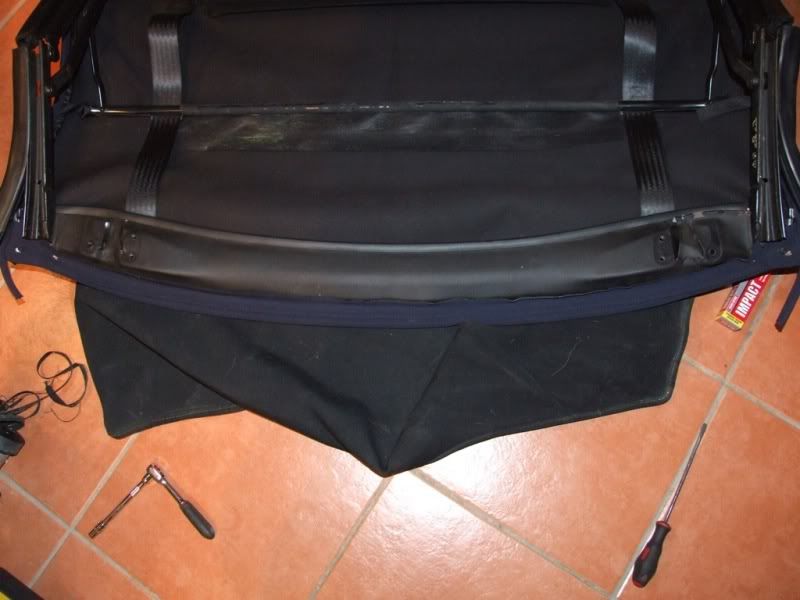
I have a spare hood including frame, so I used that for the transplant. To me this is the best way so that you don't have to worry about removing the hood on the car and how long it will be before you have the new hood one. If you have a hardtop you could fit that while you have the soft top and frame removed.
The instructions that came with it tell you how to fit it on the car, but as I don't have a garage to work in and it has been P'ing down all week I used the spare frame in the conservatory.
If you have a good garage then it might be better to do it on the car, but the process is the same. If you do the job on the car then take the time to protect the bodywork and interior from the swarf caused by drilling the old rivets out and scratching from tools and buttons on clothes etc.
To remove the hood and frame look here http://www.the-t-bar.com/en/forum/22-cjjs-guides/1590-soft-top-how-to-remove
To fit the new soft top and rear window, you will need:
Drill with 3.5mm bit
Philips screwdriver
Rivet gun
Stanley knife
7mm socket or spanner
Contact adhesive
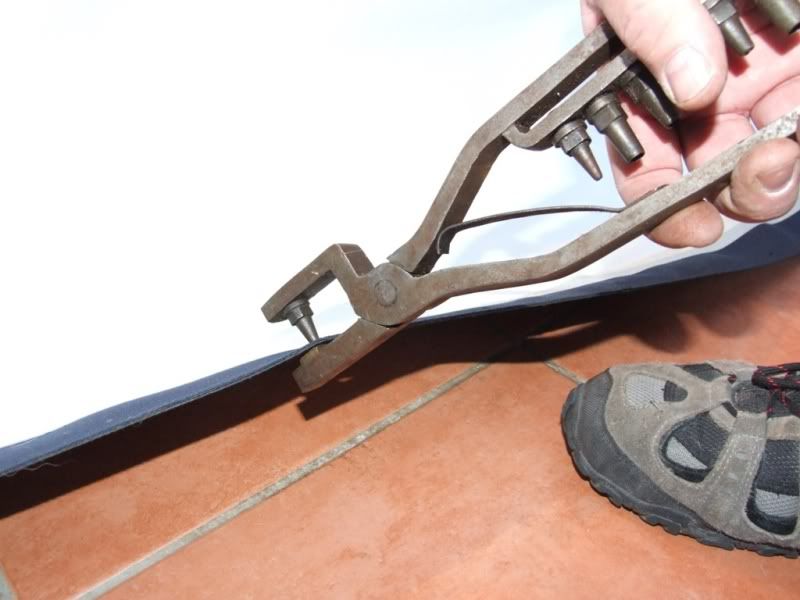
I also needed a material hole punch as not all the holes had been punched.
Assuming you have decided to remove the hood, then this is how I did it.
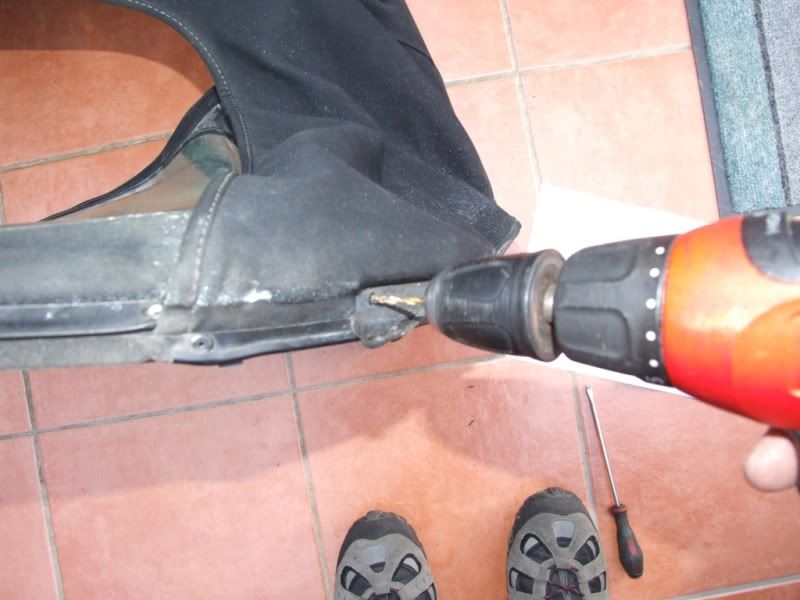
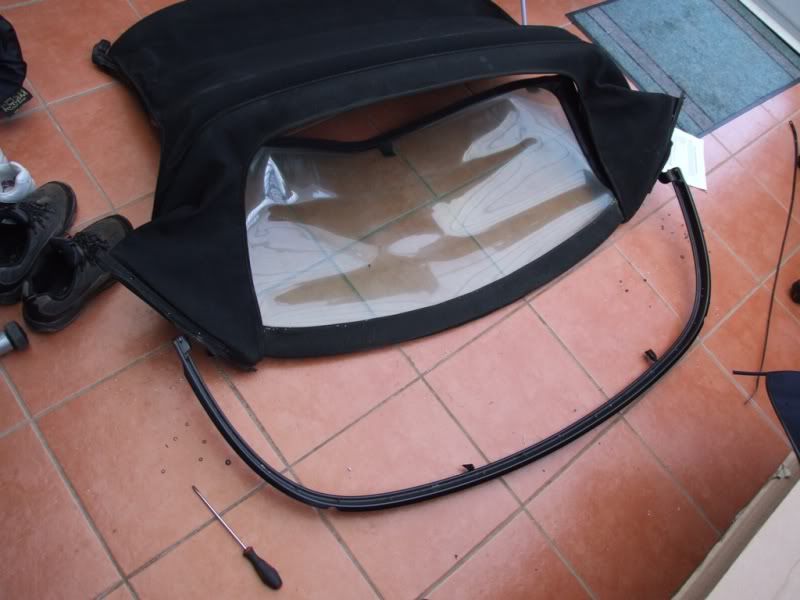
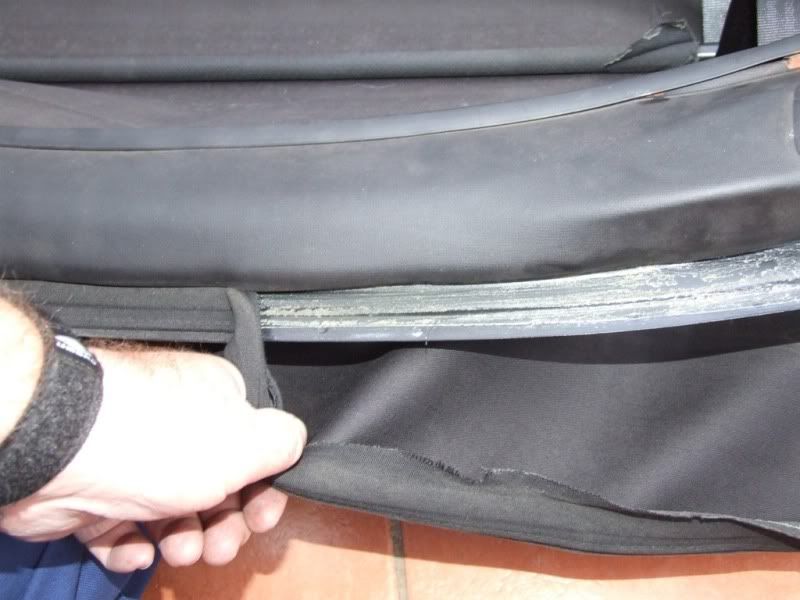
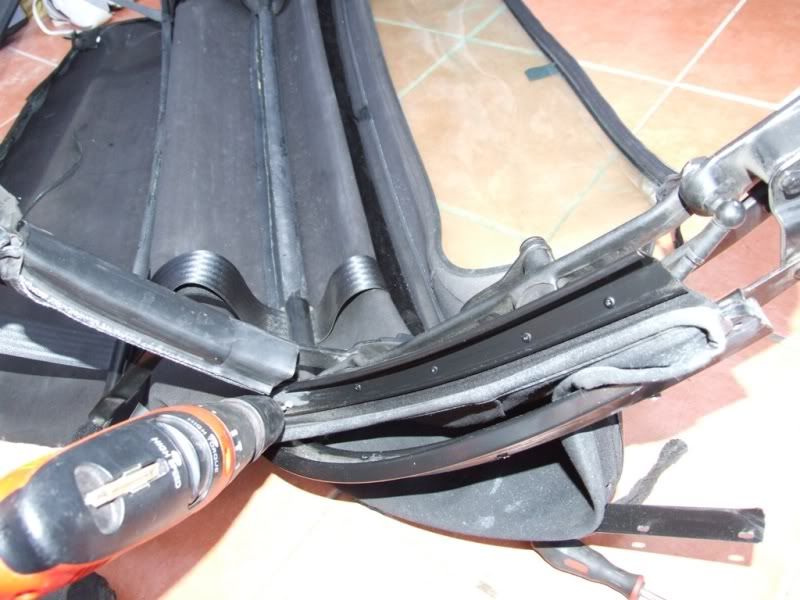
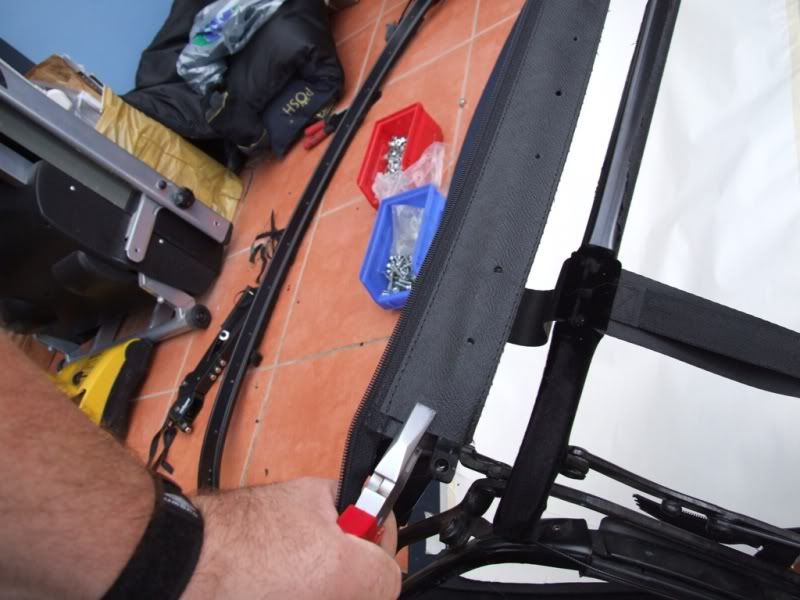
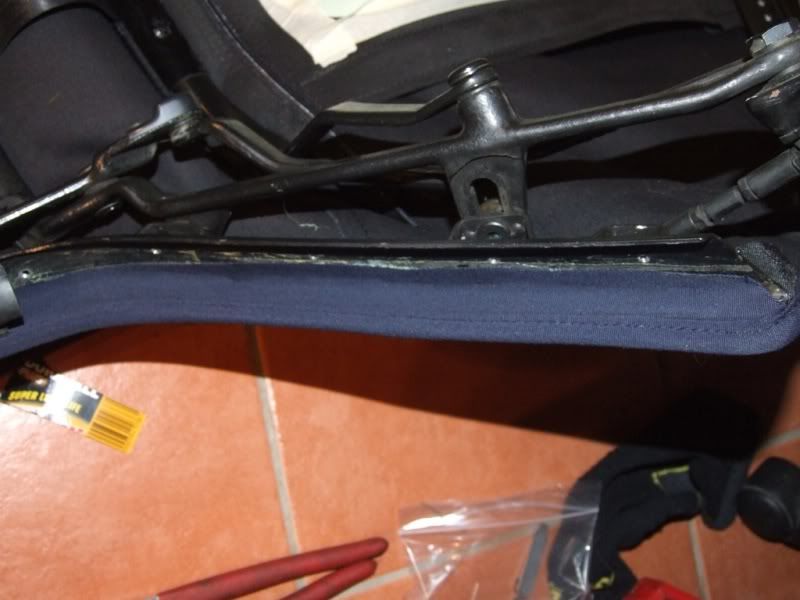
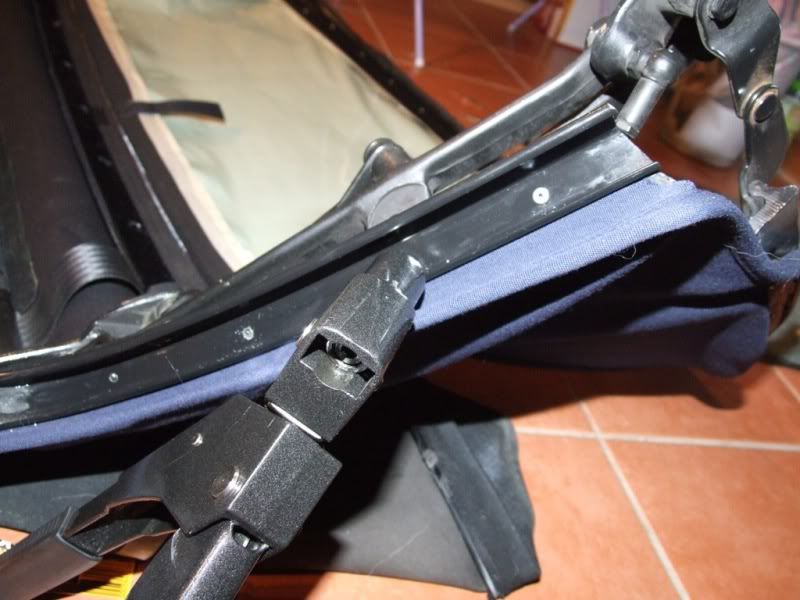
Drill out all the rivets along the base of the rear window and hood section.
Remove the side quarter rivets along the bottom first
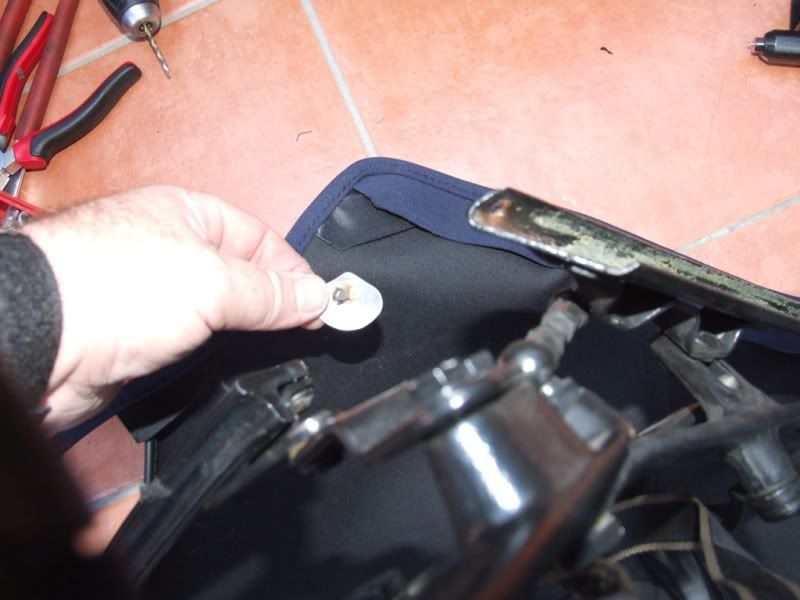
And retain the metal plate, noting which plate goes on which side
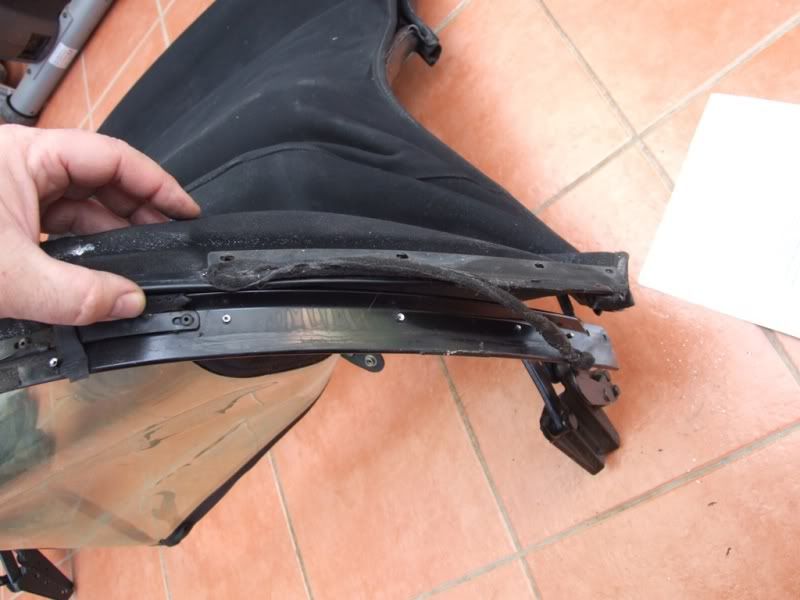
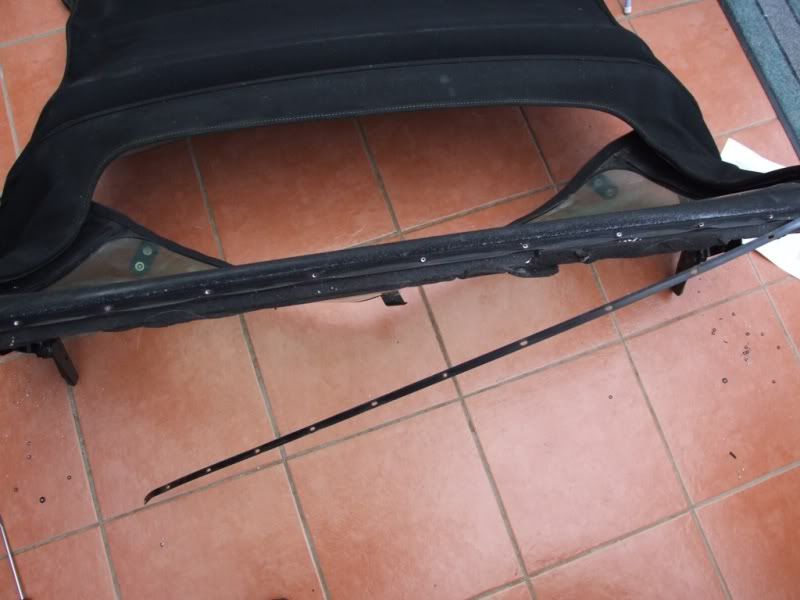
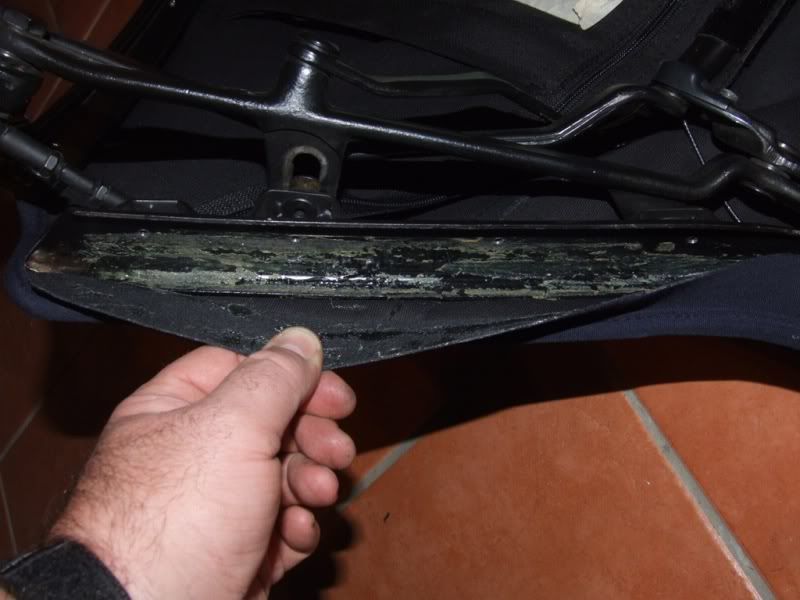
Next drill out the rivets that hold the bottom of the window section in place
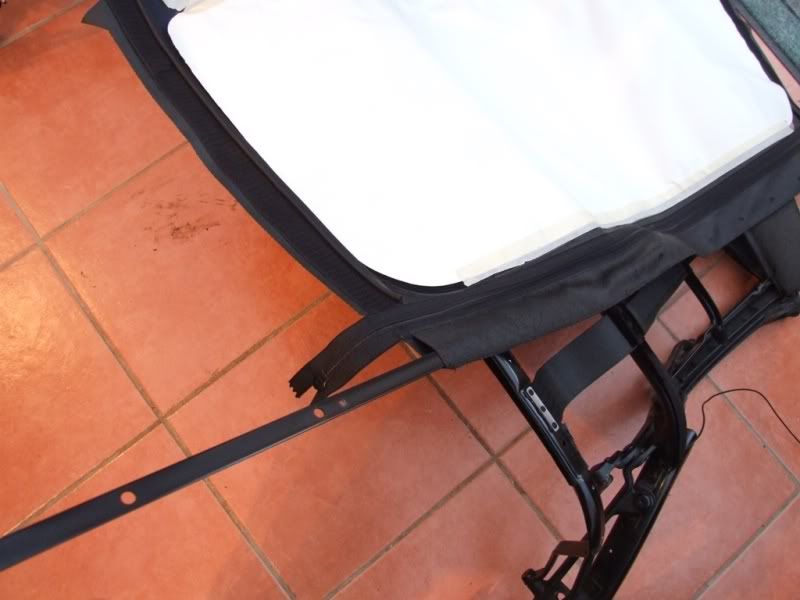
Remove the long metal plate and retain it for refitting.
The bottom of the rear window has now been released.
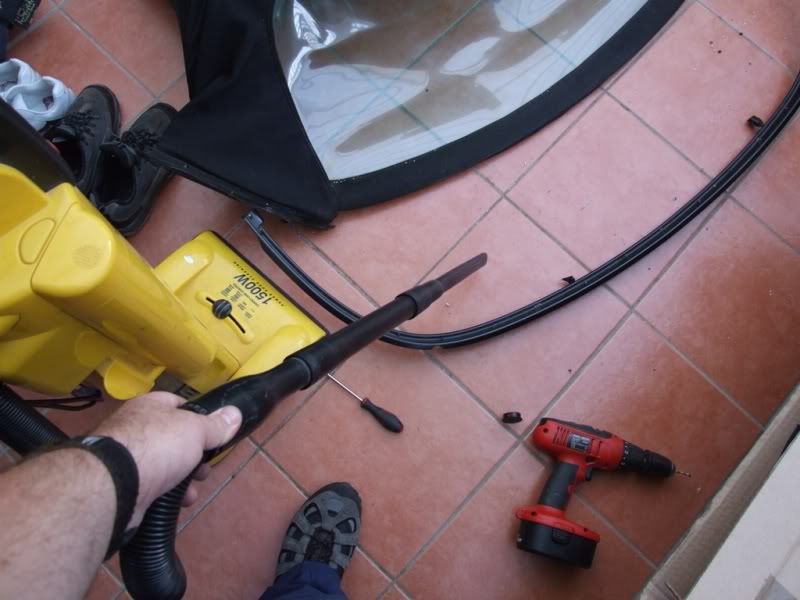
Clean up the swarf (bits of metal) and bits of rivets that you have just drilled out otherwise they could damage your new hood or window.
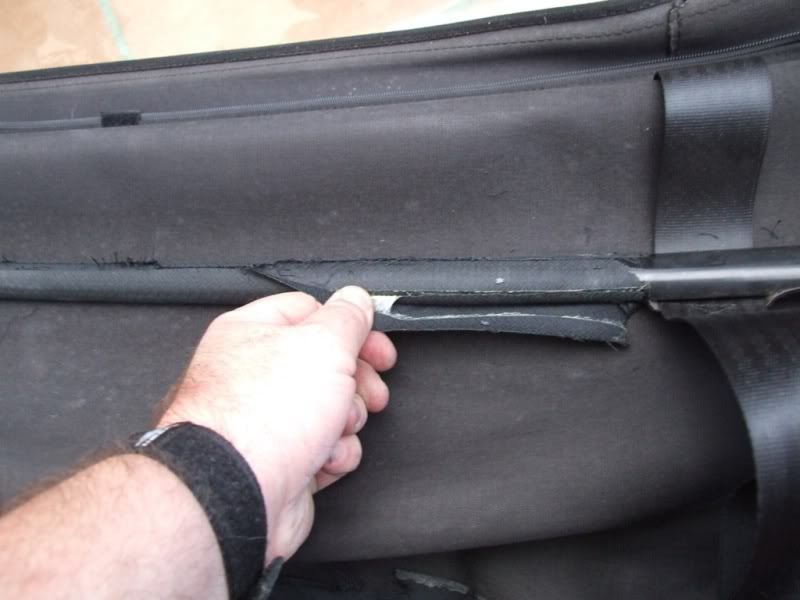
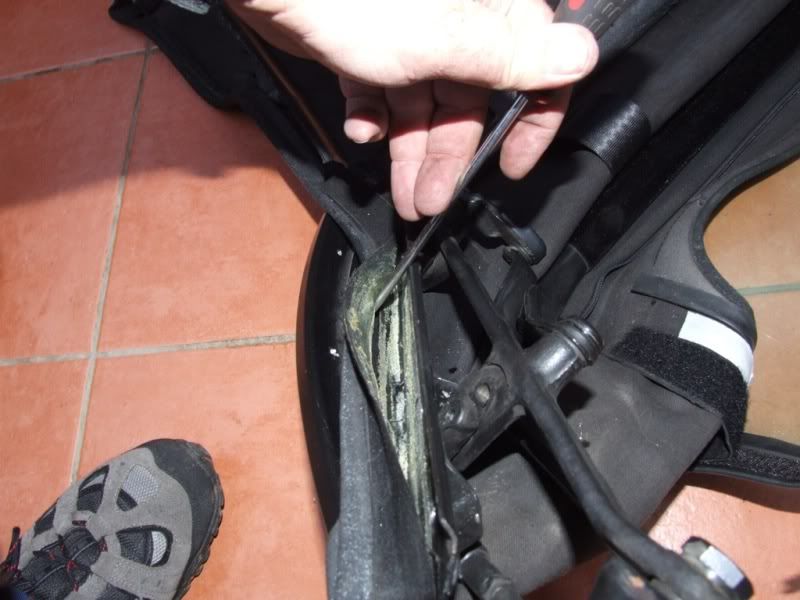
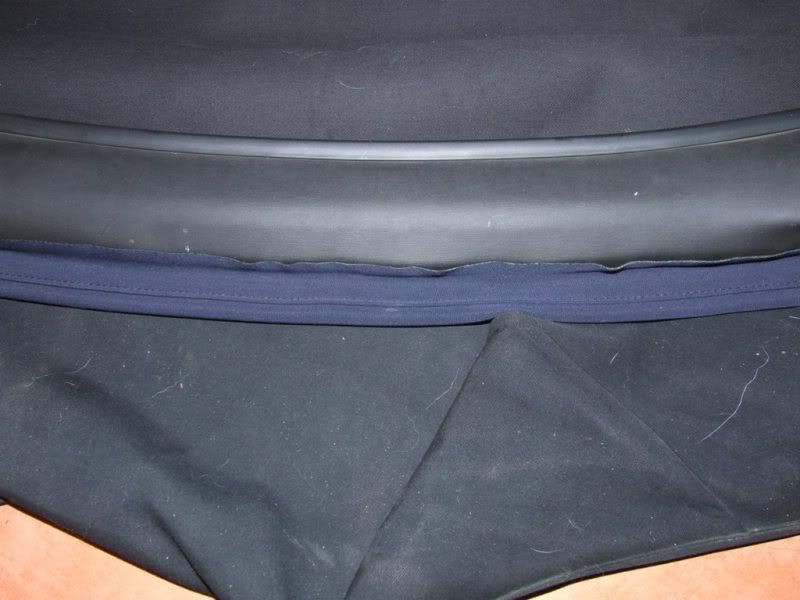
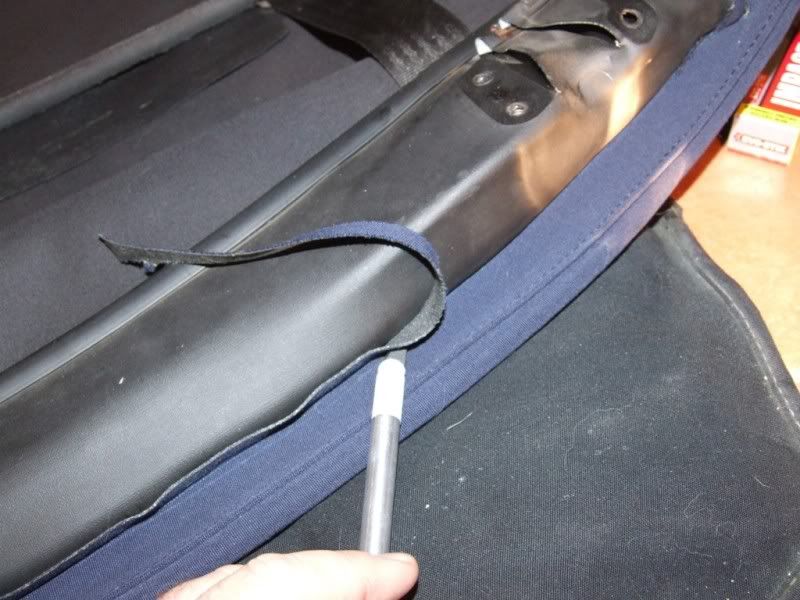
Now go to the front of the hood and score along the front underside of the frame where the hood meets the fabric cover that the frame latches are bolted to. I just pealed the hood away from where it is glued rather than scoring it, but it takes a bit of doing.
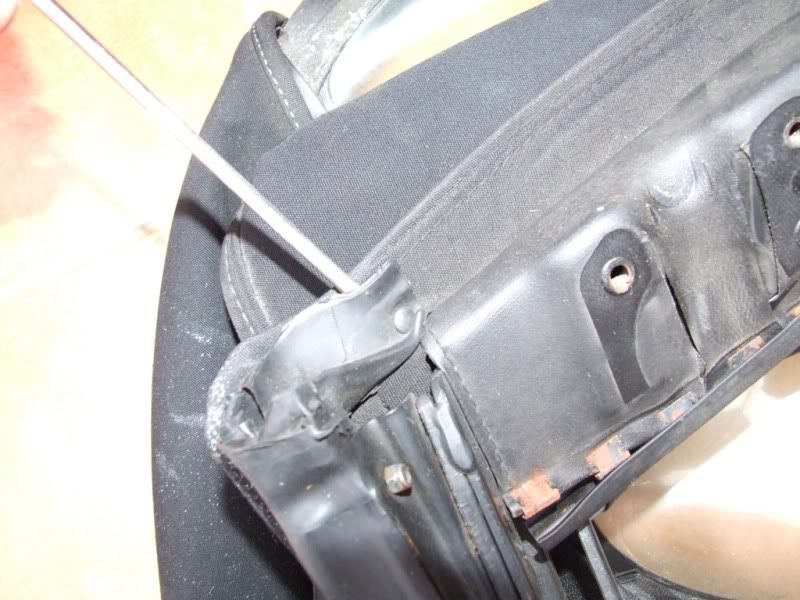
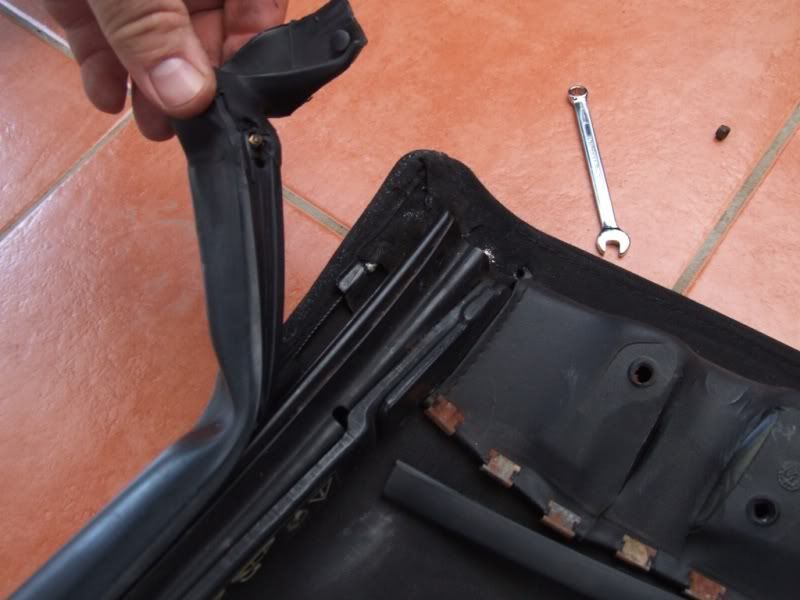
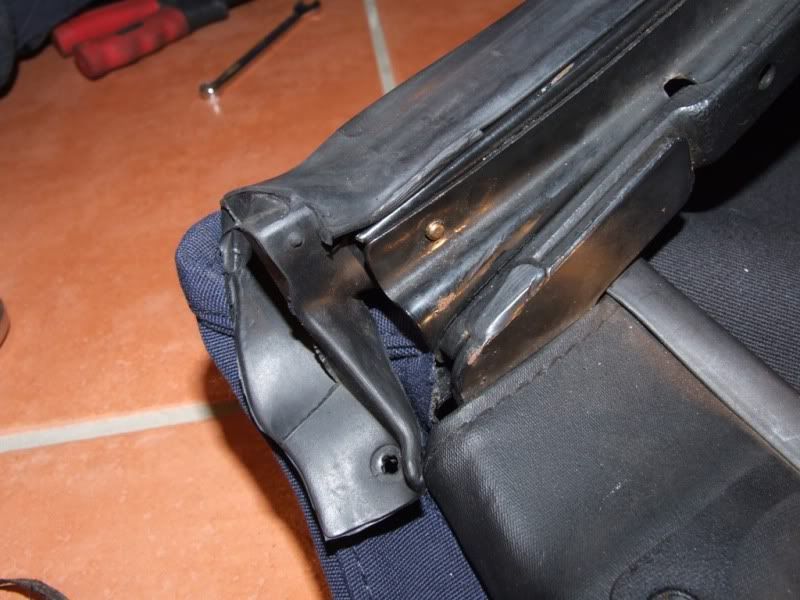
Before pulling the hood away, we need to release a small plastic plug on each front corner that holds the rubber seal in place. I think this is only on the Mk2/TF hood. Gently lever the plug out, but be careful as they easily break.
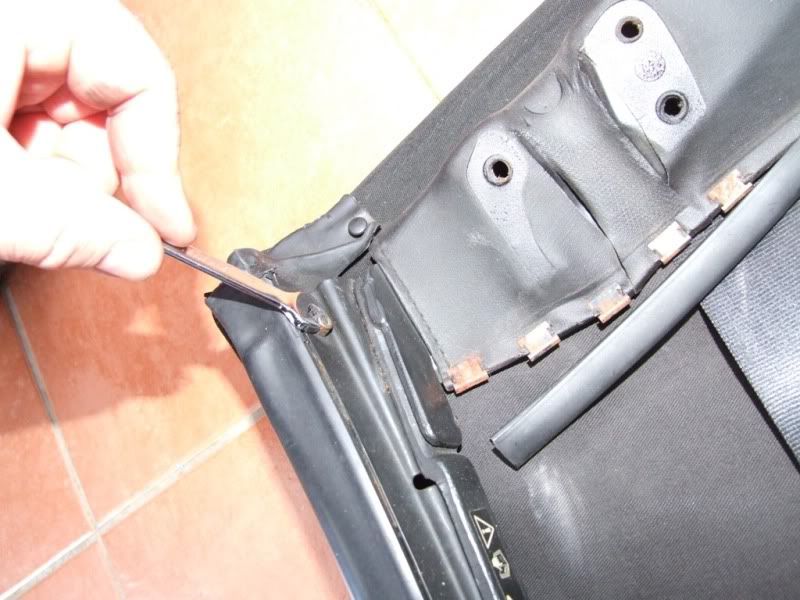
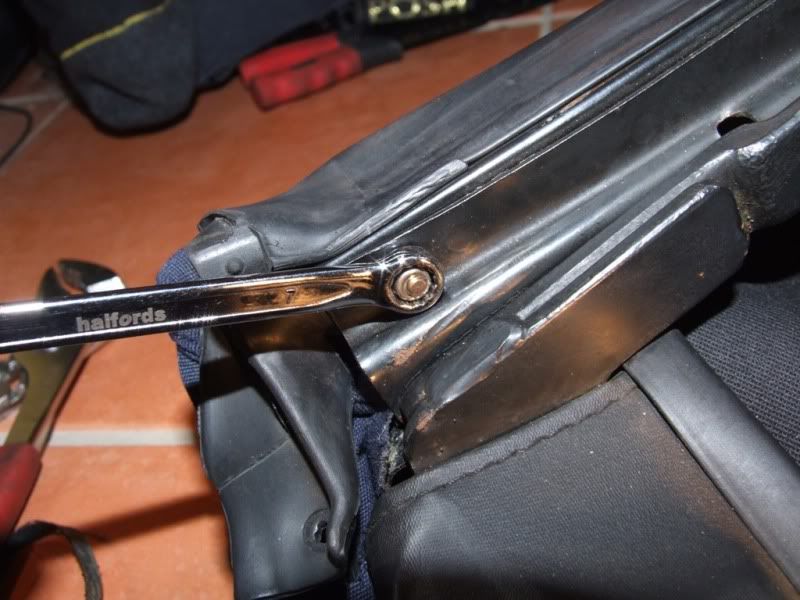
Now remove the 7mm nut that holds the end of the rubber seal in place. (Nut not present in Mk1 hoods).
And pull the end of the rubber seal out of the channel, releasing about 3-4cm.
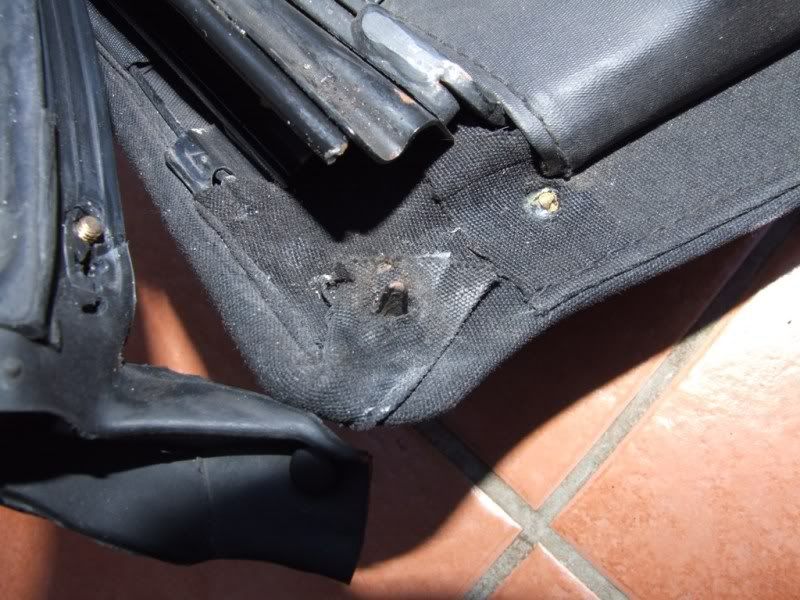
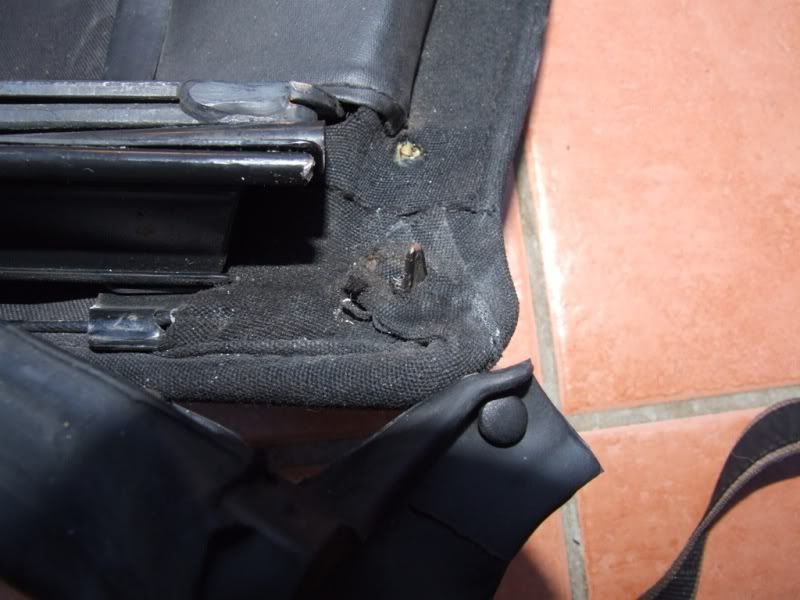
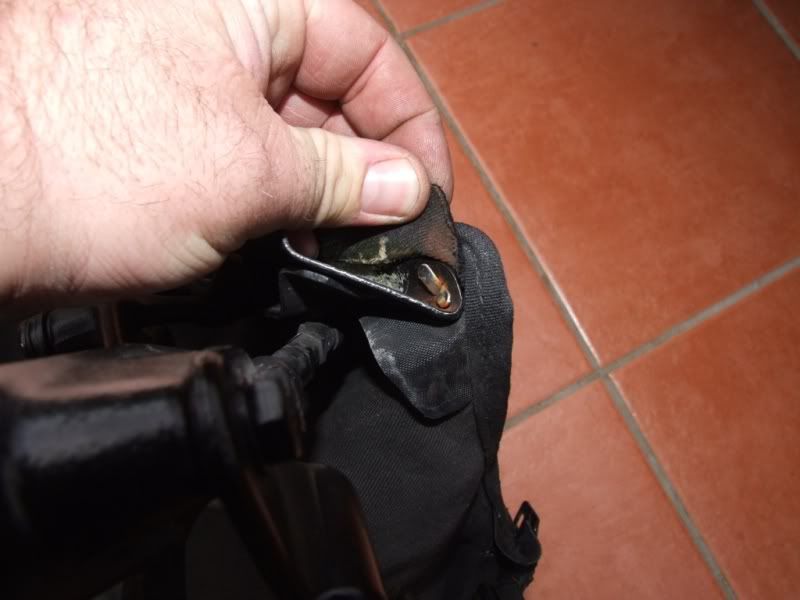
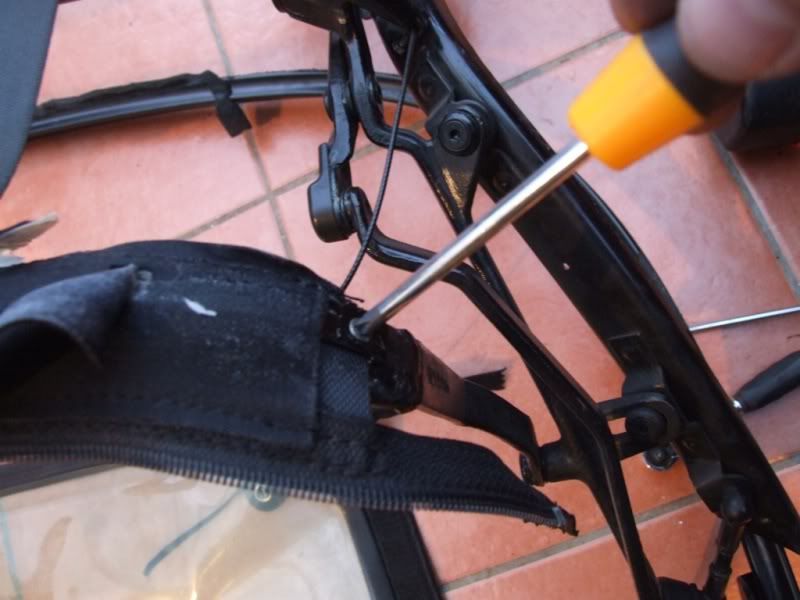
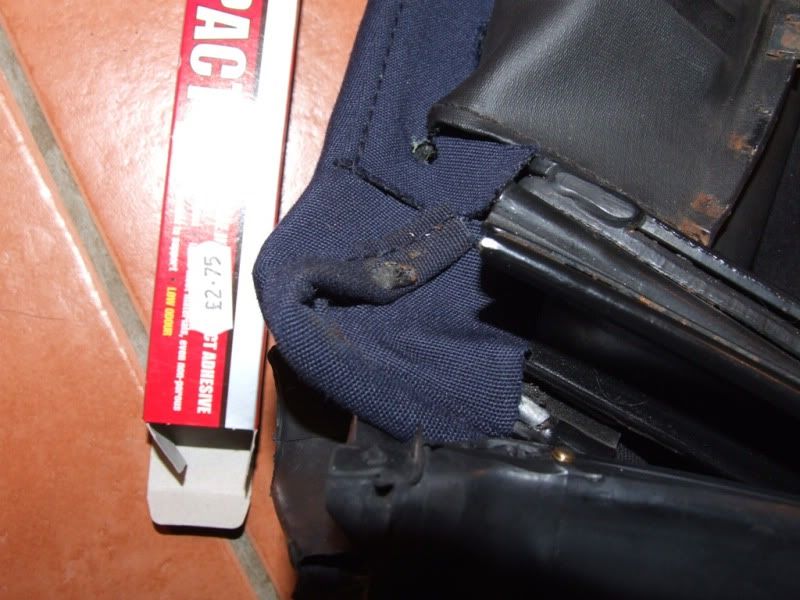
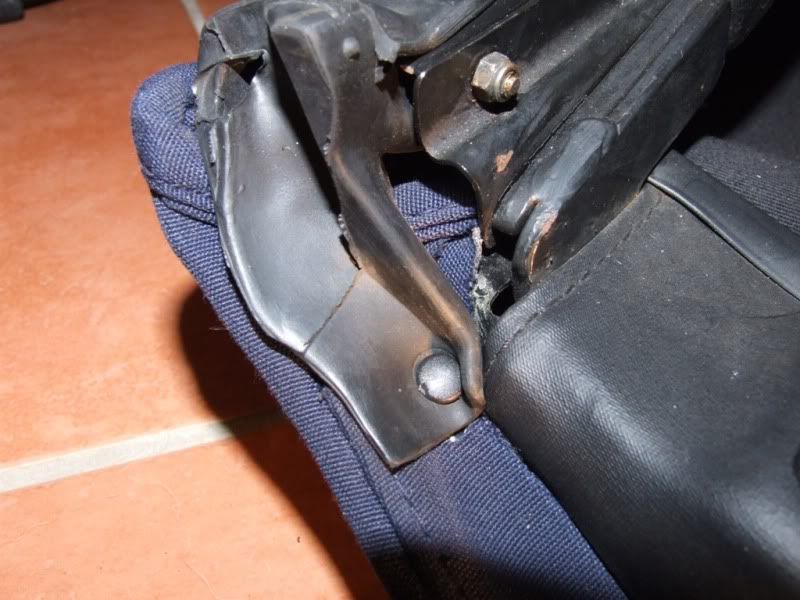
This exposes a metal tab that holds the excess material and corner pocket in place.
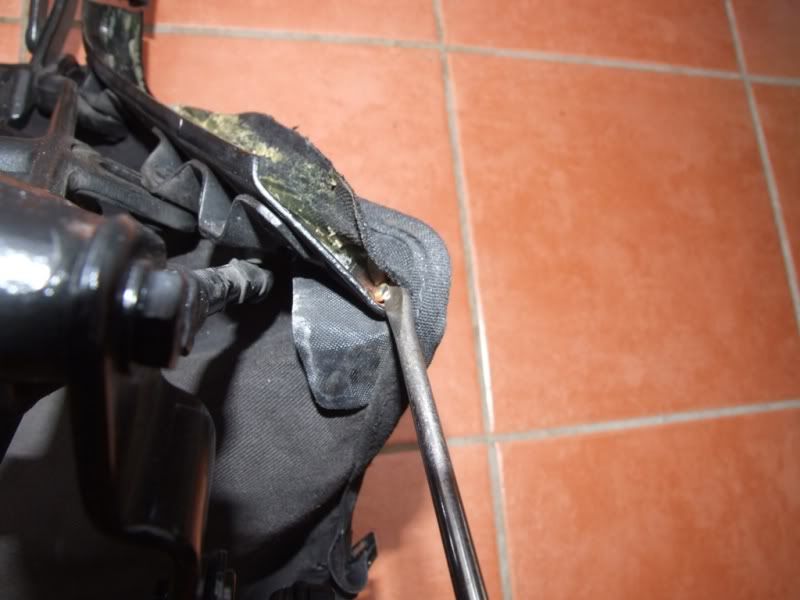
Bend the tab up to release the material.
And pull the material and corner pocket free.
Once you have done this you can release the material that you did, or didn't, score earlier.
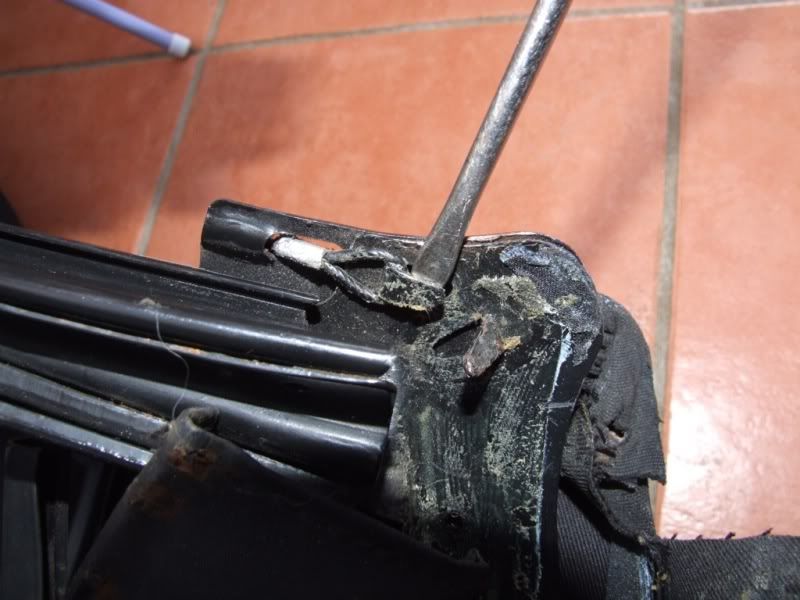
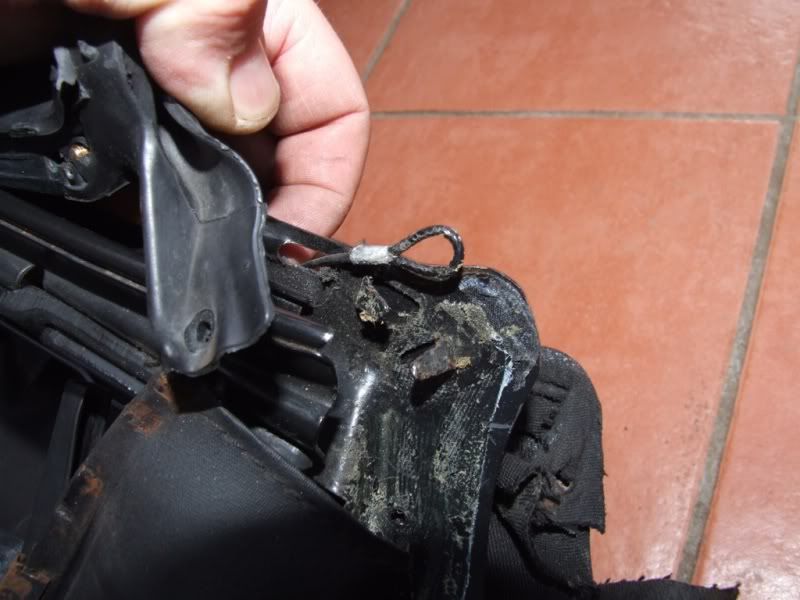
Just down from the tabs, there is another tab which secures the front end of the side cables.
Bend up the tabs
And release the cable
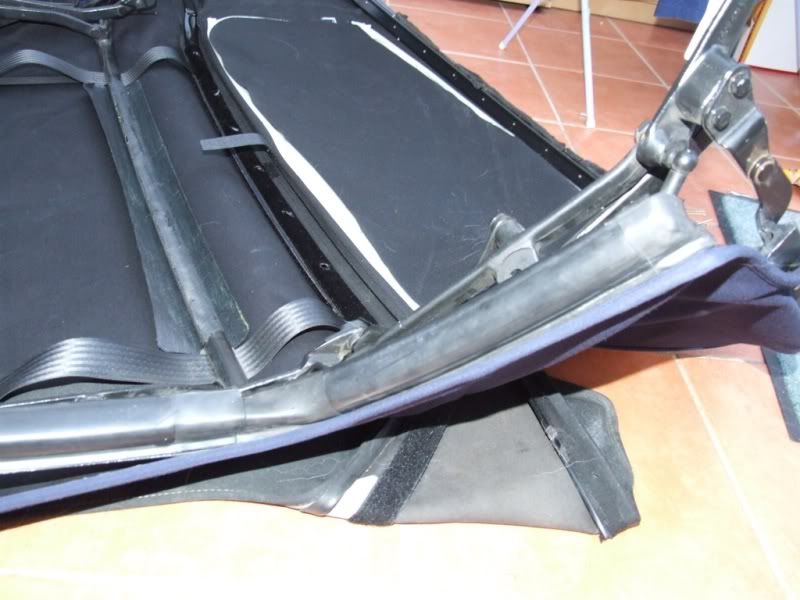
Remove the hood from the front of the frame.
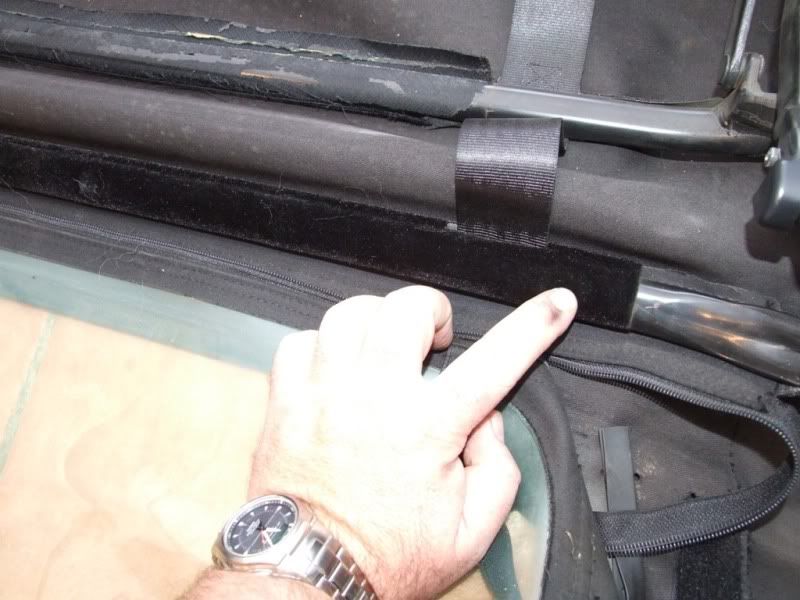
Detach the Velcro strips from the side of the hood/frame.
Using your knife again, cut the hood material away from the 2 transverse bars of the hood frame. I tried peeling them off, but it was a nightmare. If I did it again I would just cut them.
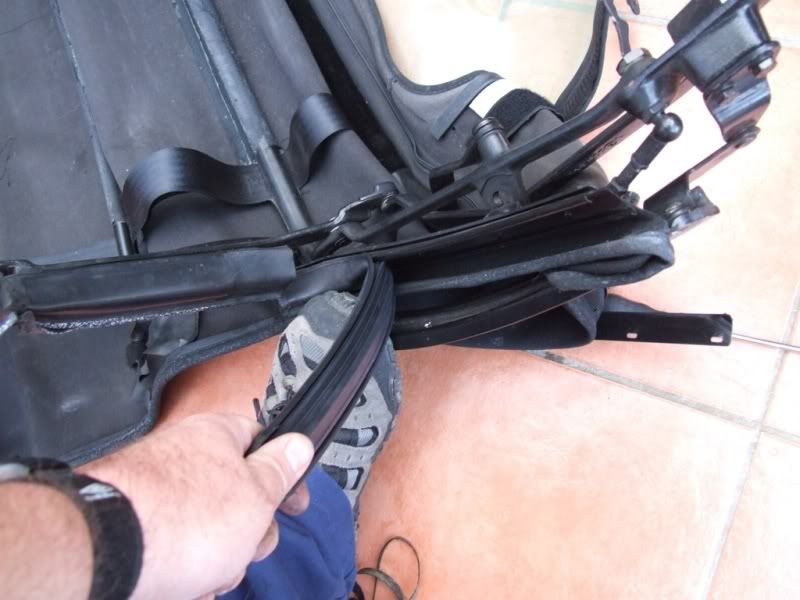
Pull the rubber seals out of each of the B post channels.
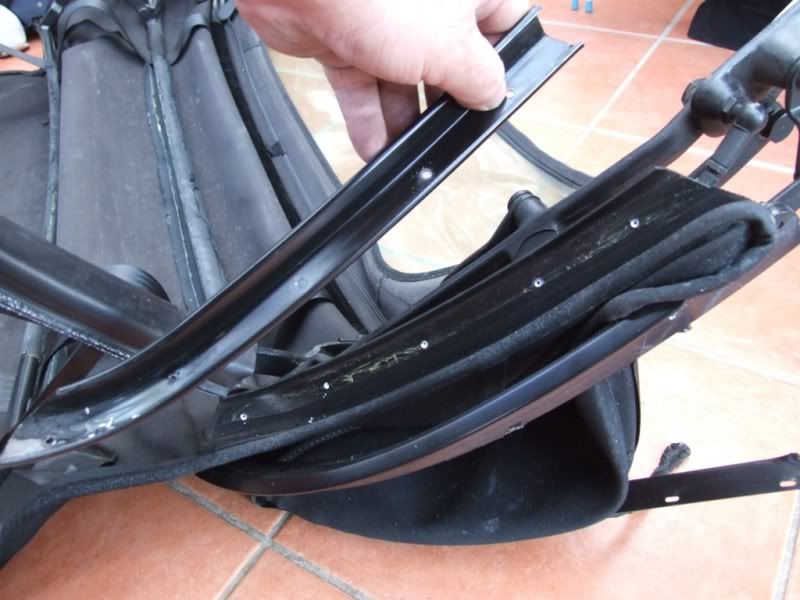
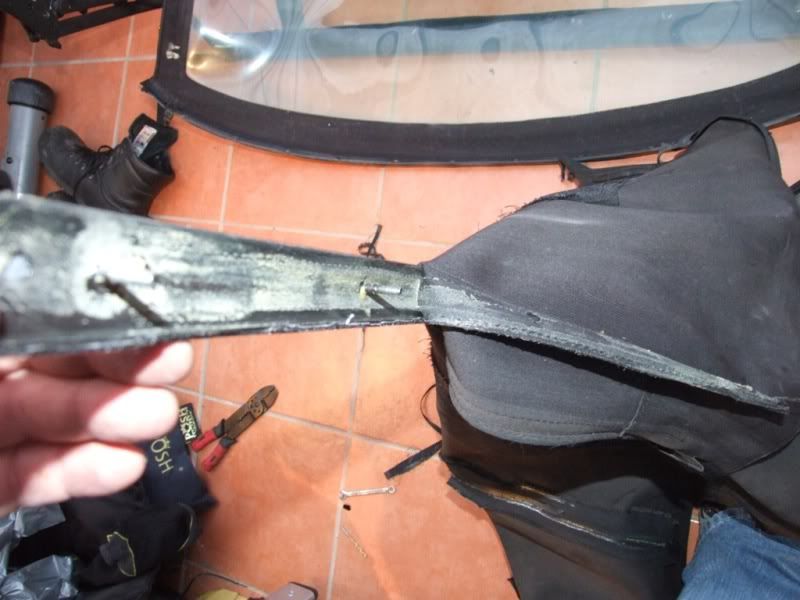
Drill out the rivets that hold the channels in place.
And remove the brackets.
Pull the glued material off the frame.
Pull the 2 side cables that you released earlier, through the hood.
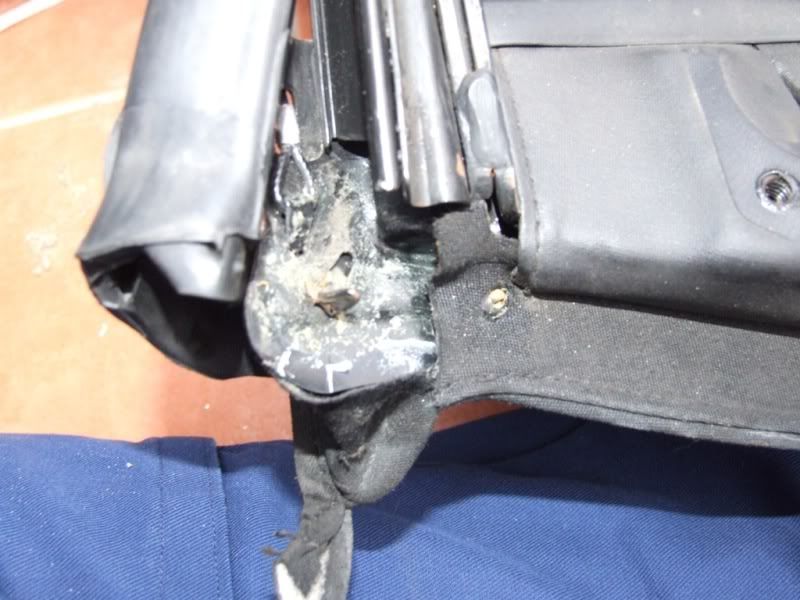
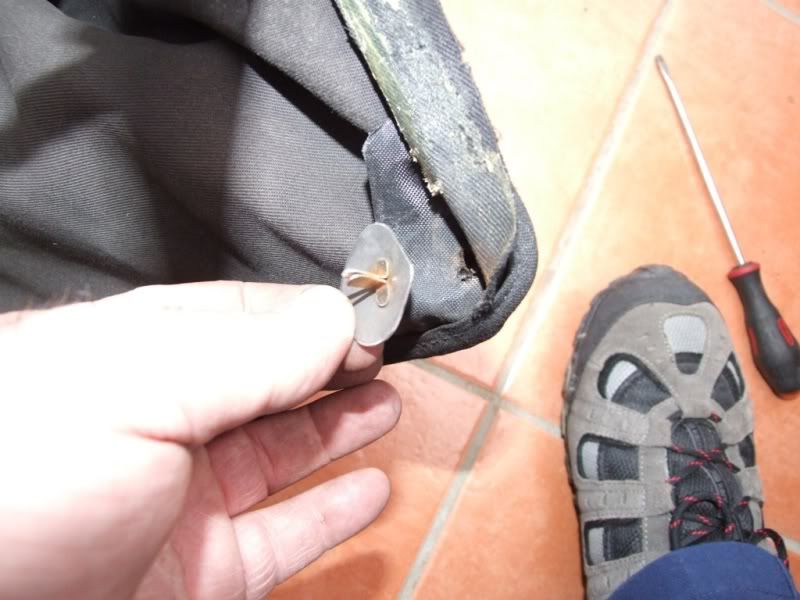
On the channel you just removed the rivets from, the bottom corner of the hood is fixed with a metal plate to the frame.
Bend the legs of the plate up and remove.
Note how they fitted in the hood and retain for refitting.
Please Log in or Create an account to join the conversation.
Replied by cjj on topic How to replace your hood and rear window.
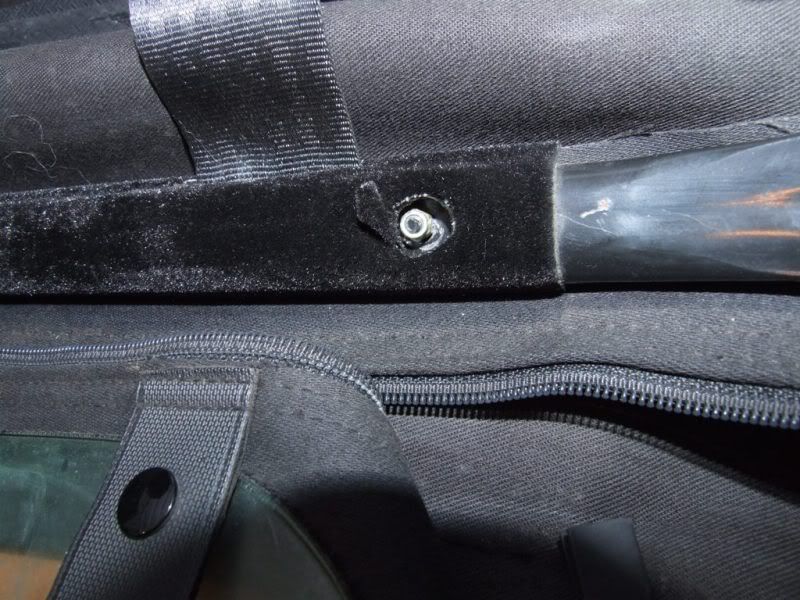
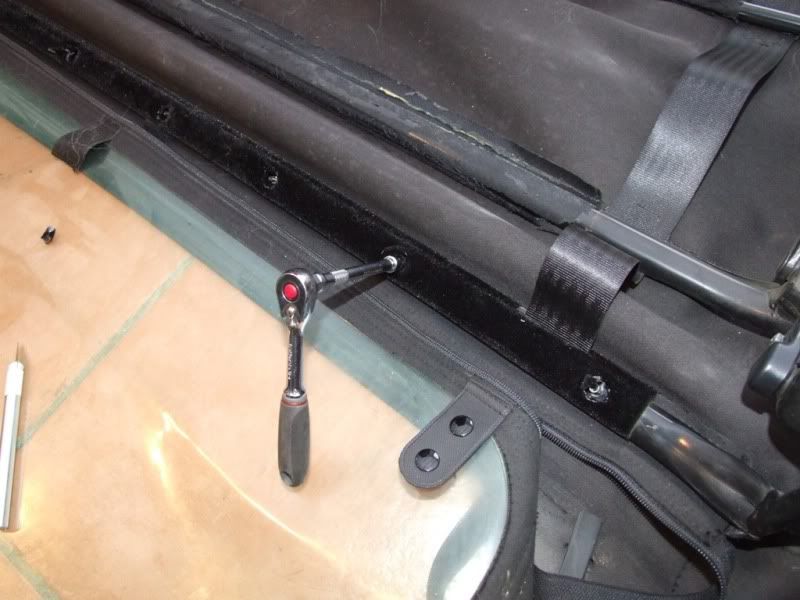
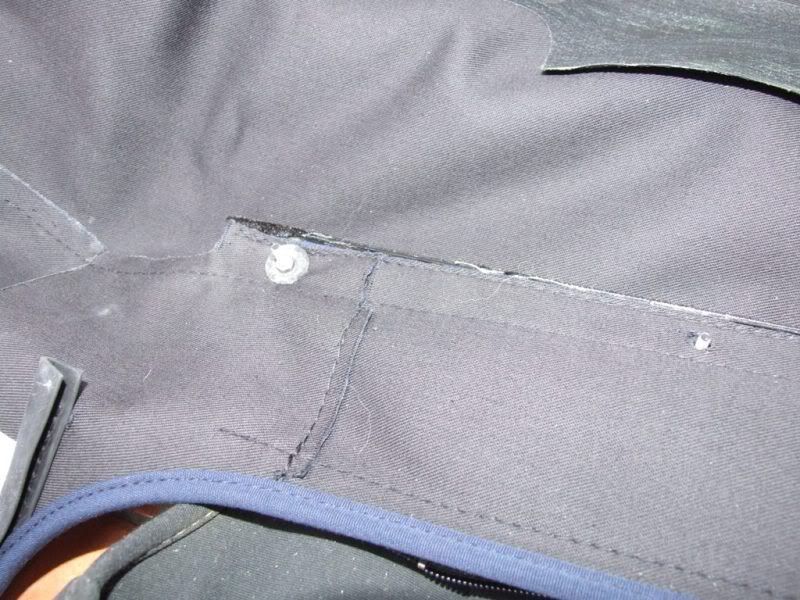
Posted 14 years 2 months ago #15983Using your sharp knife, make an opening in each of the seven holes to gain access to the nuts within. It needs to be big enough to take the 7mm socket.
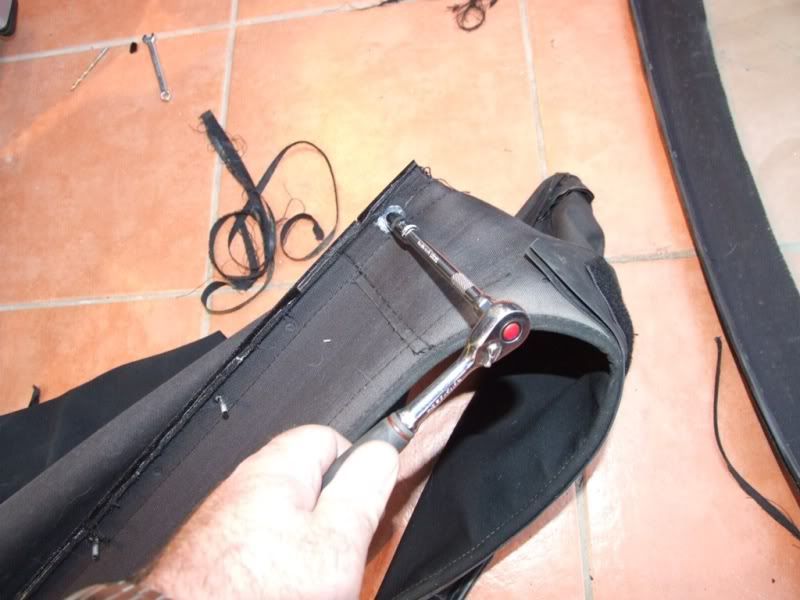
Undo and remove the 7x 7mm nuts to loosen the metal plate.
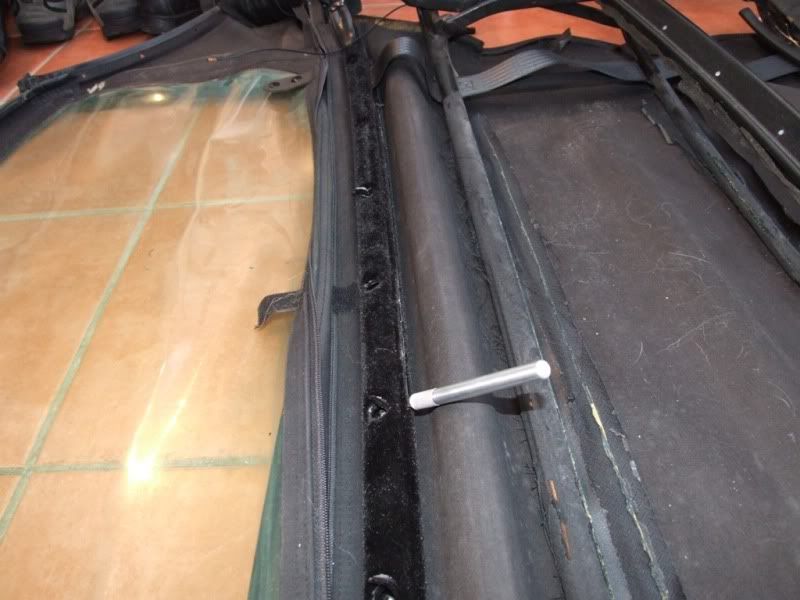
Using the knife, slit along the upper edge of the velvet material, under the metal plate, along the full length of the hood.
This will finally release the metal plate.
Remove the hood and remove the metal plate from the hood, noting how it is fitted, as it will only go back on the correct way. To remove the plate you will need to remove a further 2x 7mm nuts
And pull the plate free from the hood
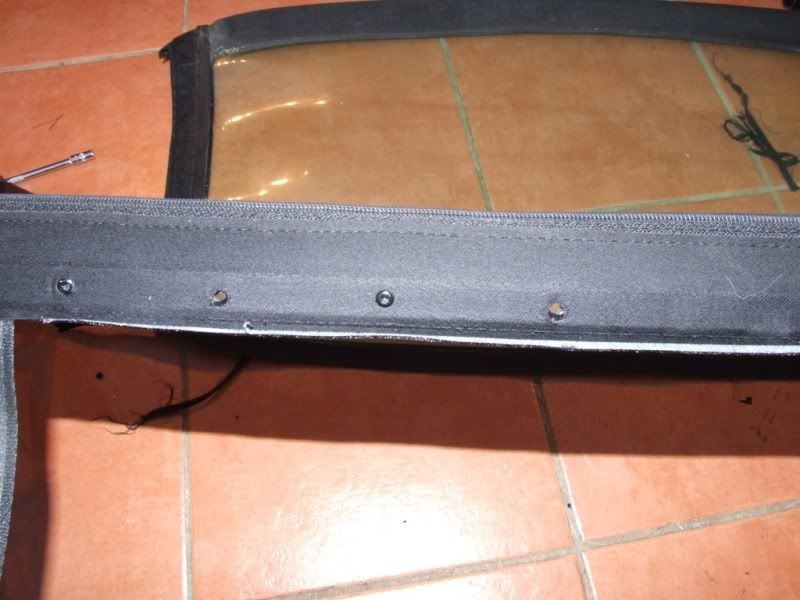
With the top of the last transverse bar now exposed, drill out the rivets along the top
And undo the 2 small screws either end. You may have to remove a small section of sticky backs velvet material to find the screws.
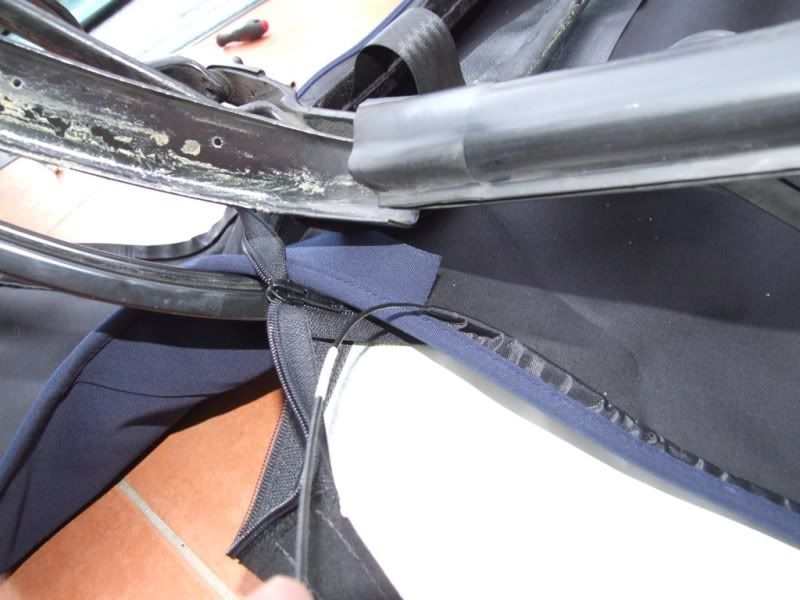
Now that the top of the zip section is released, pull the thin metal strip from the zip, again noting which way around it goes with relation to the frame.
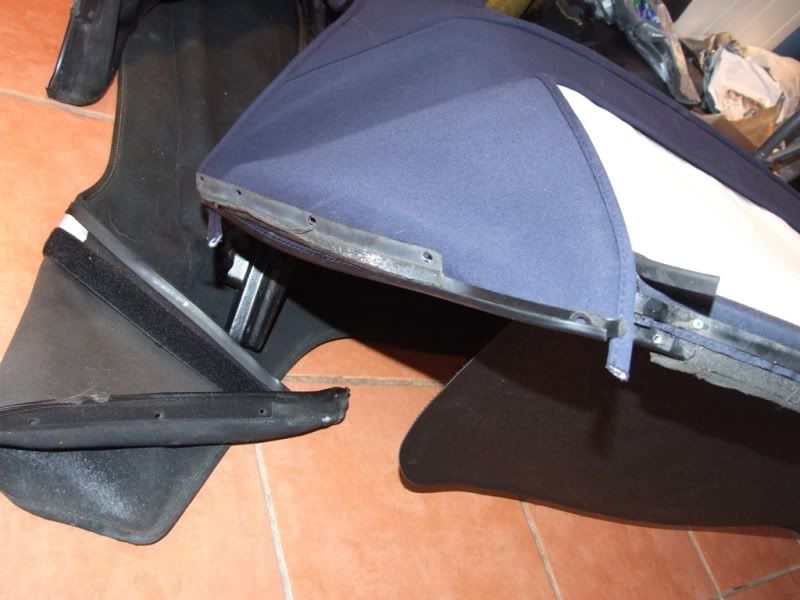
The old hood and window section have now been removed, leaving the bare frame ready to accept the new covers.
Fitting the new hood and plastic window section.
Undo the zip from the new window and insert the thin metal strip into the top zip section.
This part is where I had the problems with the window section that I had. I don't know whether this is down to the part I was supplied, or whether this is standard for all rear window sections.
The holes in the new zip section do not line up with the old section or the bar.
I was told by the supplier that this was normal and the section had to be stretched for the holes to line up. In my opinion, this took excessive force to do, and resulted in me with 2 feet against the frame while pulling on the upper zip section with a pair of pliers. It was taking so much force that I ripped the end off the zip section. The suppliers assure me that they can do this in 5 minutes and do it all the time. All I can say is that I cannot. It took about an hour, a lot of sweat and swearing and I finally gave up with the last 2 screw holes still not lined up.
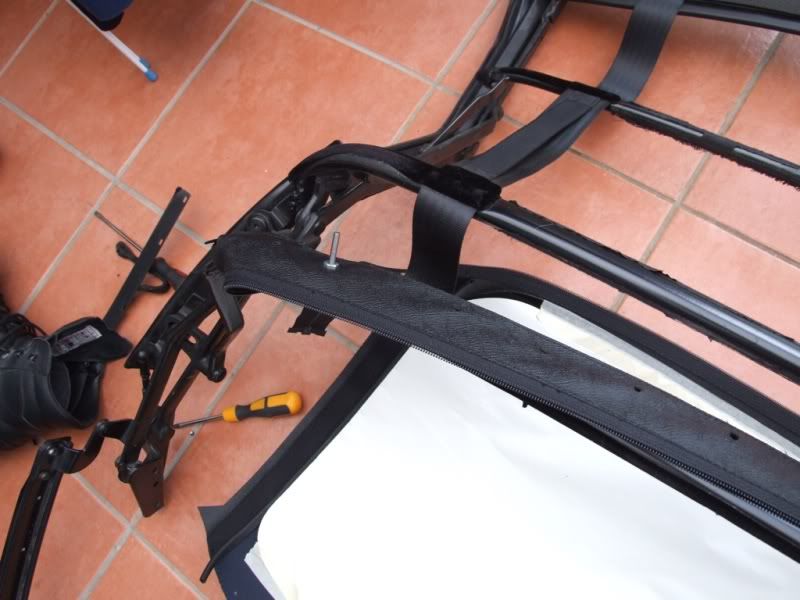
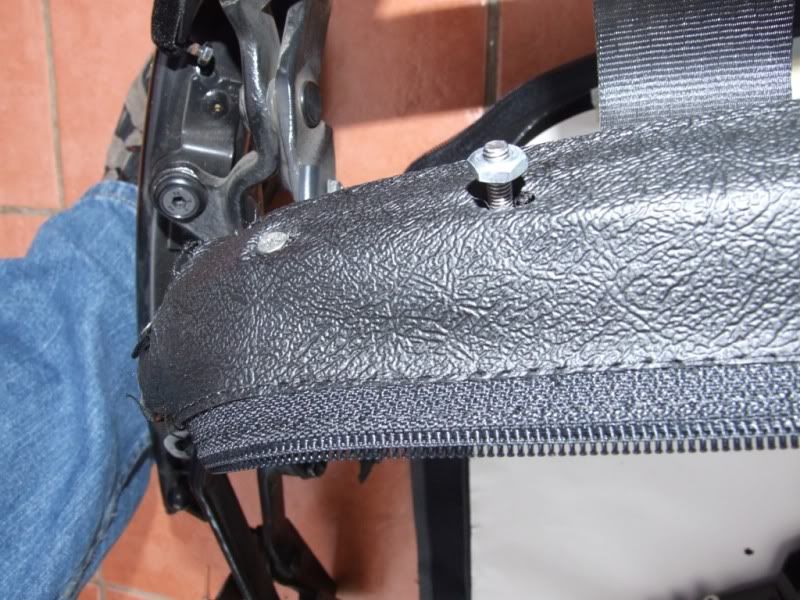
I placed a bolt through one of the holes in the transverse bar, though the zip and the metal strip inside it.
I then stretched it best I could to align the holes. The holes still didn't align and needed some fiddling.
And secured it with another bolt (note the ripped off end)
The 2 small screws were fitted at each end
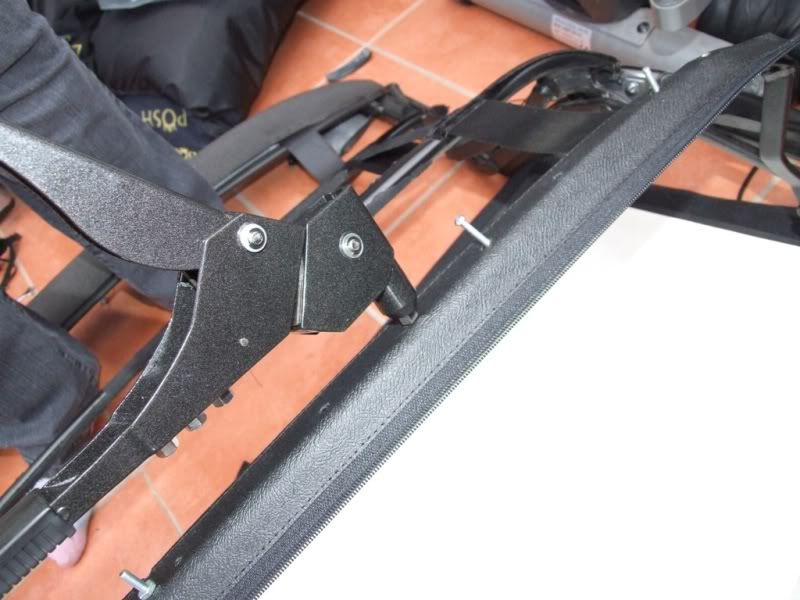
Then the section was riveted in place
The metal plate was fitted back into the new roof section
Not forgetting to fit the washer and 7mm nut to each end that you removed previously.
Metal bar, complete with hood, should now be offered up to the transverse metal bar, so that all 7 bolts pass though the upper zip section and the bar itself.
And refit the 7x 7mm nuts
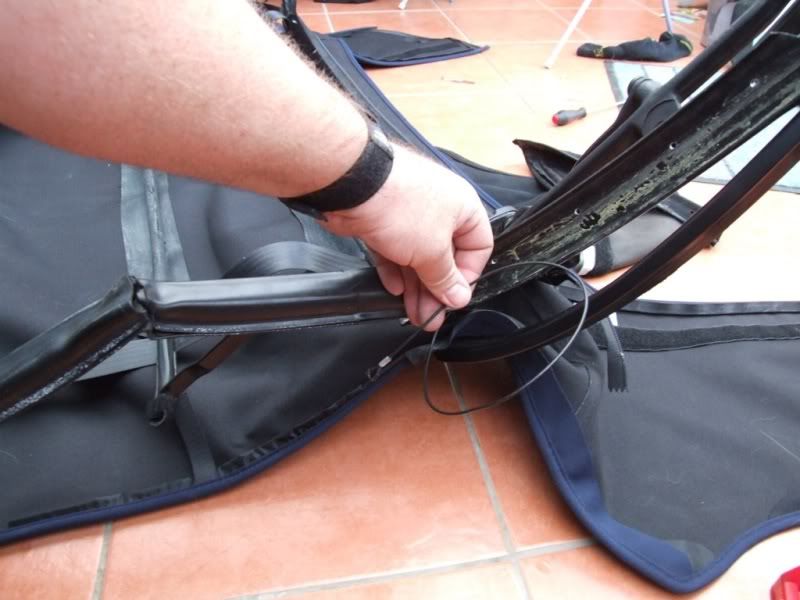
Feed the side cables through the edges of the hood.
And attach to the metal tab at the front corners of the frame.
Roughly attach the Velcro straps. You can adjust them later.
Please Log in or Create an account to join the conversation.
Replied by cjj on topic How to replace your hood and rear window.
Posted 14 years 2 months ago #15984And reattach to the frame, bending the tags out to secure
Zip the window to the top section of the zip and rivet the bottom metal strip to the frame through the material.
You should have black rivets to do this as they are visible when fitted to the car. I was given the wrong rivets but the supplier has sent me the correct rivets since.
The other problem I had was that the holes in the bottom of the window section were not punched. They were marked though, so I borrowed a material hole punch and punched the holes out.
Rivet the rear quarter plates in place, through the hood material.
Be careful not to mark your new rear window while folding etc.
Using the contact adhesive, glue the front corners, hood corner pockets, front inner edge and the front edge of the hood. Only glue the front edge of the hood as far back as the stitched edge.
Leave the glue to set, in accordance with the glues instructions, and then fit the corner pockets. Be accurate as the contact adhesive grips on contact.
And glue the leading edge into place, ensuring that the seam sits in the recess along the front edge.
Stick the material in place in the middle and smooth out towards the edges.
Next, trim off any excess material.
At the corners, pull any loose edging in and secure with the metal tab, which should now be bent downwards to grip the material.
Re-attach the front side rubber seals into their respective channels, being careful to push the brass spigot through the hole in the side of the channel
And re-attach the 7mm nut
The nuts can be loosely fitted and position finalised later before tightening the nuts.
Insert the small black plastic fastener through the hole in the rubber seal and into the frame. Be careful not to push anything through the hole to clear it as the outside of the hood is on the other side and you could damage it.
Glue the flaps into the B pillars.
Now rivet the channels onto the frame
The rubber seals can now be slid back into the channels. I sprayed the underside of the seals with a little furniture polish to ease the fitting.
The only thing left to do now is glue the fabric flaps to the 2 transverse bars. I did this before fitting the roof to the car and it didn't line up too well, resulting in visible ridges, so I unpicked it and re glued. My advice here would be to fit the roof back on the car, close the roof and then glue them in place.
All that is left now is to adjust your catches and re align the windows on the door seals.
The roof will be tight and you might find it difficult to close.
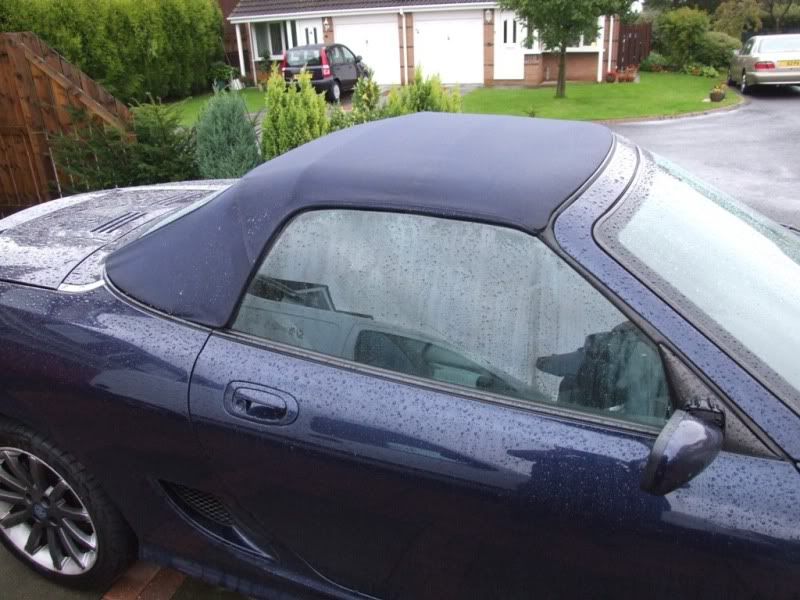
Here is the finished job
Please Log in or Create an account to join the conversation.
Replied by cjj on topic How to replace your hood and rear window.
Posted 14 years 2 months ago #15985I bought the hood and window section from Carhoodsdirect for a very good price of £195 inc delivery.
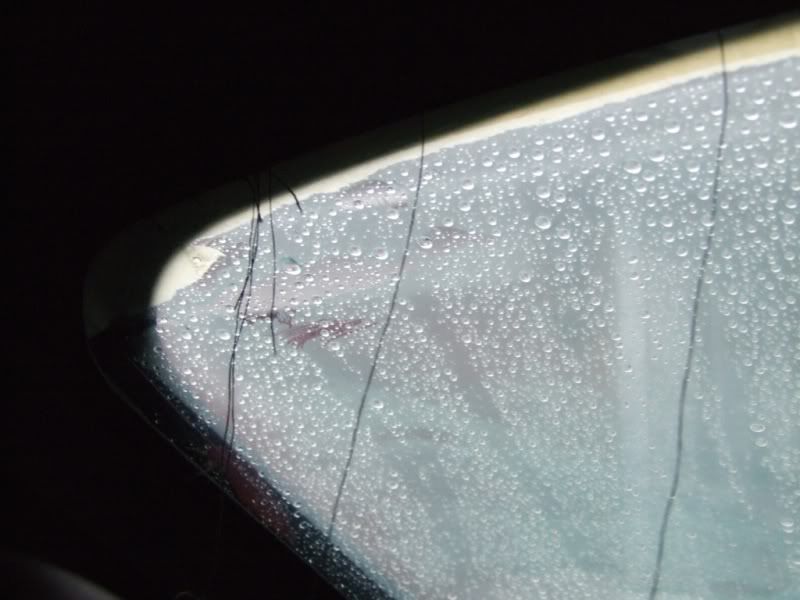
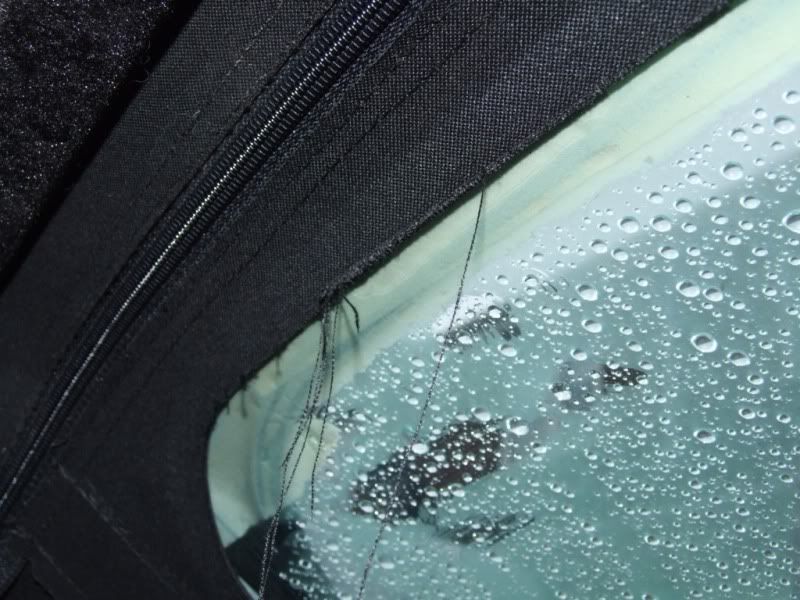
While the hood seems a quality product and fit, I cannot say the same for the rear window section. I will be buying another rear window for my other roof, but I think I will be trying elsewhere, even if it is just so that I can compare. I am not saying that my fitting problems were down to the quality of the product, but I struggled, and there were a few things that I wasn’t happy with. The last problem that I found today, after fitting the new roof to the car was this:
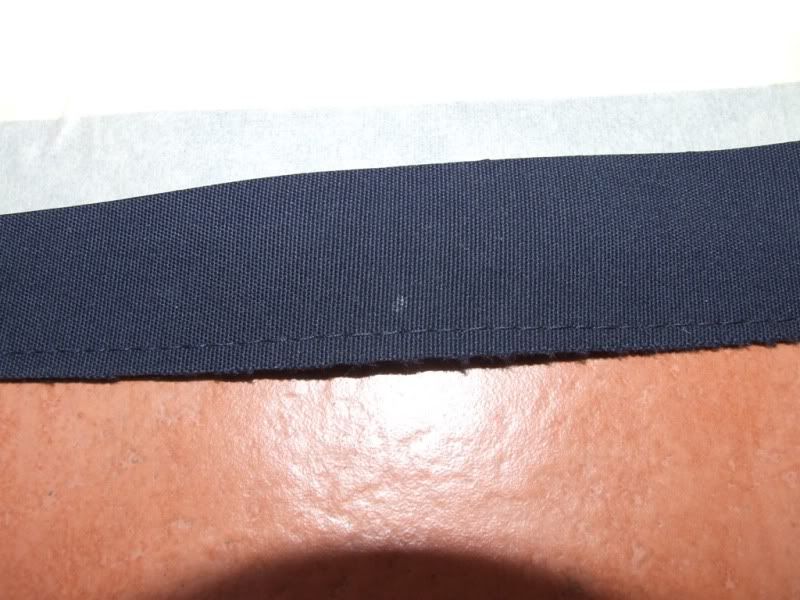
When I removed the masking tape holding the paper cover in place, the edge was badly finished and I will now have to take the scissors to it tomorrow and give it a trim.
The instructions that come with the kit say that it should take less than 6 hours from start to finish. My experience was 8 to 10 hours, but I have never fitted one before.
Where you get your hood/rear window is your choice. This is just intended as a guide to fitting it.
I hope it helps.
Any omissions or mistakes, then please let me know.
Please Log in or Create an account to join the conversation.
- David Aiketgate
-
 Offline
- David
-

- mgf mk2 freestyle mpi 16" wheels, in Anthracite.
- Posts: 20354
- Thanks: 4453
Replied by David Aiketgate on topic How to replace your hood and rear window.
Posted 14 years 2 months ago #15986You've convinced me... to get somebody else to do mine when the time comes.:lol:
David
:shrug:
Please Log in or Create an account to join the conversation.
Replied by cjj on topic How to replace your hood and rear window.
Posted 14 years 2 months ago #15987Please Log in or Create an account to join the conversation.
- David Aiketgate
-
 Offline
- David
-

- mgf mk2 freestyle mpi 16" wheels, in Anthracite.
- Posts: 20354
- Thanks: 4453
Replied by David Aiketgate on topic How to replace your hood and rear window.
Posted 14 years 2 months ago #15988Yup!:yesnod:CJJ;15987 wrote: Quitter
David
:shrug:
Please Log in or Create an account to join the conversation.
Replied by alex_mgf on topic How to replace your hood and rear window.
Posted 14 years 2 months ago #15991Please Log in or Create an account to join the conversation.
Replied by cjj on topic How to replace your hood and rear window.
Posted 14 years 2 months ago #15992It's definitely do able, just don't expect it to be a 5 minute job.
Please Log in or Create an account to join the conversation.
Replied by alex_mgf on topic How to replace your hood and rear window.
Posted 14 years 2 months ago #16029I would like to ask you , how many new rivets have you used for the replacement of the hood , meaning how many shall i buy approx. ? Are there different sizes of rivets fitted or just one size and which one please?
I really enjoy every time when i read your posted how to's ....... general question, have you learn car mechanic ? or you do that just for hobby ...However i would say :respect: Mate........for this knowledge and experience and the ability to fix everything on the car... Bravo
Please Log in or Create an account to join the conversation.
Replied by cjj on topic How to replace your hood and rear window.
Posted 14 years 2 months ago #16030I just have a go.
Not many things scare me on a car, but I would rather have a go than just hand it to someone else to do.
If you are getting a new hood then you should get the rivets with it, but if not I will measure them and let you know.
Please Log in or Create an account to join the conversation.
Replied by alex_mgf on topic How to replace your hood and rear window.
Posted 14 years 2 months ago #17134Great anyway. About the rivets. The Abingdon Hood i bought it used from ebay.So i didn;t receive the appropiate rivets. Check it please when you can.
The good news is that this Hood ha already the holes, so it will be a little easier. I have some rivets left from last time changing the rear window screen of one friend,. Maybe they are the same size and i have the correct size to order more.
Please Log in or Create an account to join the conversation.

