Get Connected!
Come and join our community. Expand your network and get to know new people!


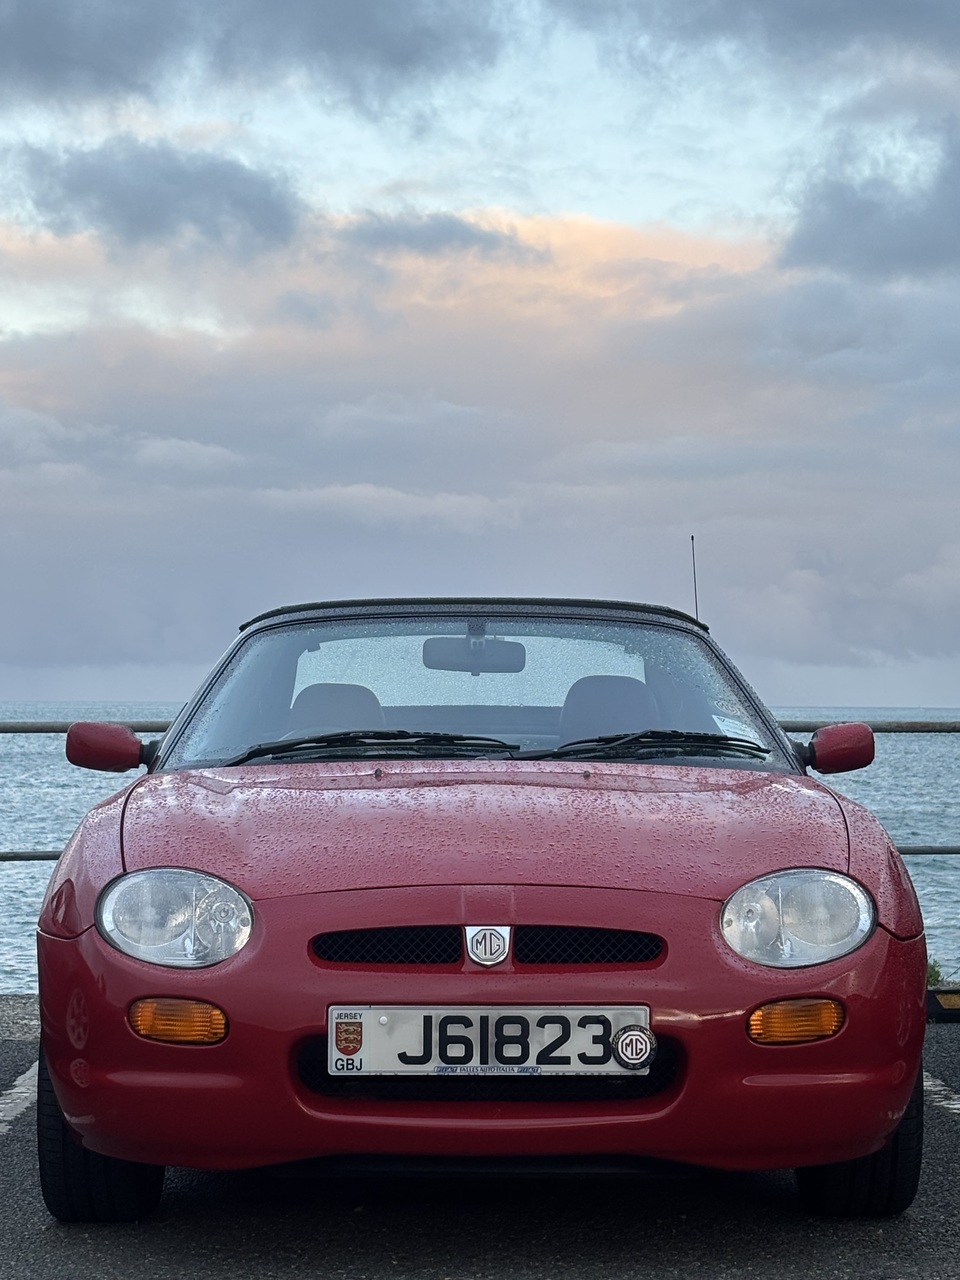

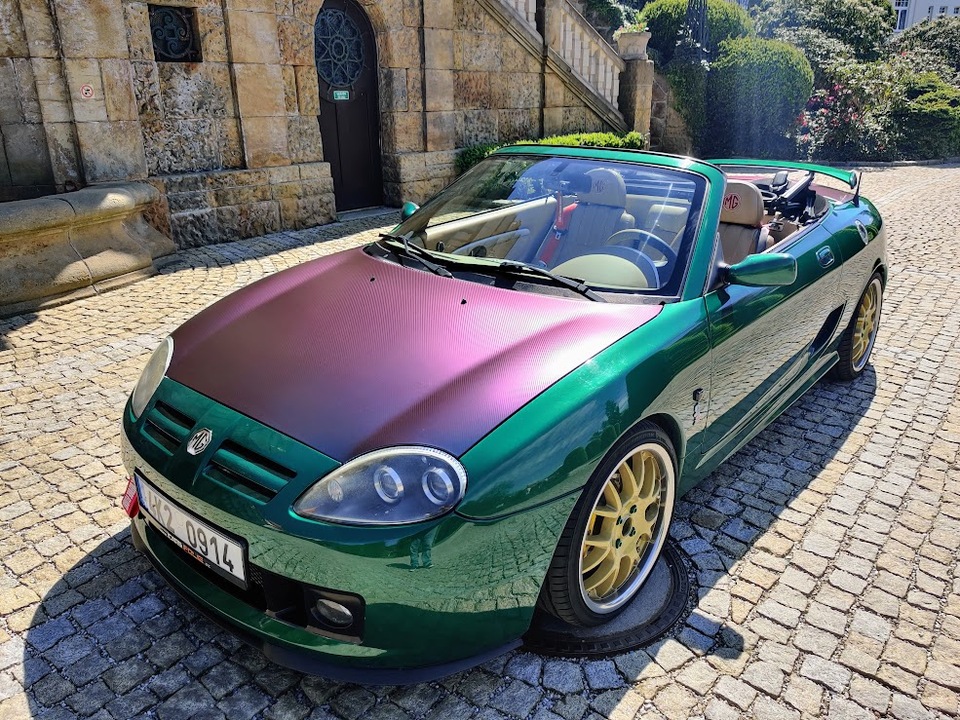
My TF 135 was bought for my 65th birthday by my fabulous girl. Hope it gives us good times and not headaches 😆

HI - first time on T Bar - just wondered if any other New Zealand (2004) MG TF owners have had an issue when getting a new WOF - being asked to get... Show more


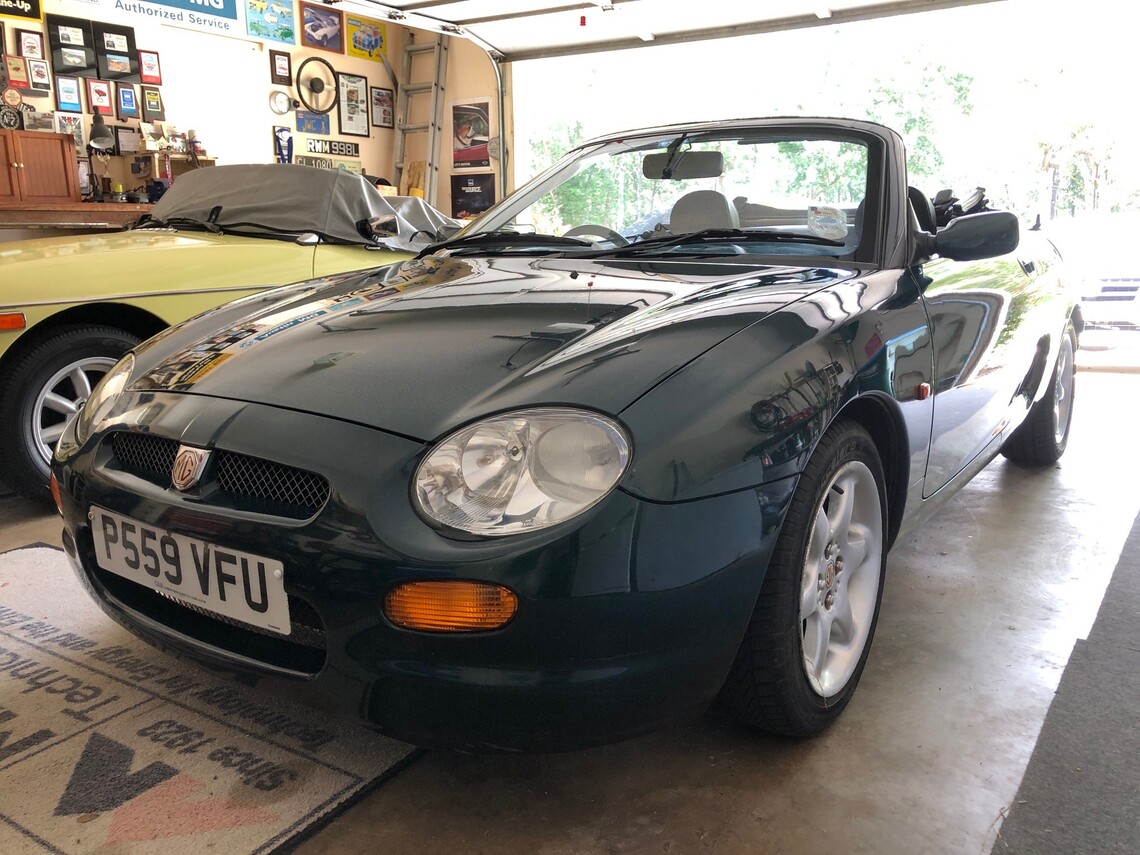
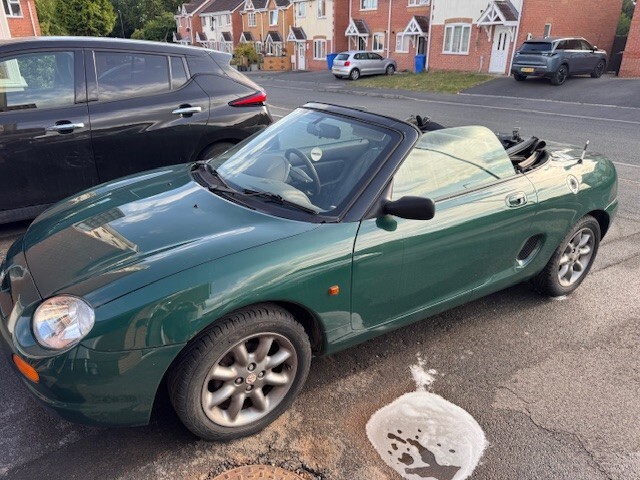
this looks like my old mgf which is my profile pic


To admin
When logged in on my phone I can no longer see the 3 lines to the right of Login for the drop down menu. It’s as if the whole header has...
Show more